PART OF FULL PROTON PACK BUILD - NEUTRON THROWER ALSO AVAILABLE
Thrower: http://www.semaker.com/productdetail/8989
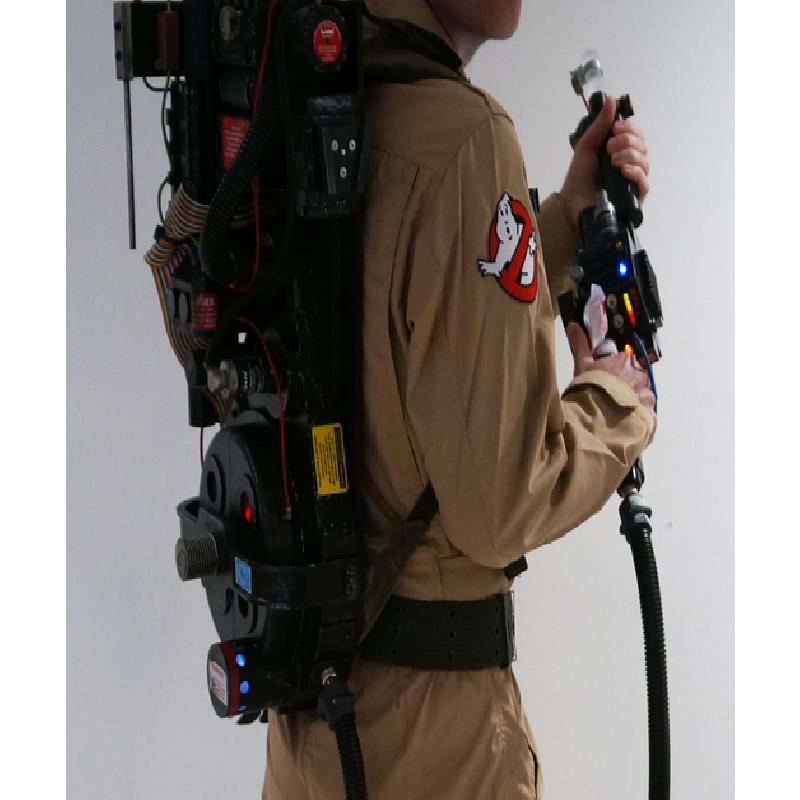
This is the Pack part from my 3D printed Ghostbusters Proton Pack build.
The prop was made using various measurements from the gbfans.com wiki. Changes were made to have it 3D print easily, and space was made inside for all the electronics.
Inside the Neutron Thrower is an arduino, which powers the lights. There is a sound board for the SFX, which is toggled be a small set of relays, this then powers the speakers in the back of the pack.
The output of the sound in the video on the Neutron Thrower page shows what sounds the pack can make. In the finished prop all of the wiring went down the hose and connected to power and speakers in the Proton Pack itself.
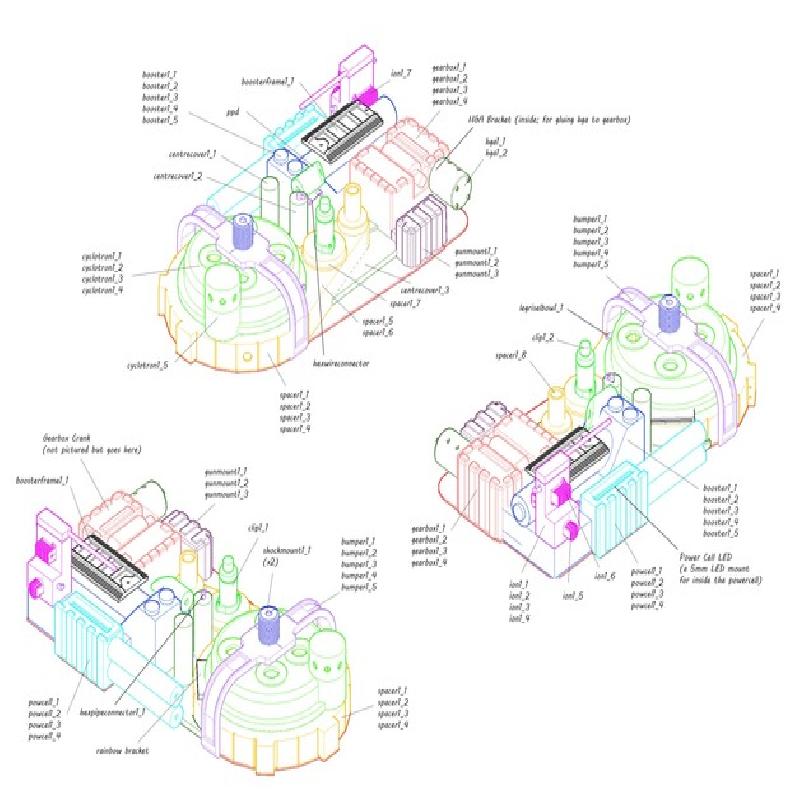
With this item I have included a parts list which should help you out, it's honestly not that hard to assemble. Most the parts should print flat on the bed in one orientation or another only the Cyclotron parts will need support material. Everything else can be orientated to be printed without.
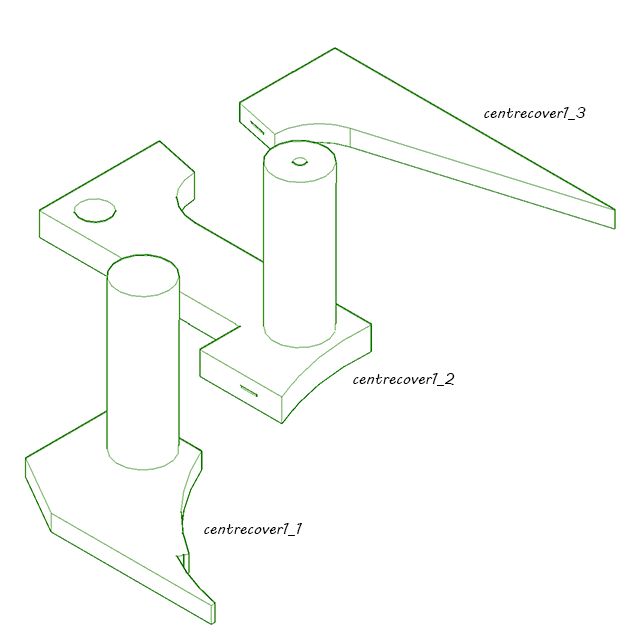
The prop is designed with holes for LEDs which sat behind opaque plastic in the Cyclotron. Lighting in the powercell came direct from blue LEDs which I have also created a mount for.
To finish the look you will need at least some wires, hose and the iconic rainbow ribbon cable. I also added machine bolts to hold parts in place and give it an industrial look.
Size wise, this was reduced by 10% as I'm a slim chap and thought the full size would look out of place. I also reduced the depth of some parts that didn't need to be so bulky to recreate the look.
MORE PHOTOS AND DETAILS ON THE BUILD TO FOLLOW
Footage of lights and sound in the thrower, sound actually comes out the pack speakers
Assembling the prints
Pictures only with captions for now, more coming soon
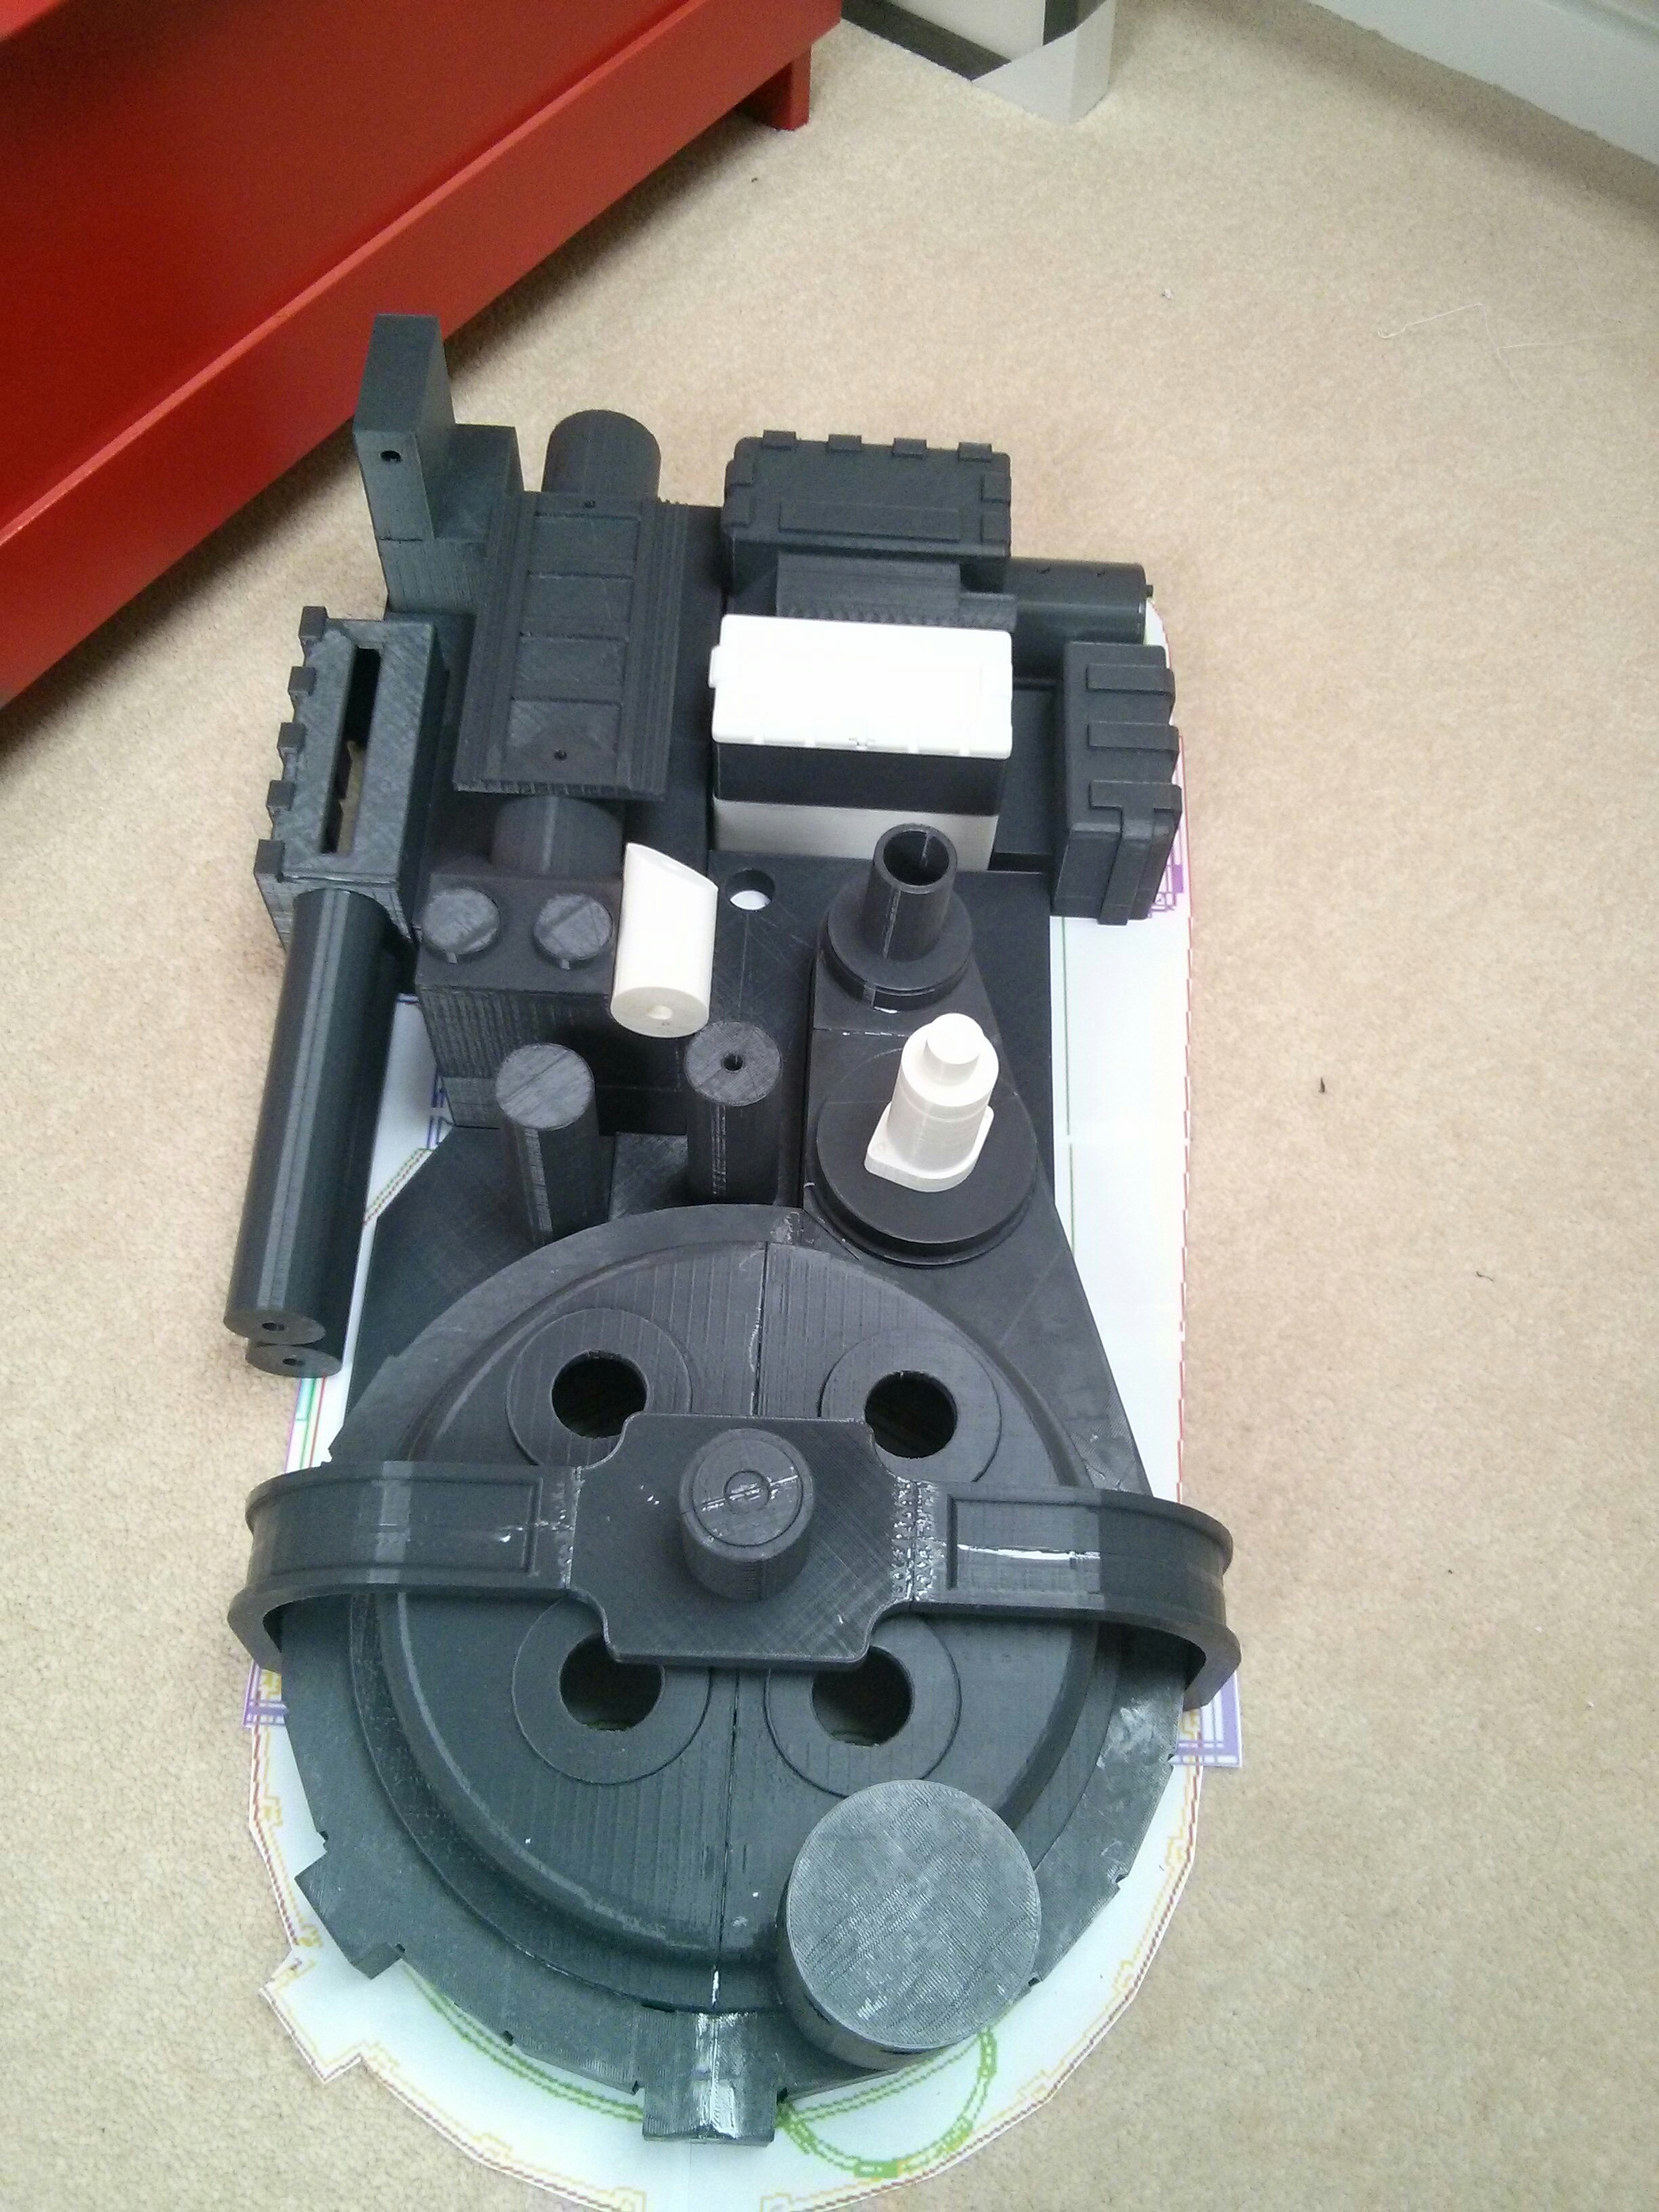
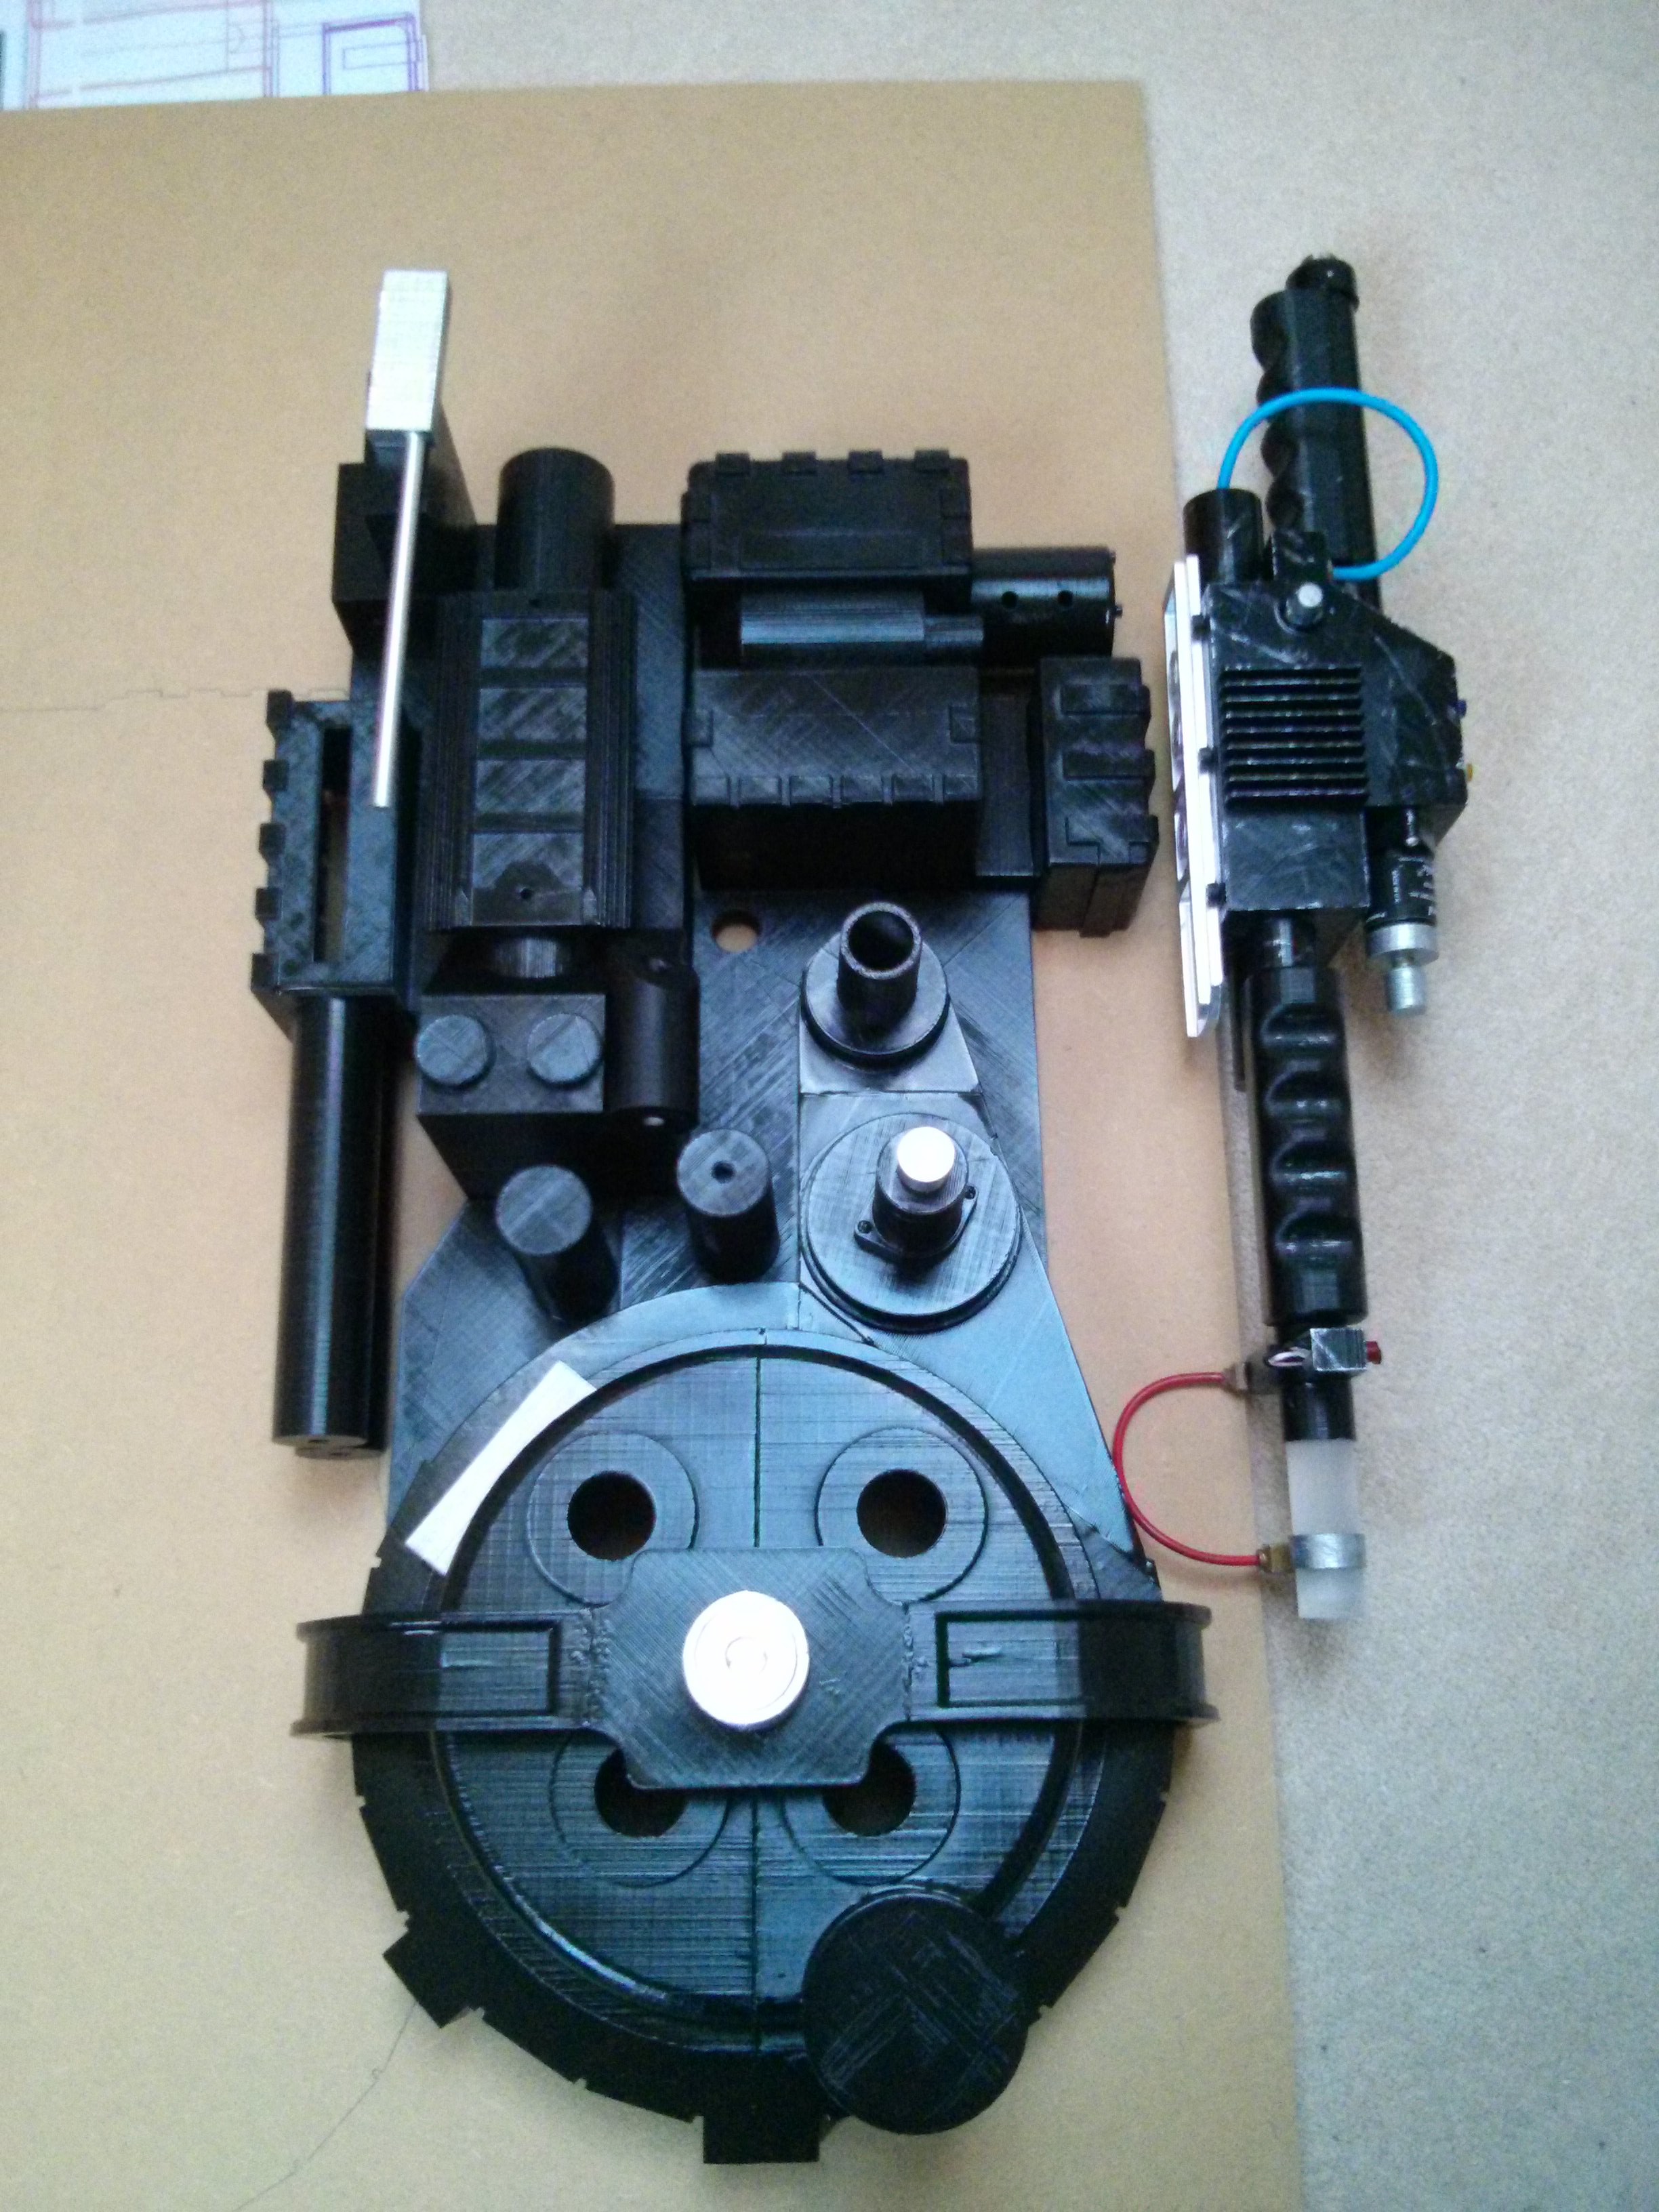
All seperate parts assembled - paper template behind is full size. Prop is 10% smaller.
Painted parts on wood which was used for back plate
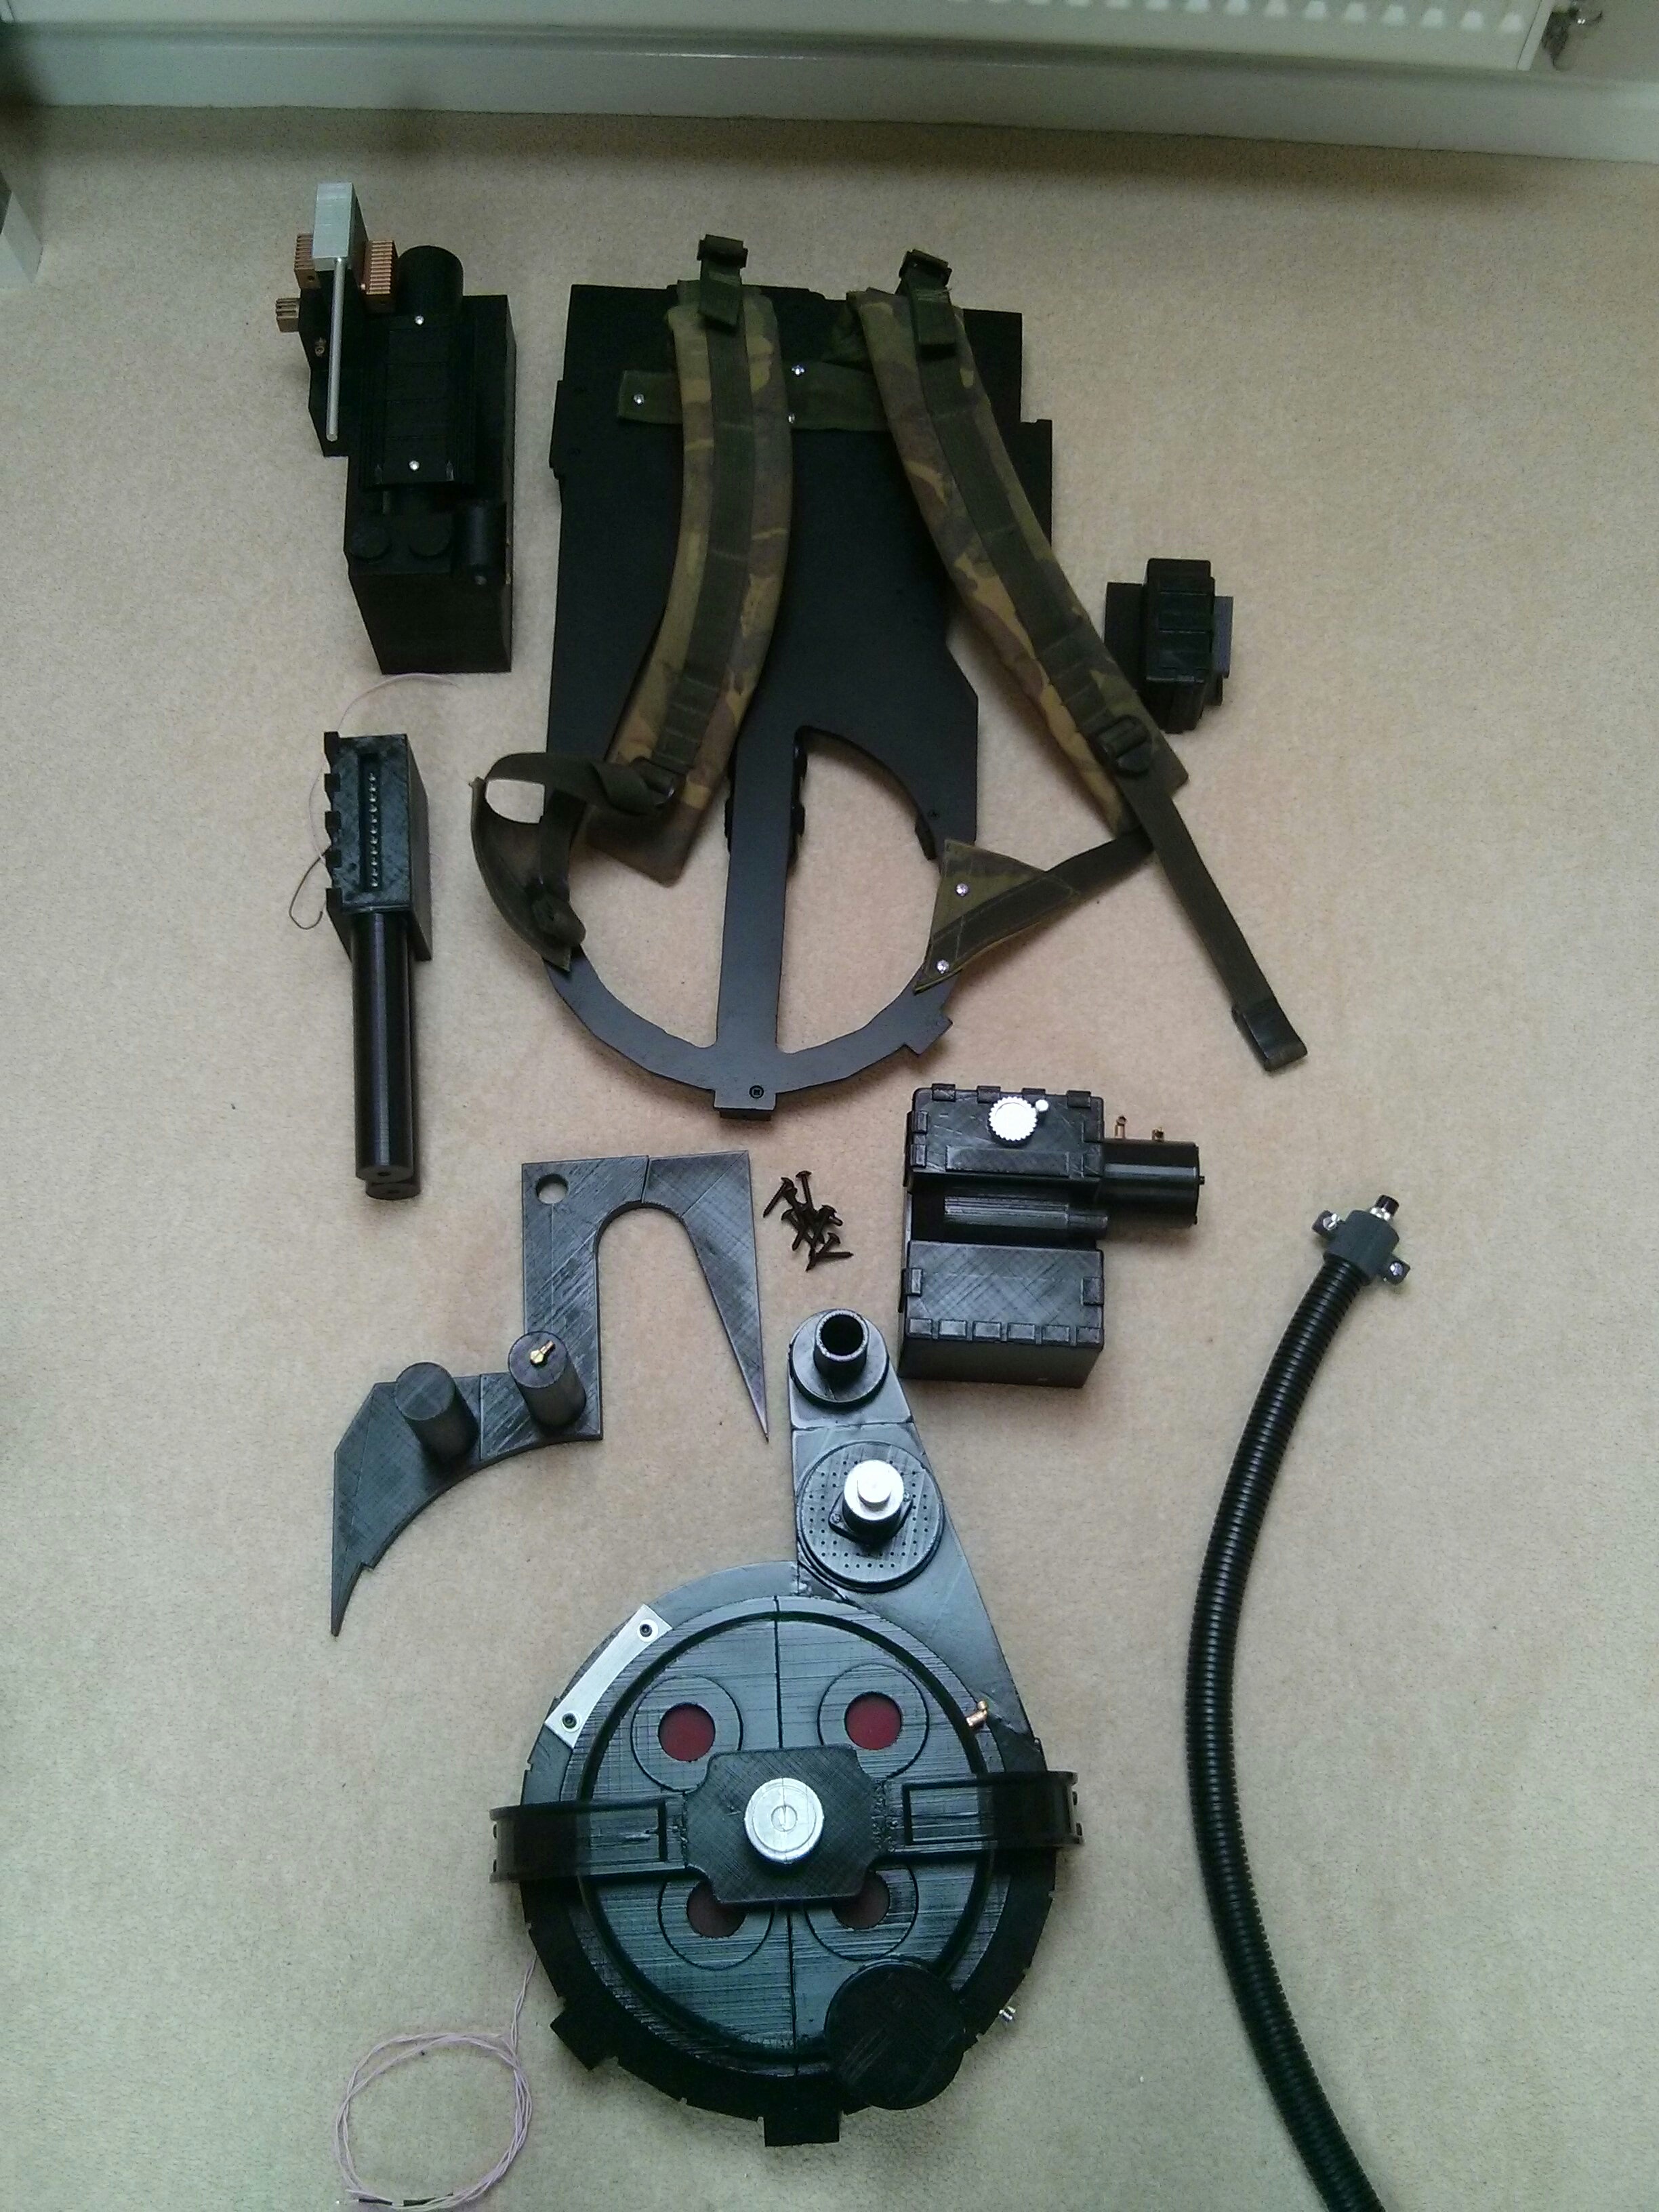
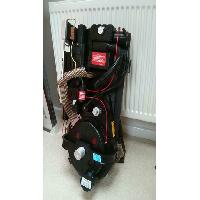
Parts ready to be fixed to pack plate
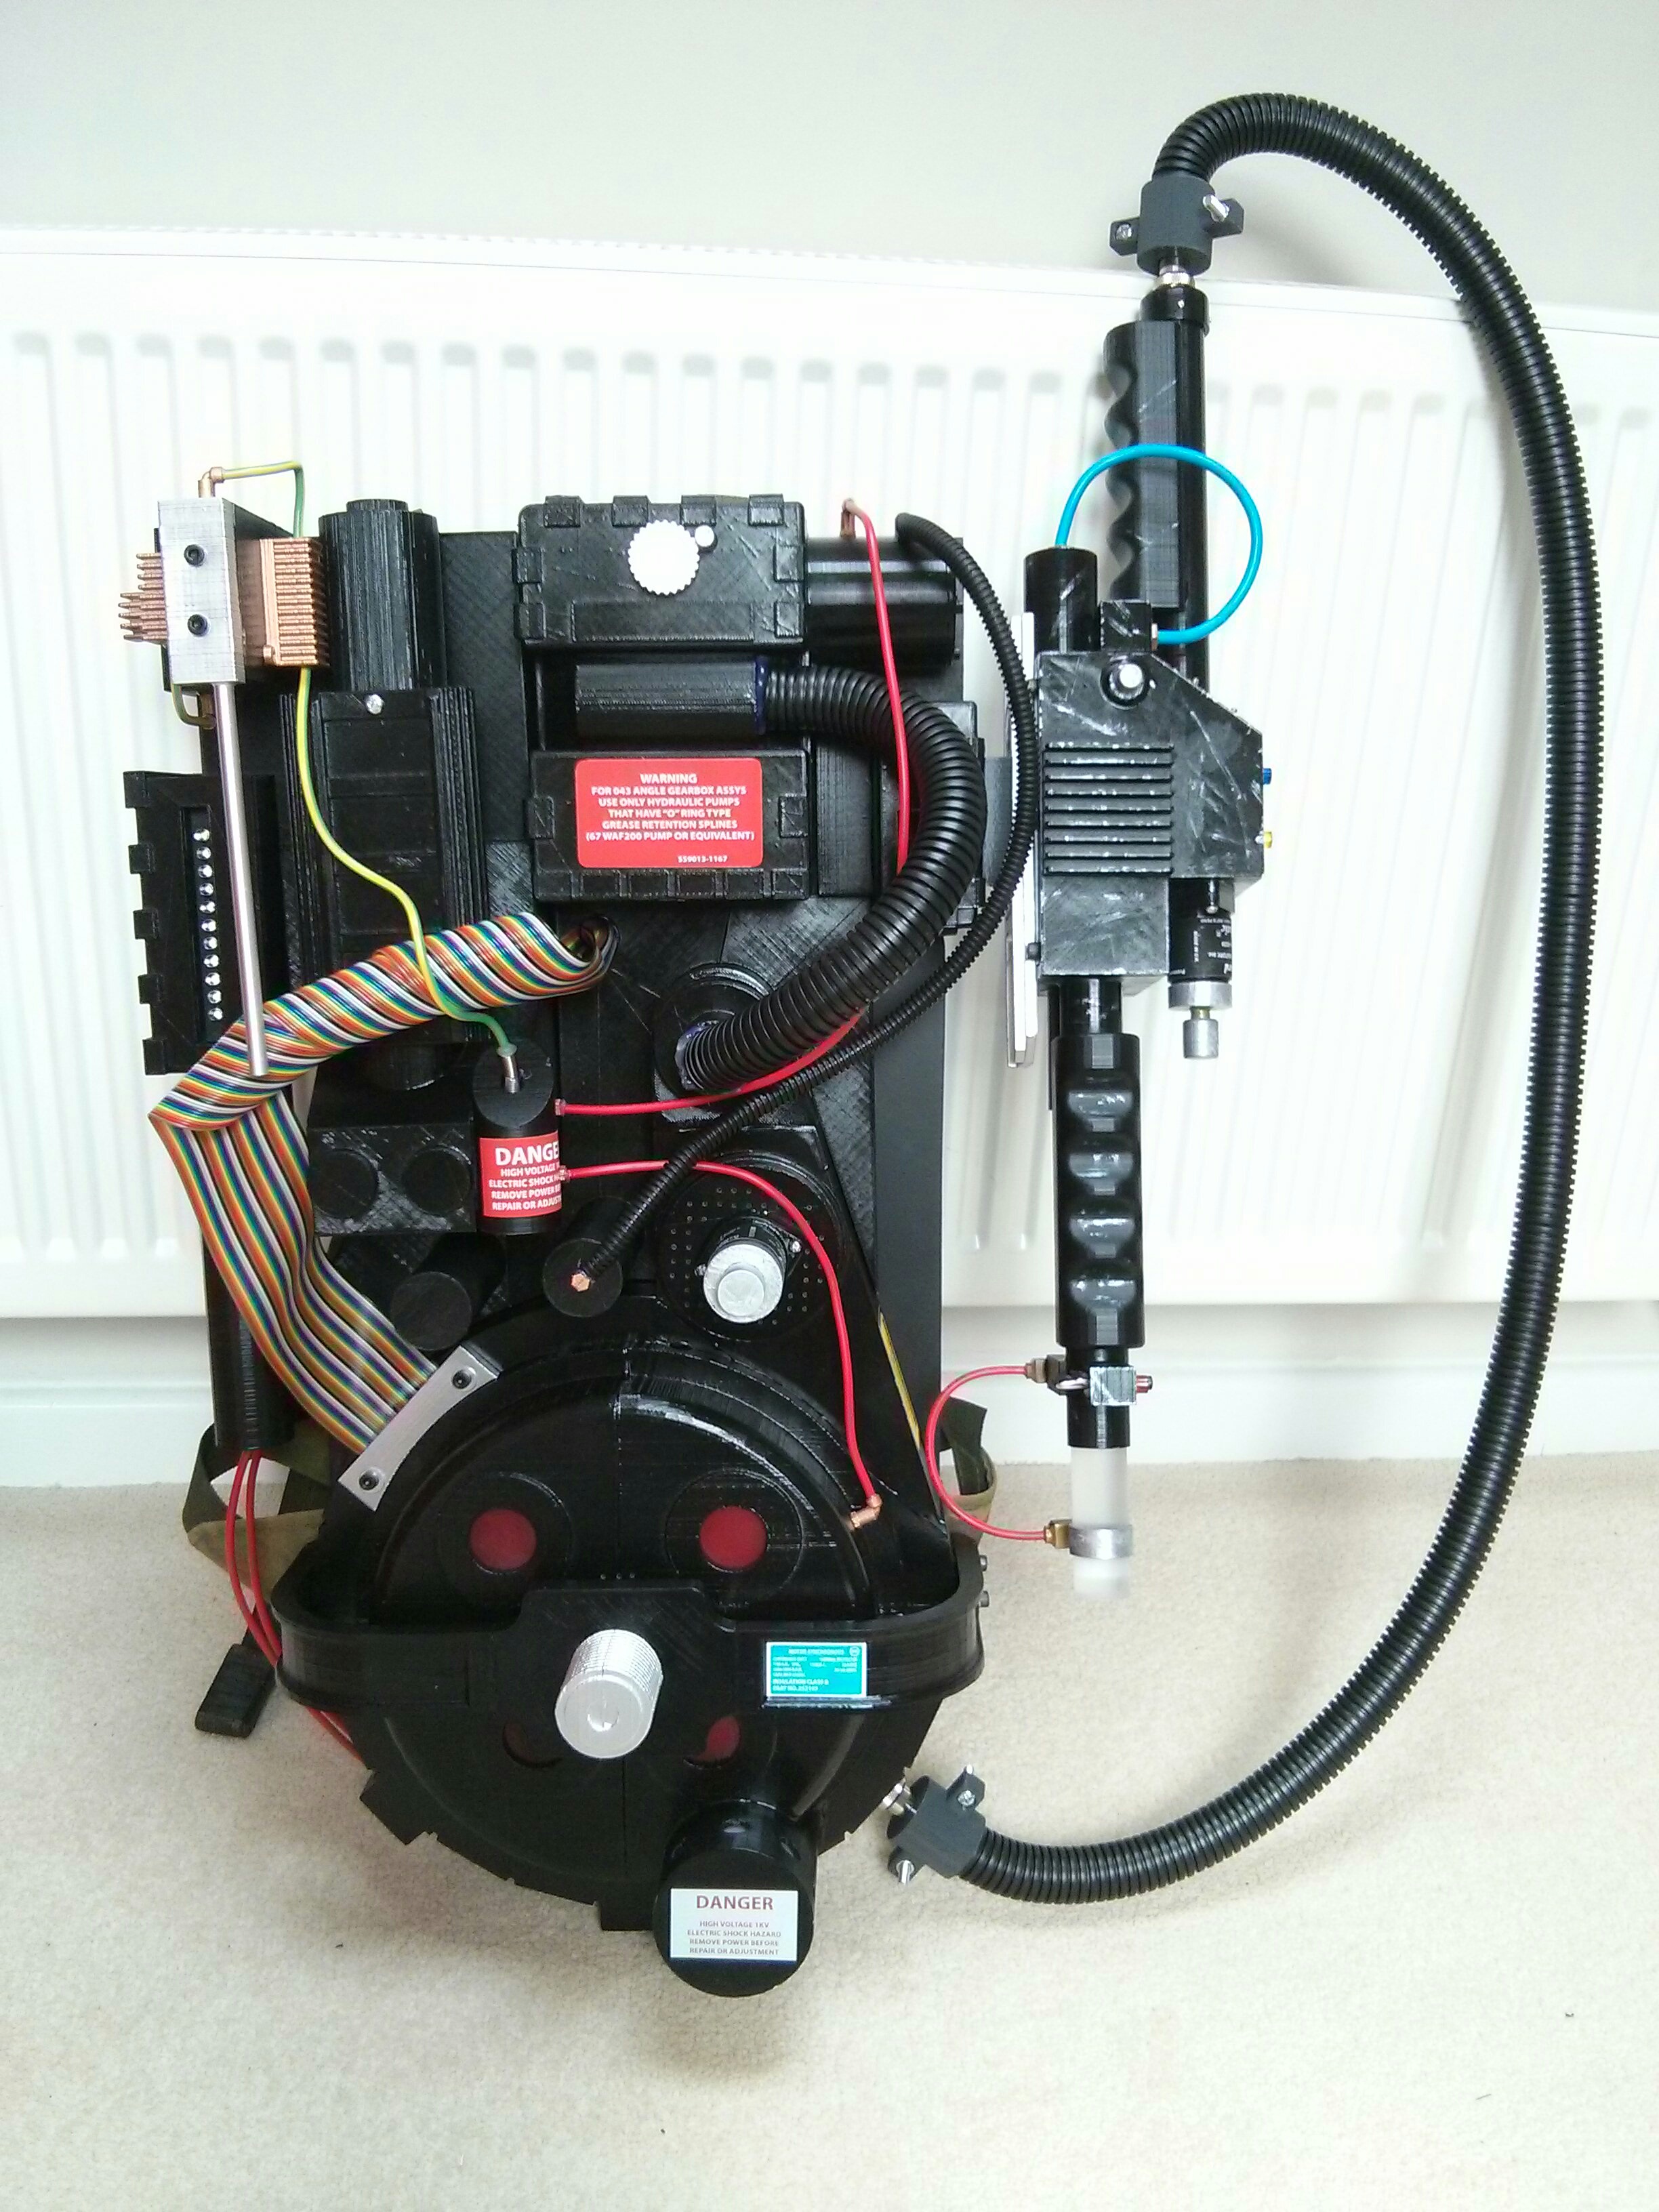
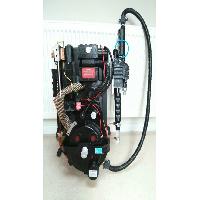
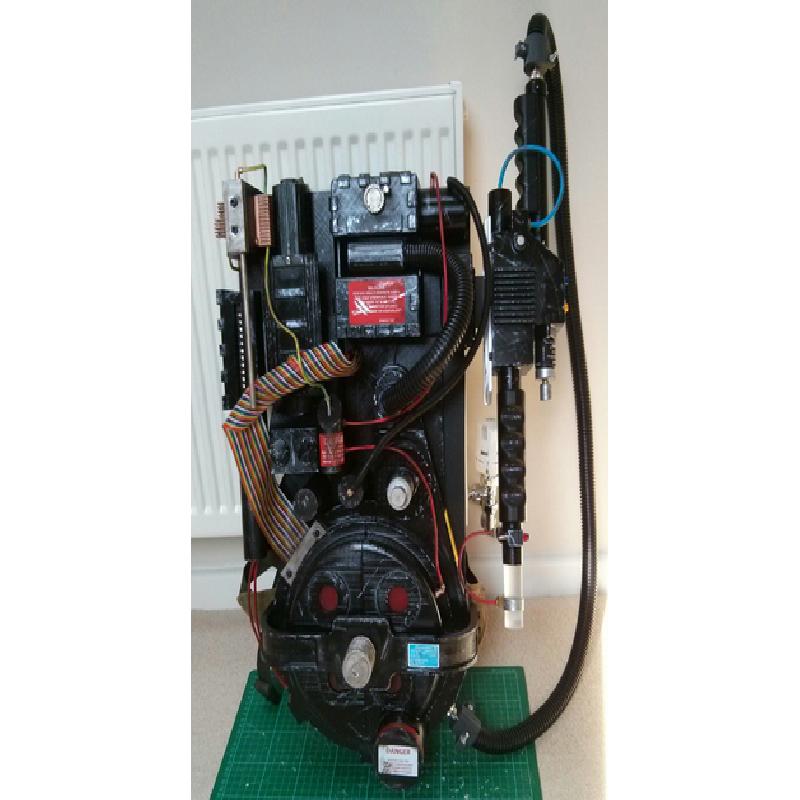
Finished pack, 'factory finish' paint job (without weathering)
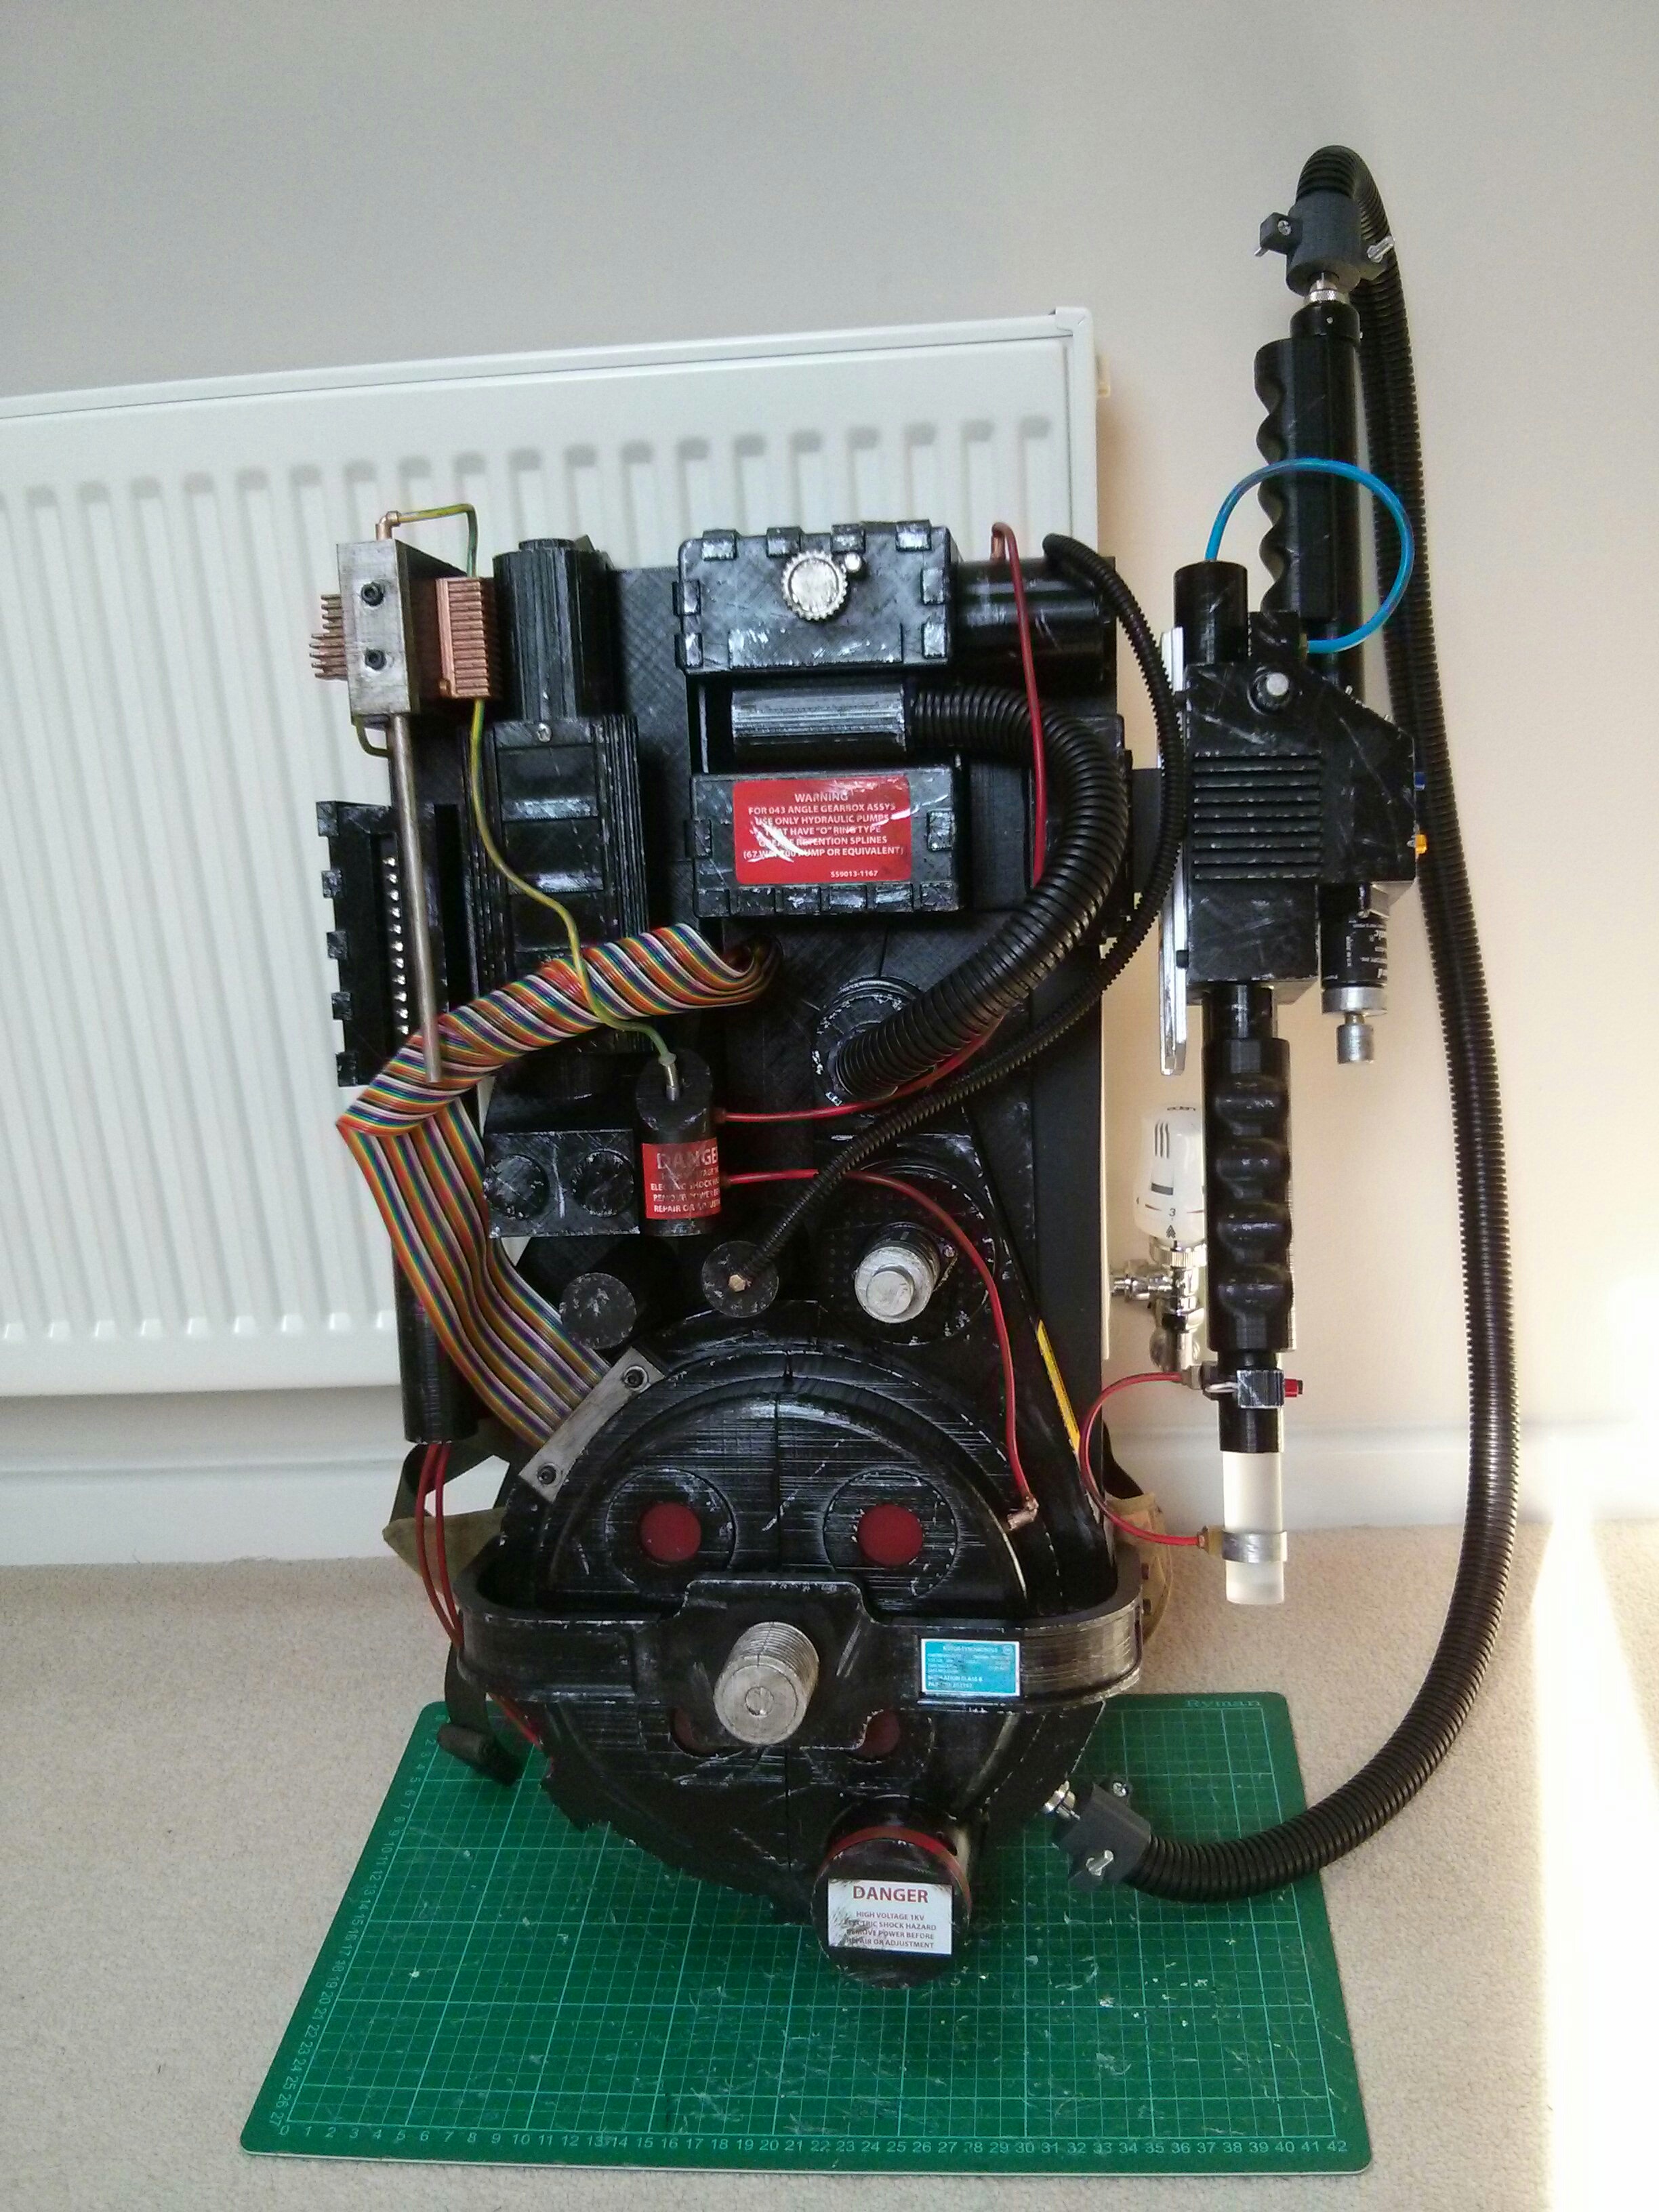
Final painted prop
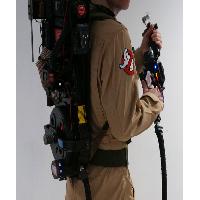
Standing with another Ghostbuster for a photo
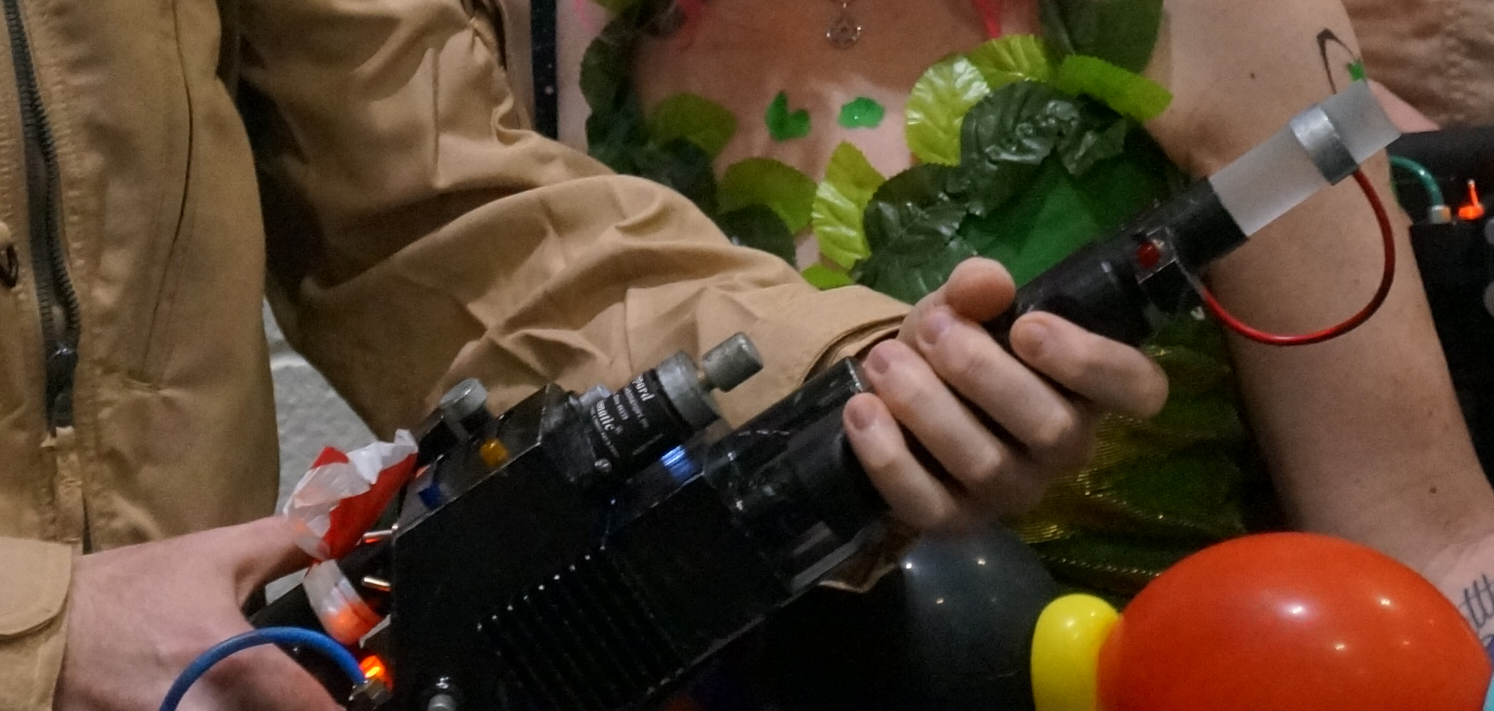
Posing with other people
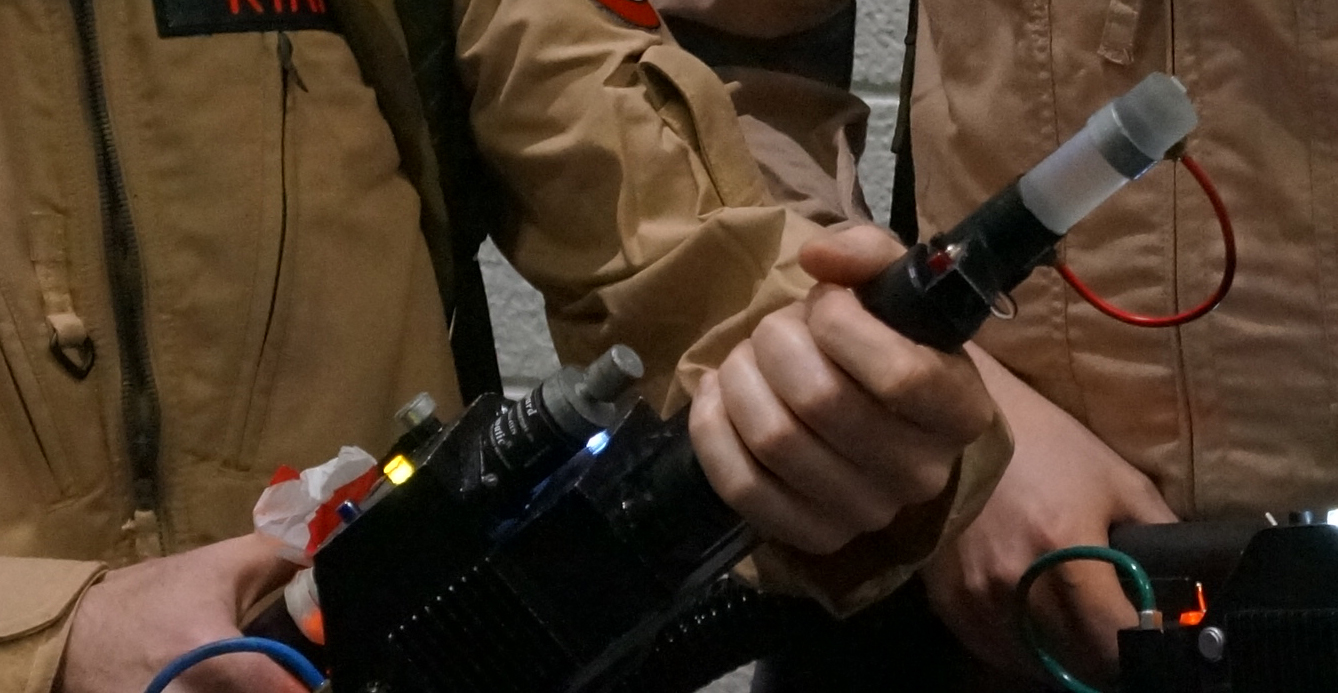
Back with another Ghostbuster
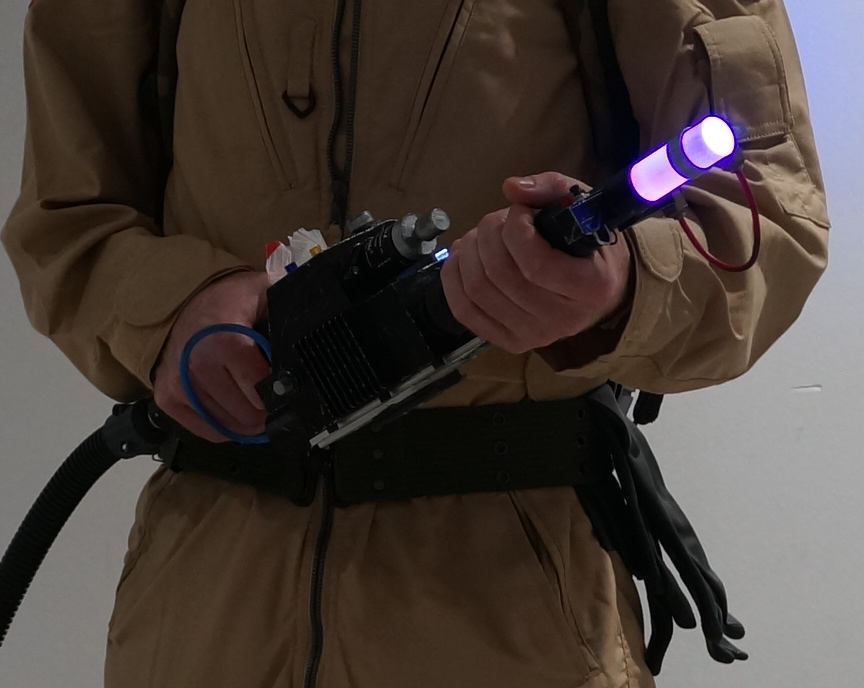
Neutron Wand lit up (it flashes)
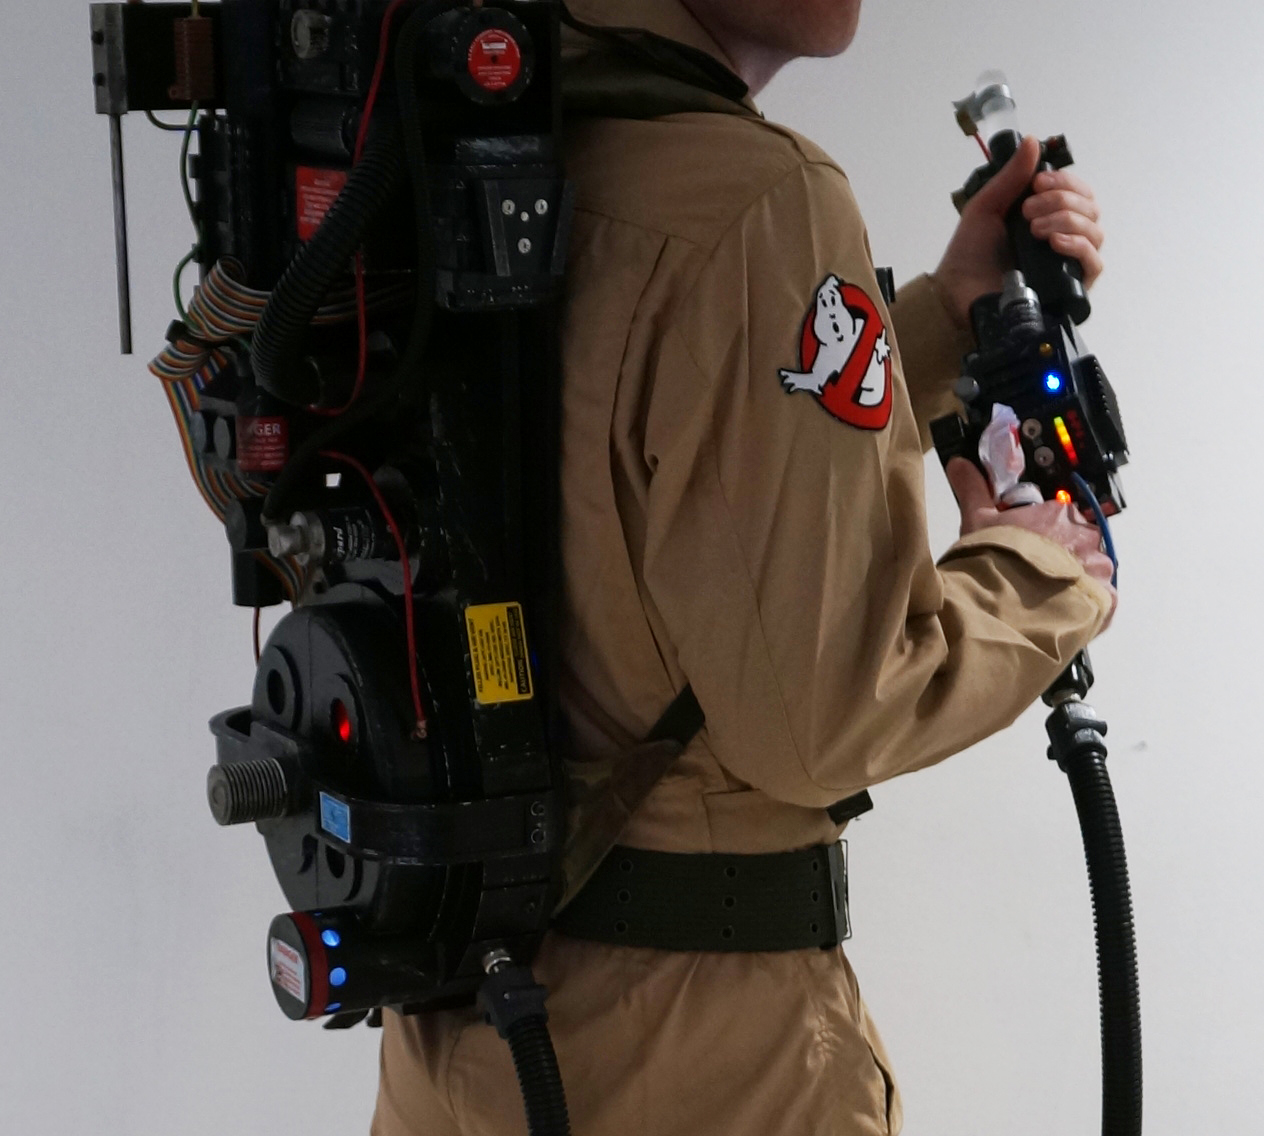
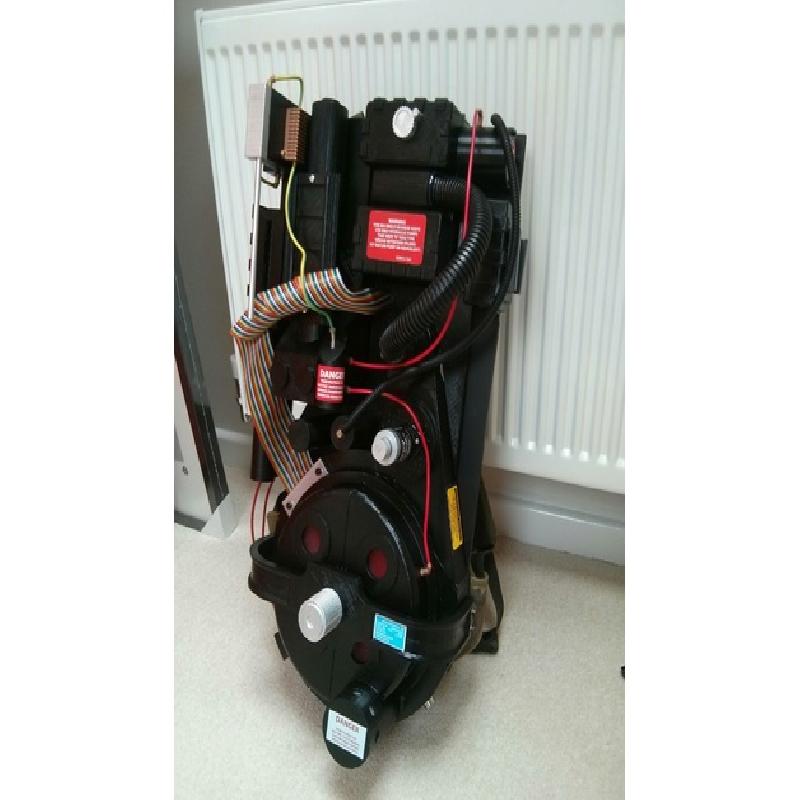
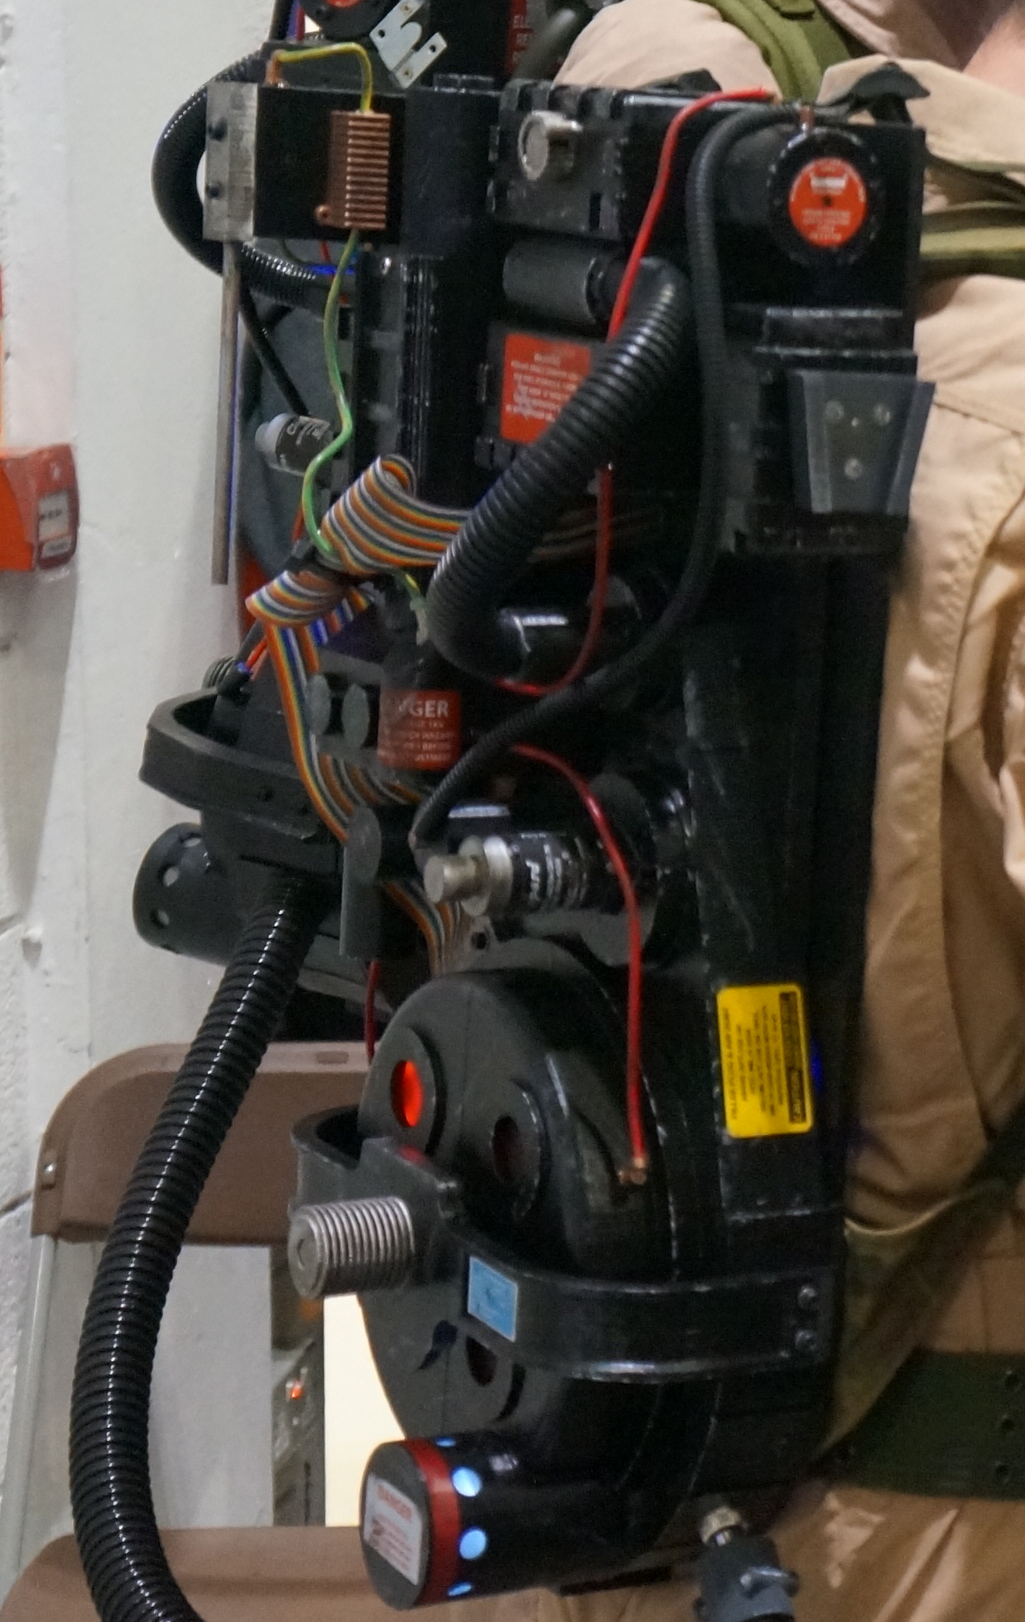
Shot from behind
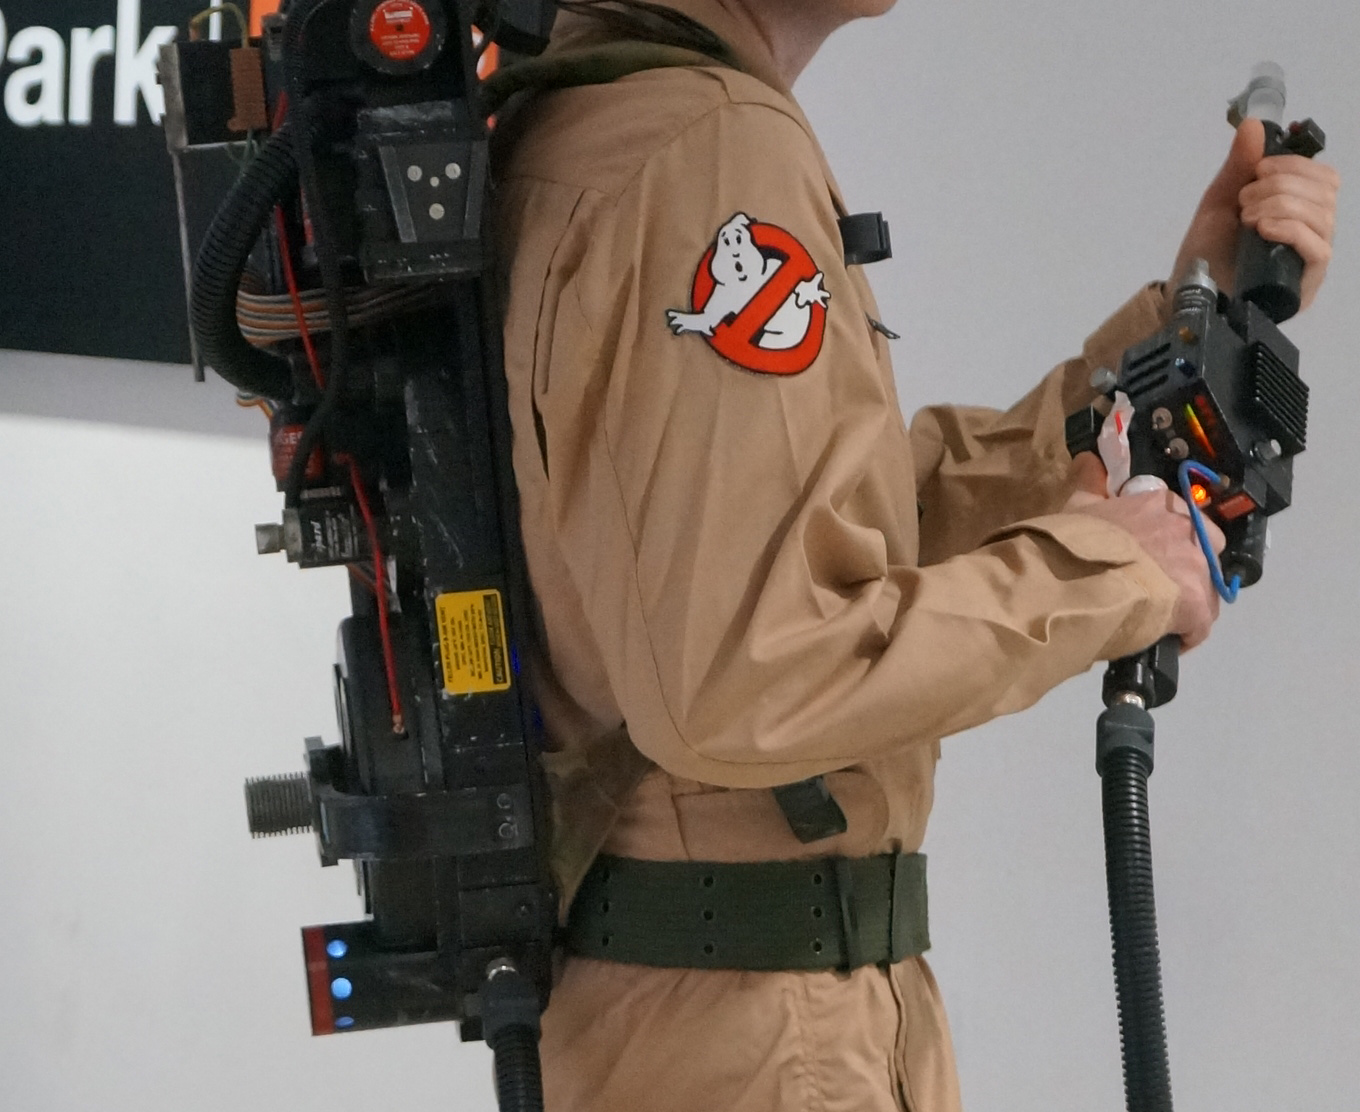
Side view - shows I slimlined the design to make it lighter and more con friendly
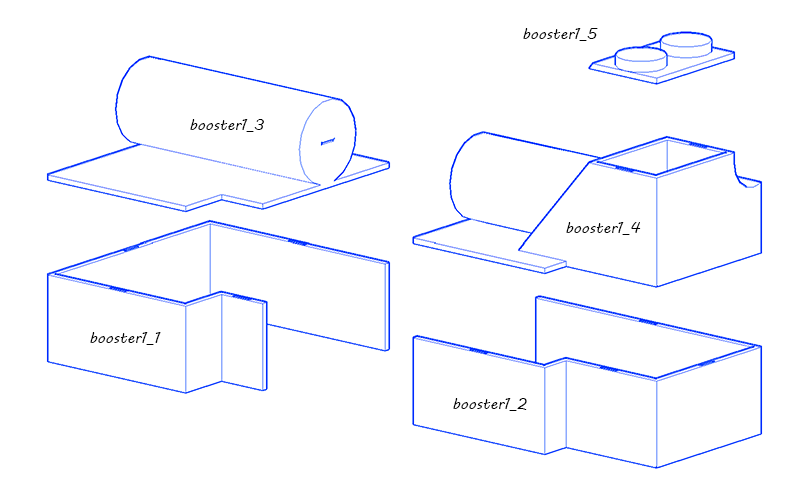
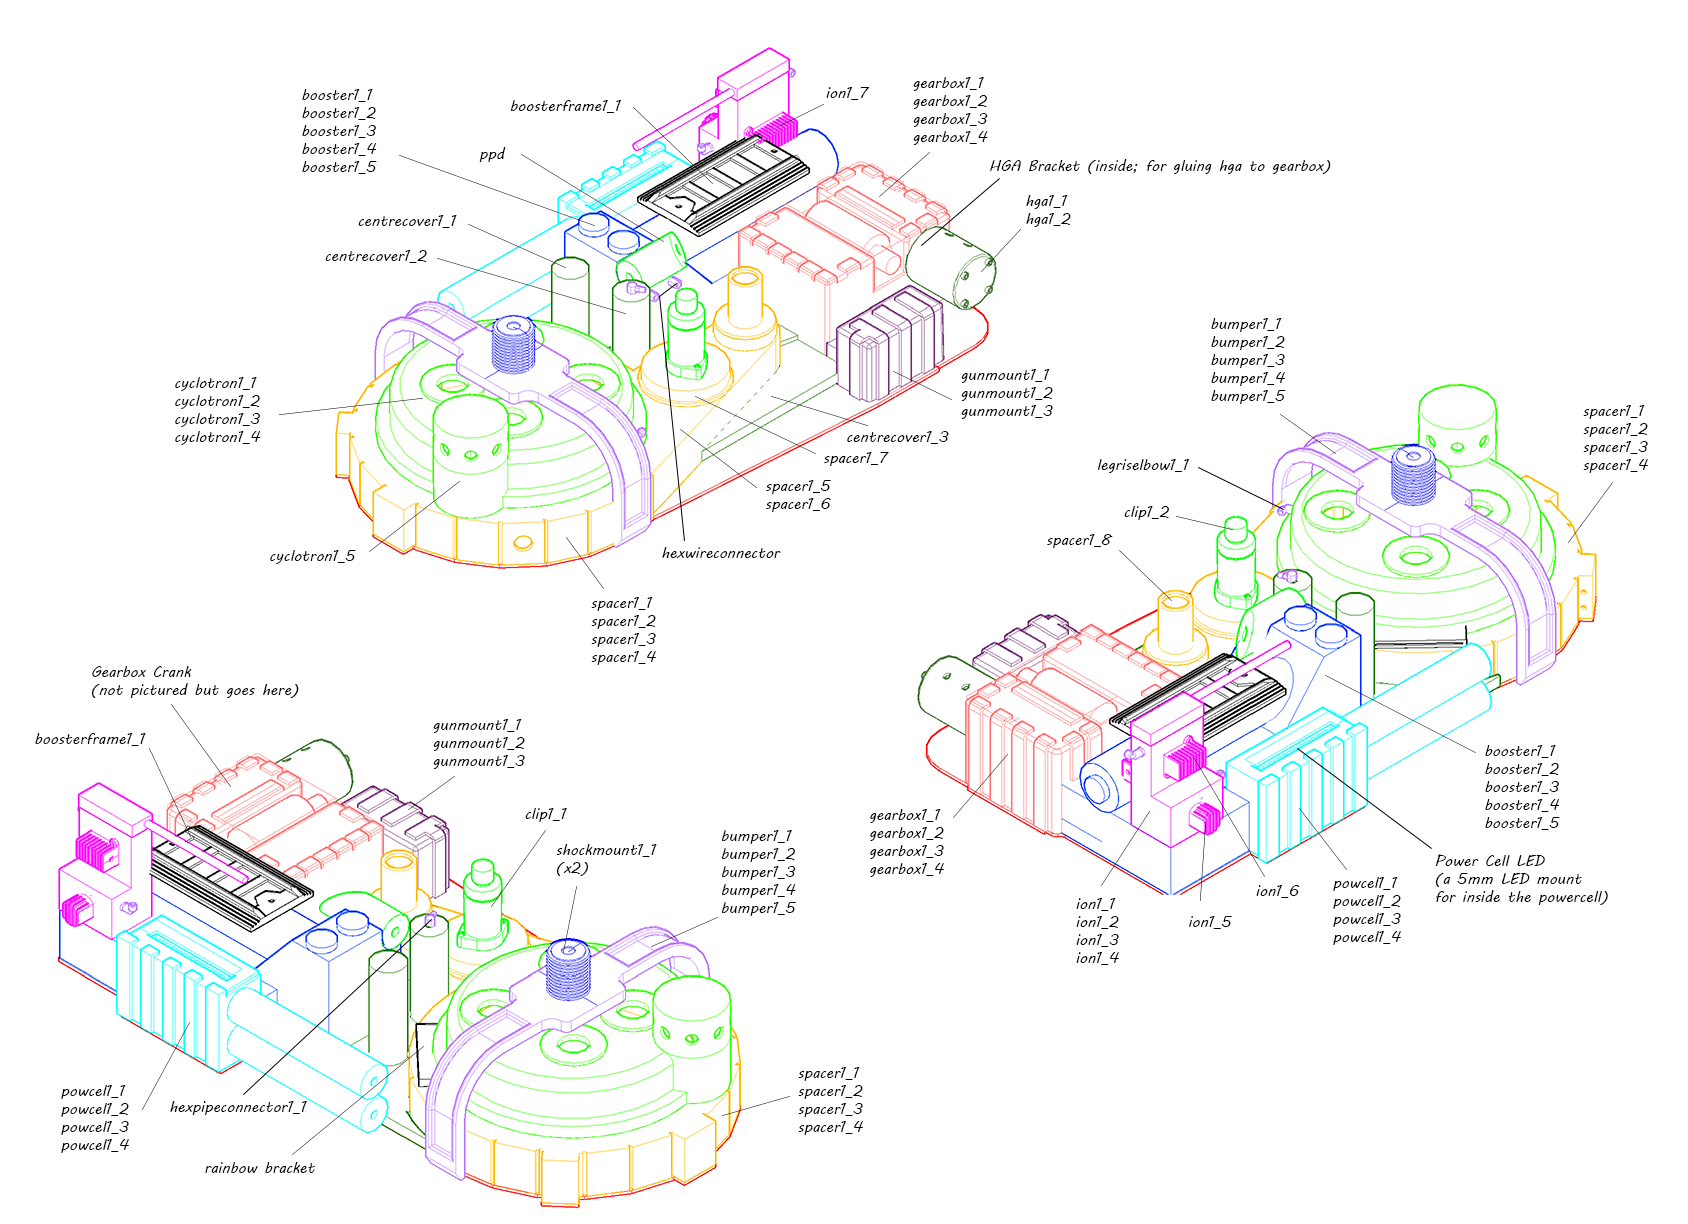
Booster parts. Boosterframe1_1 sits on top of this assembled part.
Screw or glue in place once assembled.
Fix directly to your pack plate.
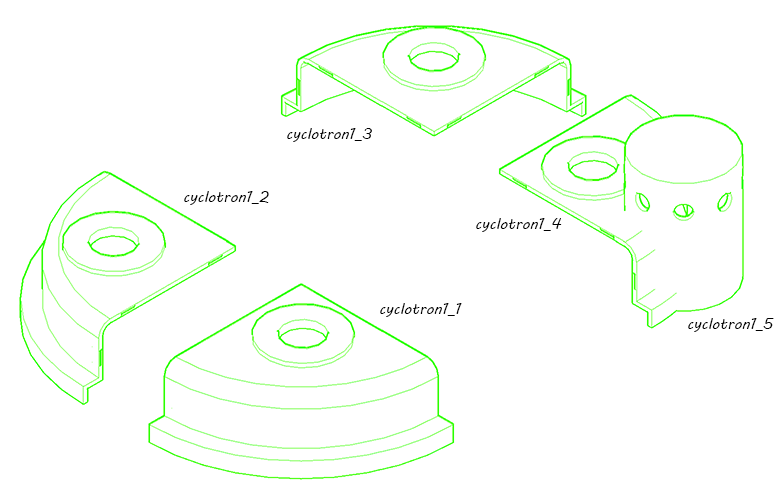
Parts 1 - 4 are the only part that should require proper support material, no flat surfaces to lay down on the bed.
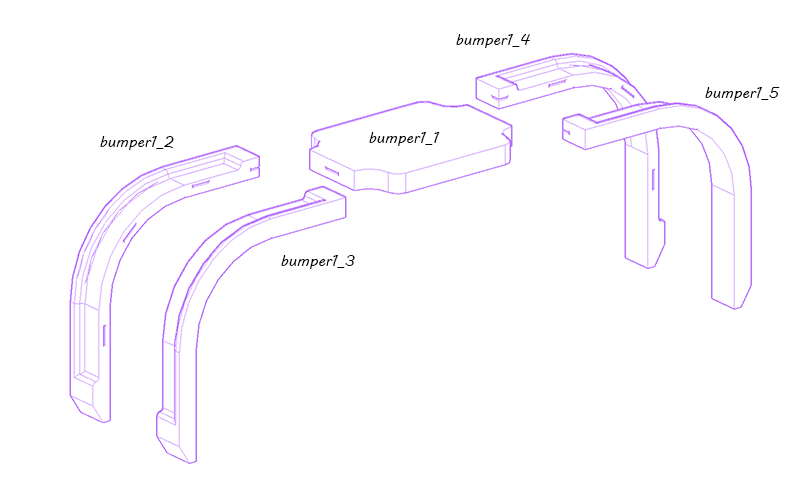
Small amount of support required for part 1_2
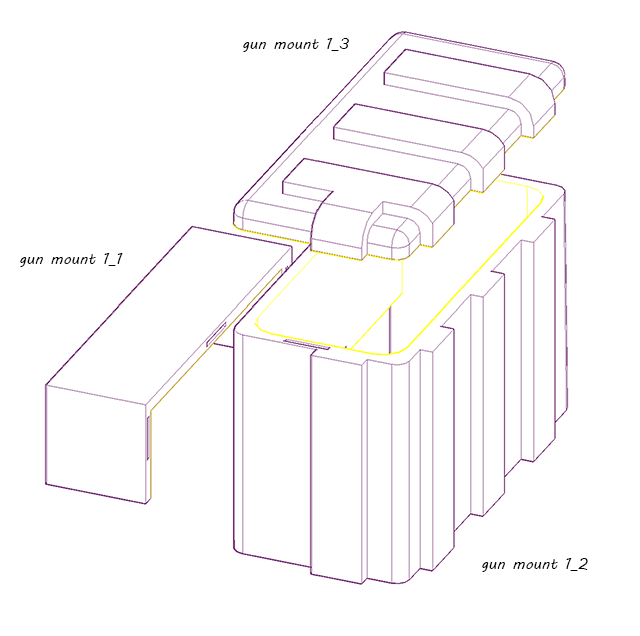
Whatever method you use to mount your thrower, can be affixed to this.
Also created a bracket to glue HGA onto adjacent part.
I swapped out ion1_4 for a more flexible Nylon rod.
These are split in 1/2 so can be printed flat on the bed.
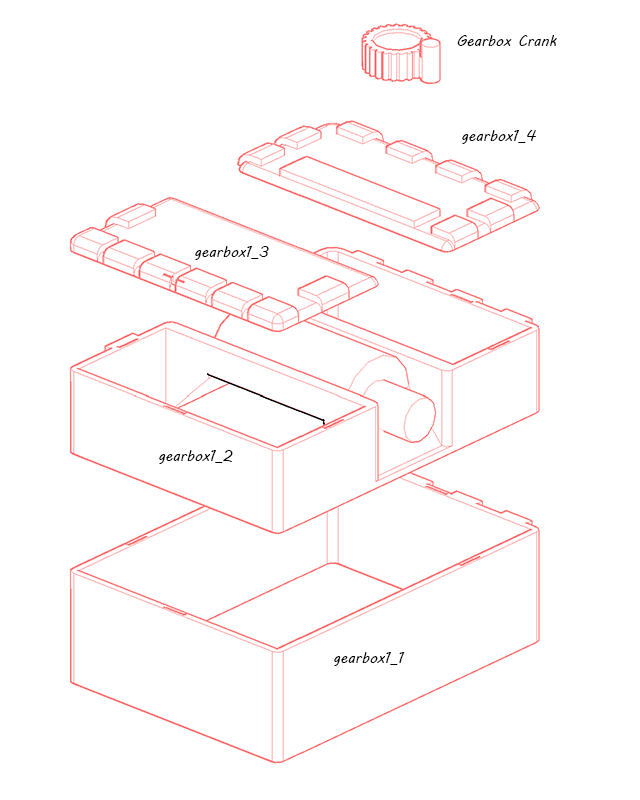
LED mount (not pictured) for this part fits inside the box and can hold our 5mm LEDs.
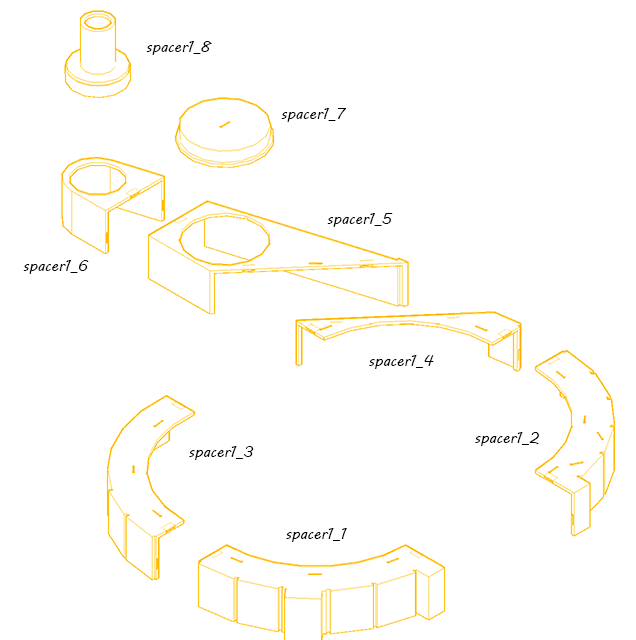
All parts have a flat surface, orient that on your print bed, no support required.
Full parts list.