PART OF FULL PROTON PACK BUILD - PACK COMING SOON
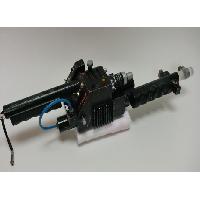
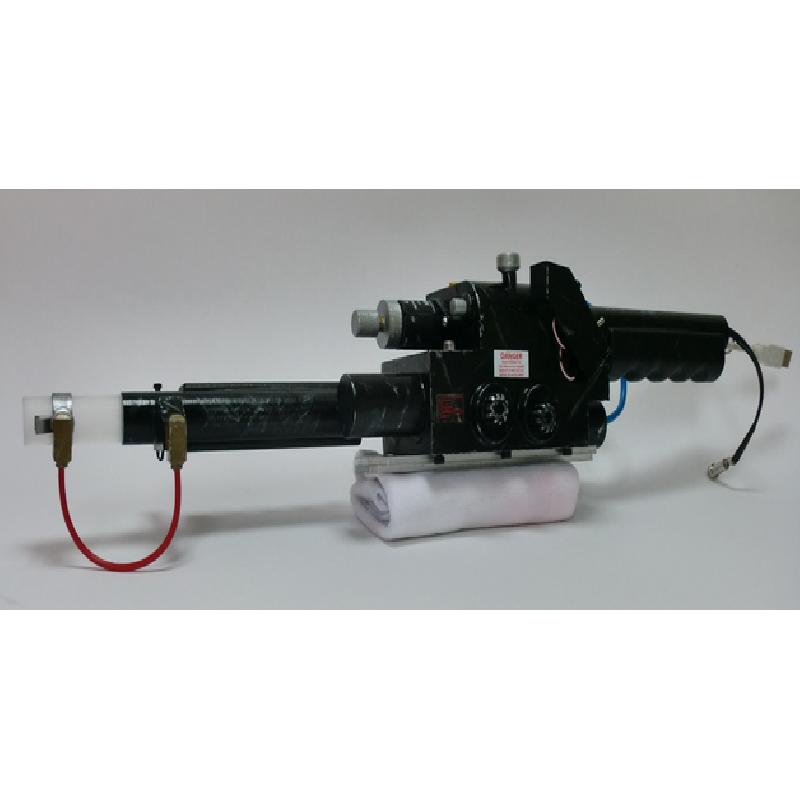
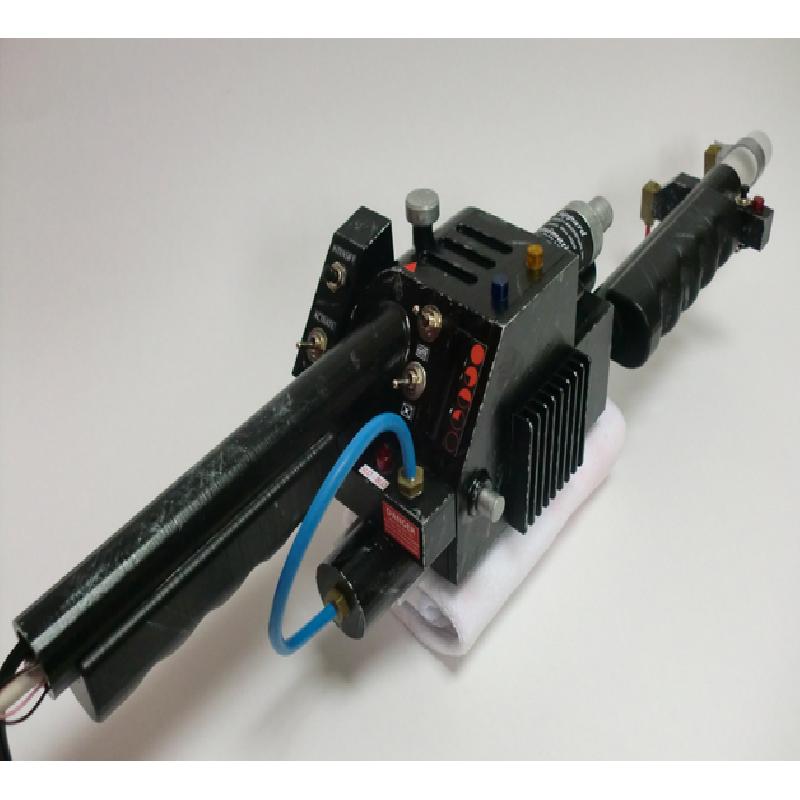
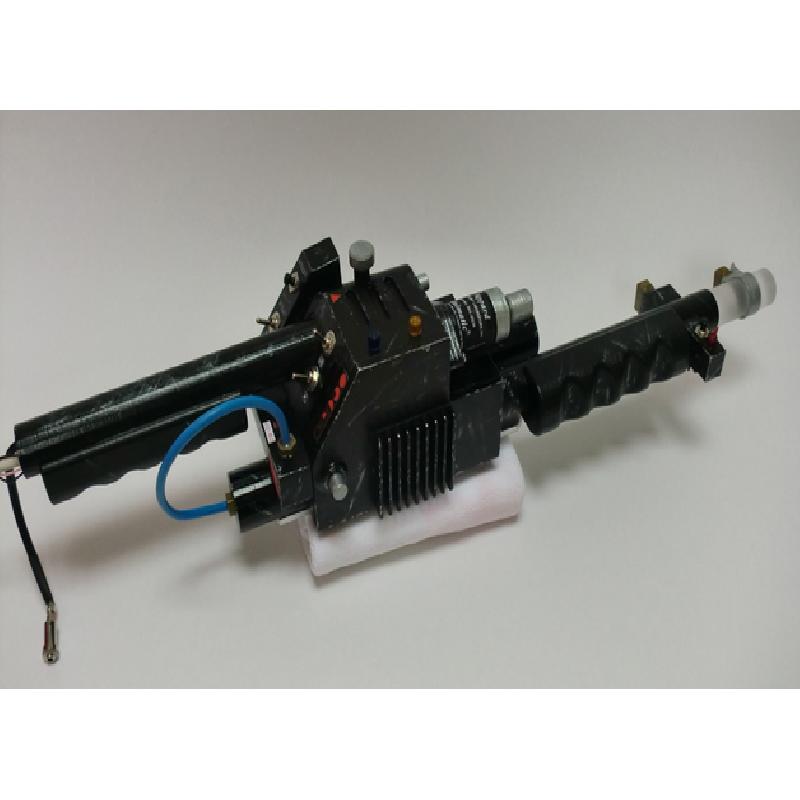
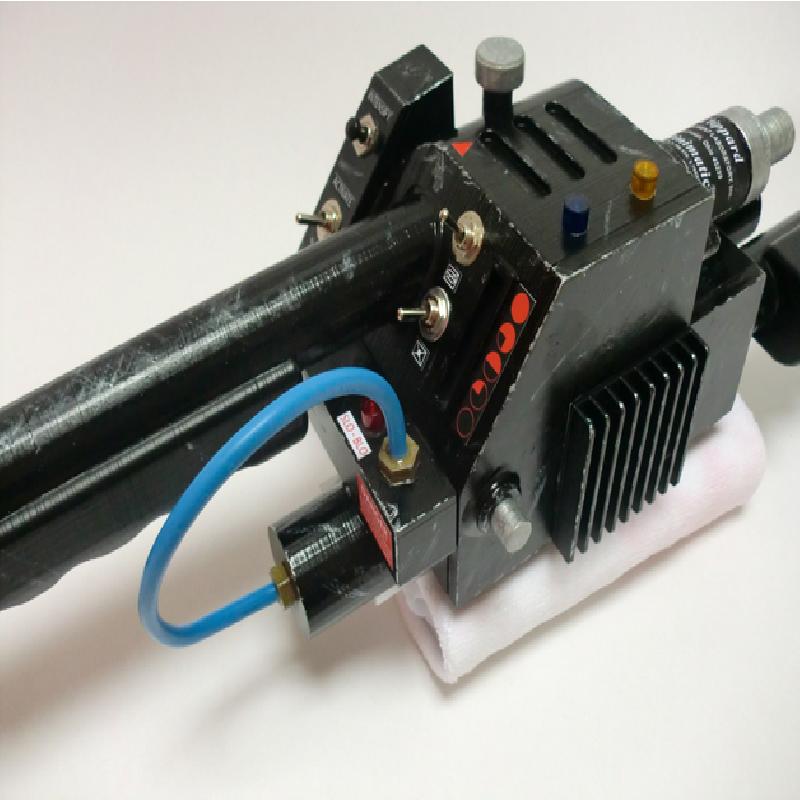
This is the Neutron Thrower from my 3D printed Ghostbusters Proton Pack build.
The prop was made using various measurements from the gbfans.com wiki. Changes were made to have it 3D print easily, and space was made inside for all the electronics.
Inside is an arduino, which powers the lights. There is a sound board for the SFX, which is toggled be a small set of relays.
The output of the sound in the video below is connected to speakers. In the finished prop all of the wiring went down the hose and connected to power and speakers in the Proton Pack itself.
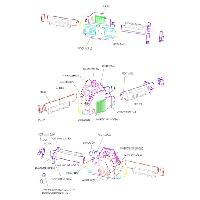
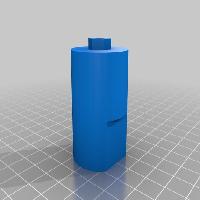
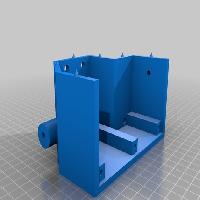
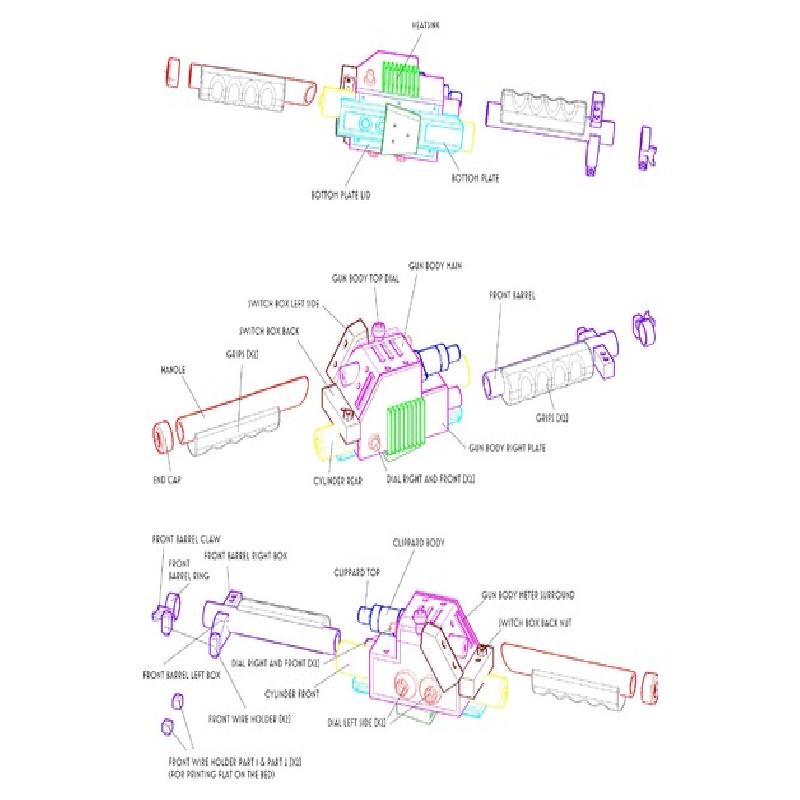
With this item I have included a parts list which should help you out, it's honestly not that hard to assemble. Pretty much all of the parts should print flat on the bed and only the Gun Body Main part will need support material. Everything else can be orientated to be printed without.
The prop is designed with holes for lenses, LEDs, switches and wires to be attached. All the holes are of a standard size which I'll list in the post printing section.
Footage of lights and sound in the thrower
Assembling the prints
Once you've printed all parts remove and support material and get yourself a good 2 part epoxy. That's all I used and mostly it'll be gluing flat surfaces together.
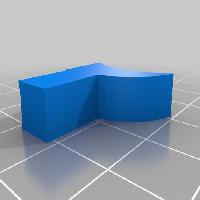
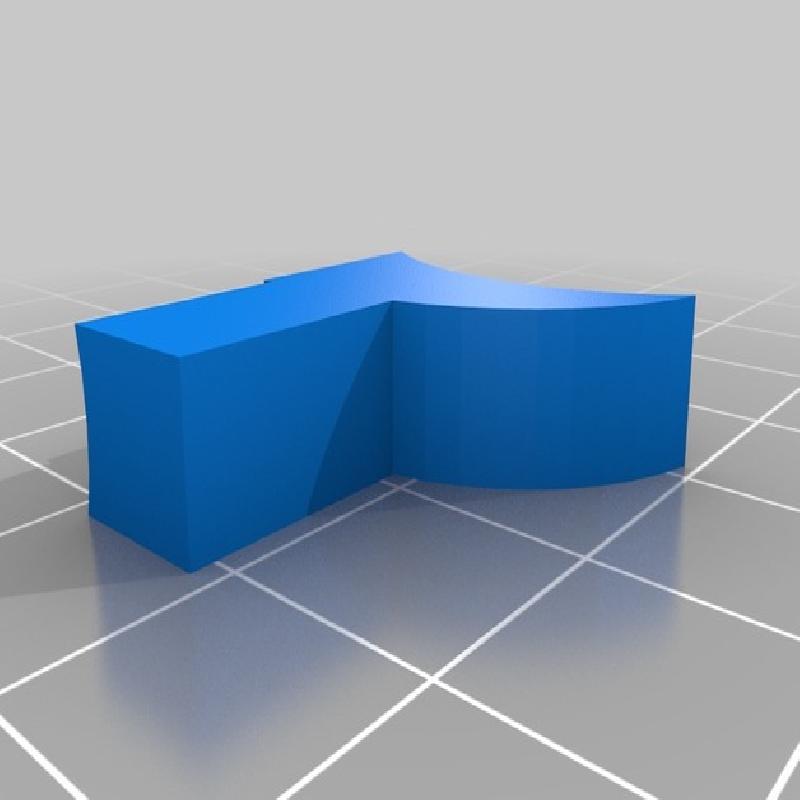
First glue the Gun Body Main to the Gun Body Right Plate, there are convex and concave 'keys' so you can fix it better.
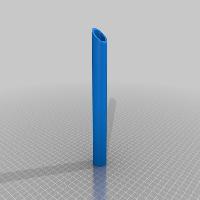
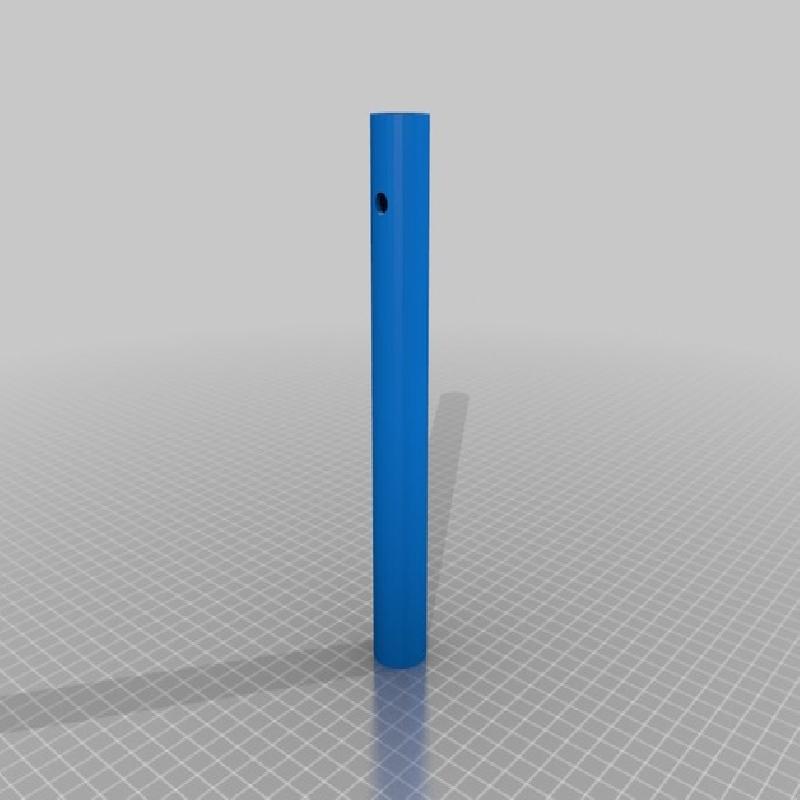
The glue on the front barrel and rear handle. It's obvious which is which.
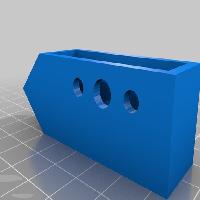
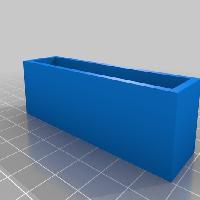
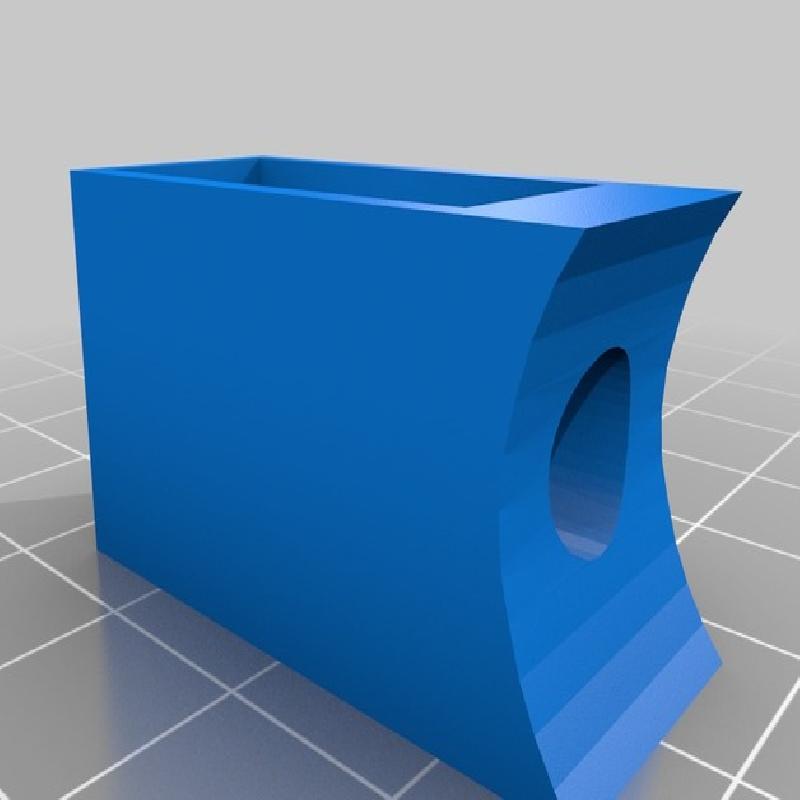
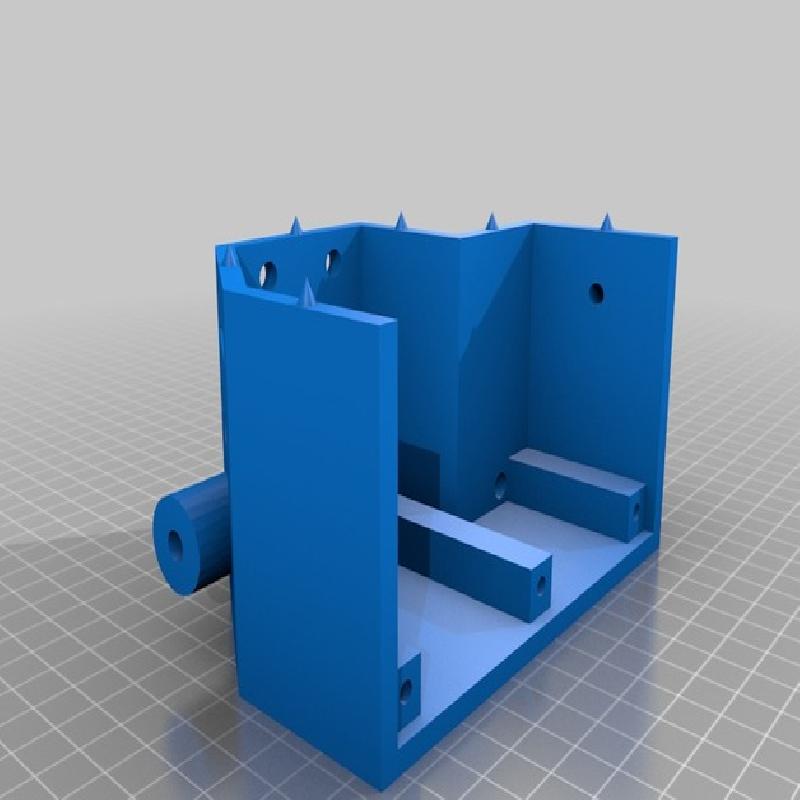
Next glue on the Switch Box Left Side, there are holes in the box and housing which should be aligned when gluing, these are for wires for your switches and lights. Then glue on the Switch Box Back, this should align with the flat edge of the Gun Body Main.
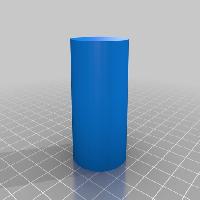
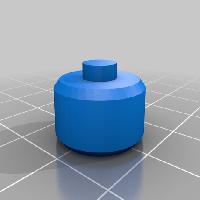
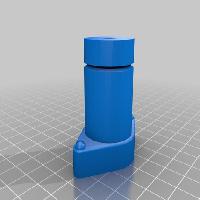
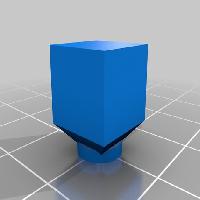
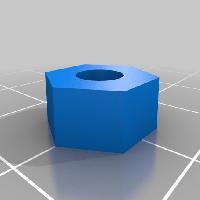
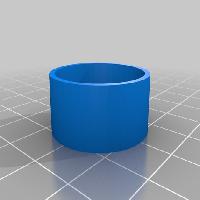
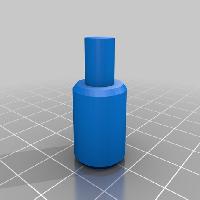
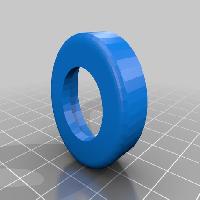
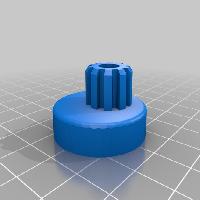
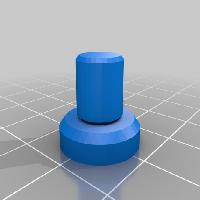
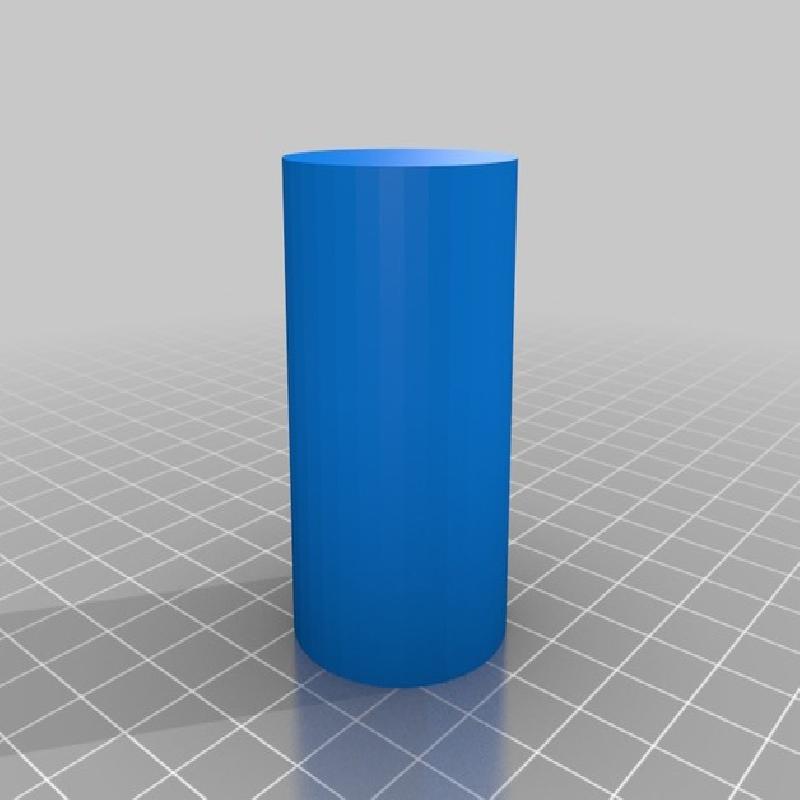
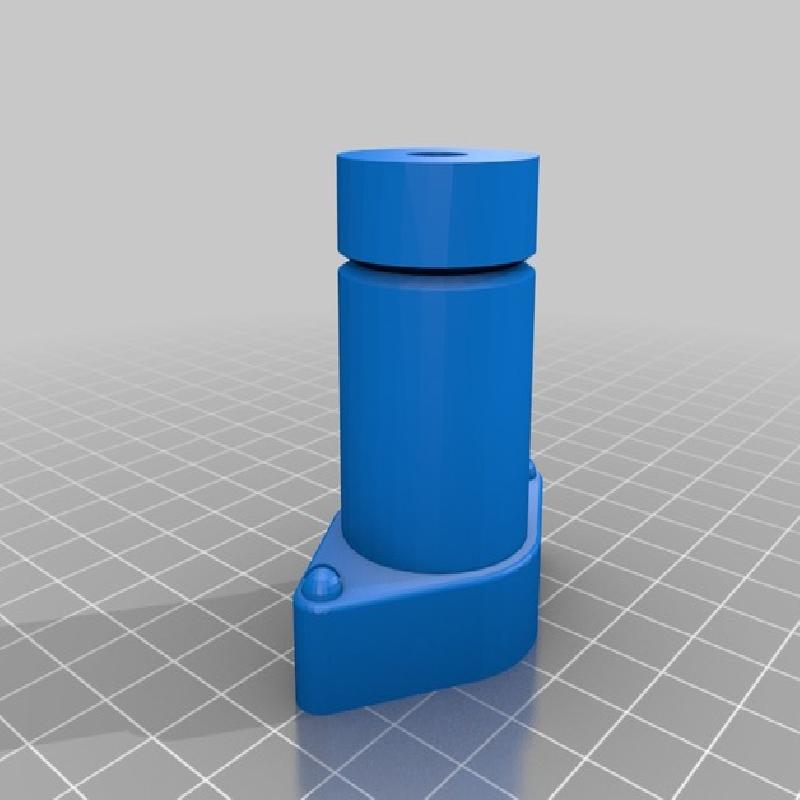
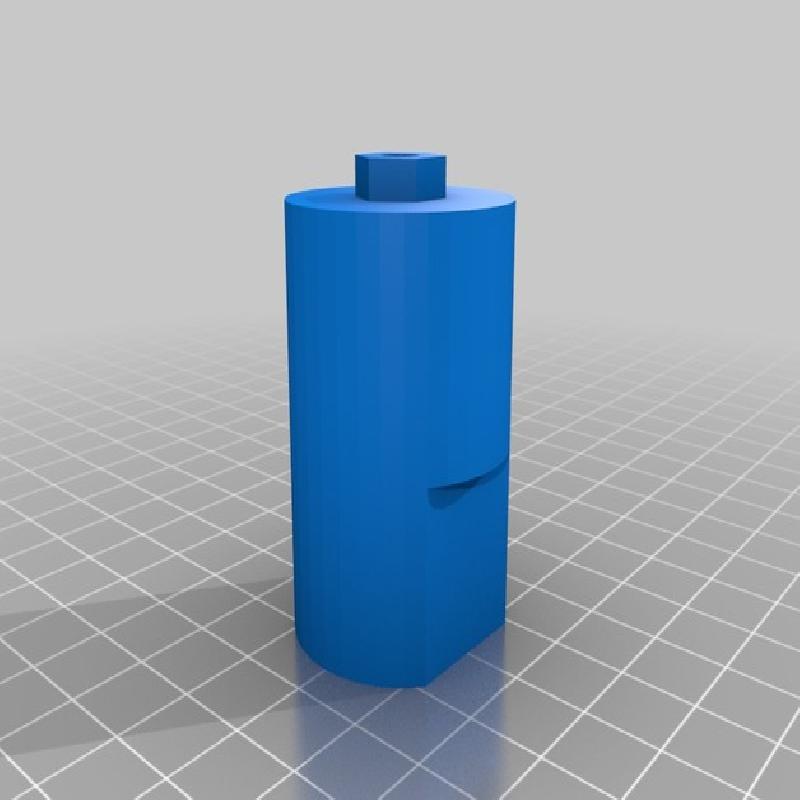
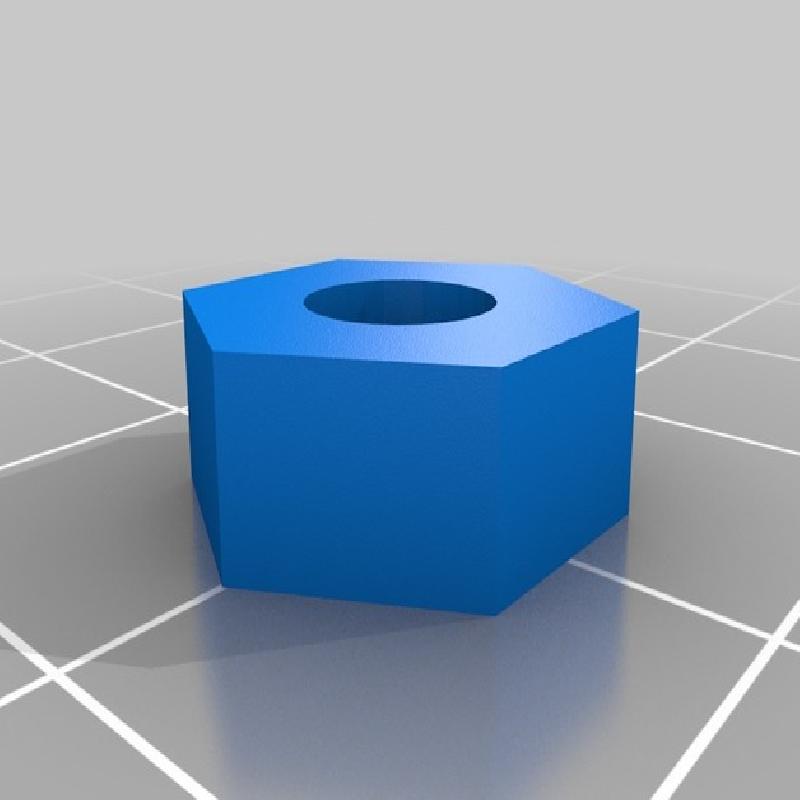
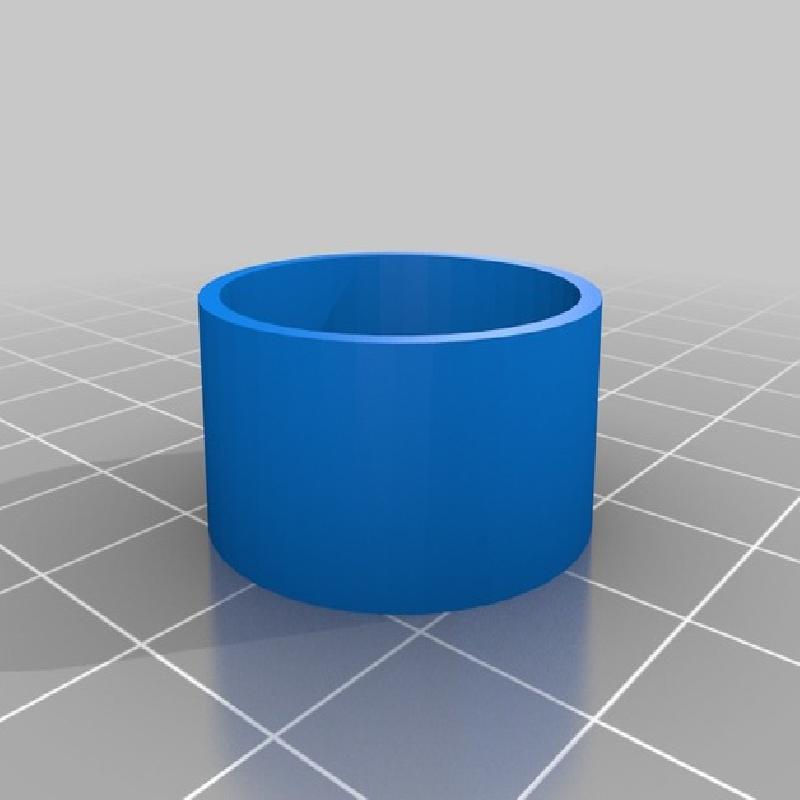
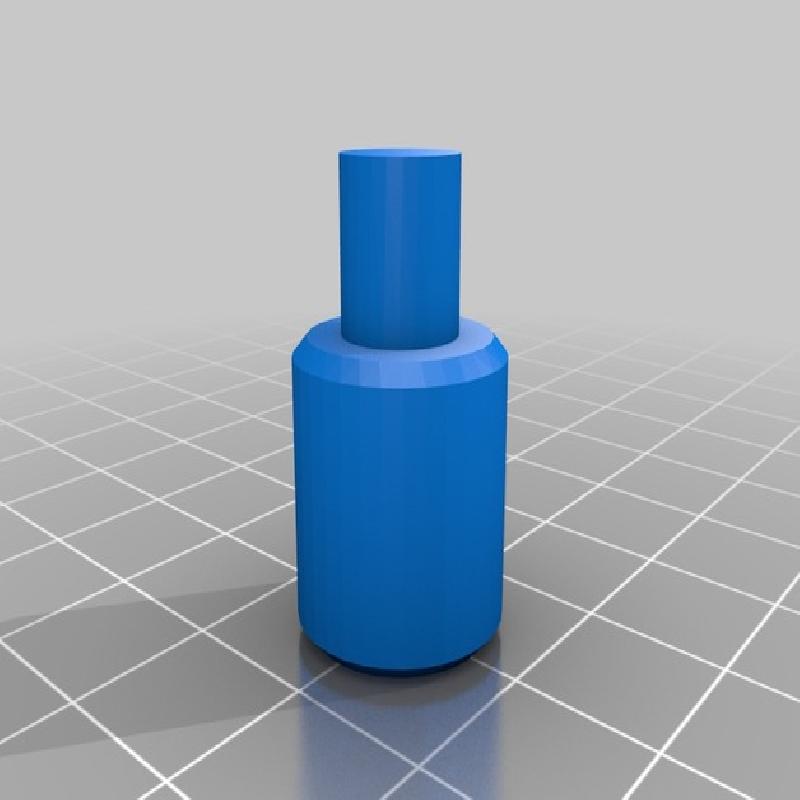
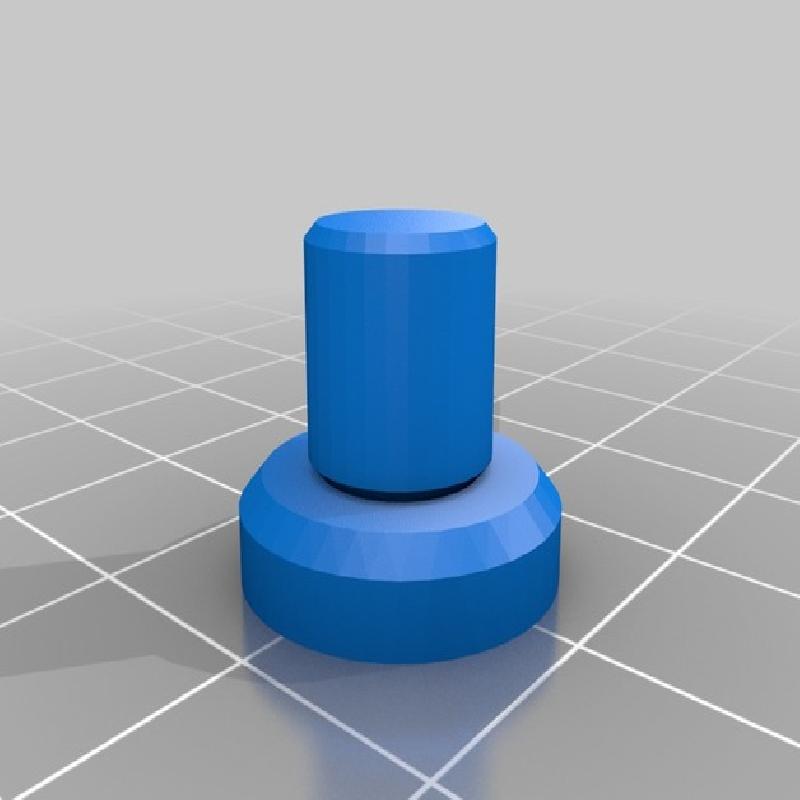
Then glue the two cylinders, the rear one should butt up to the Switch Box Back and has a hex nut designed into it. The front one goes next to the barrel.
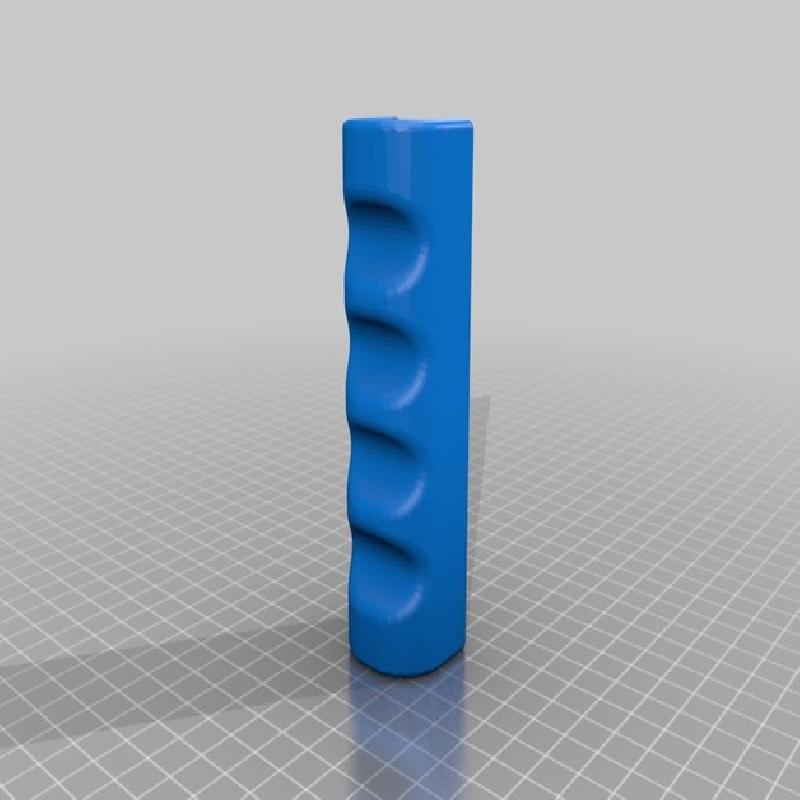
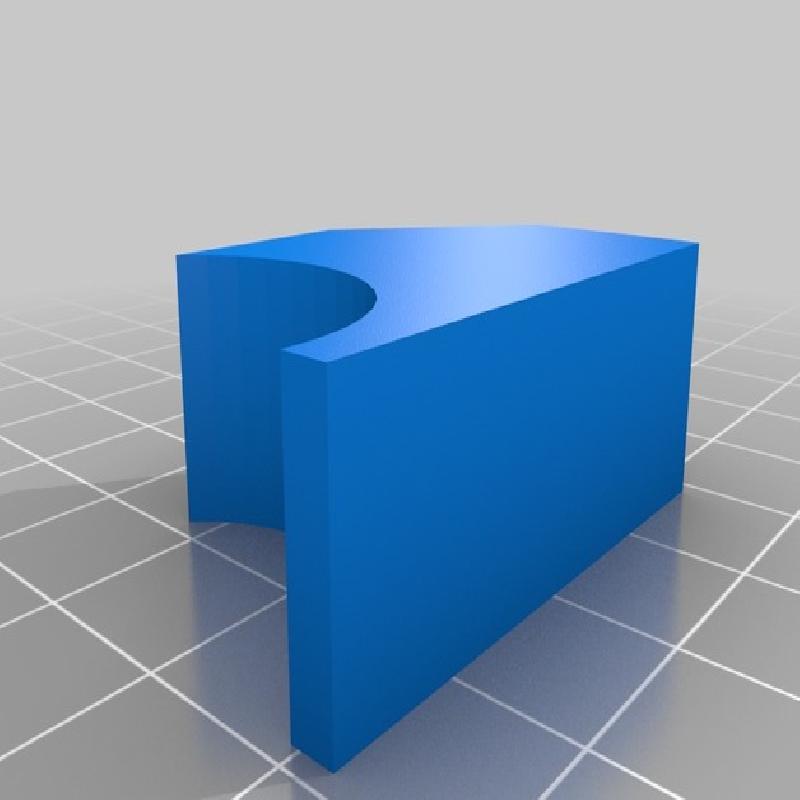
Now glue on the 2 Grips to the handle and barrel, place where it's comfiest to hold. Just make sure to leave room for the barrel detail at the front.
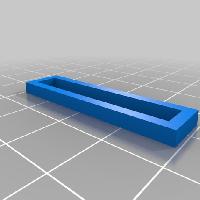
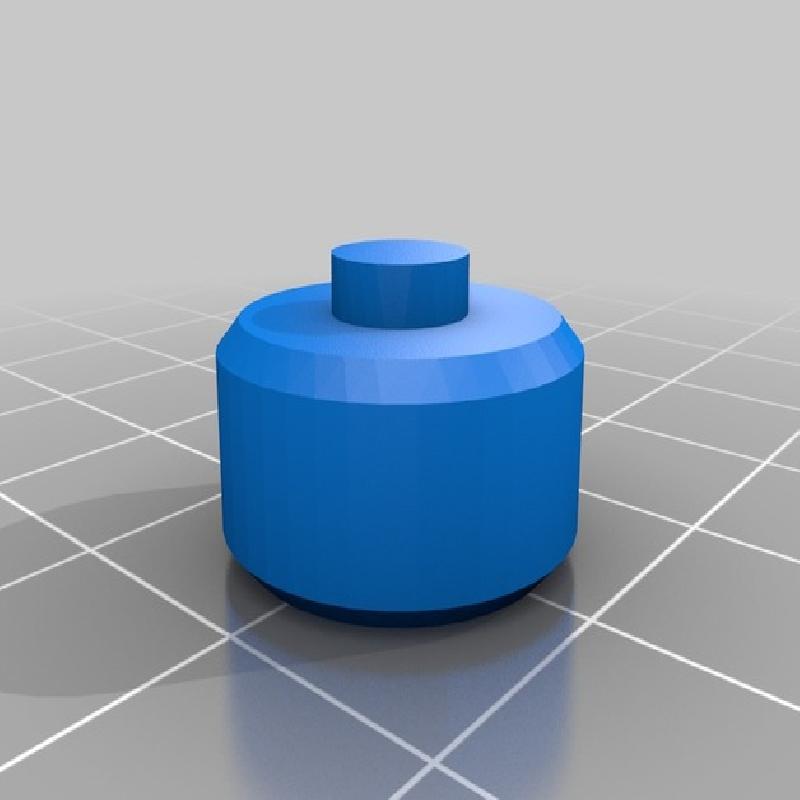
On the barrel add the Front Barrel Right Box, then the Front Barrel Left Box. Then assemble the Front Wire Holders if printed in two parts and affix one to the Left Box. The other Front Wire Holder can be glued to the Front Barrel Claw and Front Barrel Ring.
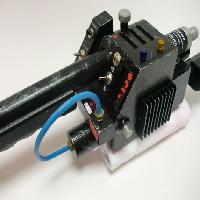
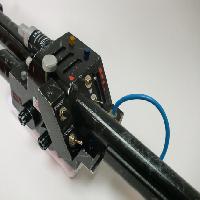
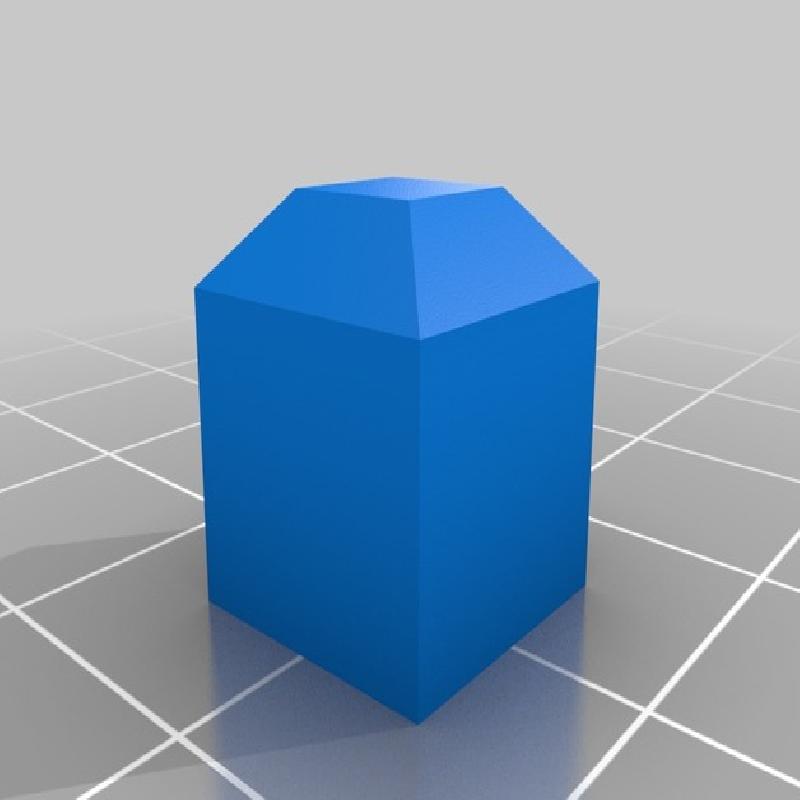
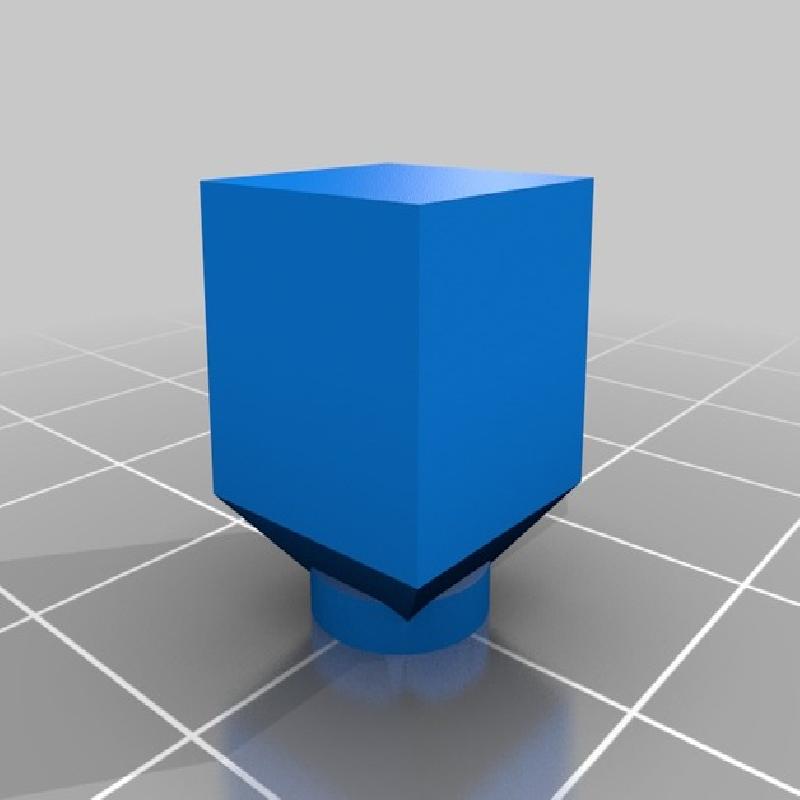
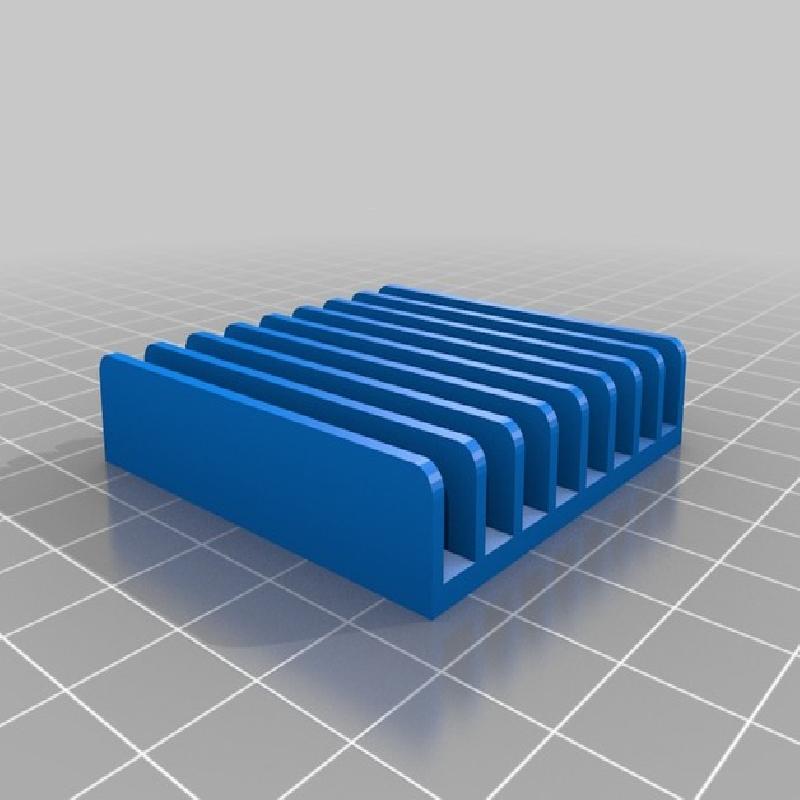
The rest of the items are just cosmetic items for the Gun Body Main. Use the images provided to see where they go.
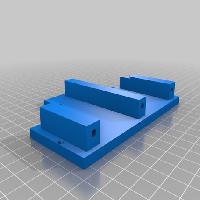
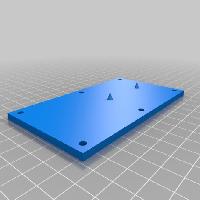
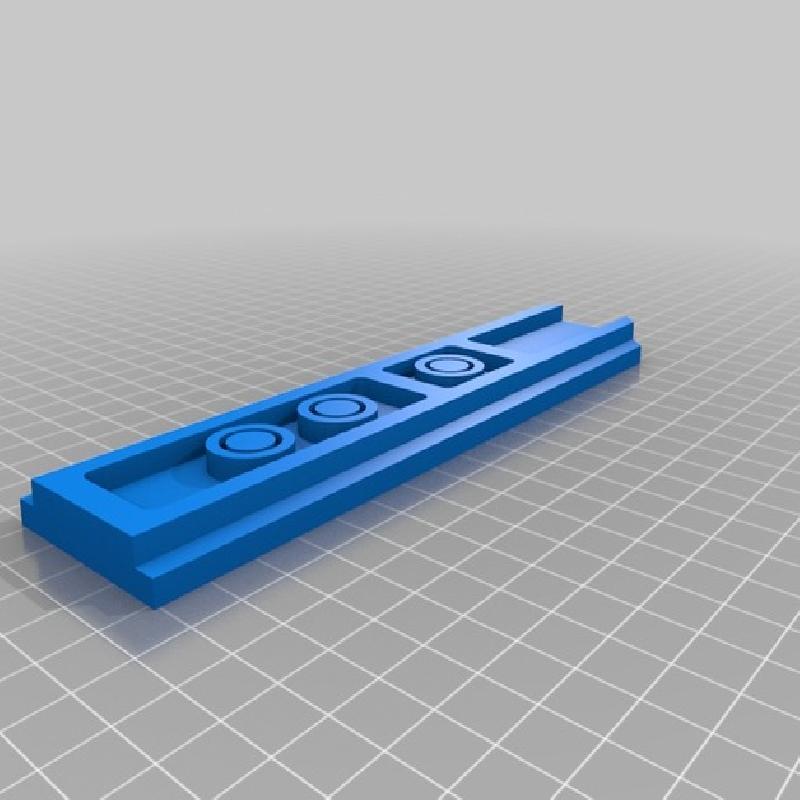
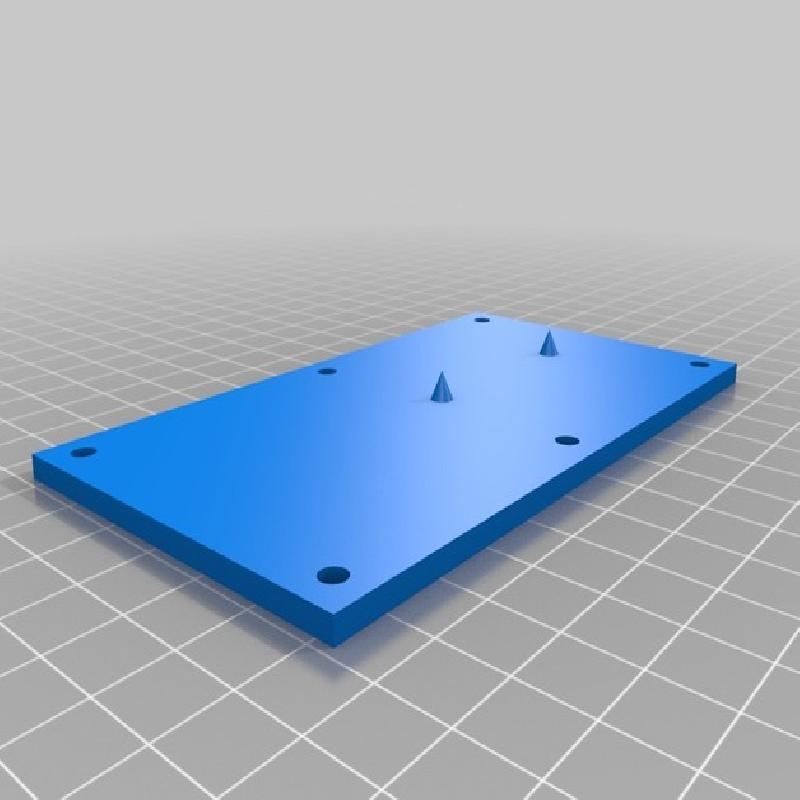
The Bottom Plate and Bottom Plate Lid can be glued together. The lid can then be screwed into place with machine screws. This is so you can have access inside the main body, if you don't need that then just glue the lid in place.
Painting, decals and details
I used spray paint to finish this off, a couple of coats of primer, then a couple of top coats. Then I used acrylic paints to weather it.
I created stickers using Adobe Illustrator based on images I've seen of them, then 2D printed those out onto vinyl printer paper, cut out and stuck on. Sticker sheet is provided in the main image reel.
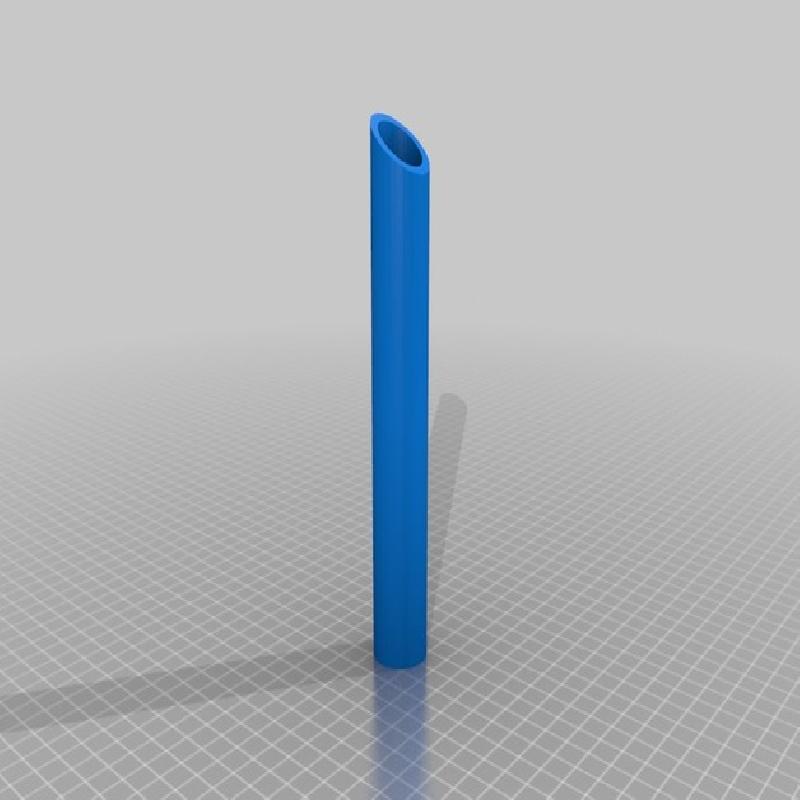
You will need to obtain a clear piece of acrylic for the barrel end, the two parts where that acrylic should slot into are the same diameter. It's a standard size (can't remember what it was!) of tubing so you should find it easily.
The last parts of the detail are wires, which can be any old thing as long as it's the right size. Also there is the electronics and switches which are detailed below.
How I did it - in brief
I'm not going to go into too much detail here as it's another project in itself. But all the soulds and lights are driven from an Arduino nano, an Adafruit sound board and a small set of relays.
The Arduino drives all the flashing and steady LEDs. To create the sounds the Arduino sends voltage to a small relay, this then closes a contact which grounds a pin on the Adafruit soundboard. The soundboard was loaded with SFX which corresponded to a certain pin being grounded.
For the different states of the gun, idle and being fired. I wrote the Arduino code to run a loop program, then change it once a button was pressed and held.
The startup and shutdown sound was achieved by sending a pulse when the toggle switch was switched. The pulse then triggered the startup then shutdown sound in turn.
Electronics - basic parts
Switches are your basic two pole toggle switches.
Buttons are the single pole single throw type.
LEDs are 5mm super bright (any will do) but with 5mm LED lenses over the top.
The wire was just spare wire I had around, as long as it fits in the hole it's fine to use.
Arduino is the Arduino Nano, I bought a cheap £5 chinese knock-off from eBay but it worked perfectly with the normal Arduino code.
The soundboard is the Adafruit Audio FX (2MB), this connects to your PC like a USB drive. You then transfer over the OGG sound files named specifically to correspond with a certain pin. The soundboard outputs over headphone 3.5mm jack, so you can connect to and speaker you want.
The relays are 5V relays which come on a little circuit board. These aren't technically needed as the Arduino can talk to the Sound FX board through serial, but I didn't have time to learn how to send serial commands form the Arduino to the board. So I just used solid state outputs to achieve the same thing.
All the items are cheapish, the soundboard is the most expensive but that can always be used in other projects once completed.

Type of toggle switch used

Single press momentary button used
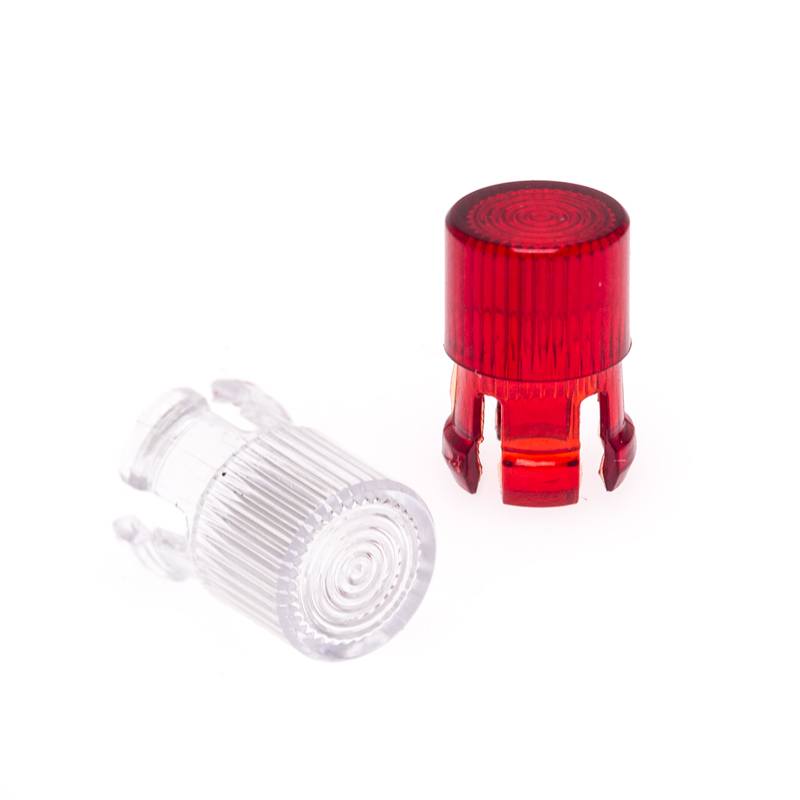
Example of LED lenses
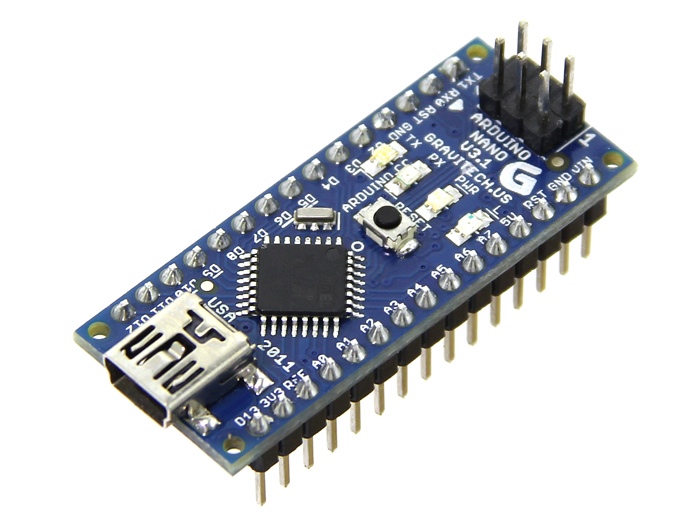
An Arduino Nano, cheap enough to leave in the project
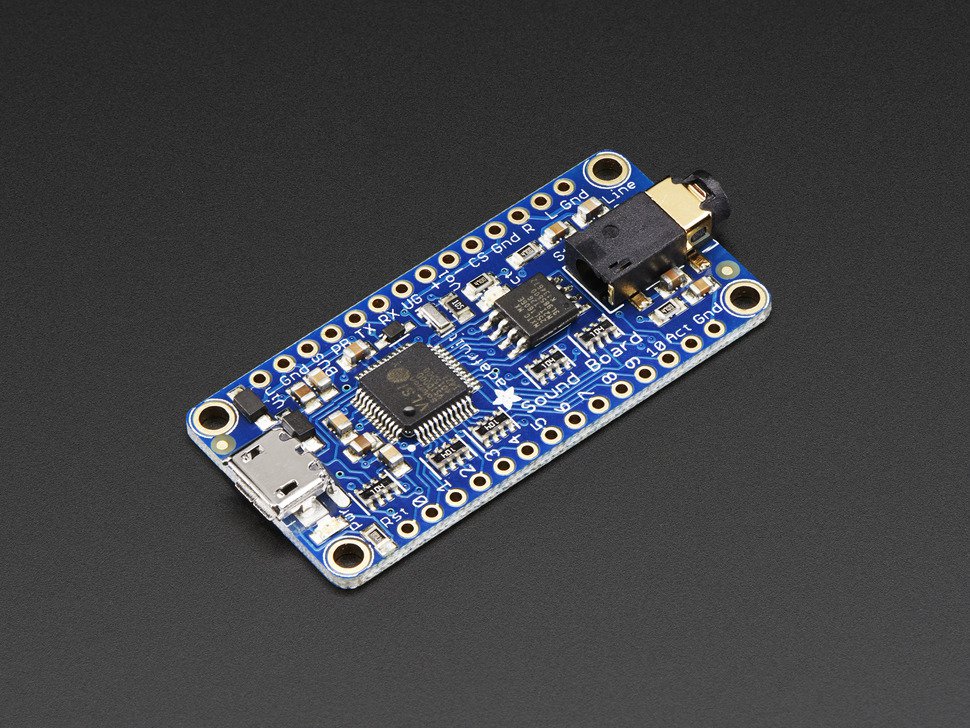
SFX board, I used Adafruit, there's probably others available
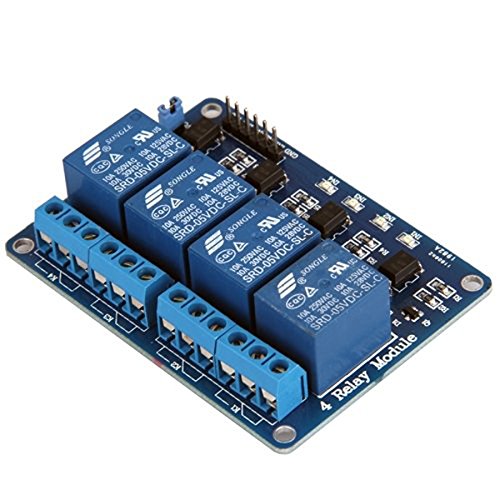
Small relay board, available on Amazon