by Sparky6548, published
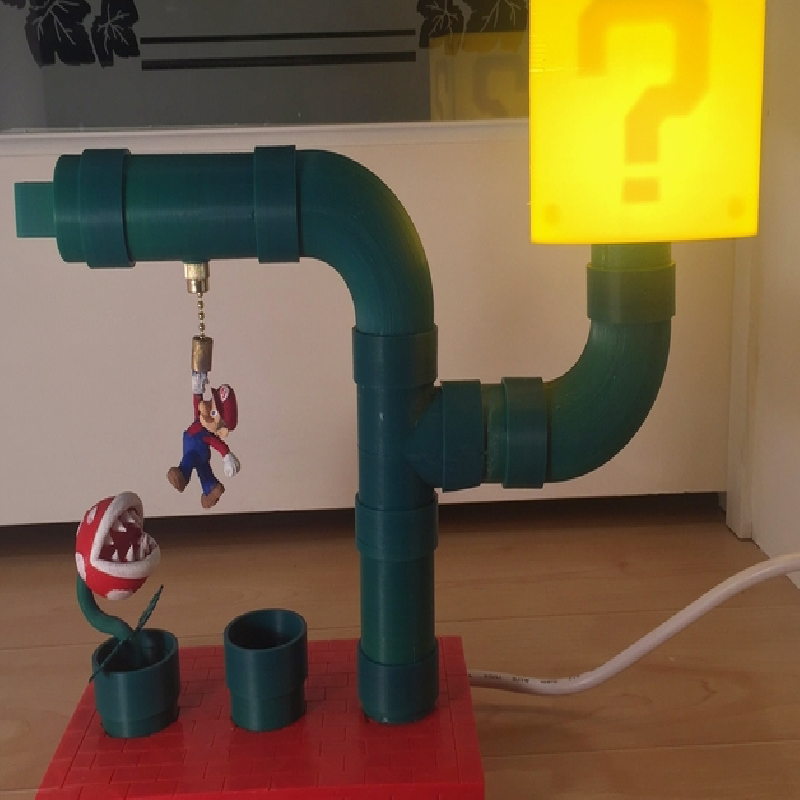
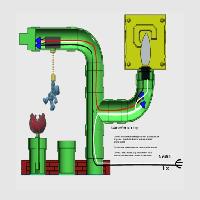
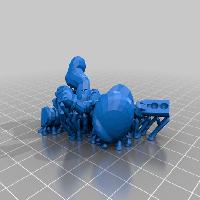
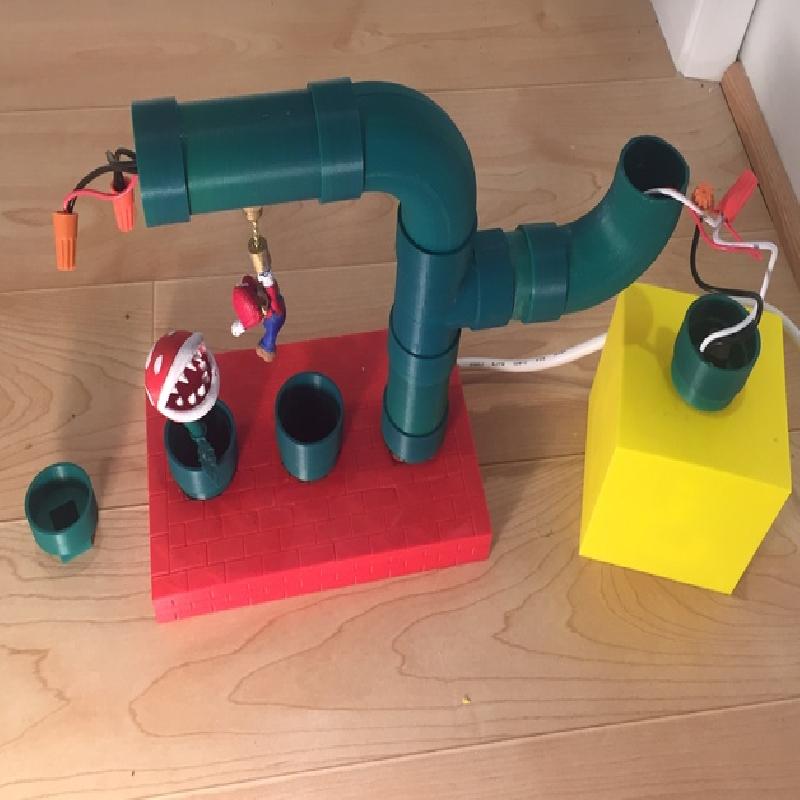
Mario themed desk lamp
This is a project based on a number of similar lamps I've seen on the internet. Some were made of cast iron, some with ABS plumbing pipes. Mine is completely 3D printed.
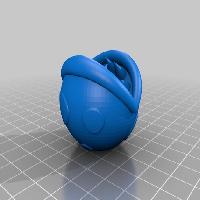
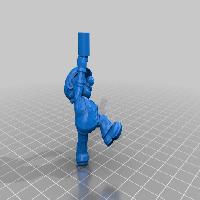
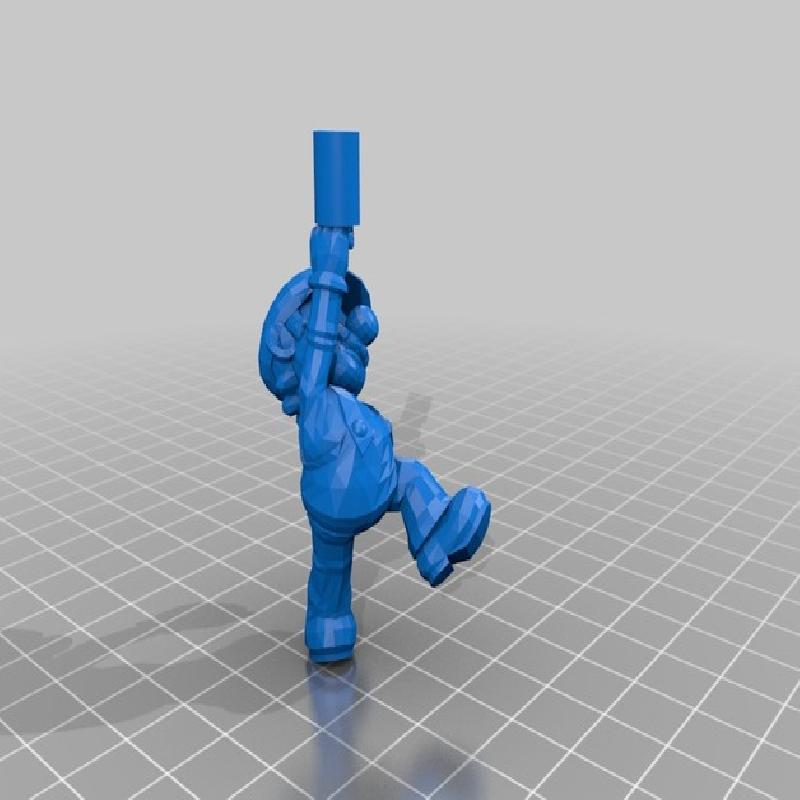
I used a free model of Mario called Mario (2) Trophy that I got from models-resources.com/download 3794. It was submitted by thegameexplorer and is from the game Super Smash Bros. Brawl. I had to do a bit of work on the .obj file before I could use it because it was open mesh. I wanted to modify it (to put the bead chain hanger on it). I also had to scale it up quite a bit because it was very small.
I wanted to use the Mario question block lampshade by leethegeek - thing 954281, but it was too big and scaling it left the sides too thin. I had to recreate it from scratch. Wanted to give credit though.
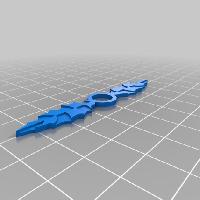
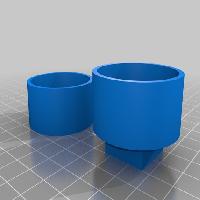
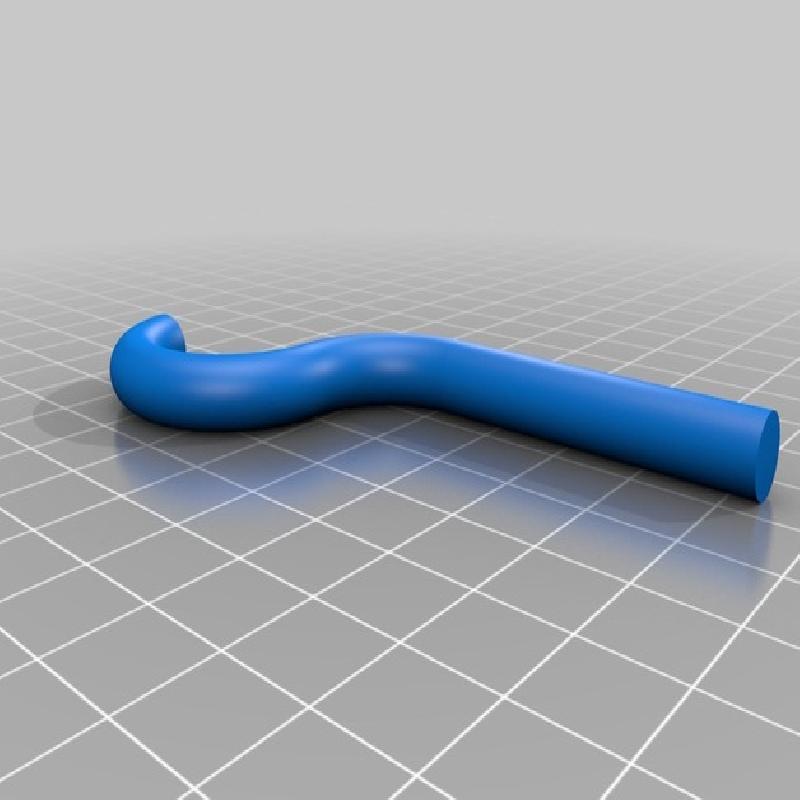
I also used Piranha pencil topper by BrandonW6 - thing 39443. All I added here was a stem for it.
And lastly, I used rtideas thing 744570 strain relief (slightly scaled up to accomodate my power cord) to attach the cord to the deck.
All the rest I designed myself.
Printer: FlashForge Creator pro
Rafts: Doesn't Matter
Supports: Yes
Resolution: .2mm
Infill: 20%
Notes:
I printed this with ABS: temp 235 with bed temp @ 100 for first layer, 95 for the rest. Also turned on cooling fan after the first layer.
Instructions:
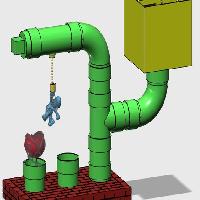
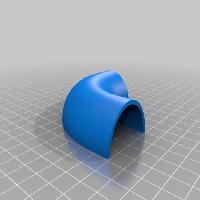
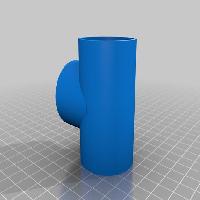
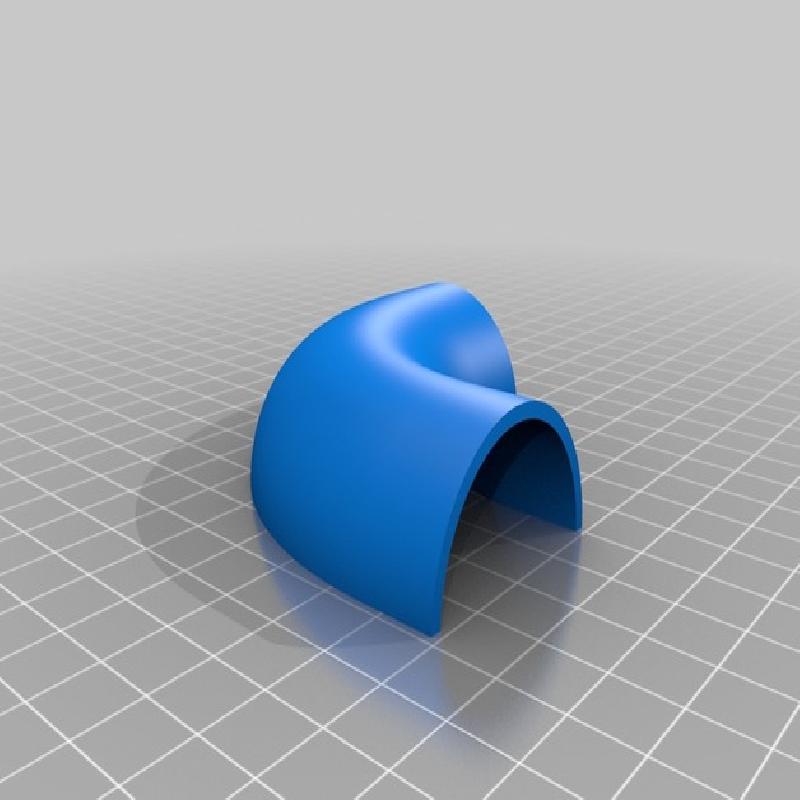
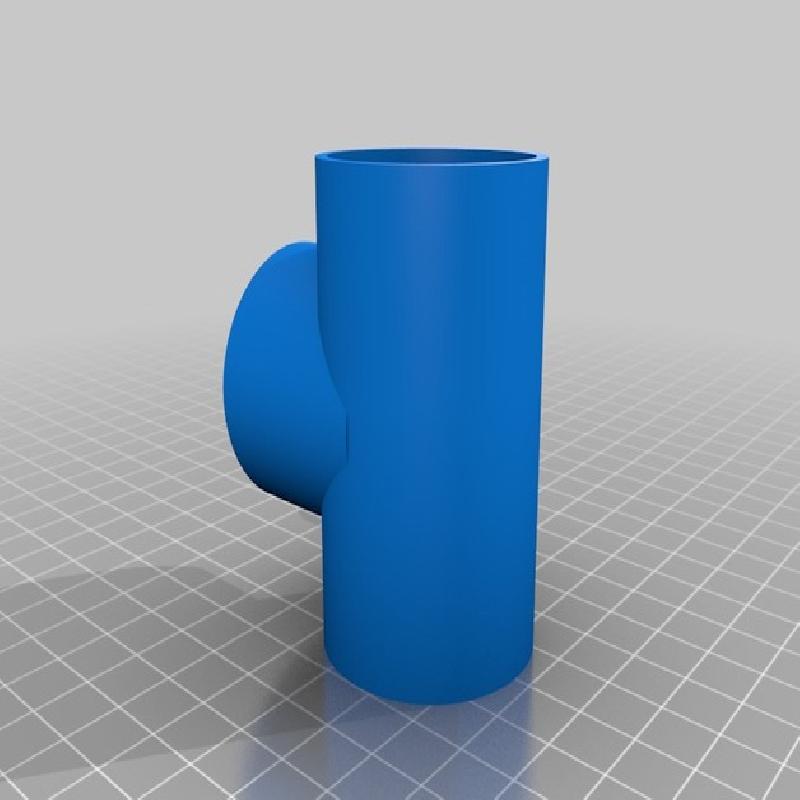
There are 2 versions of the pipe elbows. I had too much trouble trying to print them whole, so split them in half. If you print the whole ones, you will need 2 (good luck). If you print the halves, you need 4.
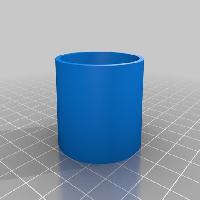
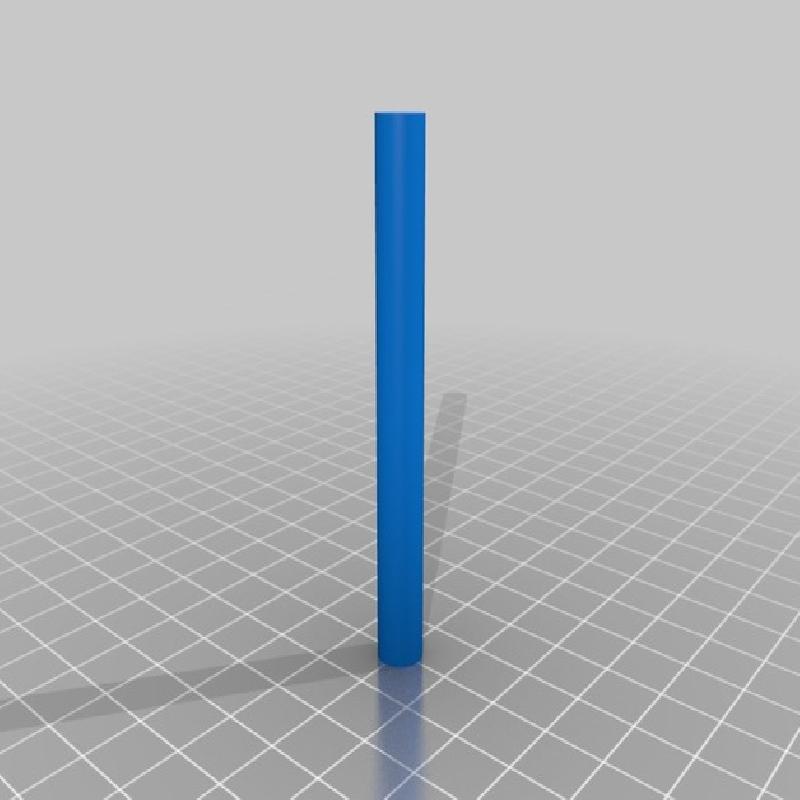
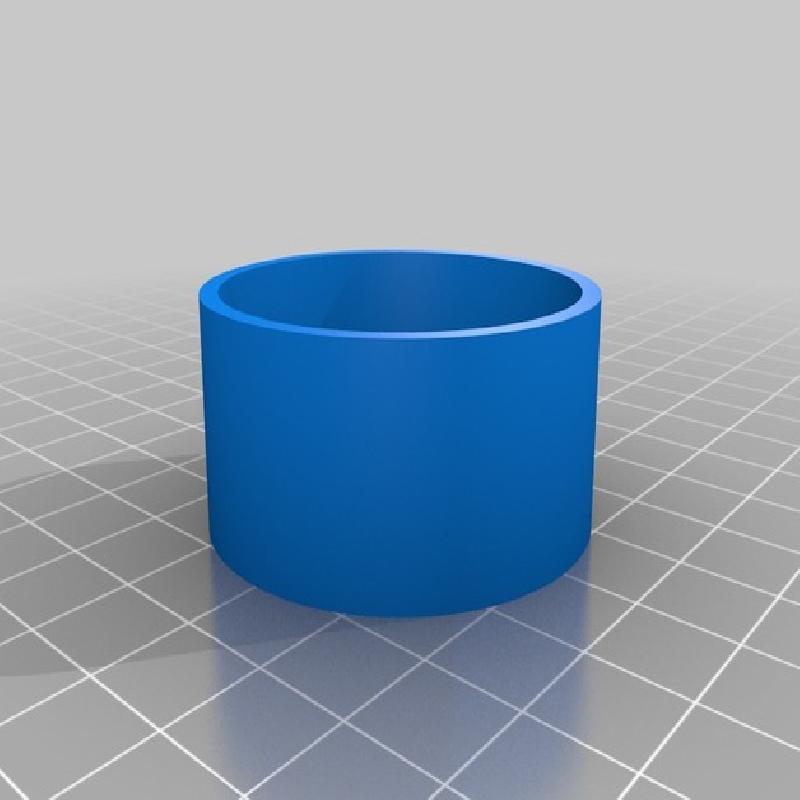
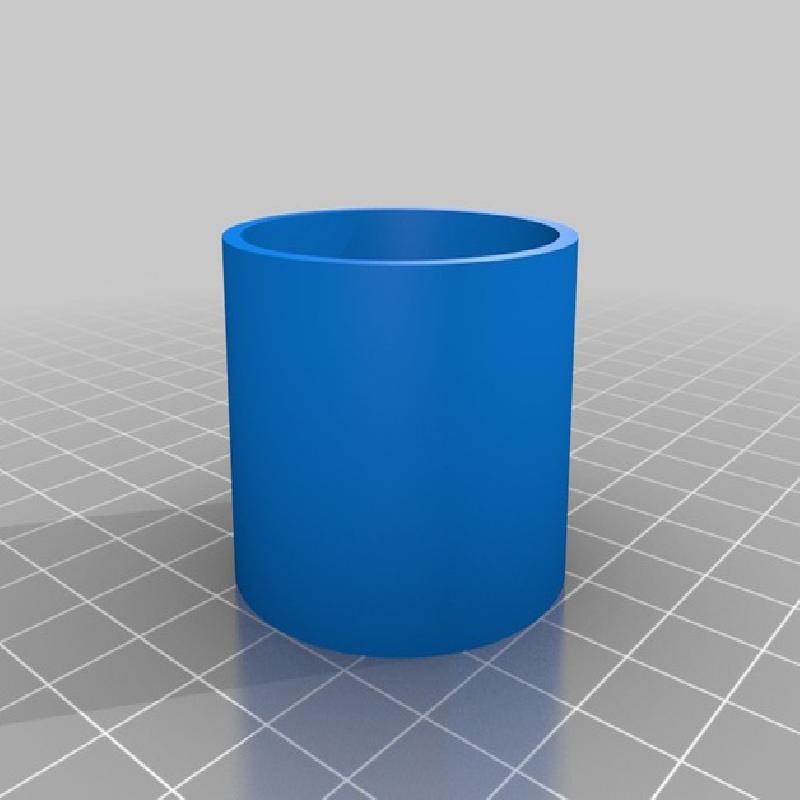
You will need 8 of the couplings, and 3 of the medium pipes.
Print one of each of the other parts. There is an extra pipe (pipe_long) that I was going to use, but wound up using a medium instead. I left it in the upload just in case someone wanted a taller lamp. There are also 2 piranha plant stems, one straight and one curved. Take your pick.
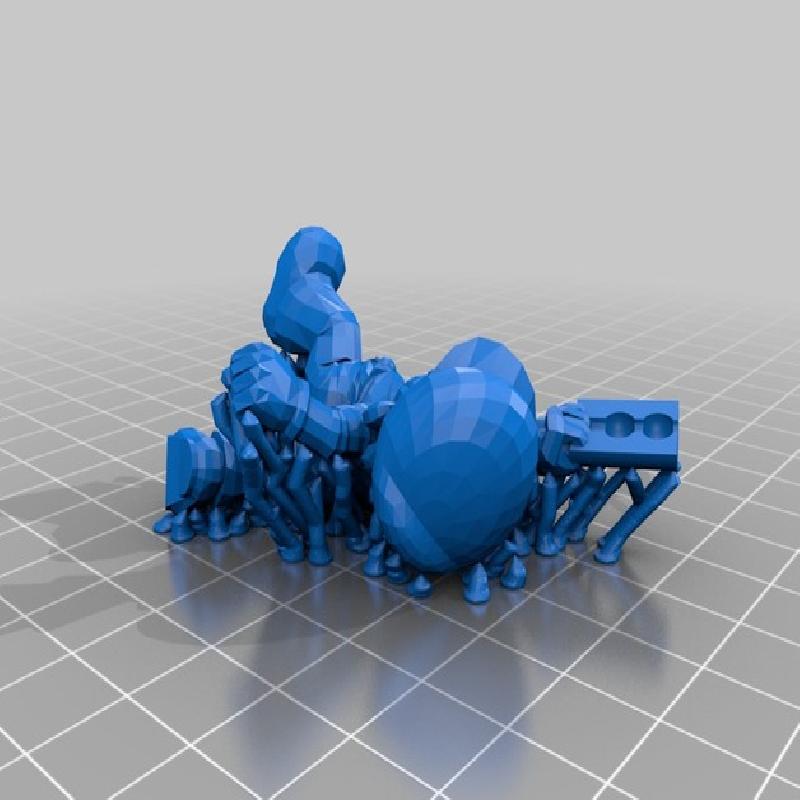
There are 2 versions of Mario. The one with supports was oriented by meshmixer to the optimum position for printing and had the supports generated for it. I also included one without supports in case someone has a better way to print it.
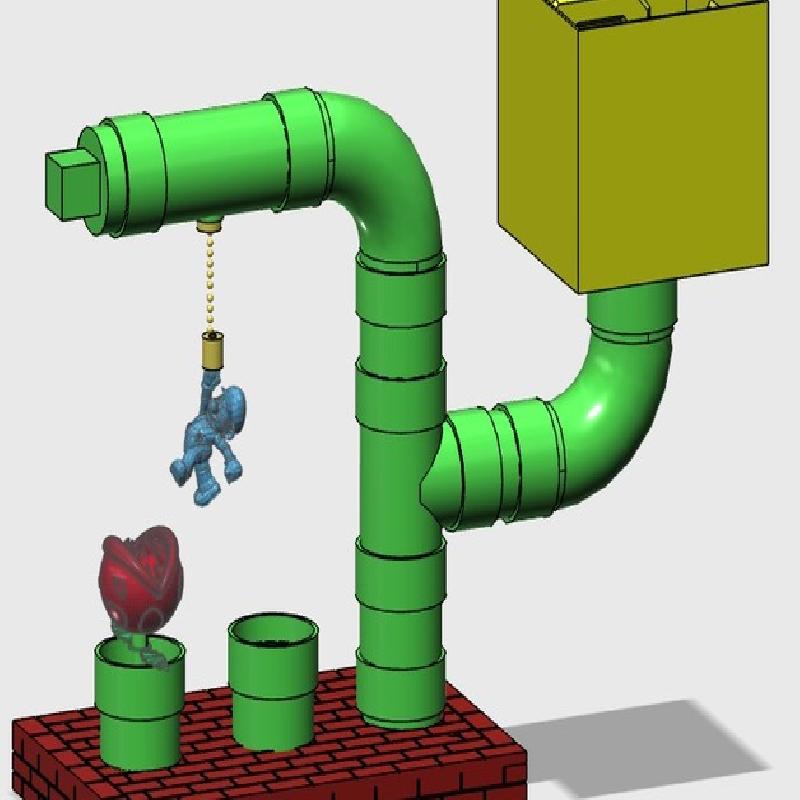
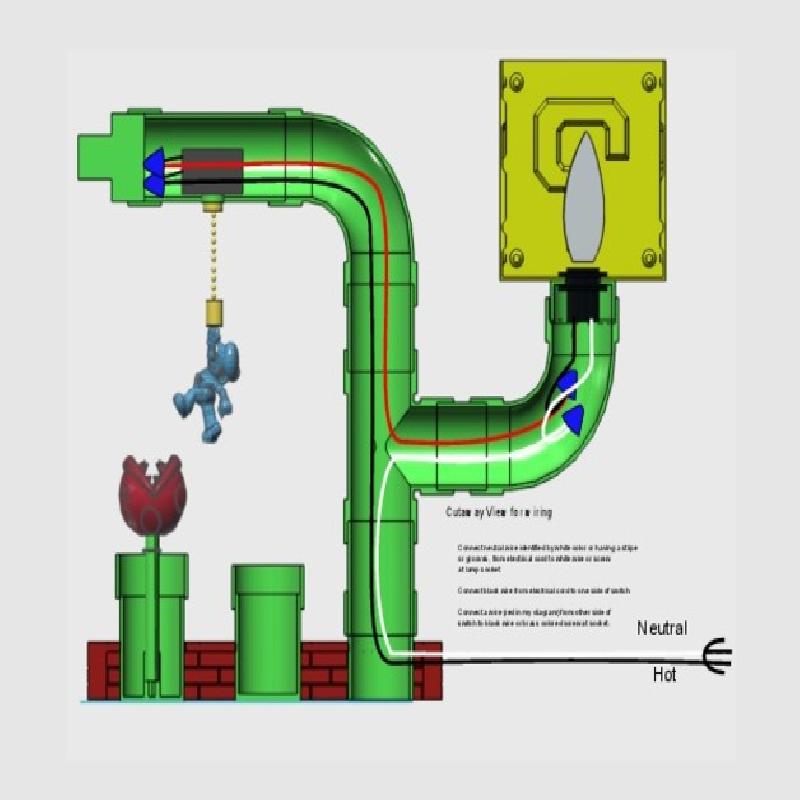
There are also 2 PDF files. One showing how the lamp should look when finished, and one that is a cutaway picture showing how to wire it (for those who are electrically challenged).
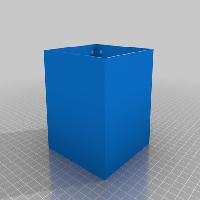
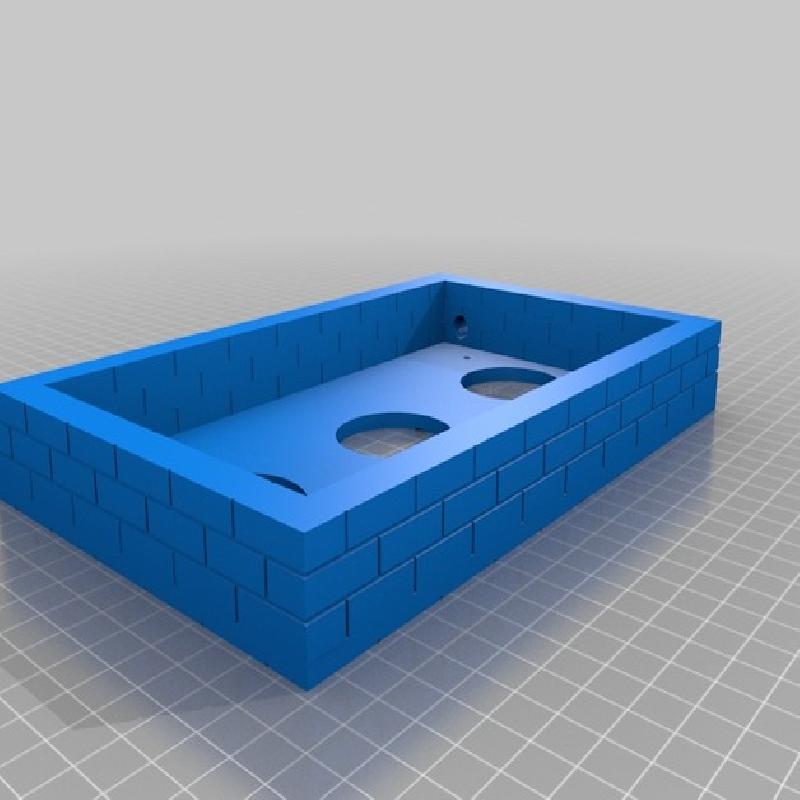
I left an 8mm hole in one end of the wall for an electrical cord. I didn't put a similar hole in any of the pipes, because I don't know what configuration you might use. Just drill an appropriately sized hole in whichever pipe is on the bottom of the assembly.
There is also a hole in the deck of the wall for an m3 screw and nut for attaching a strain relief wire clamp to. I used thing 744570, but You could also use a zip tie and zip tie holder of which there are several on thingiverse.
The lamp socket is similar to this one from Amazon - Satco 90-1556. The pull-chain single pole switch is like this one from Amazon - Gardner Bender GSW-32 Nickel Plated Pull Chain Switches. The socket is for a candelabra based bulb due to the size of the lampshade. I recommend using a low wattage lamp or LED lamp to avoid possibly melting the plastic shade.
When assembling the lamp, do not glue the two pipe plugs. If you ever need to replace the socket or switch, you will need to be able to remove the plug(s) so you can have access. The fit is tight enough to hold them in position without glue.