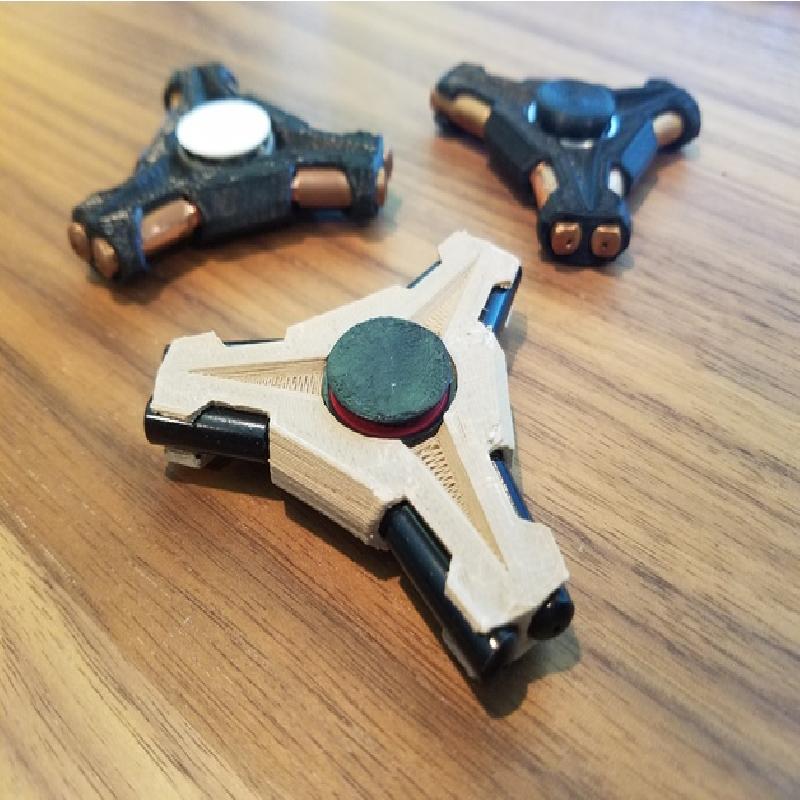
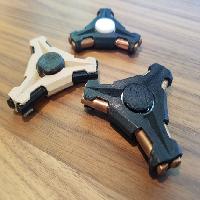
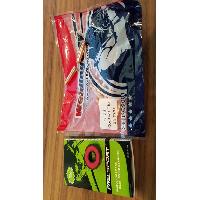
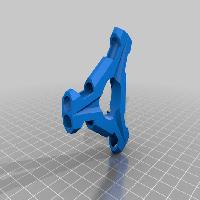
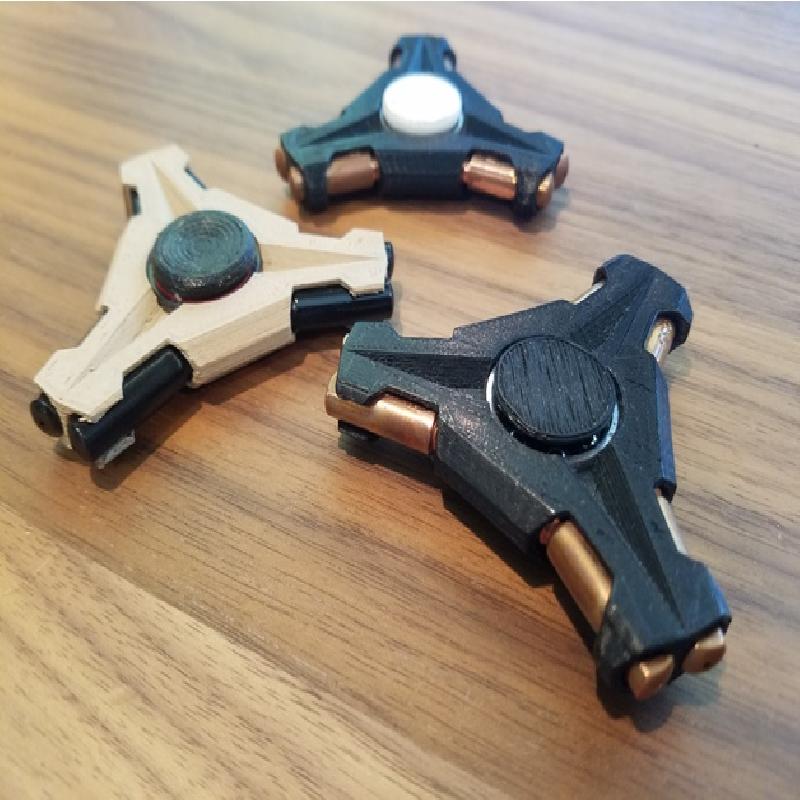
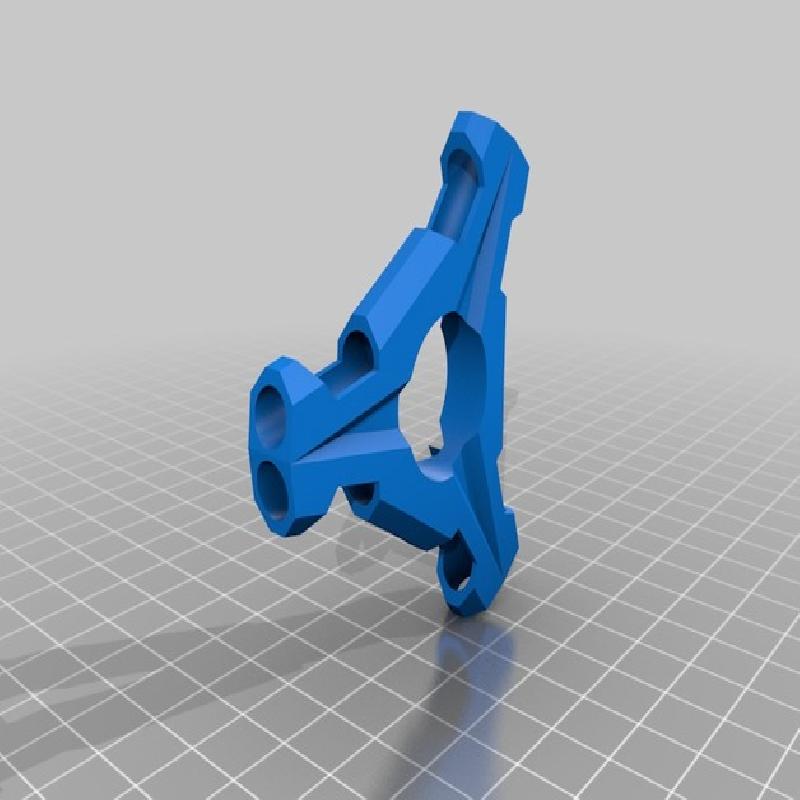
Wanted to do something a little different with this tri-spinner as the 3+1 bearing spinners are pretty played out, IMO. I love the contrast between the cold, metal weights (copper welding tips) and the plastic arms; especially how you can see the weights inside and at the ends of the arms.
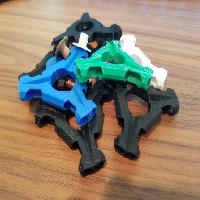
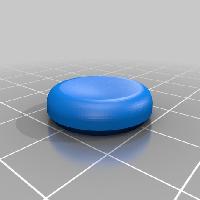
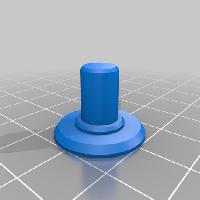
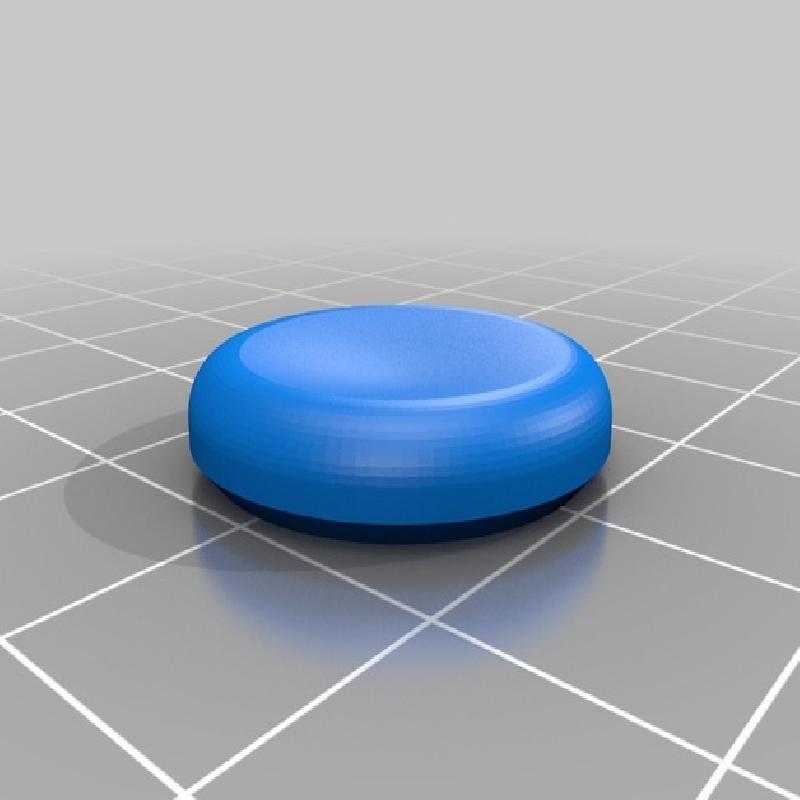
I used the center nub and rest from an Adafruit spinner file. You can print these in contrasting or complementary colors to add your specific design flair. You may have to slightly file the outside of the shaft of the nub to get it through the center of the bearing. Then just push it through, put a small dab of CA glue on top (don't get it on the bearing), push the other end on, and then keep pressure on it for a little while to let it dry. I use a C-clamp and keep it on there overnight.
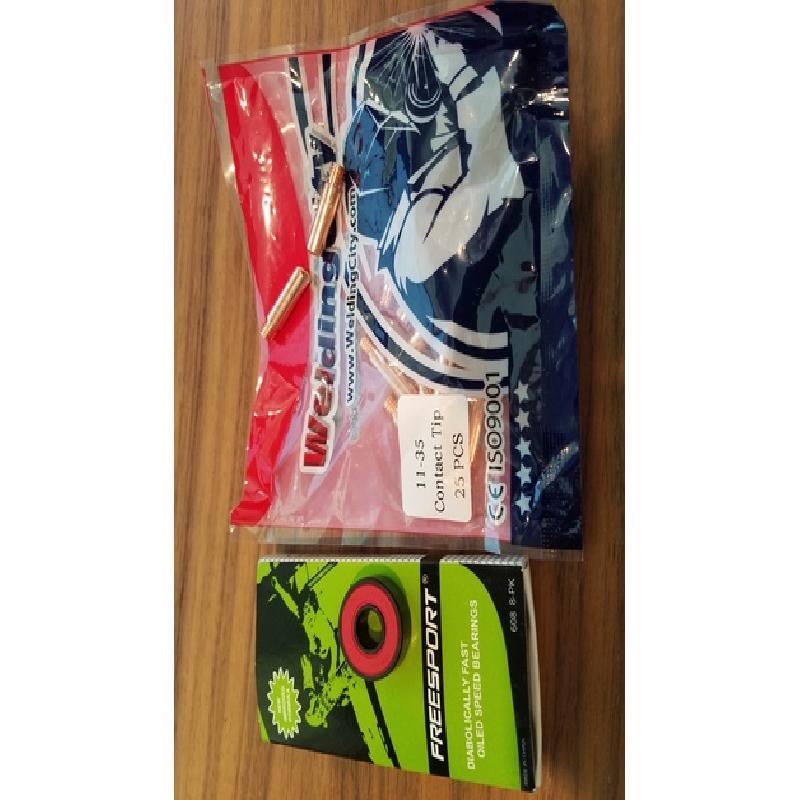
Model is set up for 608 skateboard bearings. They are just a press fit (works best while the body is still warm, but you can just gently tap them into place using a hammer. I use a wrench socket to put the force on the outside of the bearing (not across the balls themselves). I happened to use hybrid ceramic in my latest builds (can't justify the cost of fully ceramic), but honestly prefer a good ss ball and race. I prep by removing the dust seal and use graphite powder, work it in, and then blow it clean using an air gun, which also helps to polish the race as it spins at high speed. Protect your eyes and be wary of weights that may become dislodged and fly across the room!!!
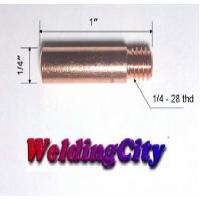
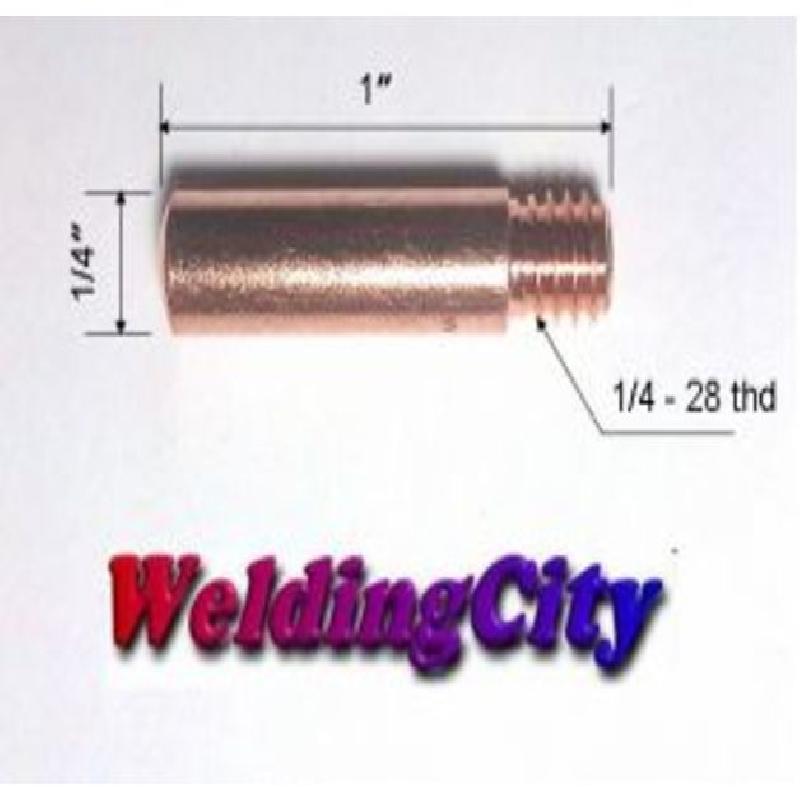
Weights are 11-35 (0.035") MIG welding contact tips that can be purchased at your local hardware store. Glue the weights in using CA glue (Cyanoacrylate glue, aka "super glue"). The edges around the ends of the weights are pretty thin and can be broken when installing the weights or when the spinner is dropped. I have clipped these parts off on some of my spinners and the glue is more than strong enough to keep the weights in place.
Hope this helps someone. If you have any tips or make any changes, please let me know as I'd be interested in seeing what others do with my design.
Printer Brand:
Robo 3D
Printer:
R1 ABS + PLA Model
Rafts:
No
Supports:
No
Resolution:
Layer height 0.2000"
Infill:
Solid
Notes:
I prefer ABS, as it stronger, but I've also had success with PLA. Sliced with Simplify3D and printed using a Robo 3D R1 Plus with self-leveling, heated glass bed and Hatchbox 1.75mm filament. Extruder at 240C, bed at 80C, with no cooling. Layer height of 0.200mm and speed at 4300mm/min (~72mm/sec). Build time was 36 minutes and used 3542mm (10.95g) of filament.
Should be printed laying flat against the bed. Not sure why the STL export rotated it up like that.