by TheGoofy, published
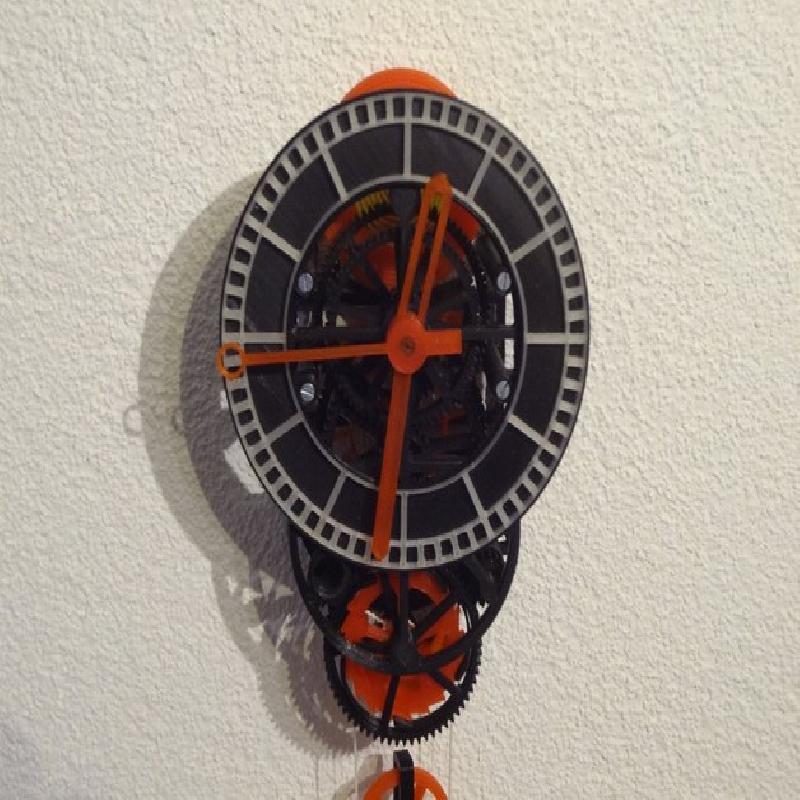
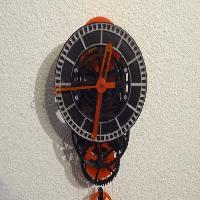
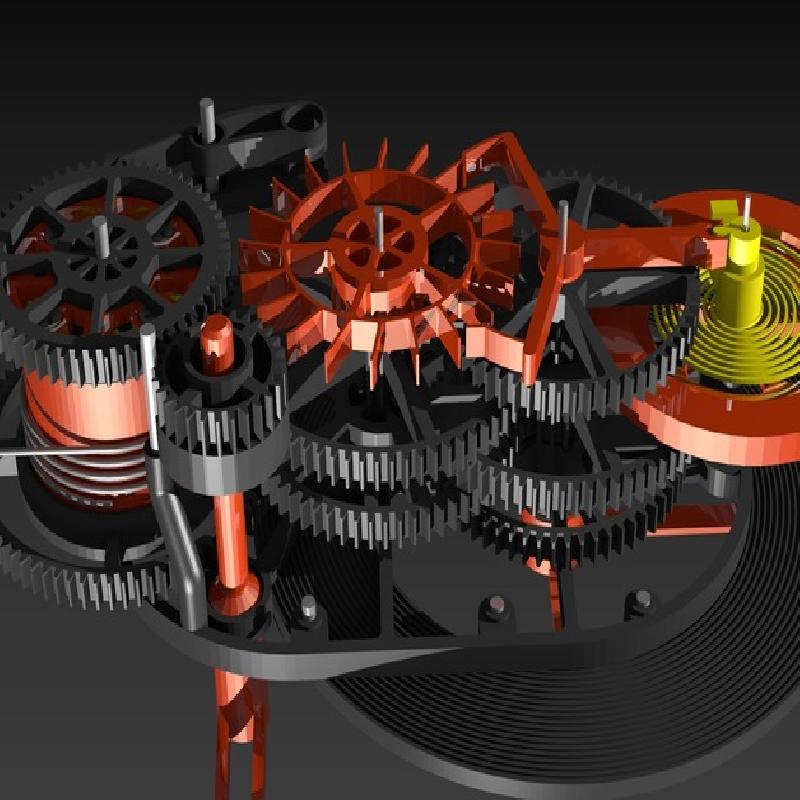
This mechanical clock demonstrates that 3d-printing is not just for decoration. It's possible to create intelligent, living things.
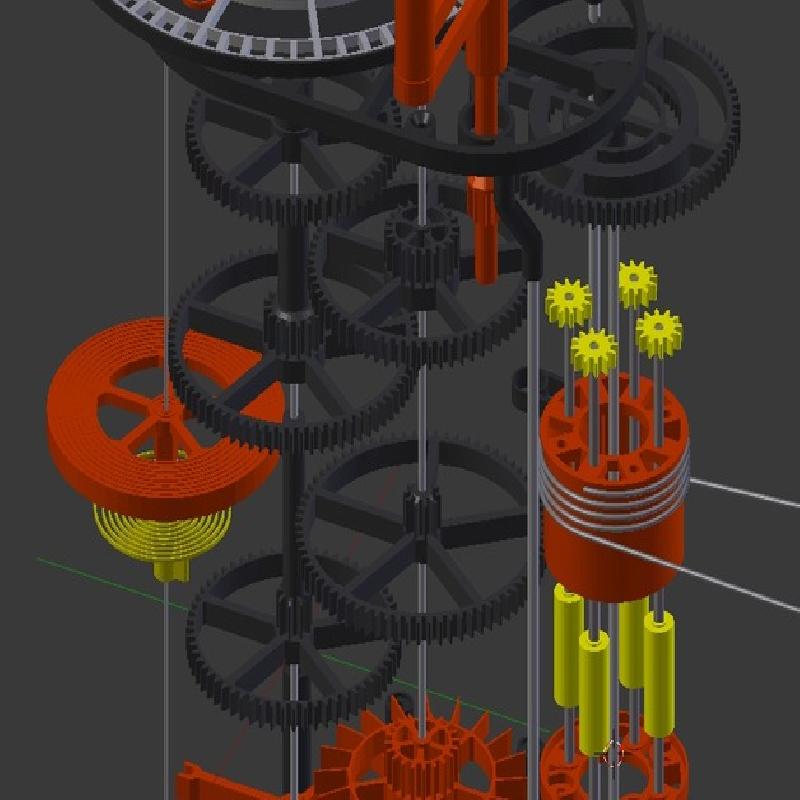
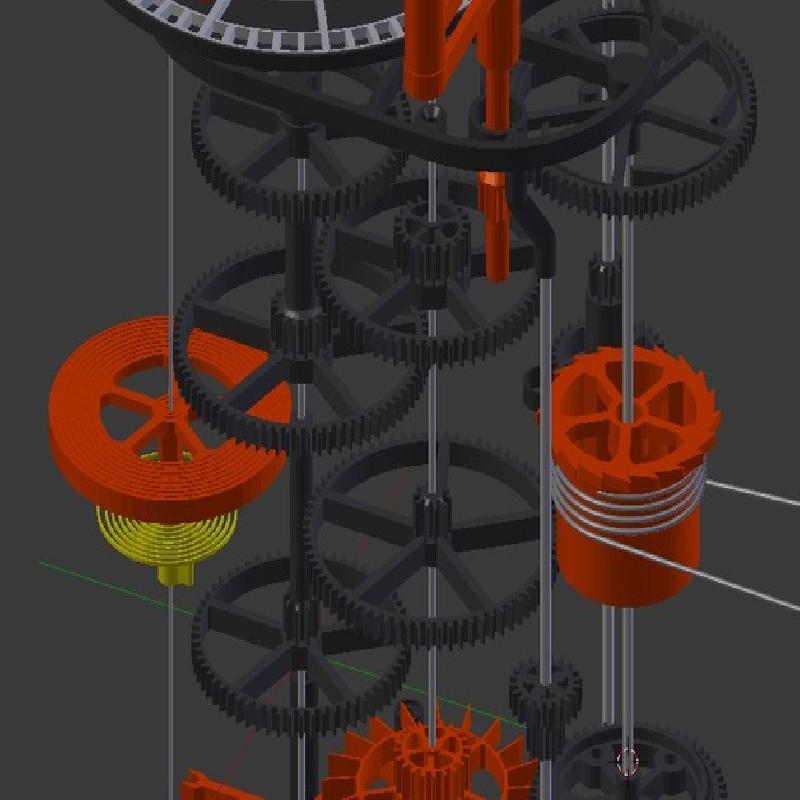
The clock has an anchor escapement, and a balance-wheel with a spiral spring. The clock shows Seconds, Minutes, and Hours. The winding has a nested planetary gear, which allows that the clock continues to run, while winding up.
Everything is 3d-printed (even the spiral spring), except e few small screws, some metal pins, the cord, and the lead for the weight.
This video shows the clock and the building process (actually with a simpler ratchet-winding):
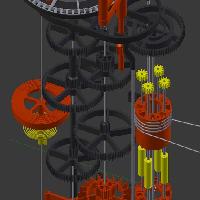
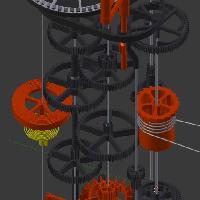
Designed with Blender. PLA printed with Rapman 3.2.
STL files cover 3 different winding versions:
V1: Ratchet winding small transmission, runs 2-3 hours (weight moves -52.1 cm/h), clock stops while winding
V2: Ratchet winding large transmission, runs 8-12 hours (weight moves -14.1 cm/h) very sensitive to friction, clock stops while winding
V3: Planetary gear winding medium transmission, runs 3-4.5 hours (weight moves -37.2 cm/h), very sophisticated, extremely sensitive to inaccurate printing, clock continues running while winding
The blender file illustrates the 3 versions
Files optimized for extrusion printing
Blender File:
Contains all the parts, which were exported as STL
Has 3 groups to visualize the different versions of the winding
The file "Parts_with_Dummy.zip" contains STL files with a dummy piece: some pieces have a very thin top end, and it happens (at least on my printer) that the printed layers can't cool down quick enough, and finally the printed piece gets very inaccurate there. With the "dummy" the printer is forced to do some sort of "busy wait", and therefore the printing quality stays constant over the full height.
Rapman 3.2 print settings:
PLA, 195C
0.125 mm layers
0.4 mm extrusion width (0.5 mm nozzle)
20% fill density (except balance wheel: 90%)
2 extra skins
Metal and other parts:
11 screws M3 (length: 10mm)
1.5 mm steel axis for balance wheel (length: 39mm)
2.0 mm steel axis for anchor and seconds wheel (length: 27mm, 59mm)
3.0 mm for all other axis (length: 59mm, 59mm, 29mm, 18mm)
Axis should have a smooth surface in order to minimize friction
Use a drill with a little larger diameter (+0.1mm) to adjust the gears bore
Make sure you're drilling really centric and perpendicular
Cord 2-3m
1.2 kg scrap metal as weight in bucket