Printer Brand:
Wanhao
Printer:
Wanhao Duplicator i3 Plus
Rafts:
No
Supports:
Yes
Resolution:
0.2
Infill:
10% to 20% variable
Notes:
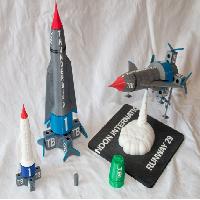
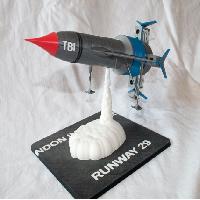
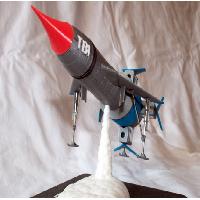
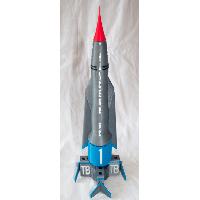
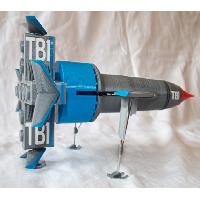
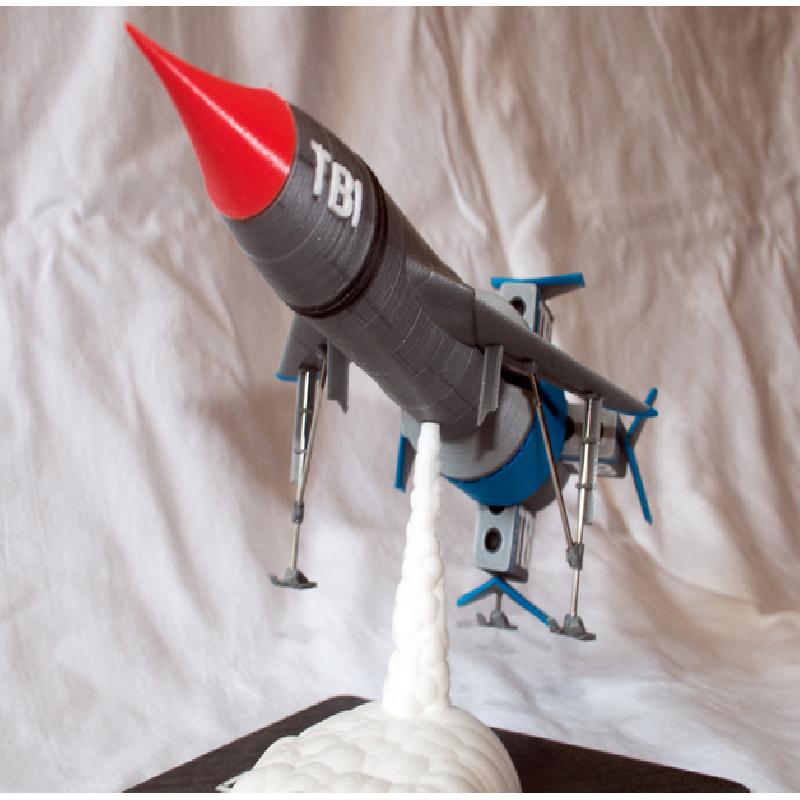
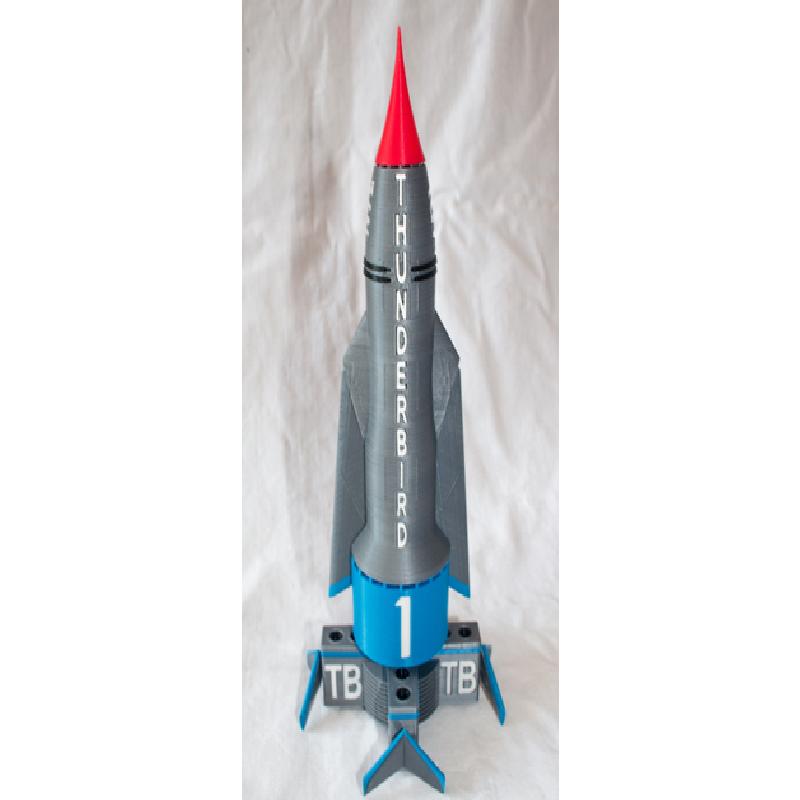
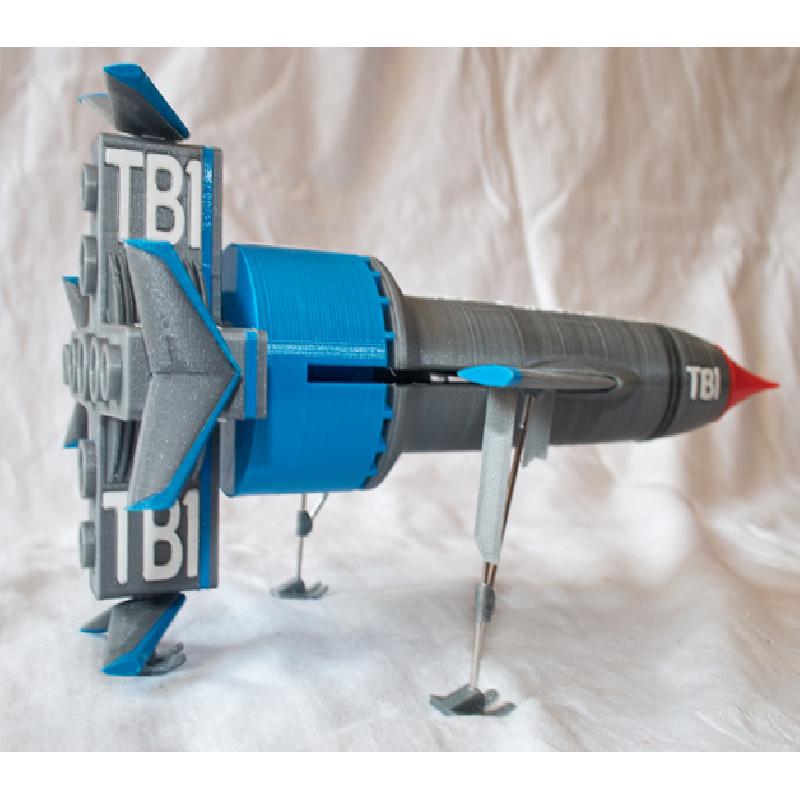
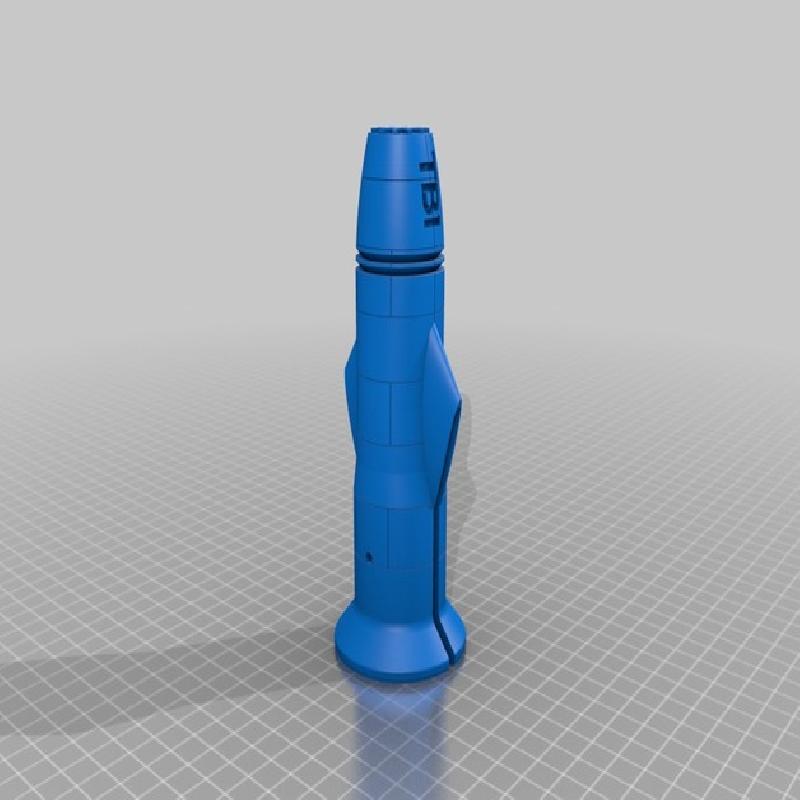
Everything prints oriented as shown.
I'm not big on brims, and pretty much never use rafts, but you know your printer.
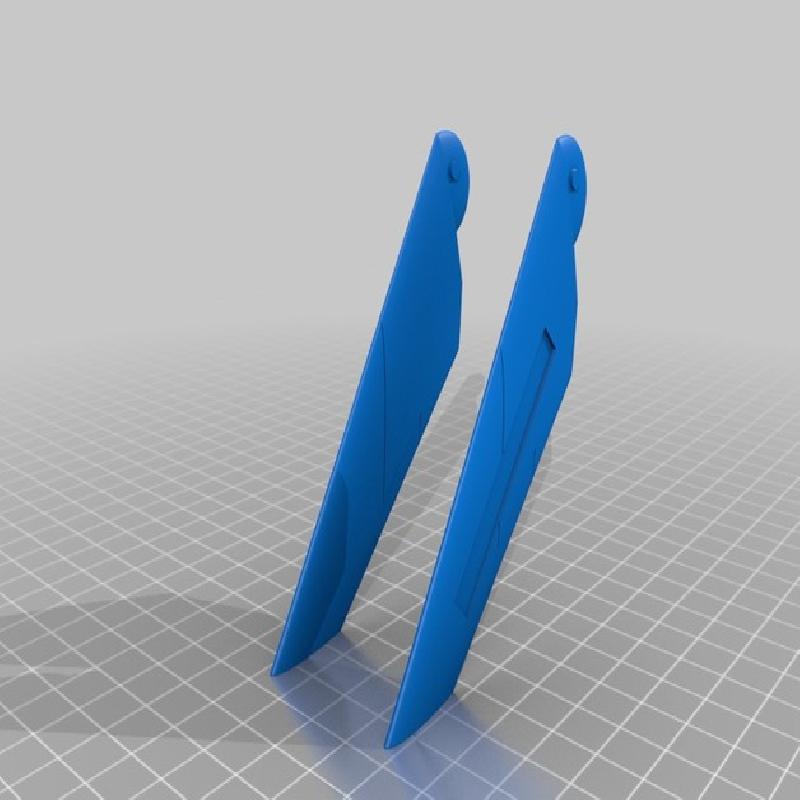
I didn't use a brim on anything other than the wings, but I've noted some other parts where you may want to consider it. I only used supports on the wings and only to stop them wobbling and reducing quality.
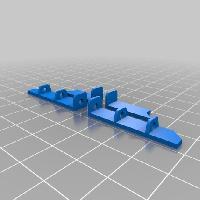
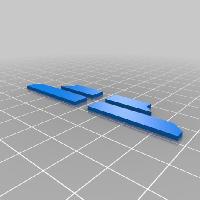
Up the resolution to 0.12mm (or 0.1mm) anywhere you think the quality will benefit, such as on the text and the nose. Print small parts such as the trims, clips, as winglets as many up as you can (I did them all at once) to prevent the nozzle over heating them. I also used 0.12mm on these parts.
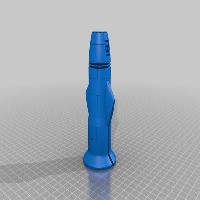
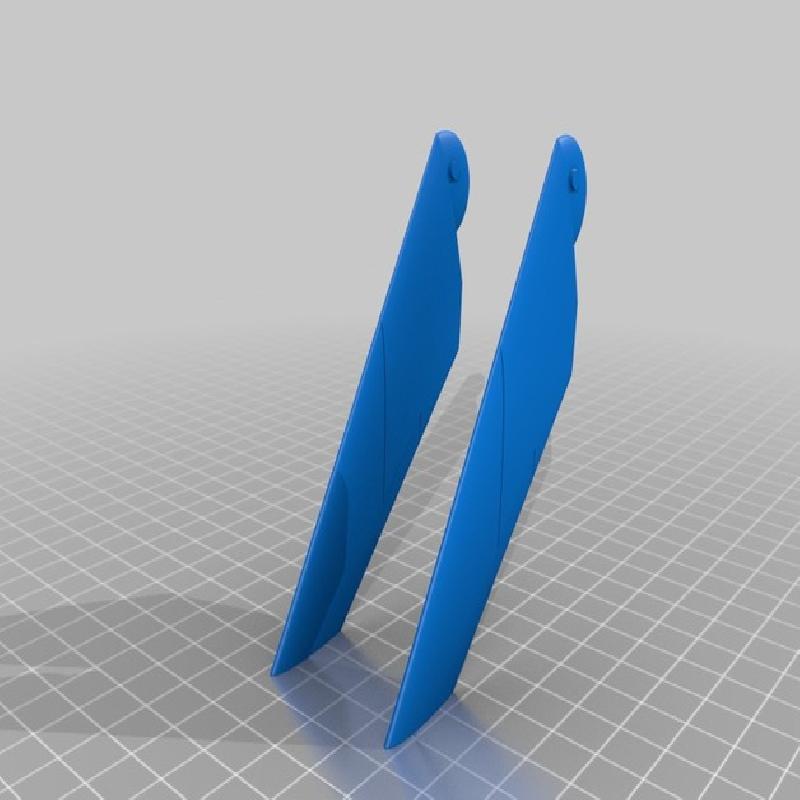
The wings require a filament swap from sky blue to silver at about the 5.2mm mark. Adjust this if you use a raft.
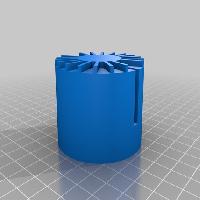
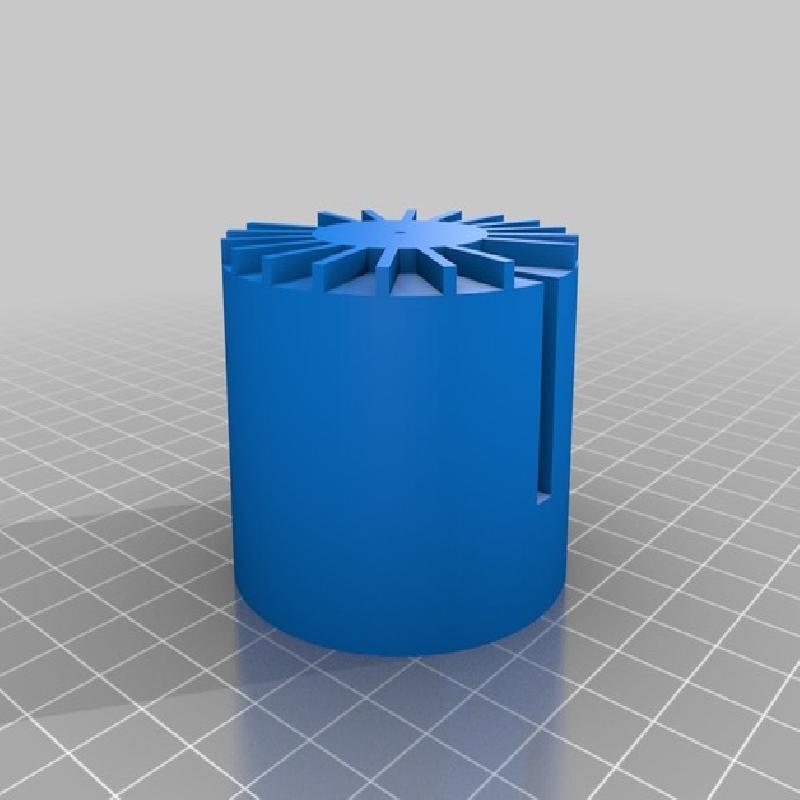
I used Cura's "infill steps" to have 10% in most of the insides rising to 20% just below top layers. Maybe set higher for the fuel drum and engine as this will help with balance as it's otherwise rather nose heavy.
Assembly
Parts should just need simple clean up and supports removing.
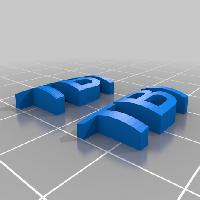
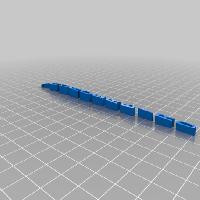
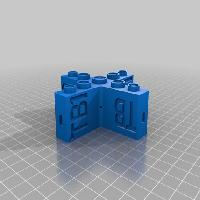
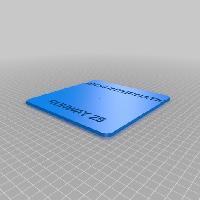
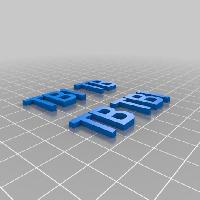
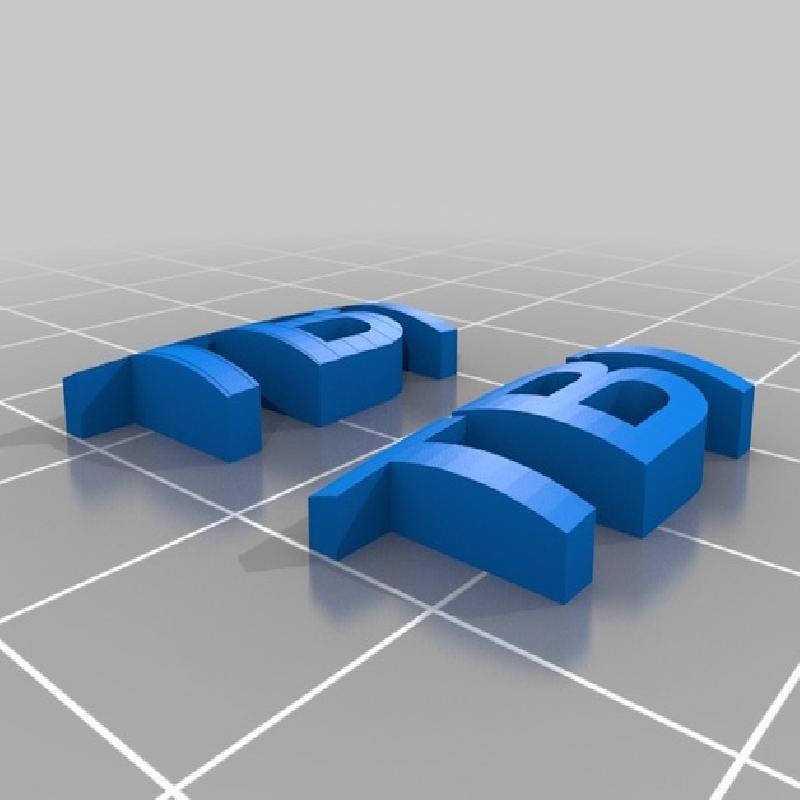
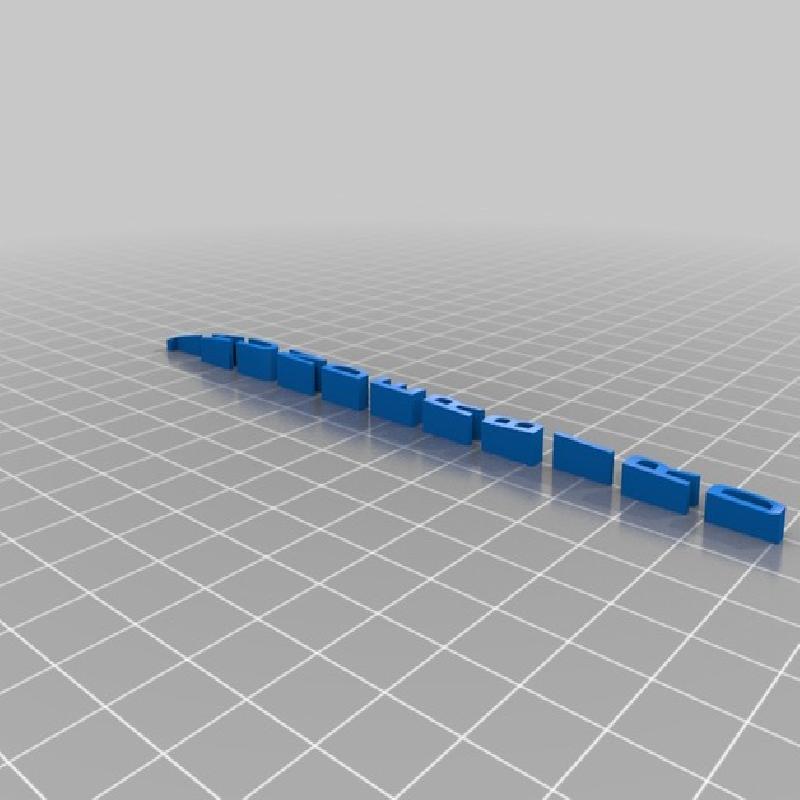
I've provided clearance for the letters and numbers, so they should just press fit, but may need a needle file taking to the edges. Note the side of the letters that was against the print bed goes bottom down in the model. Also note the letters are contoured on the top, so match thicker parts to deeper holes. Keeping the sets of "TB" and "TB1" separate in small boxes helps. Also note that "Thunderbird" has two Rs and two Ds in it and they need to go into the right holes!
Some parts have 1.8mm holes to push filament into - clean then out with a 1.75mm drill (yes, buy one!) or a 1.5mm hex key if the filament won't fit. This holds things together as you assemble and check fit, and it then provides location during glueing. I use a methylene chloride plastic weld and it works very well.
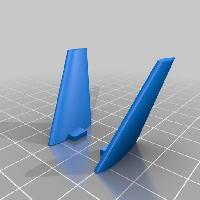
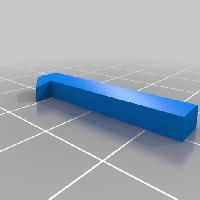
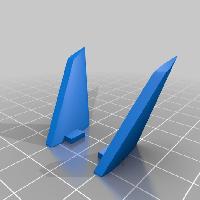
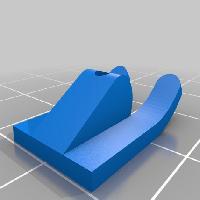
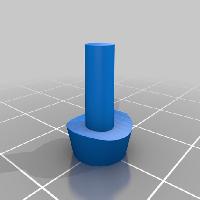
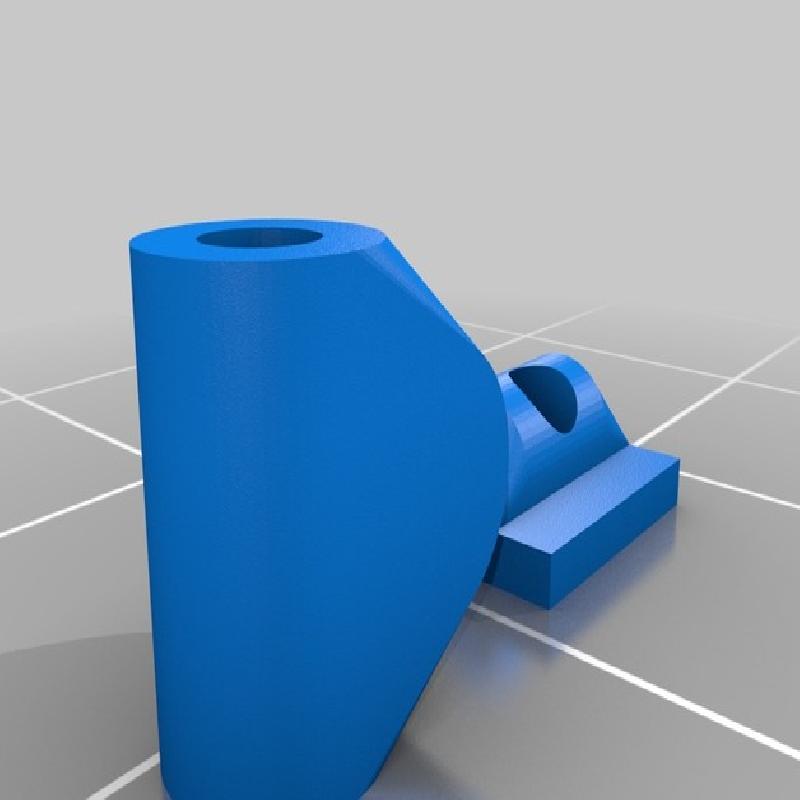
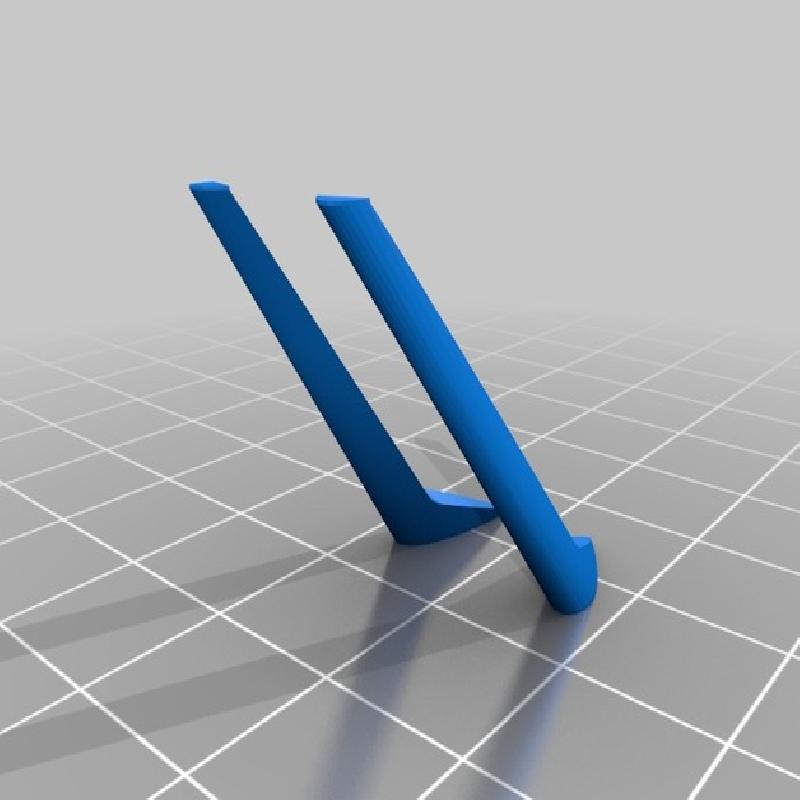
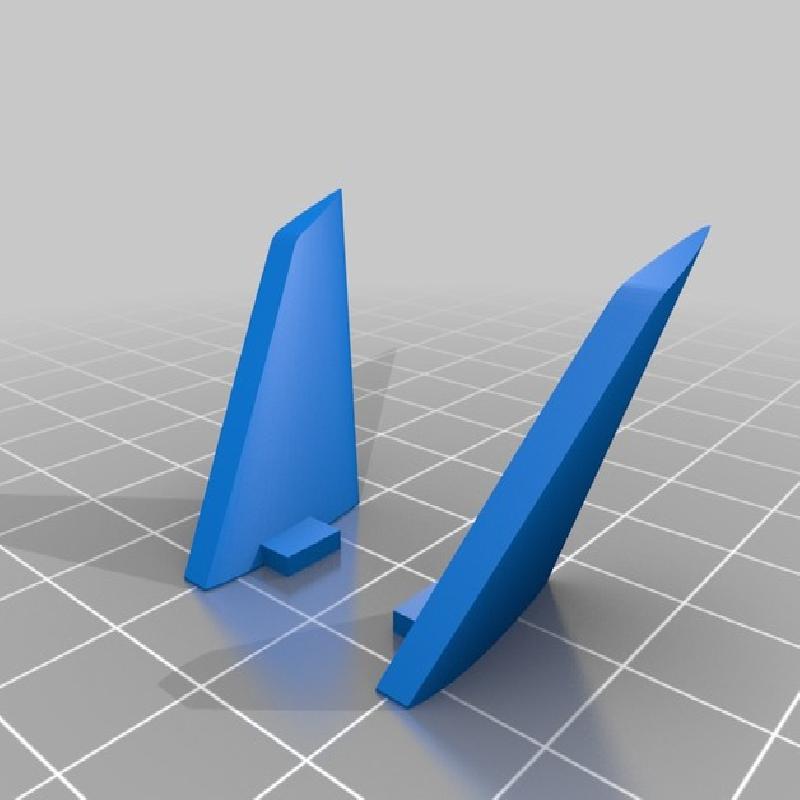
The two halves of the winglets glue together and then the trims glue on top. The fixing tab will then maybe just need a file before pressing into the engine bottom, and once it's fitting well, remove and refit with glue. I was worried about this part of the design but it works well. If you struggle, print the "whole" part but you'll have to paint on the blue trim.
The wings just wiggle into place. If you can't get them in, file the pivots, but don't overdo it!
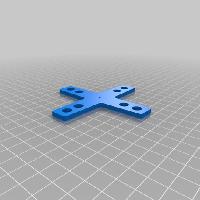
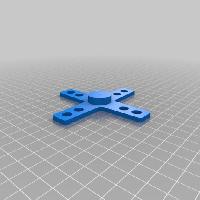
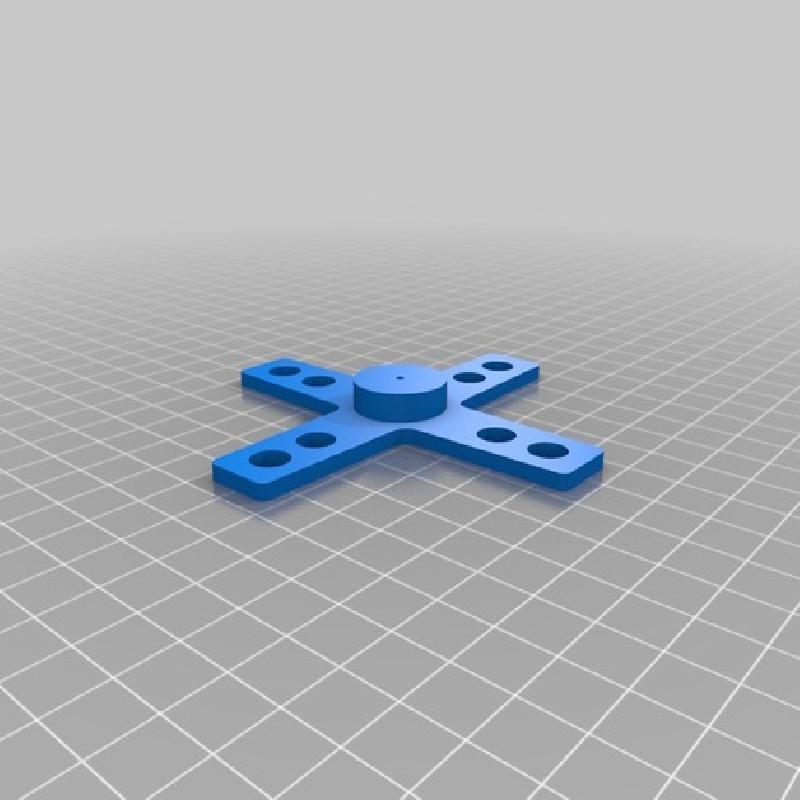
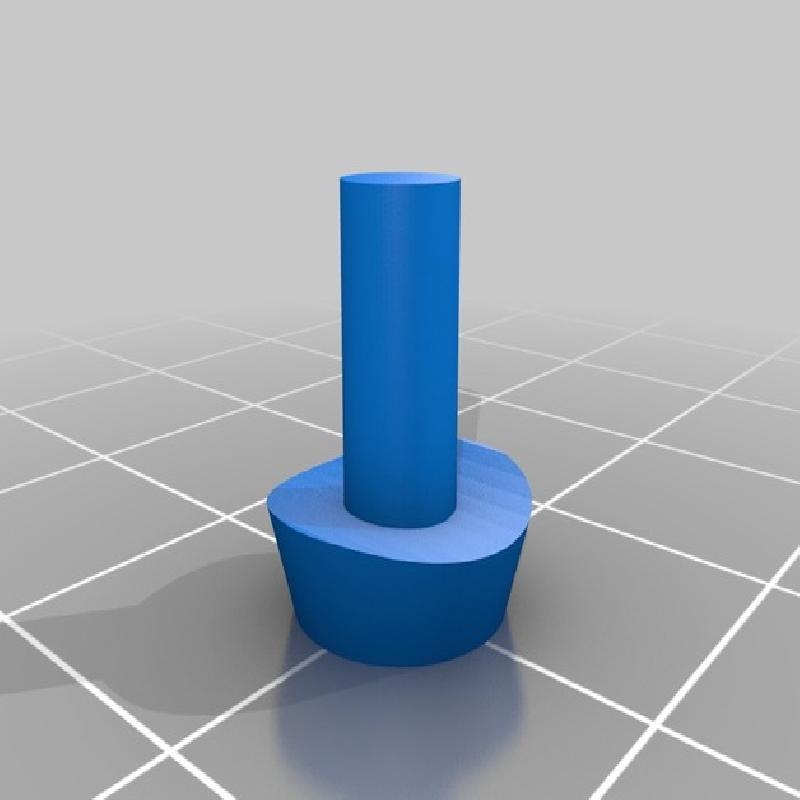
As the stand plugs into the hole that the belly VTOL thruster slots into, don't glue this into place.
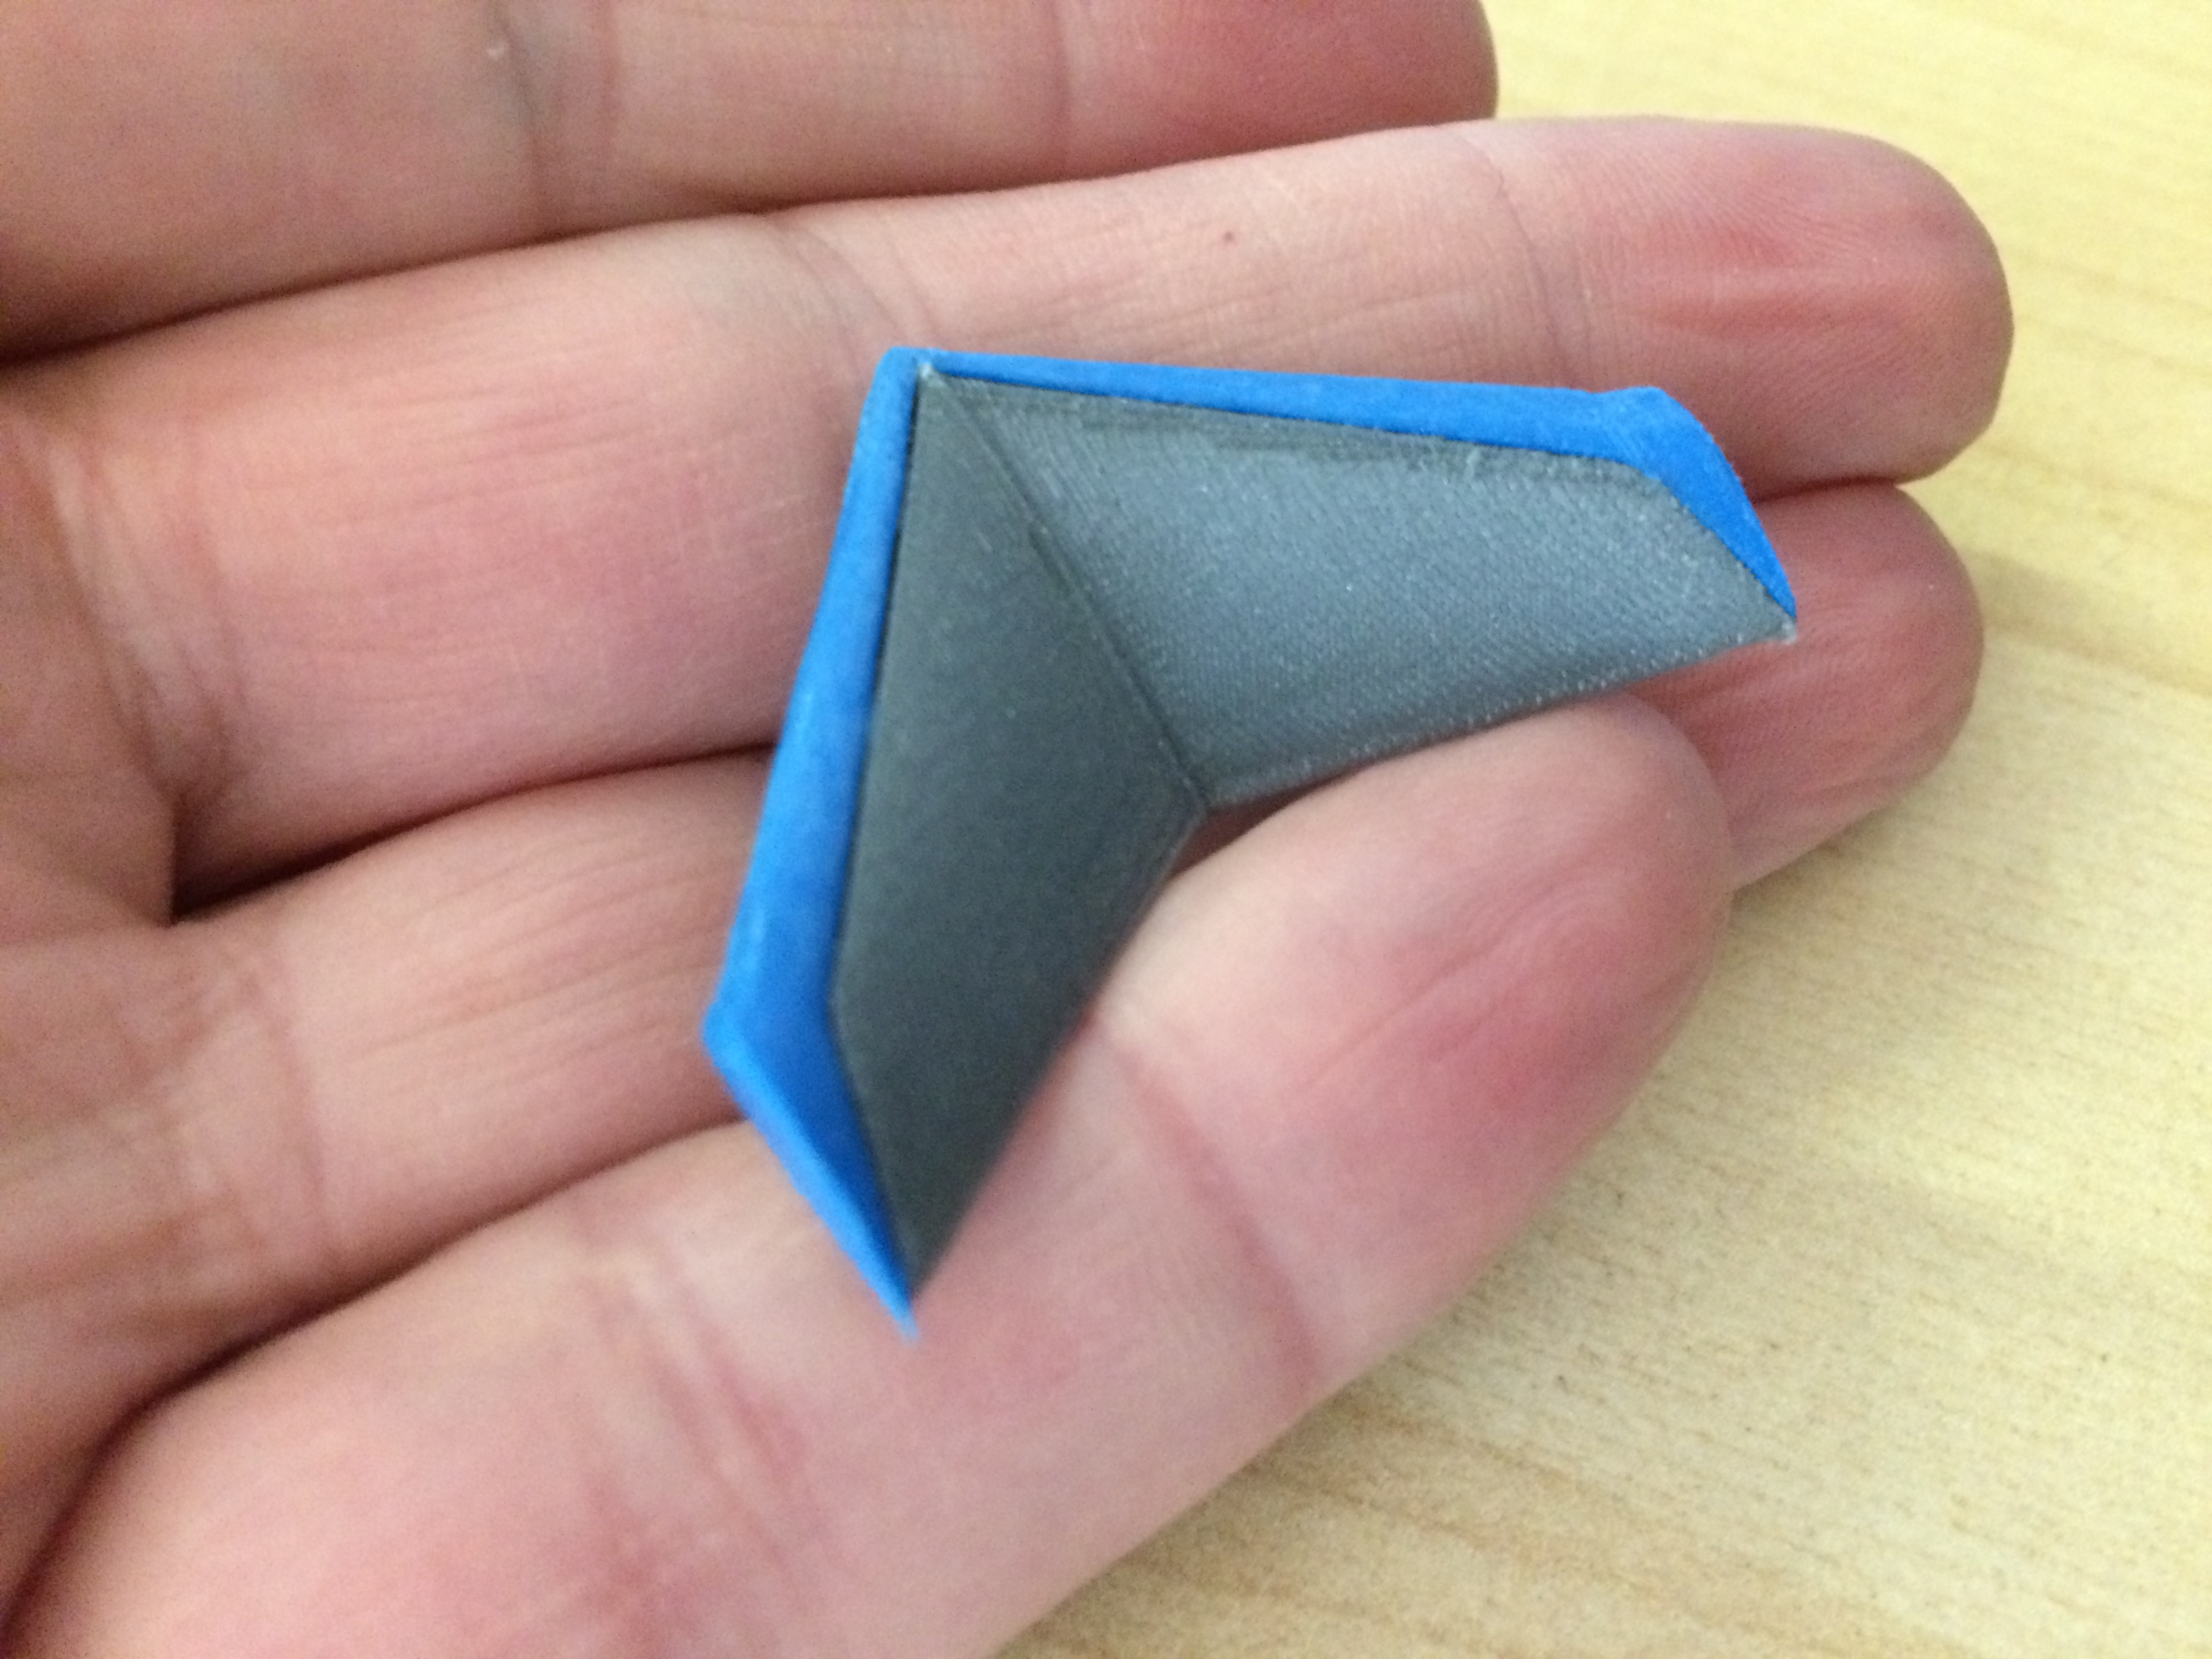
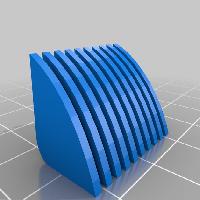
Winglet halves glued together and trims glued on top.
I measured everything from some blueprints found via google and wrote OpenSCAD code to create all the required parts. Let's just say that I learned a lot as I progressed!
I used a lot of sources (referenced in code) but particularly the excellent scratch built TB1 by David Sisson.
http://www.davidsissonmodels.co.uk/thunderbird1.htm
I've included notes on working with the code at the top of the TB1.scad file.