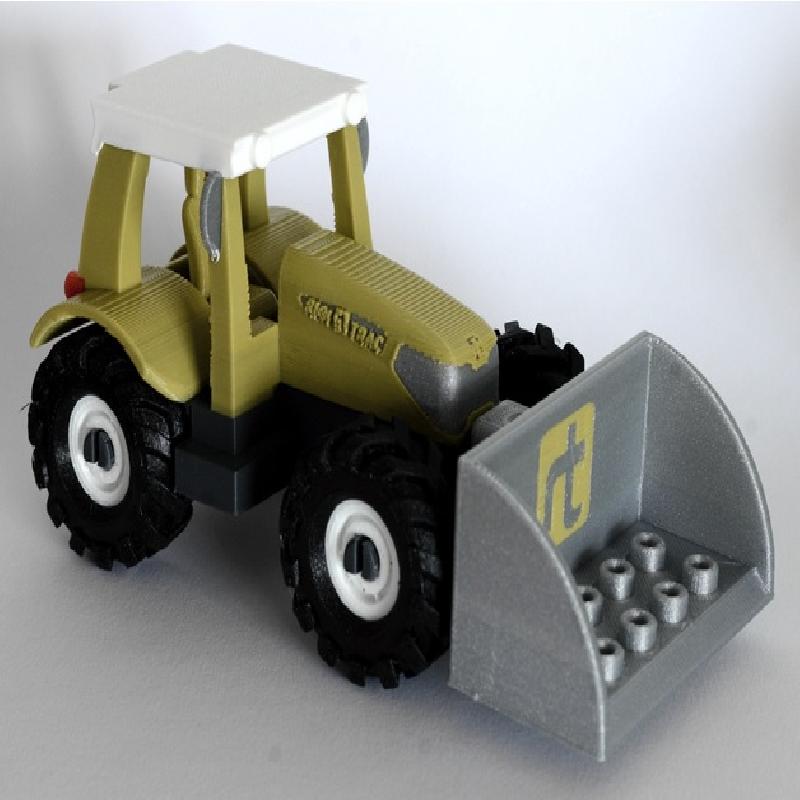
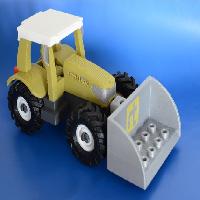
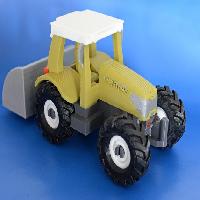
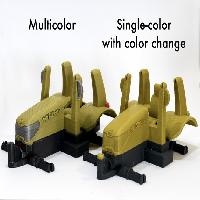
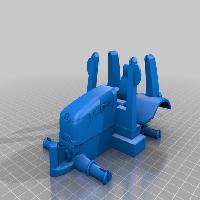
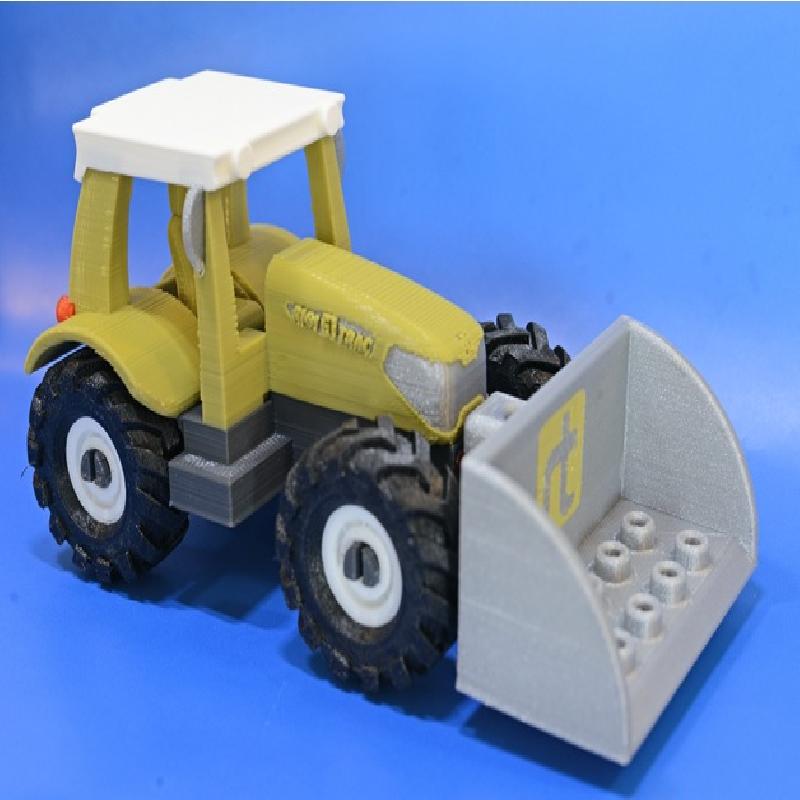
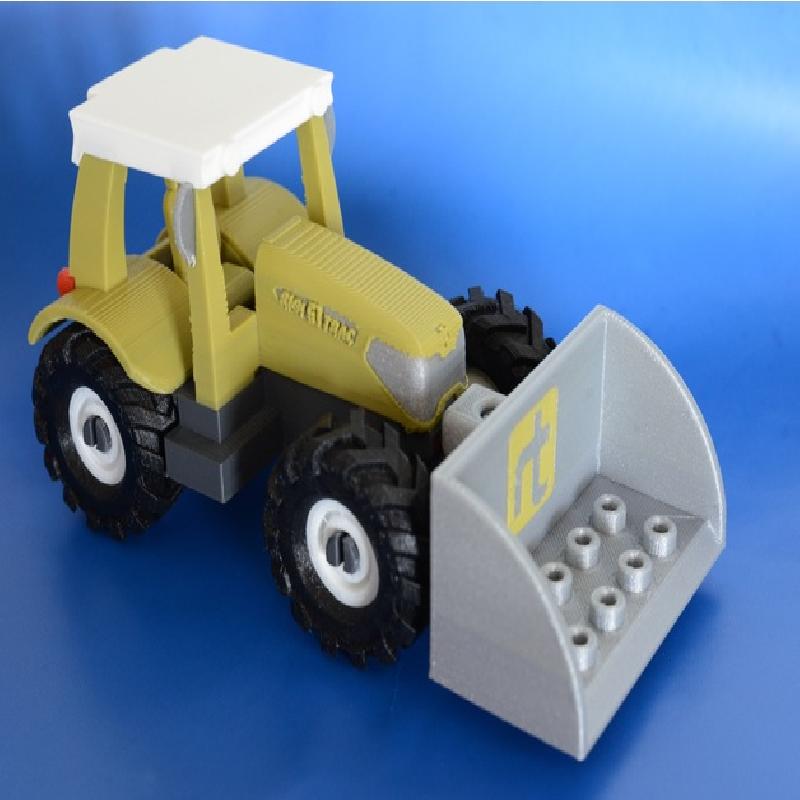
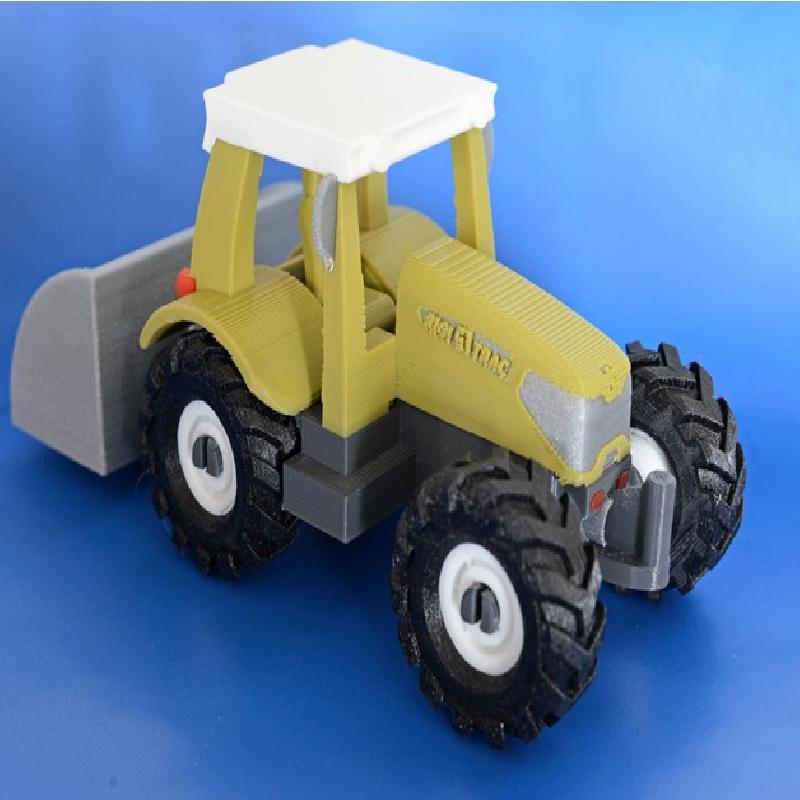
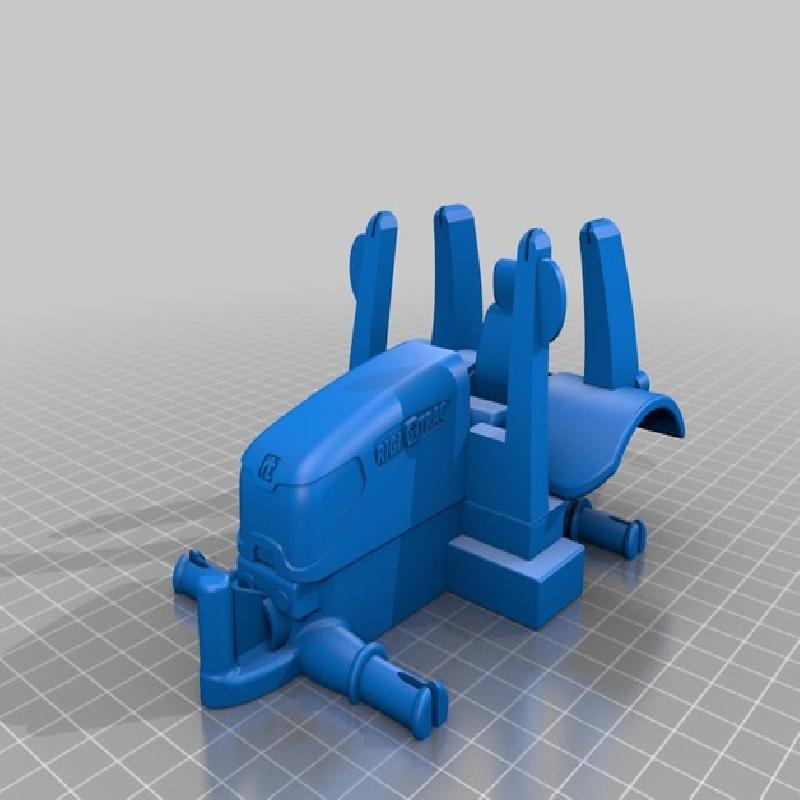
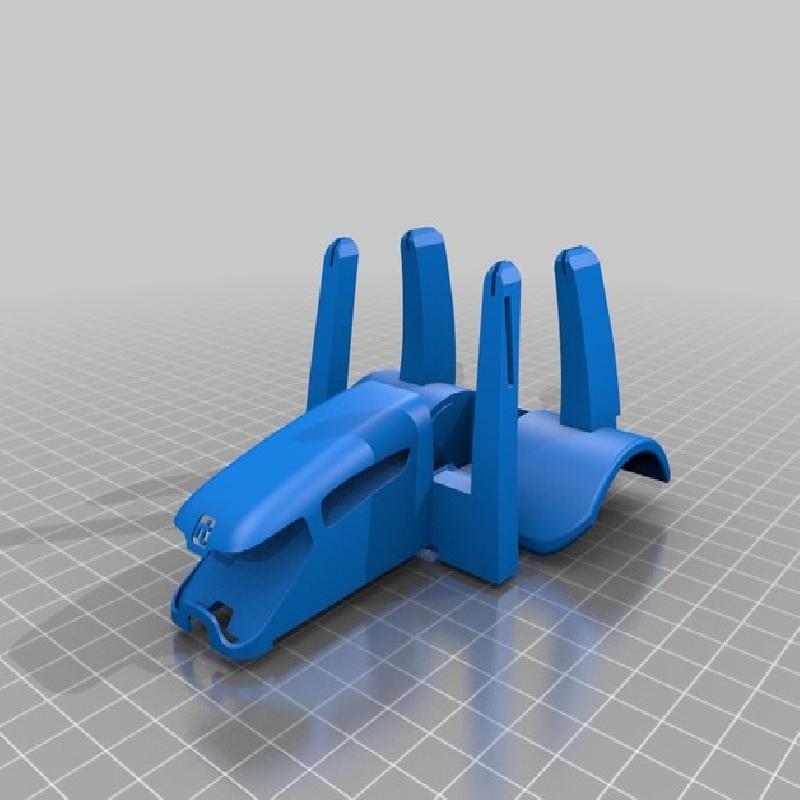
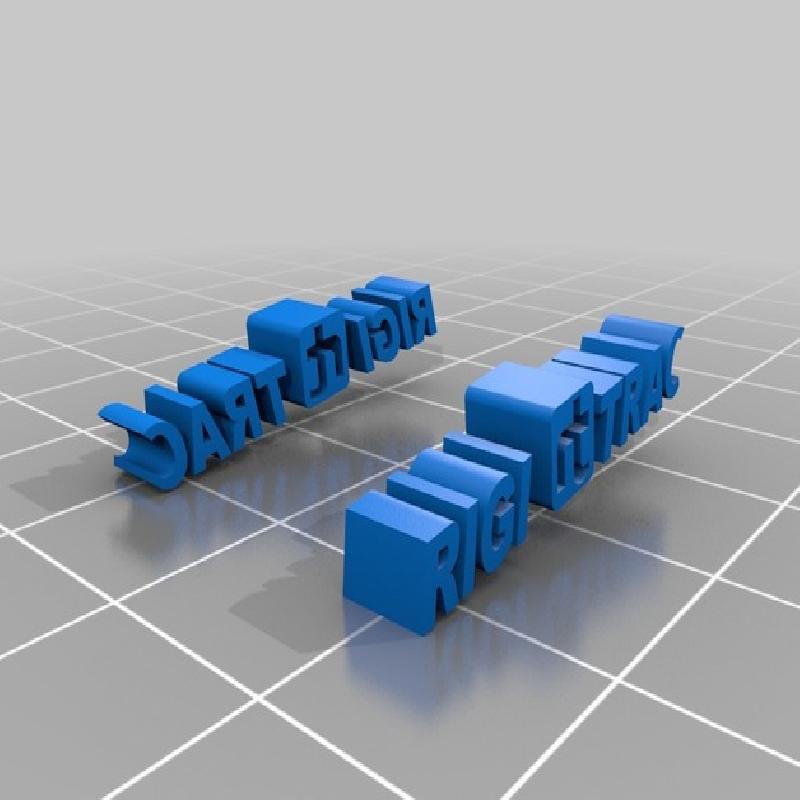
This is a 3D-printable toy model of a Swiss tractor, the RIGITRAC SKH75. We provide STLs for multicolor printers, as well as singlecolor printers. There is optional built-in support.
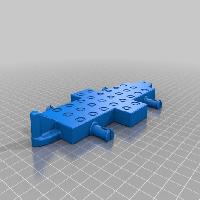
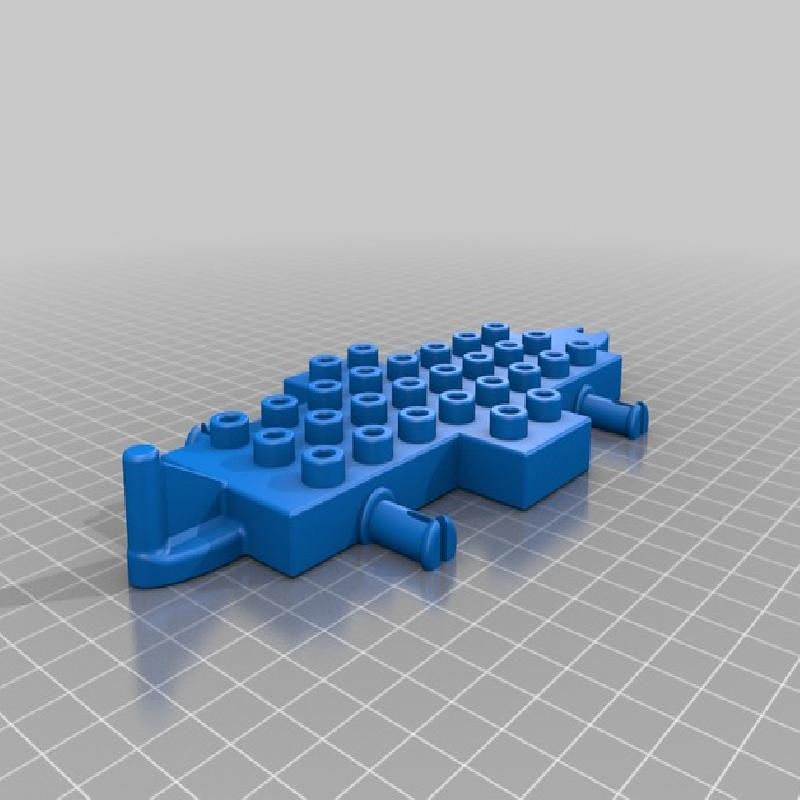
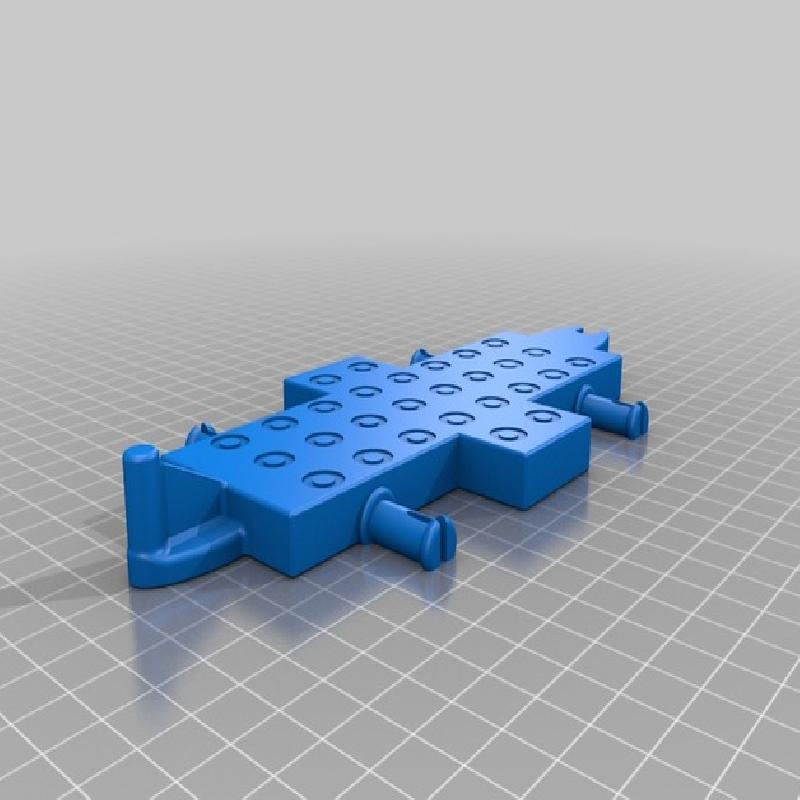
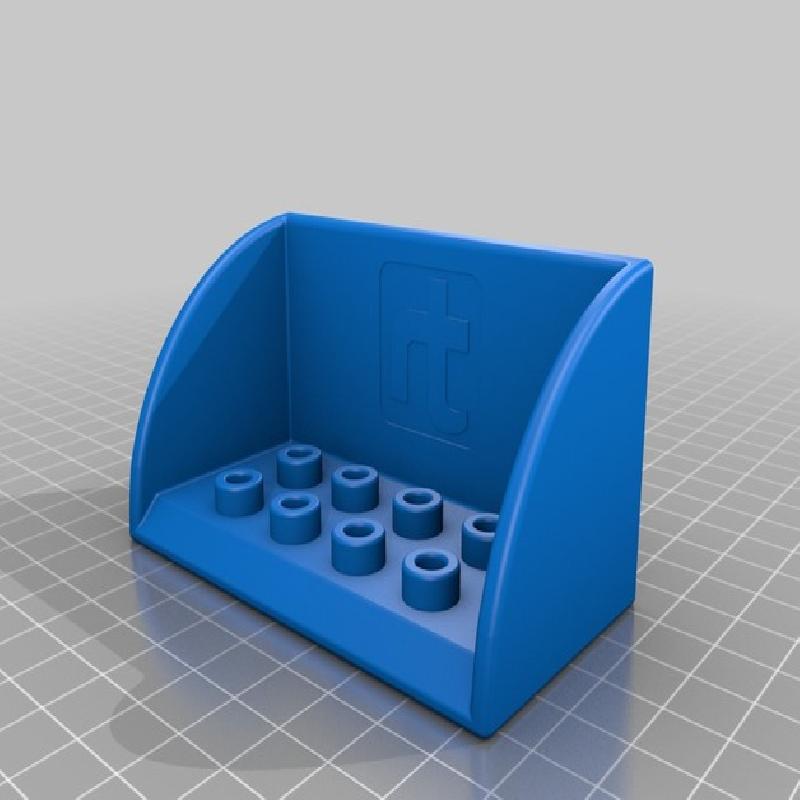
When printed at 100%, the loader and trailer's pegs are compatible with Lego Duplo bricks.
When printing on a multicolor printer, drag the STLs starting with tractor_multicolor into your slicer, and align their origins. If you want to use the built-in support, use tractor_multicolor_support.stl, otherwise, omit that file.
When printing on a single color printer, drag the tractor_singlecolor_body.stl" file and the optional tractor_singlecolor_support.stl* into your slicer. If you're using the built-in supports, align the model origins.
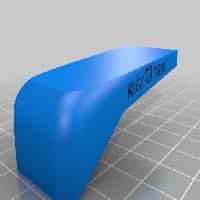
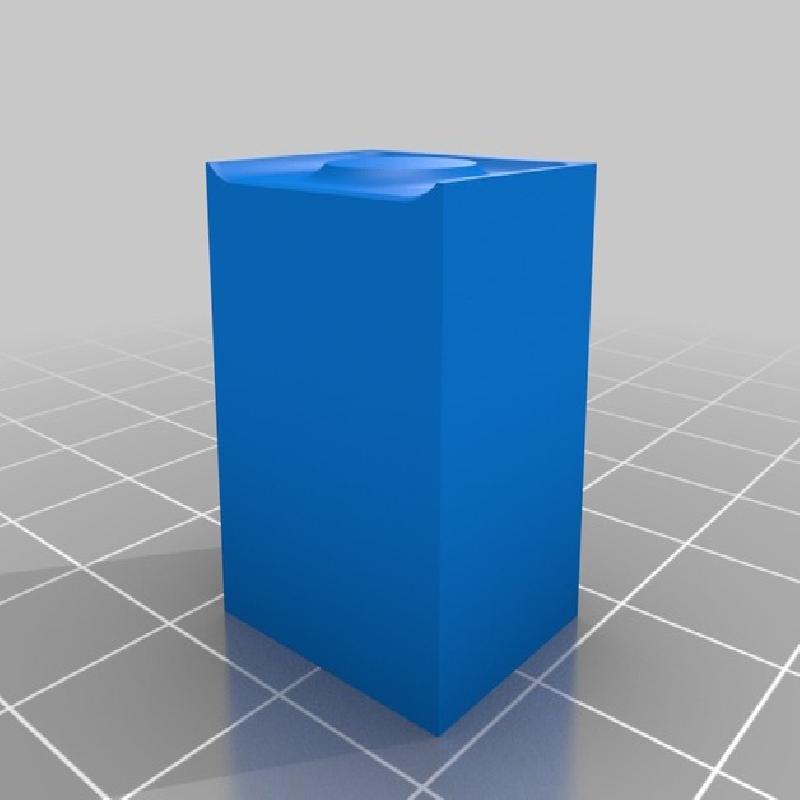
When printing the single color part, you can change the filament color at around 17.5 mm to create a nice two-color print (see pictures).
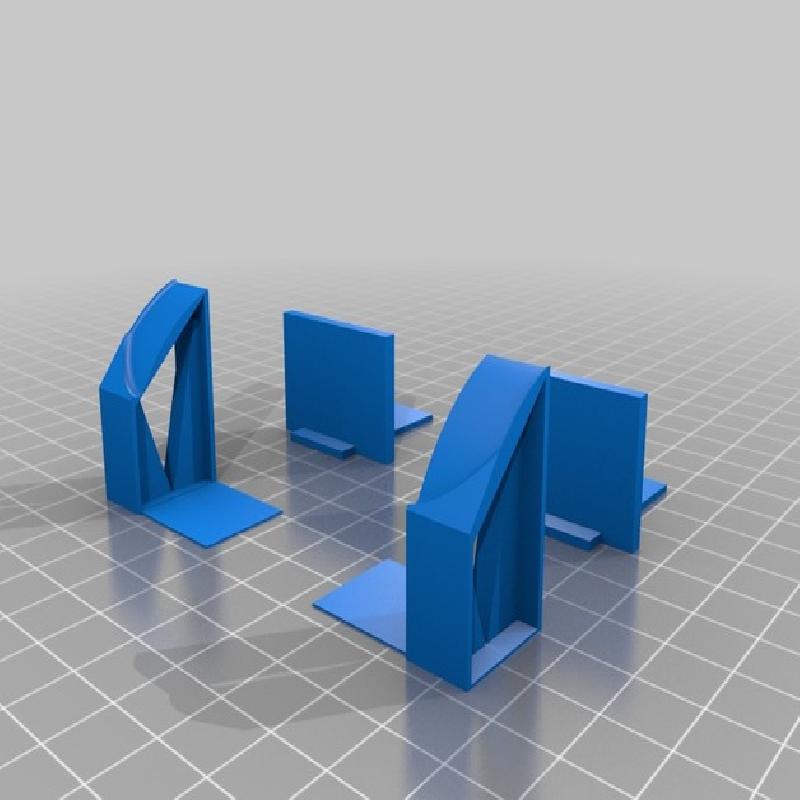
If you don't want to use the built-in supports, you'll have to turn on your slicer's supports. The model can't be printed without any support.
Use a relatively large number of perimeter shells in order to create a strong print. The top of the hood is relatively flat; if you're using a slicer that supports variable layer height, like Prusa's Slic3r, it makes sense to decrease the layer height just for that section of the print.
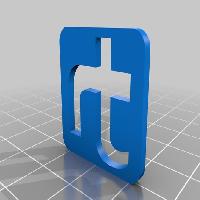
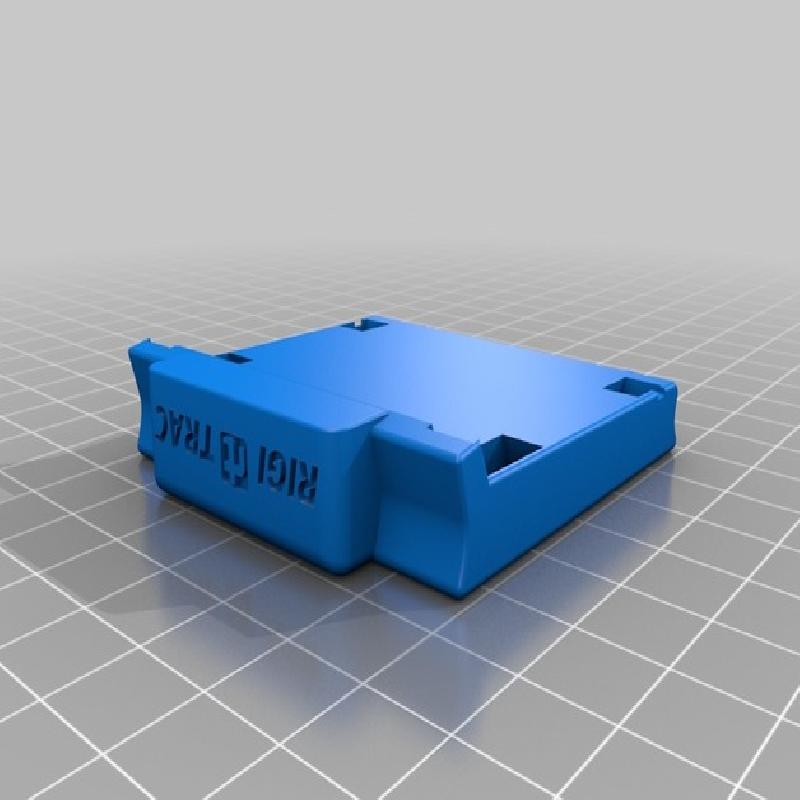
After printing, screw two M3 18mm screws into the two screw holes inside the trailer hitches to prevent them from breaking off.
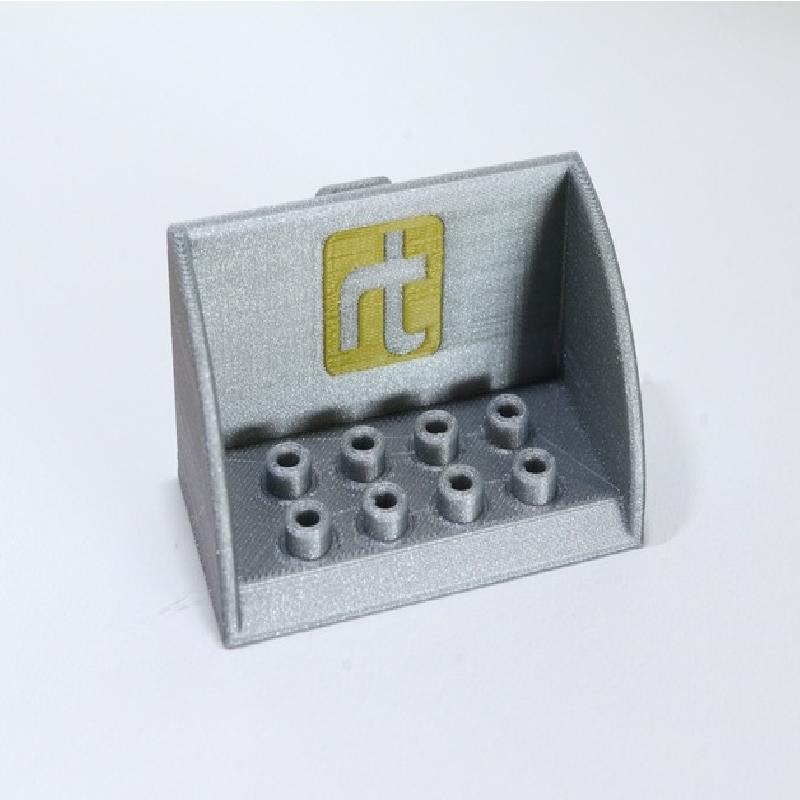
To give the roof a nice matte texture, I've printed this part on blue painter's tape.
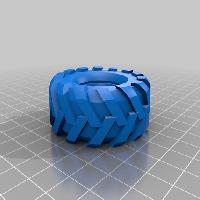
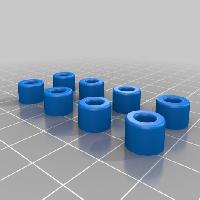
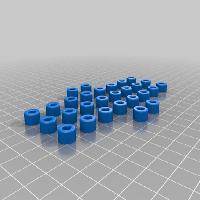
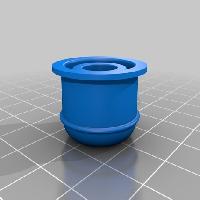
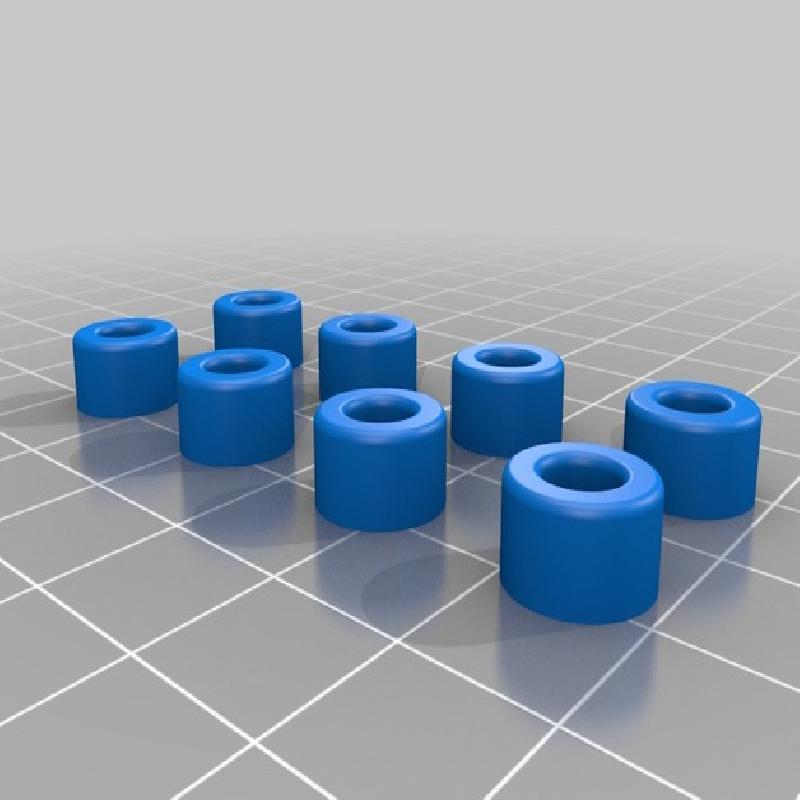
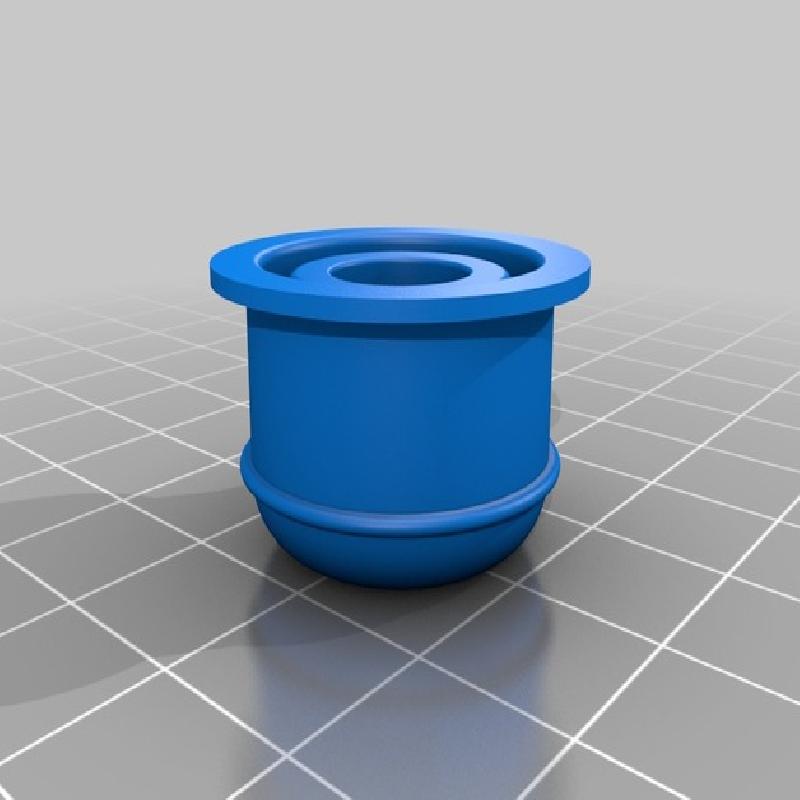
You need eight rims for the tractor and the trailer. To get them to stick well, use something like 3DLac, or print them with a brim.
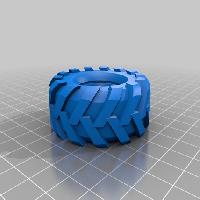
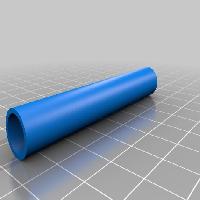
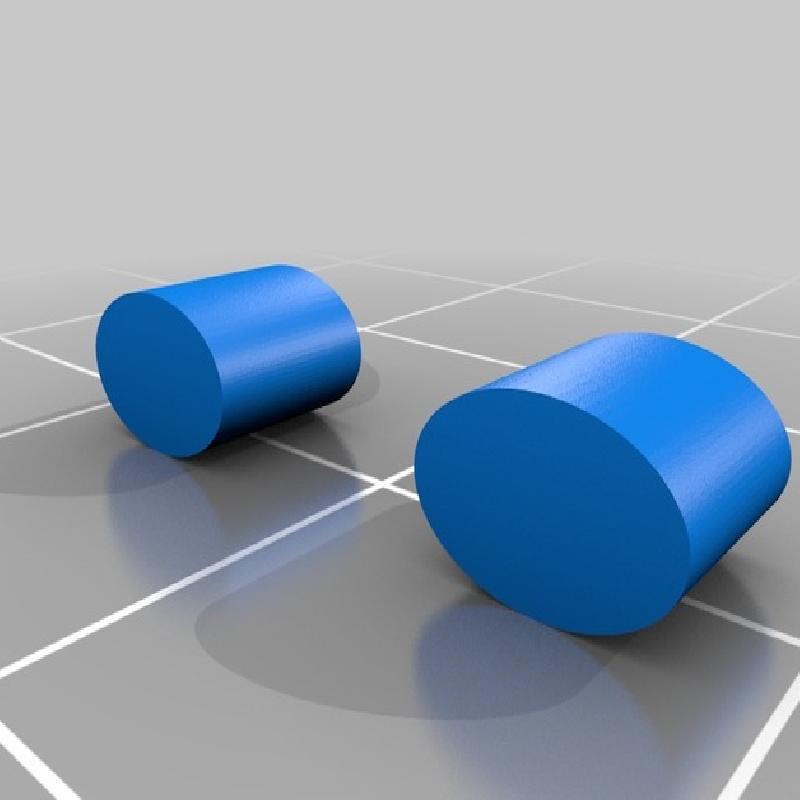
Print the tires with a very soft flexible filament, like Ninjaflex. Semiflexes aren't soft enough. Go with low infill and honeycomb pattern, so the infill forms spokes inside the tire. Use two perimeter shells, three bottom layers, and at least five top layers, enough for the printer to completely close the top.
For tractor and trailer, print four tires of each type (regular and mirrored).
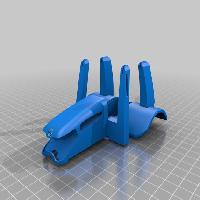
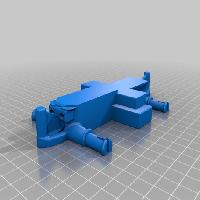
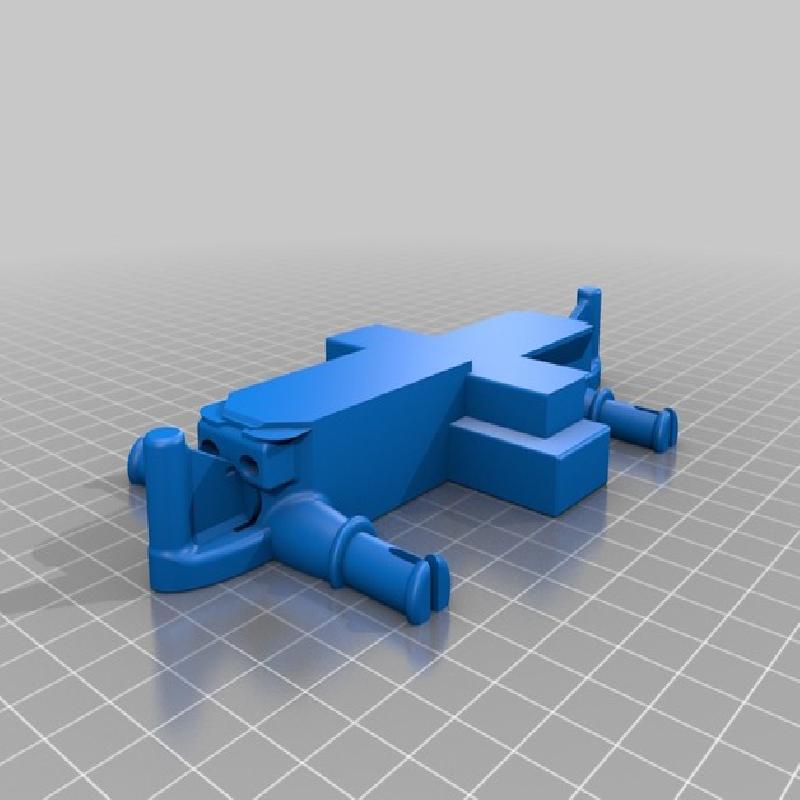
For multicolor printers, print the files that start with trailer_multicolor. The trailer_multicolor_support.stl is optional, if you don't print it, use your slicer's supports.
For single color printers, print trailer_singlecolor_body.stl, and optionally, trailer_singlecolor_support.stl. if you don't print the built-in support, use your slicer's support.
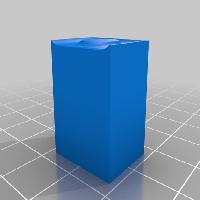
The built-in support will fuse with the print, and will have to be removed with a bit of force.
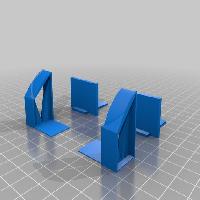
For multicolor printers, print the parts that start with "trailer_multicolor". As always, trailer_multicolor_support.stl is optional, but if you don't use it, you must user your slicer's support.
For single color printers, print trailer_singlecolor_body.stl, and either print trailer_singlecolor_support.stl or turn on your slicer's support.
Use an M3 18mm screw to prevent the hitch from breaking off.