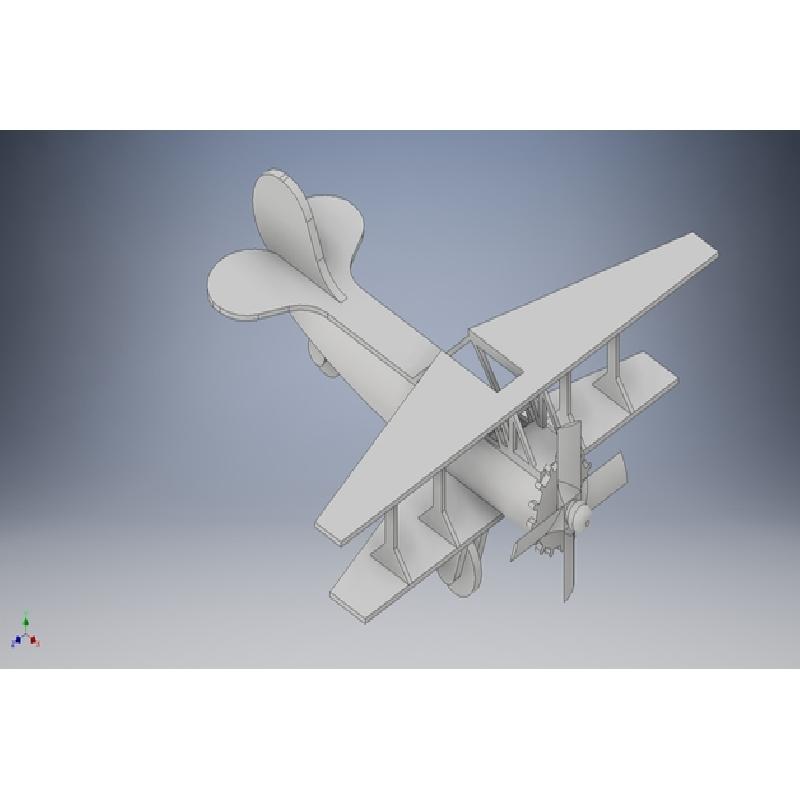
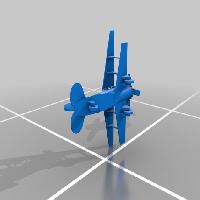
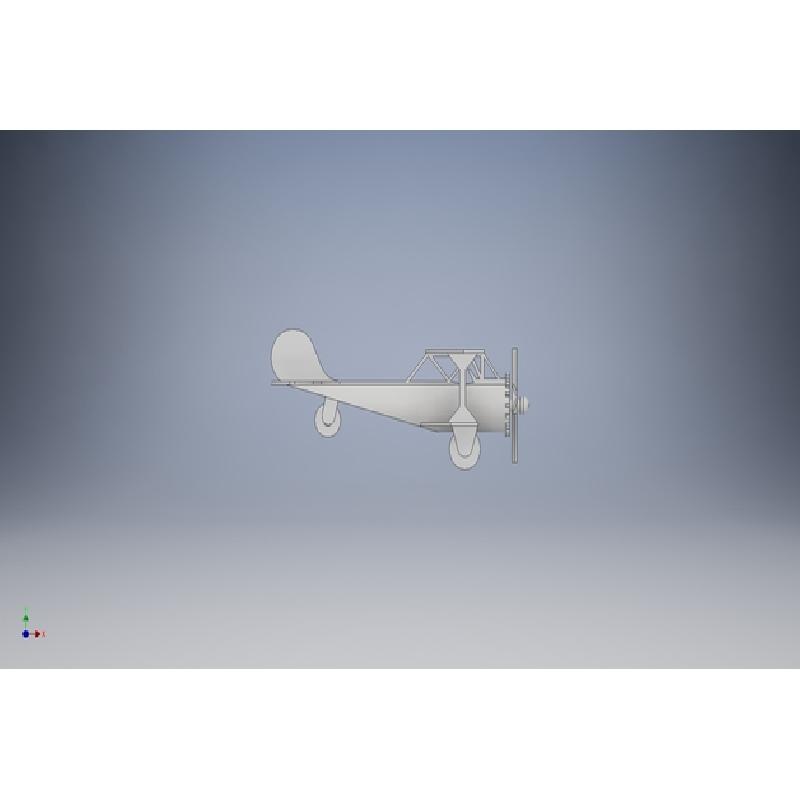
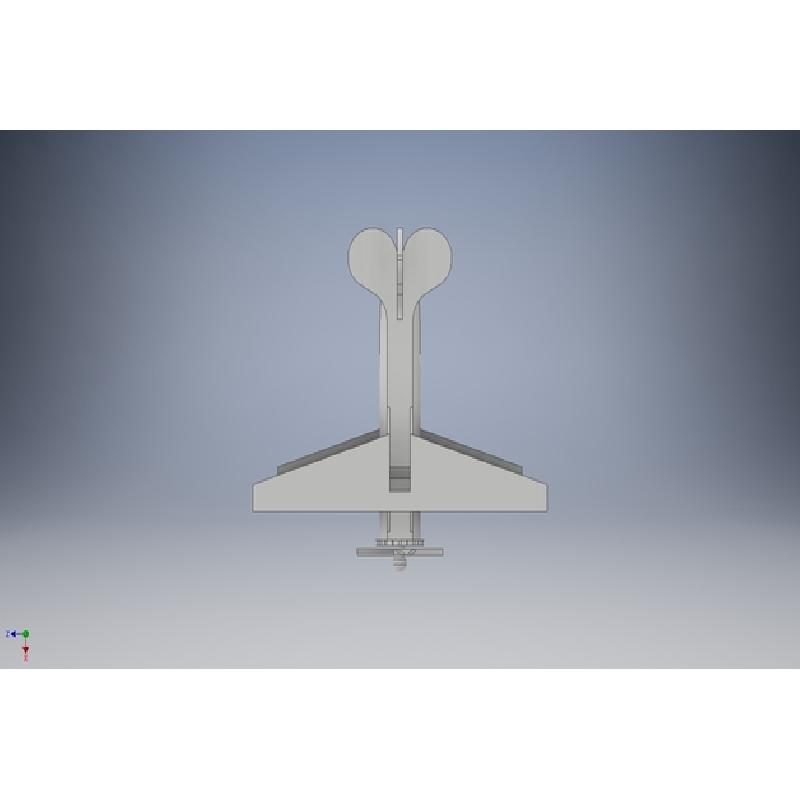
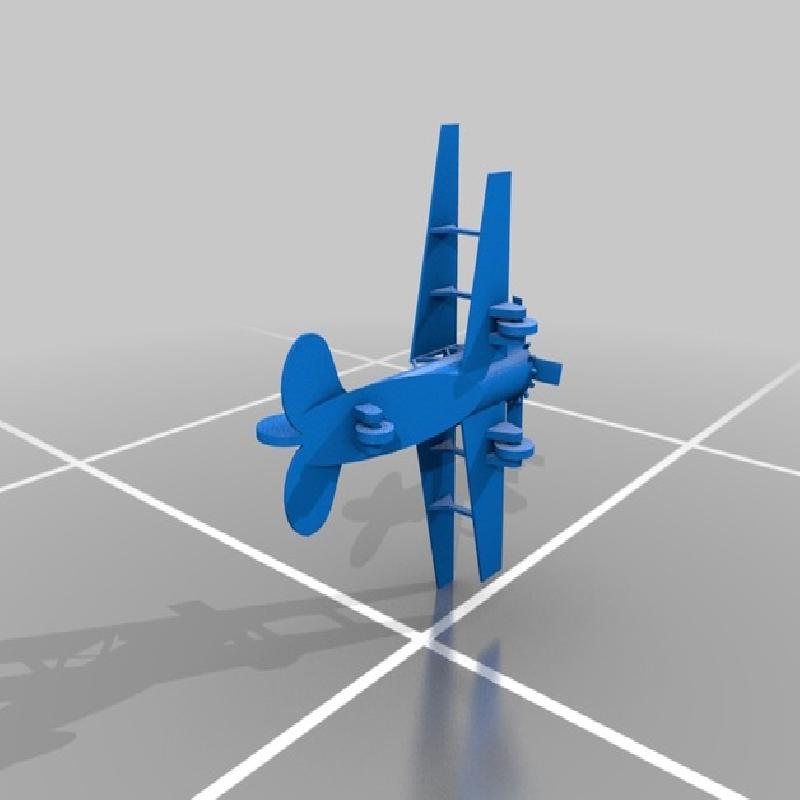
A upgraded version of my Simple Bi-Plane. I noticed that the plastic under the top wings got very stringy. I think that I have fixed this issue. If the issue is not resolved I encourage anyone who plans on printing this plane to send feedback on what could be done to better the design. I will try to export this object on other CAD formats soon.
Printer Brand:
PowerSpec
Printer:
PowerSpec 3D Pro
Rafts:
Yes
Supports:
Yes
Resolution:
.27mm to .1mm, your choice.
Infill:
hollow otherwise, 10% to 15%
Notes:
Keep the amount of shells to a maximum of 2.
Print with front wheels on the platform/print bed.
Note: If you do own a PowerSpec 3D pro 2 printer, or any printer that runs ReplicatorG - 0040 scale this object, to 20 25 times as it is very small when first loaded into ReplicatorG - 0040.
You are free to scale this project lower than 20 times or greater than 25 times original size if your bed size is to small or you are low on plastic. this is just what worked out the best for me
When printing keep in mind that if full supports is selected you might get support material inside the areas where the propeller sits around the crank shaft and where the wheels sit around the axels.
I recommend that this object be printed with external supports as the tolerances are loose enough.
this plane took about 15 hours to print
Separate parts in Separate Planes
The idea for this project was based on the need to have multiple parts move in separate planes of motion. As seeing that wheels need to move in a perpendicular plane from the propeller.
This can also be used to explain to History students why many early aircraft were mostly designed with two wings including the Wright Flyer.
The Multi-plane Test (Project)
Before you as teacher tell tour students to create, you as a teacher should try and design something that has features that cam move in separate planes of motion. For example, a helicopter has 3 sets of objects that move in 3 planes of motion. The is the main rotor moves in the Z axis of motion(up/down), the tail rotor moves in the X axis of motion(left/right), and the wheels that move the Y axis of motion(forwards/backwards).
You as a teacher should start this project by showing how to use the CAD software by designing a few small parts.
Instruct your students design and create any sort of vehicle that contain objects that spin/turn/wobble/rotate in more than one plane of motion.
First: Give each student three sheets of graph paper, and one sheet of isometric graph paper and a ruler. Using the 3 sheets of graph paper, have students draw a top, front, and side view of their object. Have them dimension each drawing make sure to include proper units, inches or centimeters.
Second: Give each student the isometric graph paper and a ruler and redraw their design although this time it will be in three dimensions.
Third: If computers are available with design software have each student take their drawings to the computer and have them render the design in three dimensions.
Fourth: Show students historical examples of multi-planed motion from the past and how the designers of decades past solved these problems. Examples include aeroplanes, hydroplanes, helicopters, hovercraft, etc.
Fith: Have each student submit their design for printing
Sixth
Seventh: Have students scan all three graph paper drawings into the teachers computer; the students will keep these.
Eighth: The teacher will send students their Cad files via email/UPS/FED-EX/Carrier Pigeon with USB flash drive.
Encourage your students to work in small groups and to exchange ideas with each other.
You will be surprised by the diversity of designs from all students.
Ninth: Print out every students design on your schools 3D printer/Lazer Cutter/CNC Mill, along with the top,side,front, and isometric views on a laserject/inkjet printer
Have your students keep you apprised of their projects. At least three class meetings should be held to have students critique each others designs and gain inspiration from other students.
Materials and stuff needed
You will need the following:
(1) - 8.5" X 11" printing paper, 8.5" X 11"graph paper, and 8.5" X 11" isometric graph paper, or A4 printing paper, A4 graphing paper, and A4 isometric graph paper. Paper size will depend on region and country.
(2) - Measuring sticks, angle finders, calipers, compasses(measuring kind, not directional).
(3) - Computers with design or CAD software.
(4)-Rapid prototyping hardware; such as 3D printers, LAZER cutters, CNC mills.
(5)(Optional) - If your on a budget, Hot glue, Glue sticks, Elmers glue, paper, and yard sticks/meter sticks.
(6) - Inkjet/Lazerjet printer/Printing Press/pencil and paper.
(7)(Optional) - Students with portable or home computers have the ability download software compatible with the current file type and can work on this project on their own time.
Design
Engineering
Physics
Graphic Design
Team Work
Team Building