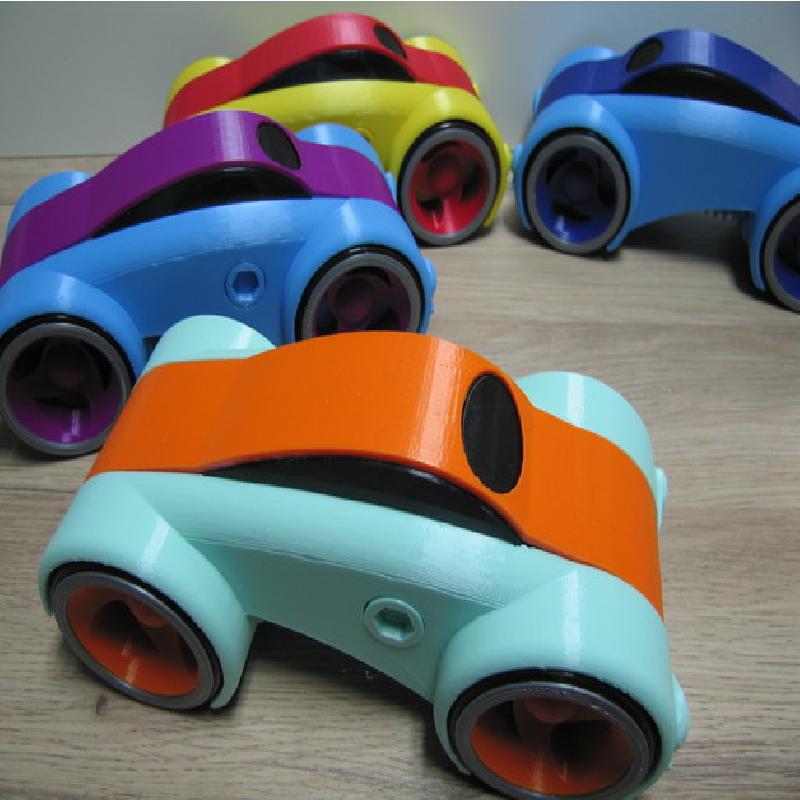
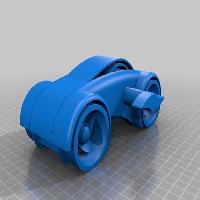
This a slight remix of Dual Mode Windup Car by gzumwalt http://www.semaker.com/productdetail/6350
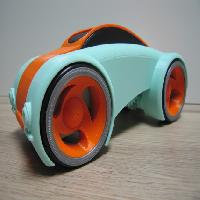
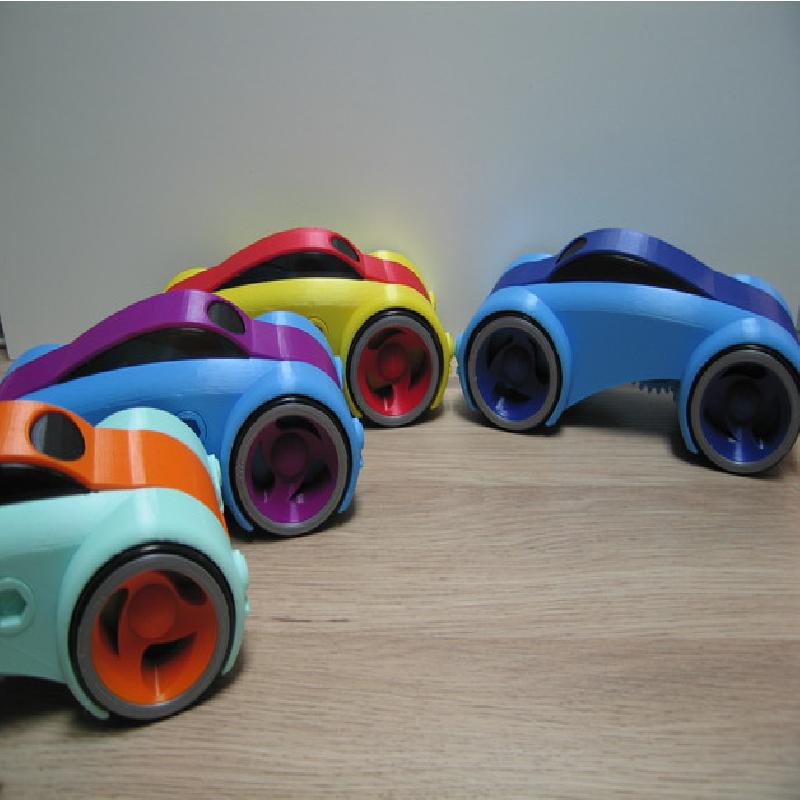
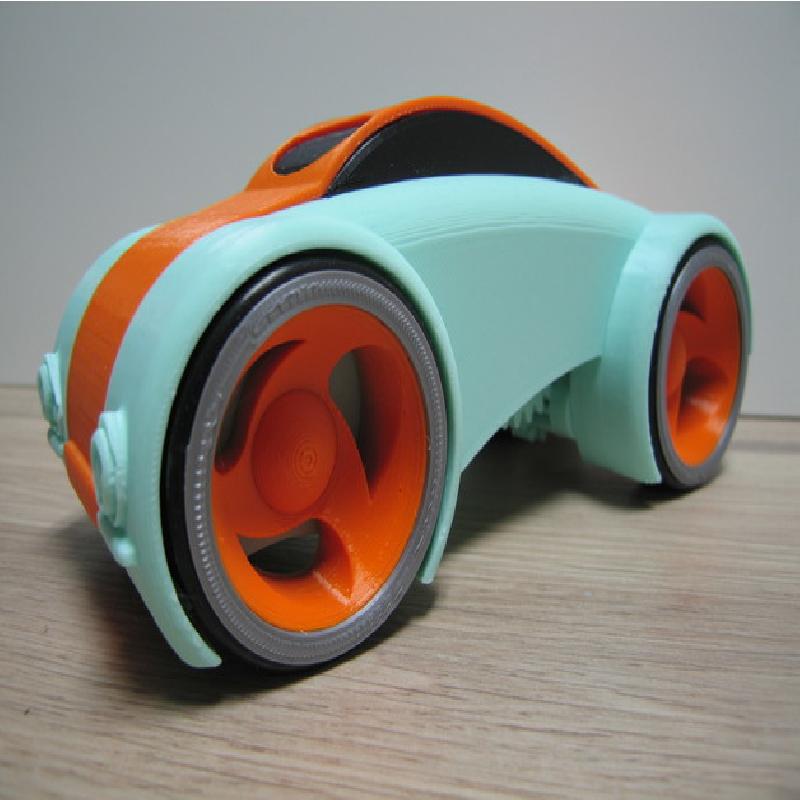
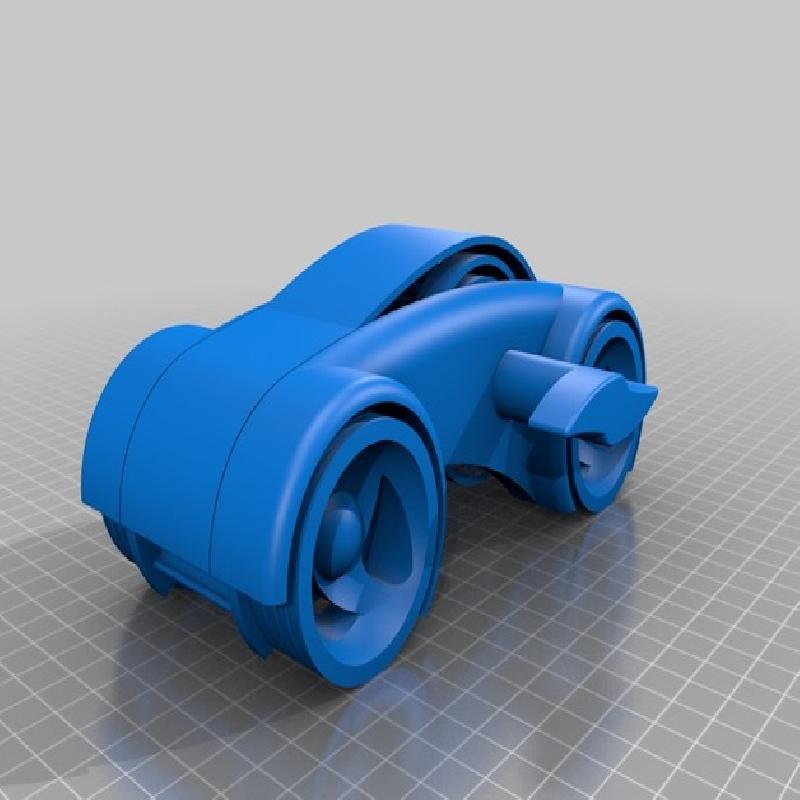
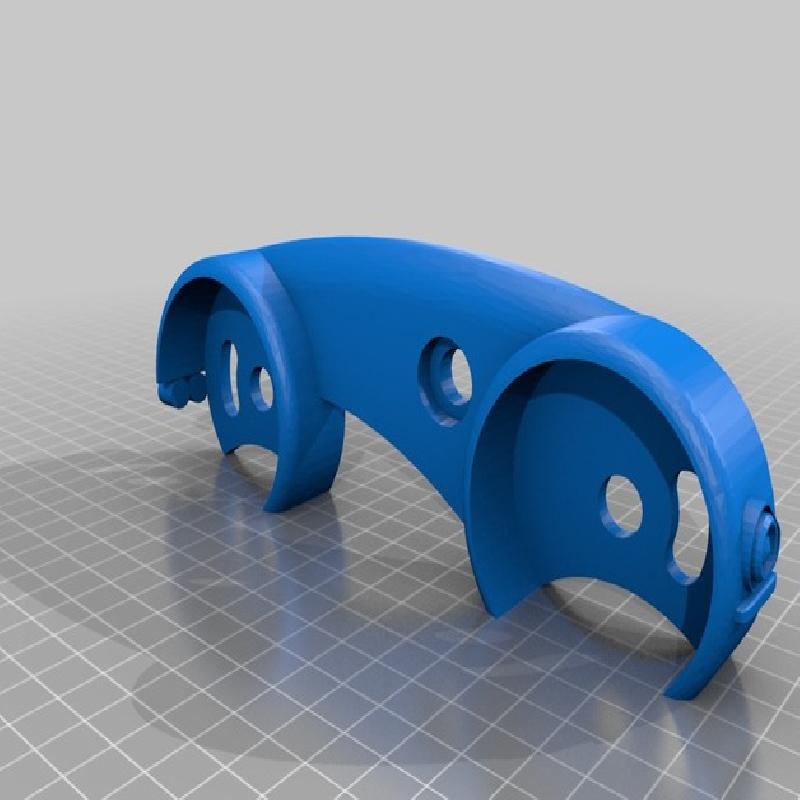
I loved the design but after printing the first one and showing to friends and family I noticed they didn't know which end was the front until I wound it up and showed them. I thought maybe if it had some head lights it would make it more clear I ended up also added a dual exhaust to it also.
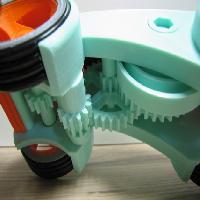
I wanted the gears hidden so that it would look more like a Car model so I made some windows. I did all these changes with Tinkercad, it was a learning experience but I'm happy with the results but I do need to spend time with Fusion 360.
Only 4 parts are changed from the original design and they are:
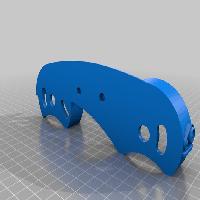
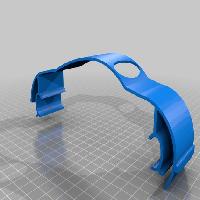
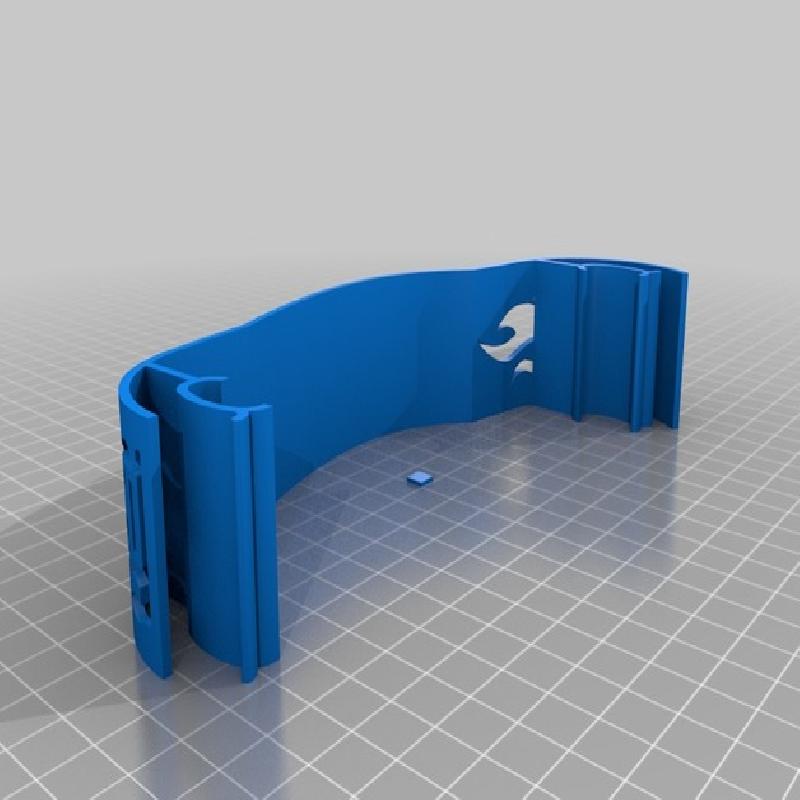
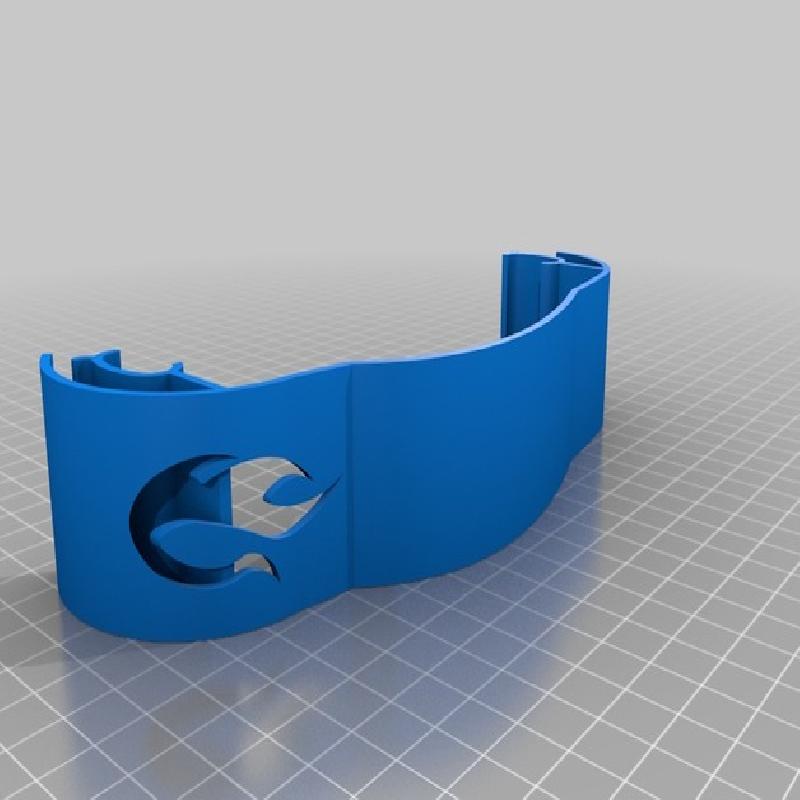
Remix_Body_left_lights
Remix_Body_Right_lights
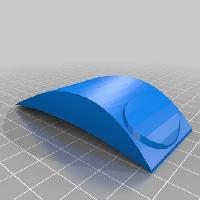
Remix_Body_top_cut-out
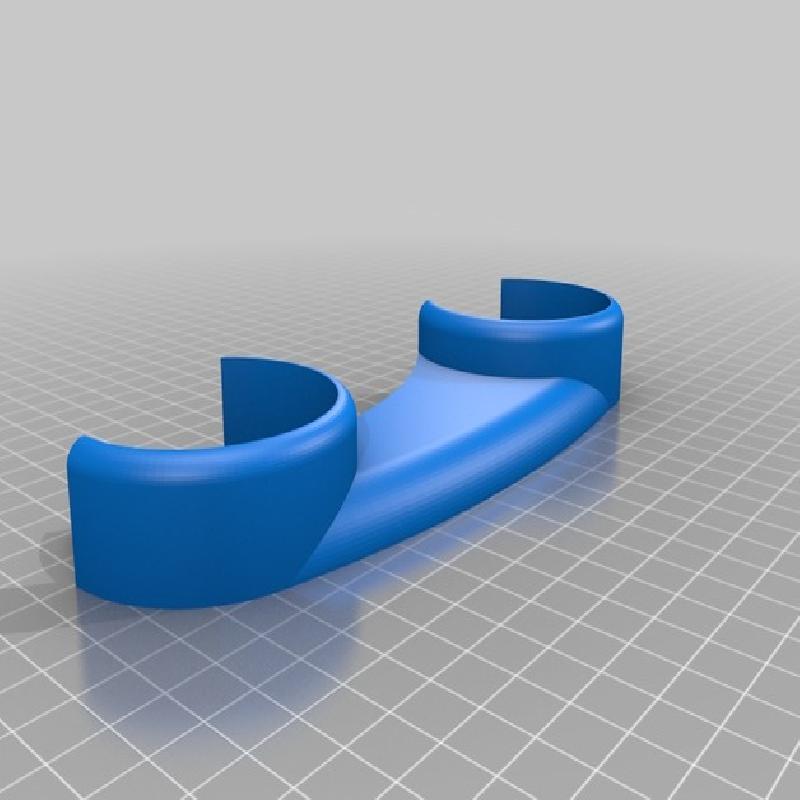
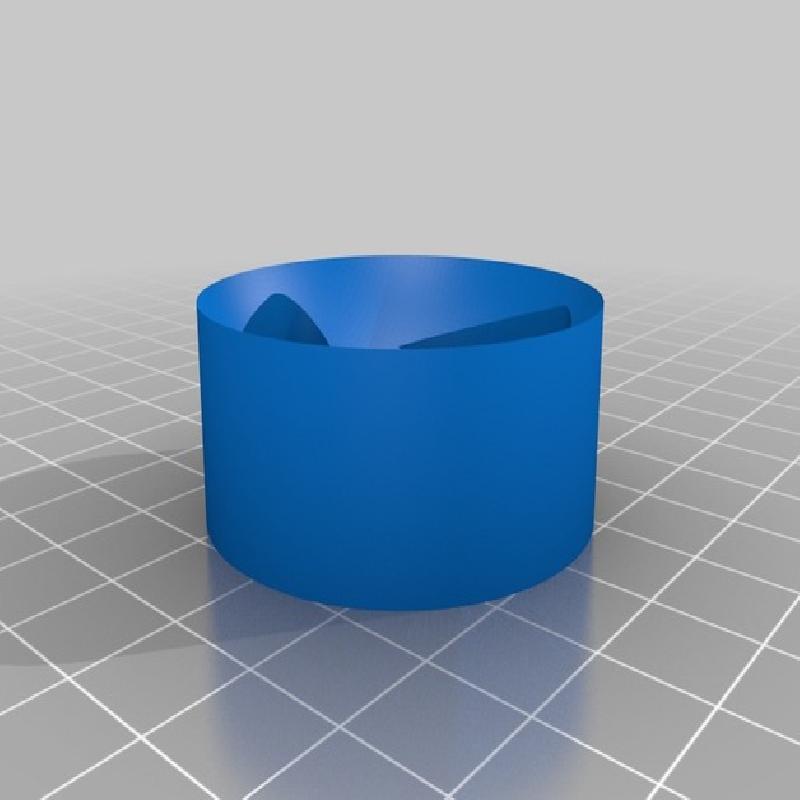
Remix_Car_Windows, The windows need to print on it's side with supports all the rest is support free (you will need to glue the windows to the top to make installation easier).
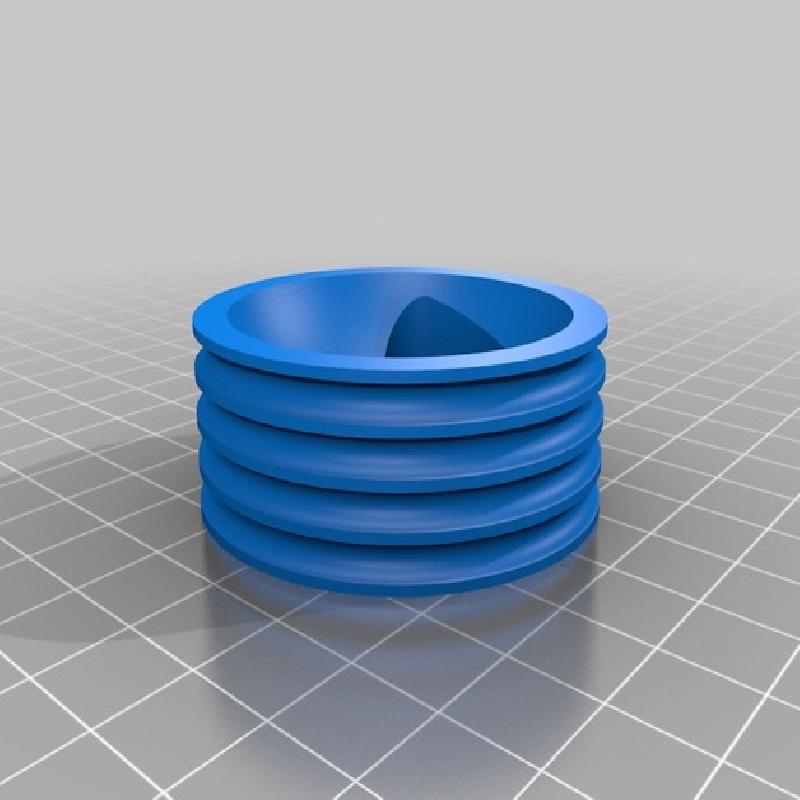
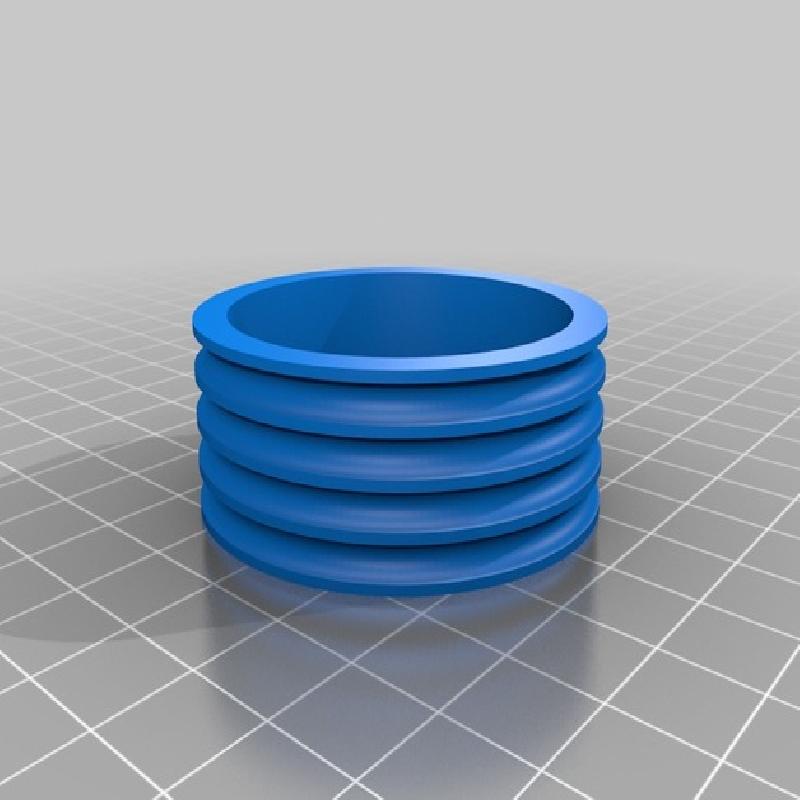
Not sure if it was an error but the design called for 16 size 222 (1 3/4 O.D., 1 1/2 I.D., 1/8" diameter) O-rings for the tires I could not install them on the rims they were too tight I ended up using size 223 (1-5/8" ID, 1-7/8" OD, 1/8" diameter) O-rings for the tires and they fit perfectly.
I printed everything at .02mm in PLA with 80% infill with 4 perimeters on Top, Bottom and Sides.
All of the originals parts are included here so you don't need to download anything else.
Install instructions are from the original and stay the same.
assemble Dual Mode Windup Car in the following order.
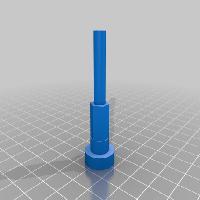
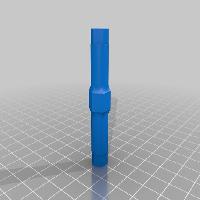
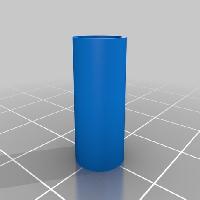
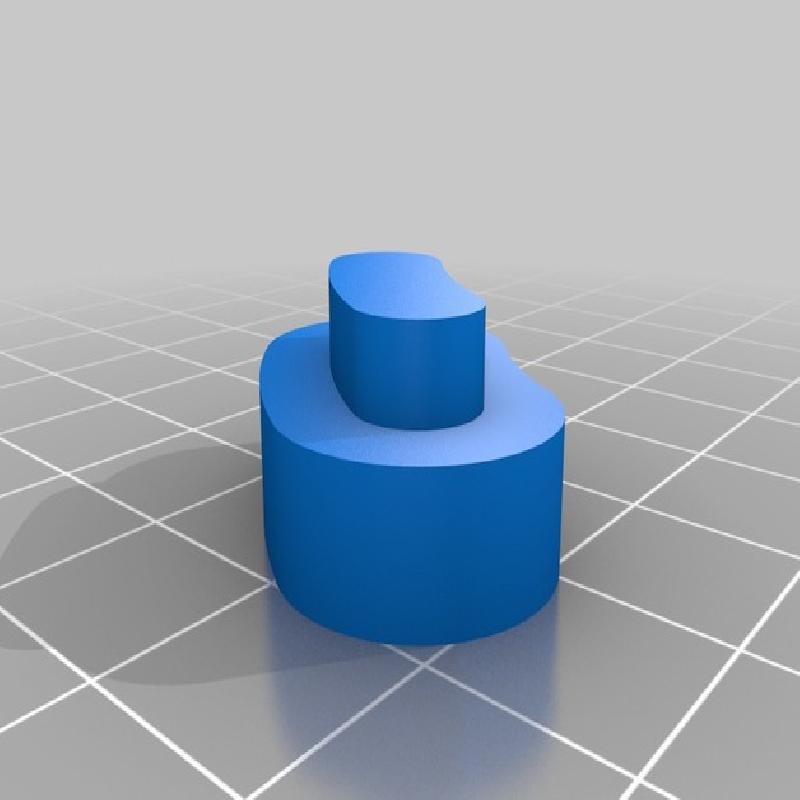
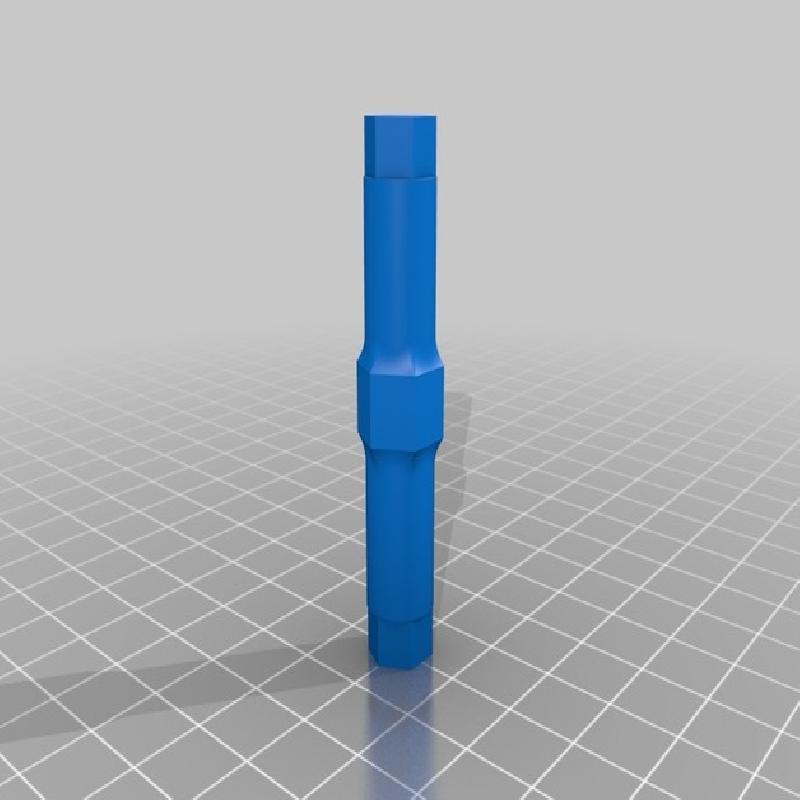
1) Position "Axle Spring.stl" into "Chassis Right.stl", then press "Spring.stl" and "Pawl.stl" onto "Axle Spring.stl".
2) Press one each of "Cross Member.stl" into "Chassis Right.stl" at the front and rear.
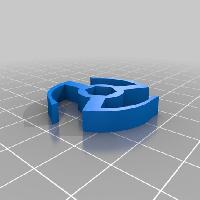
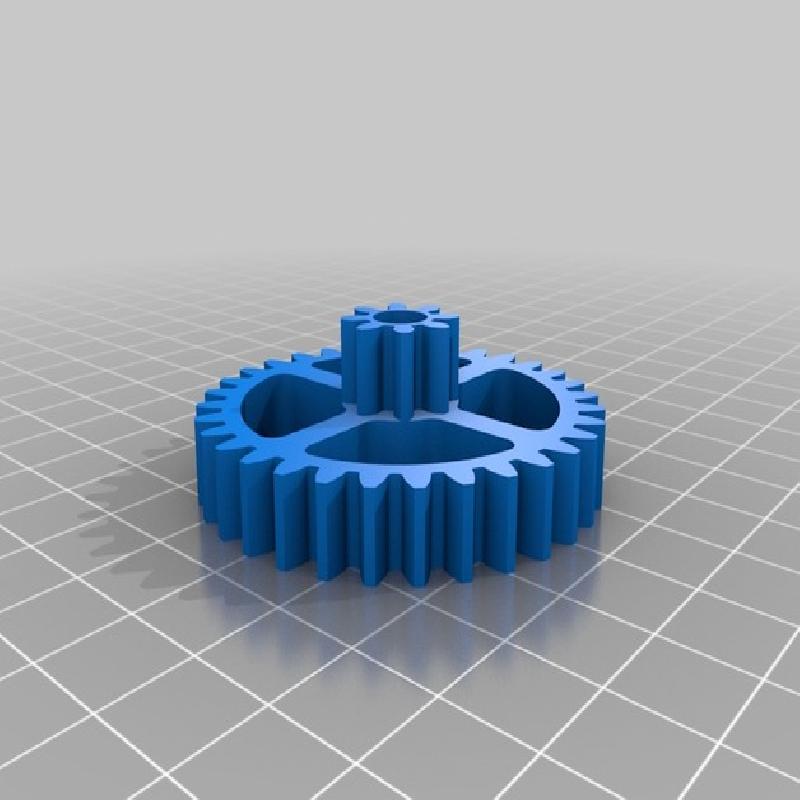
3) Press "Gear Floating Pinion Guide Right.stl" into "Chassis Right.stl".
4) Press "Gear Floating Pinion Guide Left.stl" into "Chassis Left.stl".
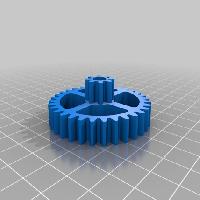
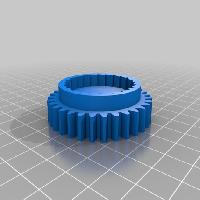
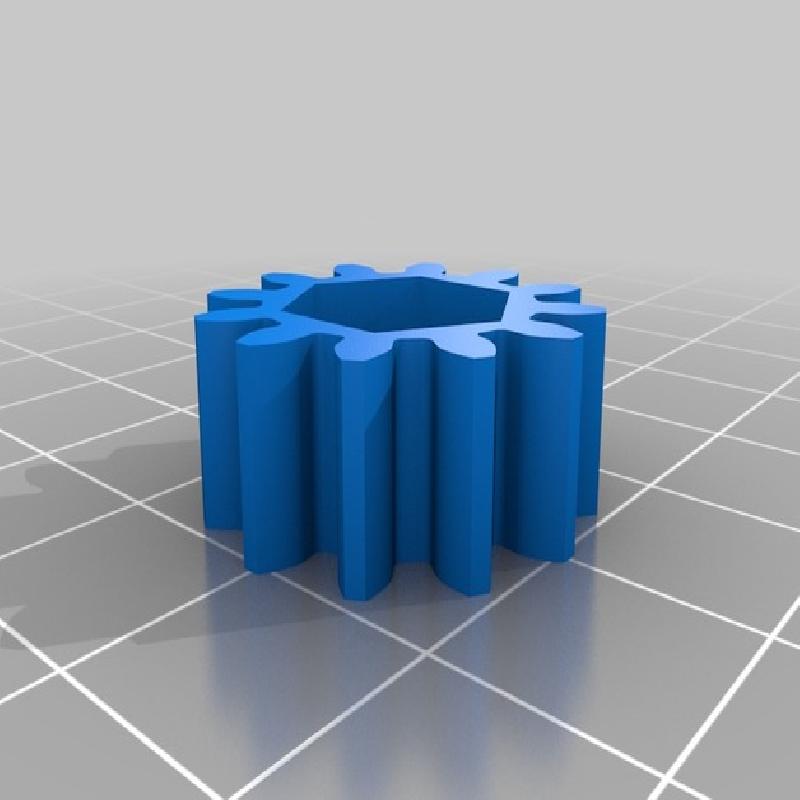
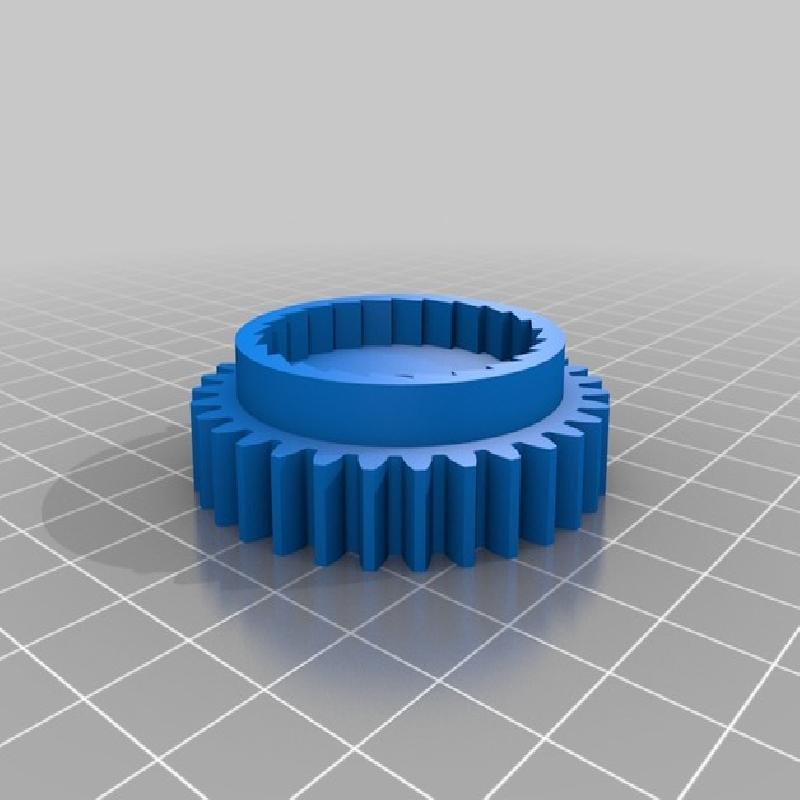
5) Press "Axle Gear Idler Large.stl" into "Chassis Right.stl". When fully installed, there should be 15.5mm between the inside surface of "Chassis Right.stl" and the shoulder on "Axle Gear Idler Large.stl".
6) Press "Axle Gear Idler Floating.stl" into "Gear Pinion Floating.stl". There should be 4mm of "Axle Gear Idler Floating.stl" extending from both ends of "Gear Pinion Floating.stl".
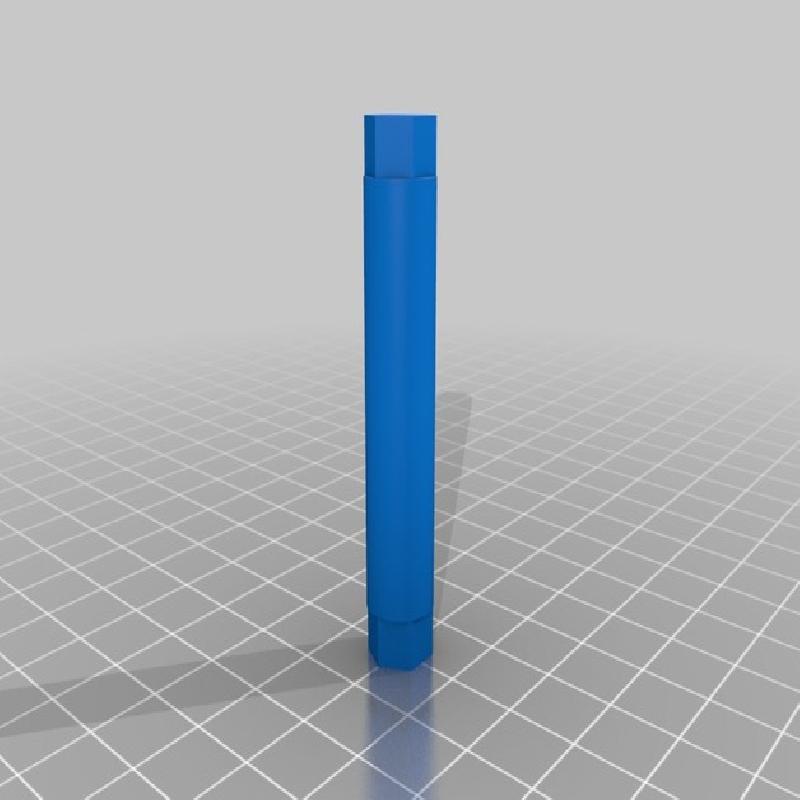
7) Press "Gear Axle Rear.stl" onto "Axle Rear.stl", aligning "Gear Axle Rear.stl" with the spline on "Axle Rear.stl".
8) Position the rear axle assembly in "Body Right.stl".
9) Position the floating idler assembly in "Body Right.stl.
10) Position "Gear Pawl.stl" onto the axle spring assembly.
11) Position "Gear Idler Large.stl" onto "Axle Gear Idler Large.stl".
12) Position "Spacer Axle Gear Idler Large.stl" onto "Axle Gear Idler Large.stl".
13) Position "Spacer Axle Spring.stl" onto "Axle Spring.stl".
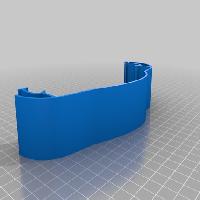
14) Press "Body Left.stl" onto the body right assembly. When complete, the front and rear cross members must be flush with the outside surfaces of the body sides, and there should be 37mm distance between the inside surfaces of "Body Right.stl" and "Body Left.stl".
15) Install the o-rings on all wheels, then install one each of "Wheel Right.stl" and "Wheel Left.stl" onto the rear axle assembly.
16) Press "Axle Front.stl" into the remaining "Wheel Right.stl", then slide the assembly into position and press the remaining "Wheel Left.stl" onto the axle assembly.
17) Attach "Body Top.stl" onto the front and rear "Cross Member.stl".
Printer:
BigBox Pro
Rafts:
No
Supports:
Yes
Resolution:
.02mm
Infill:
80%