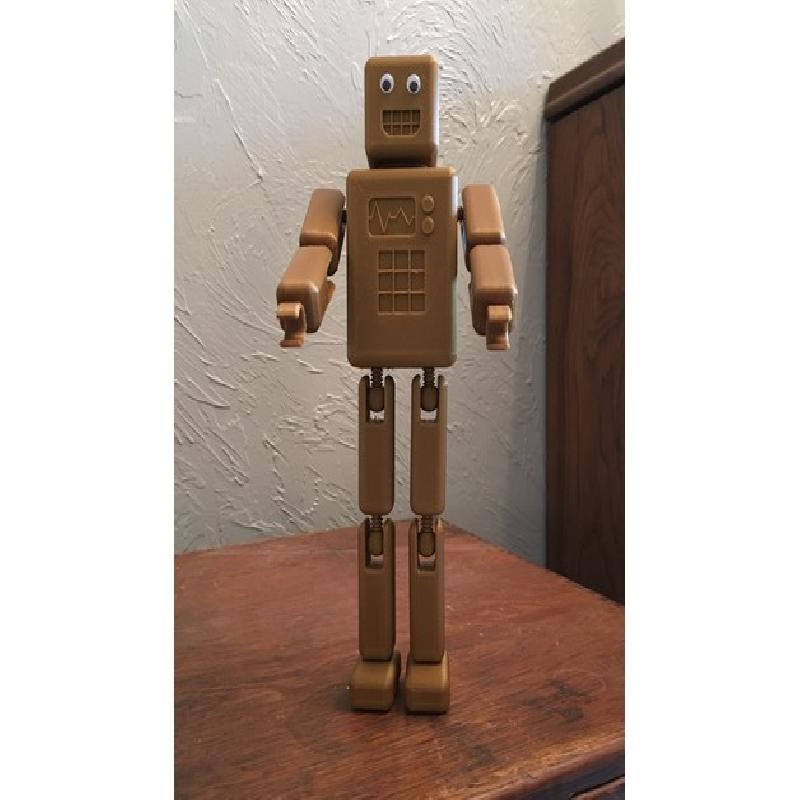
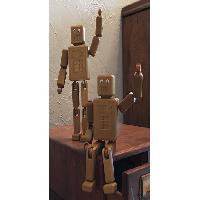
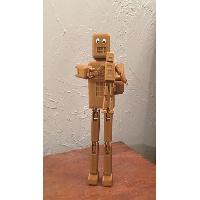
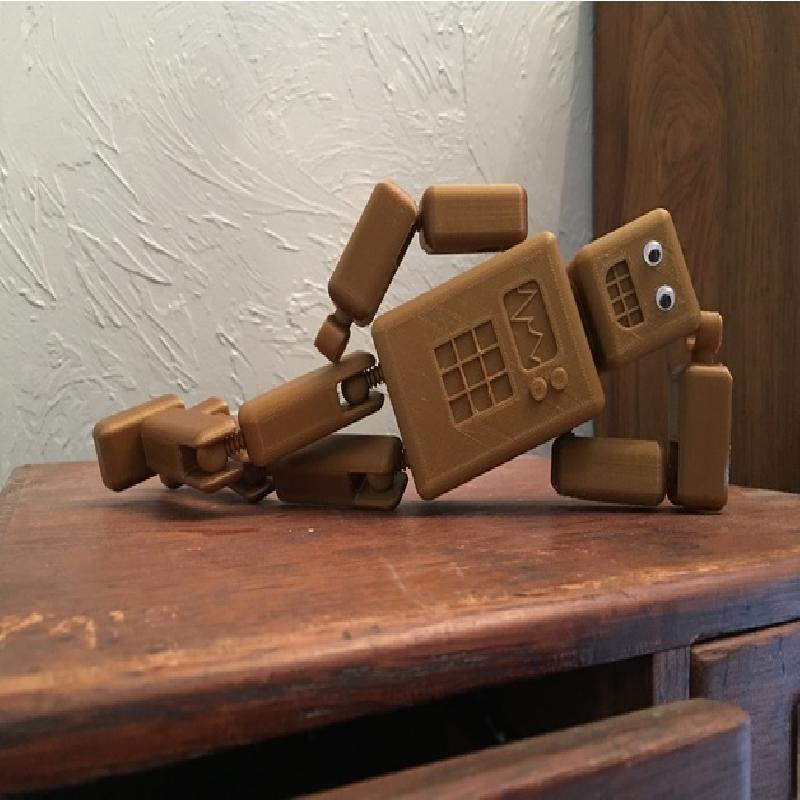
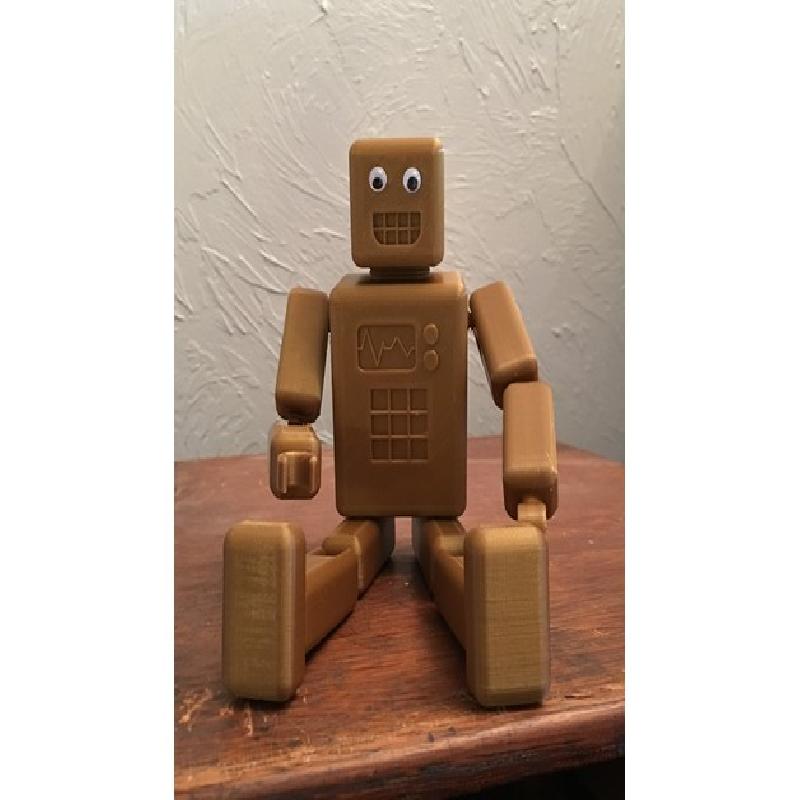
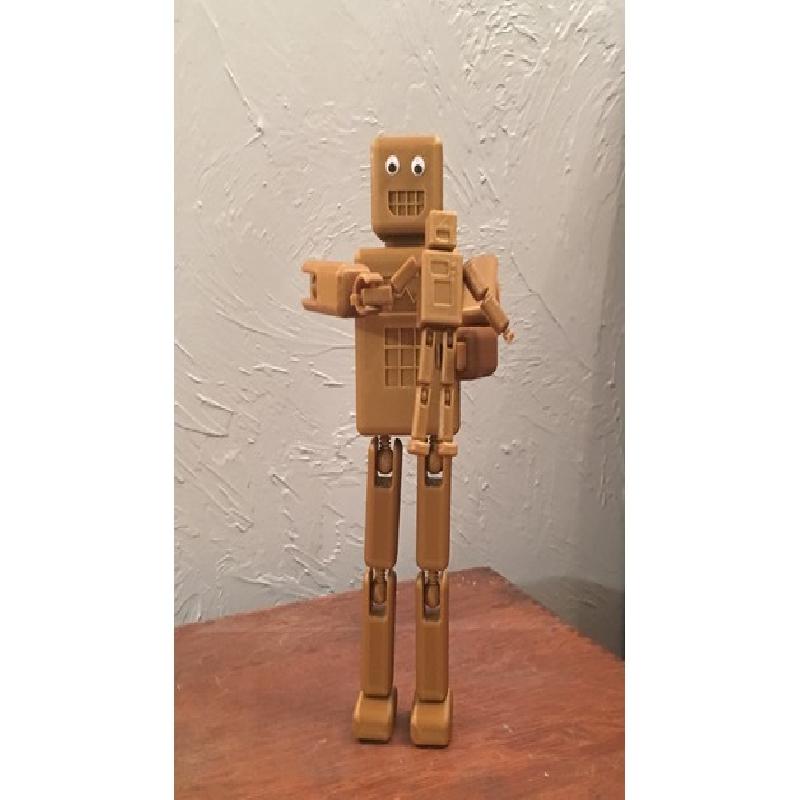
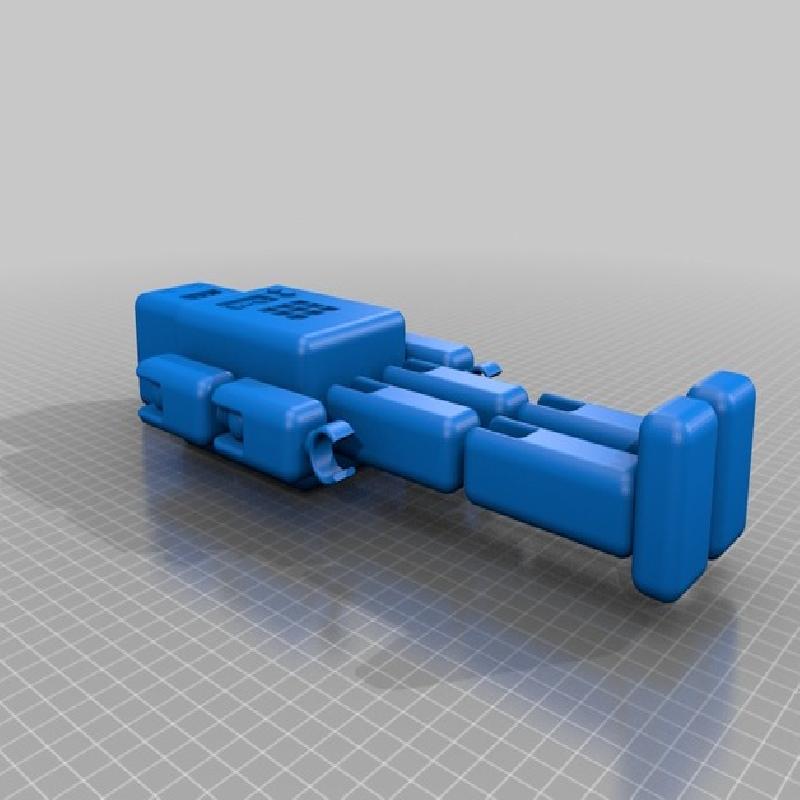
The Retro Robot is a fun model perfect for your office or home. Whether the Retro Robot is inviting people into your office or terrorizing a LEGO city, it is a great addition to any collection. The Retro Robot is a ball jointed model so it can be put in almost any pose and is still easy to assemble, from separately printed parts.
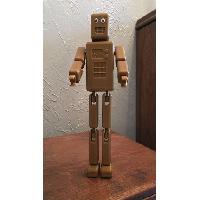
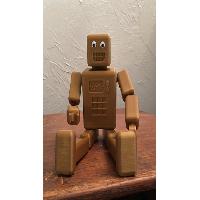
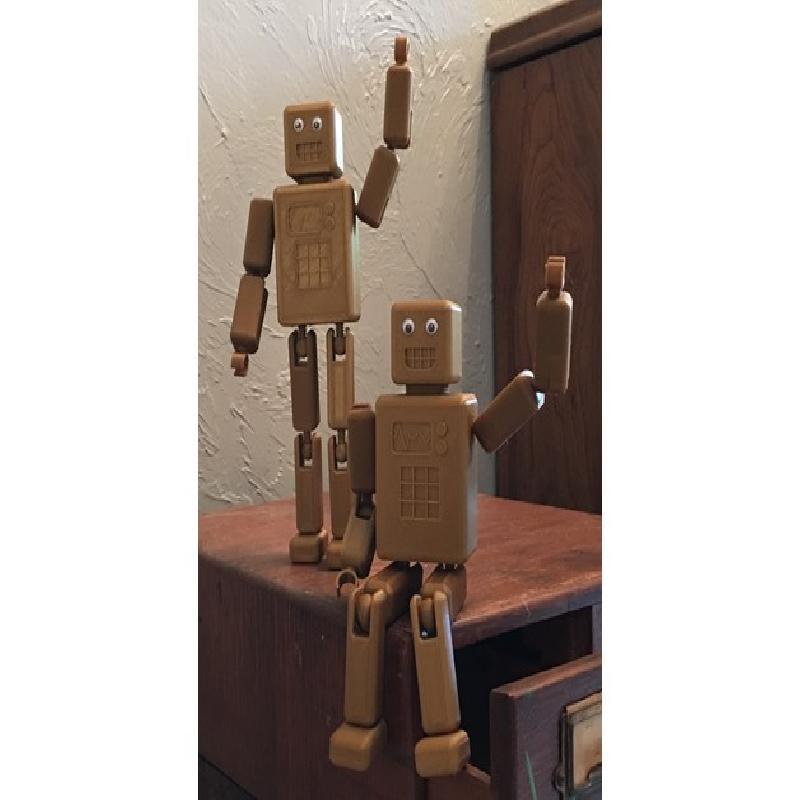
The models pictured above were printed on my CraftBot+ at 75% (with the one tiny one at 25%) scale. The one on the right of the second picture was an early prototype that had larger ball joints. Due to the larger joints the model broke in several places while being assembled, and the design was changed to include smaller joints. The other one, on the left of the second picture, was the first of the redesign and went together smoothly.
Printer:
Craftbot+
Rafts:
Yes
Supports:
Yes
Resolution:
0.200mm
Infill:
19%
Notes:
Be sure to print all the parts on their backs. Additionally, make sure to fully support the parts as necessary paying close attention to the pegs on the male ends of the ball joints.
I printed the models in the pictures above at a 75% scale and found that I needed to have a resolution of at least .200 mm so that the eye sockets would print properly. I also increased the layers to 5 because on several of the first prototypes there were holes in the exterior. I also tried to print it at 25% scale and it worked but is very fragile.
To assemble the pieces after printing align them as seen in the photos below. Googly eyes can be added for an extra bit of fun.
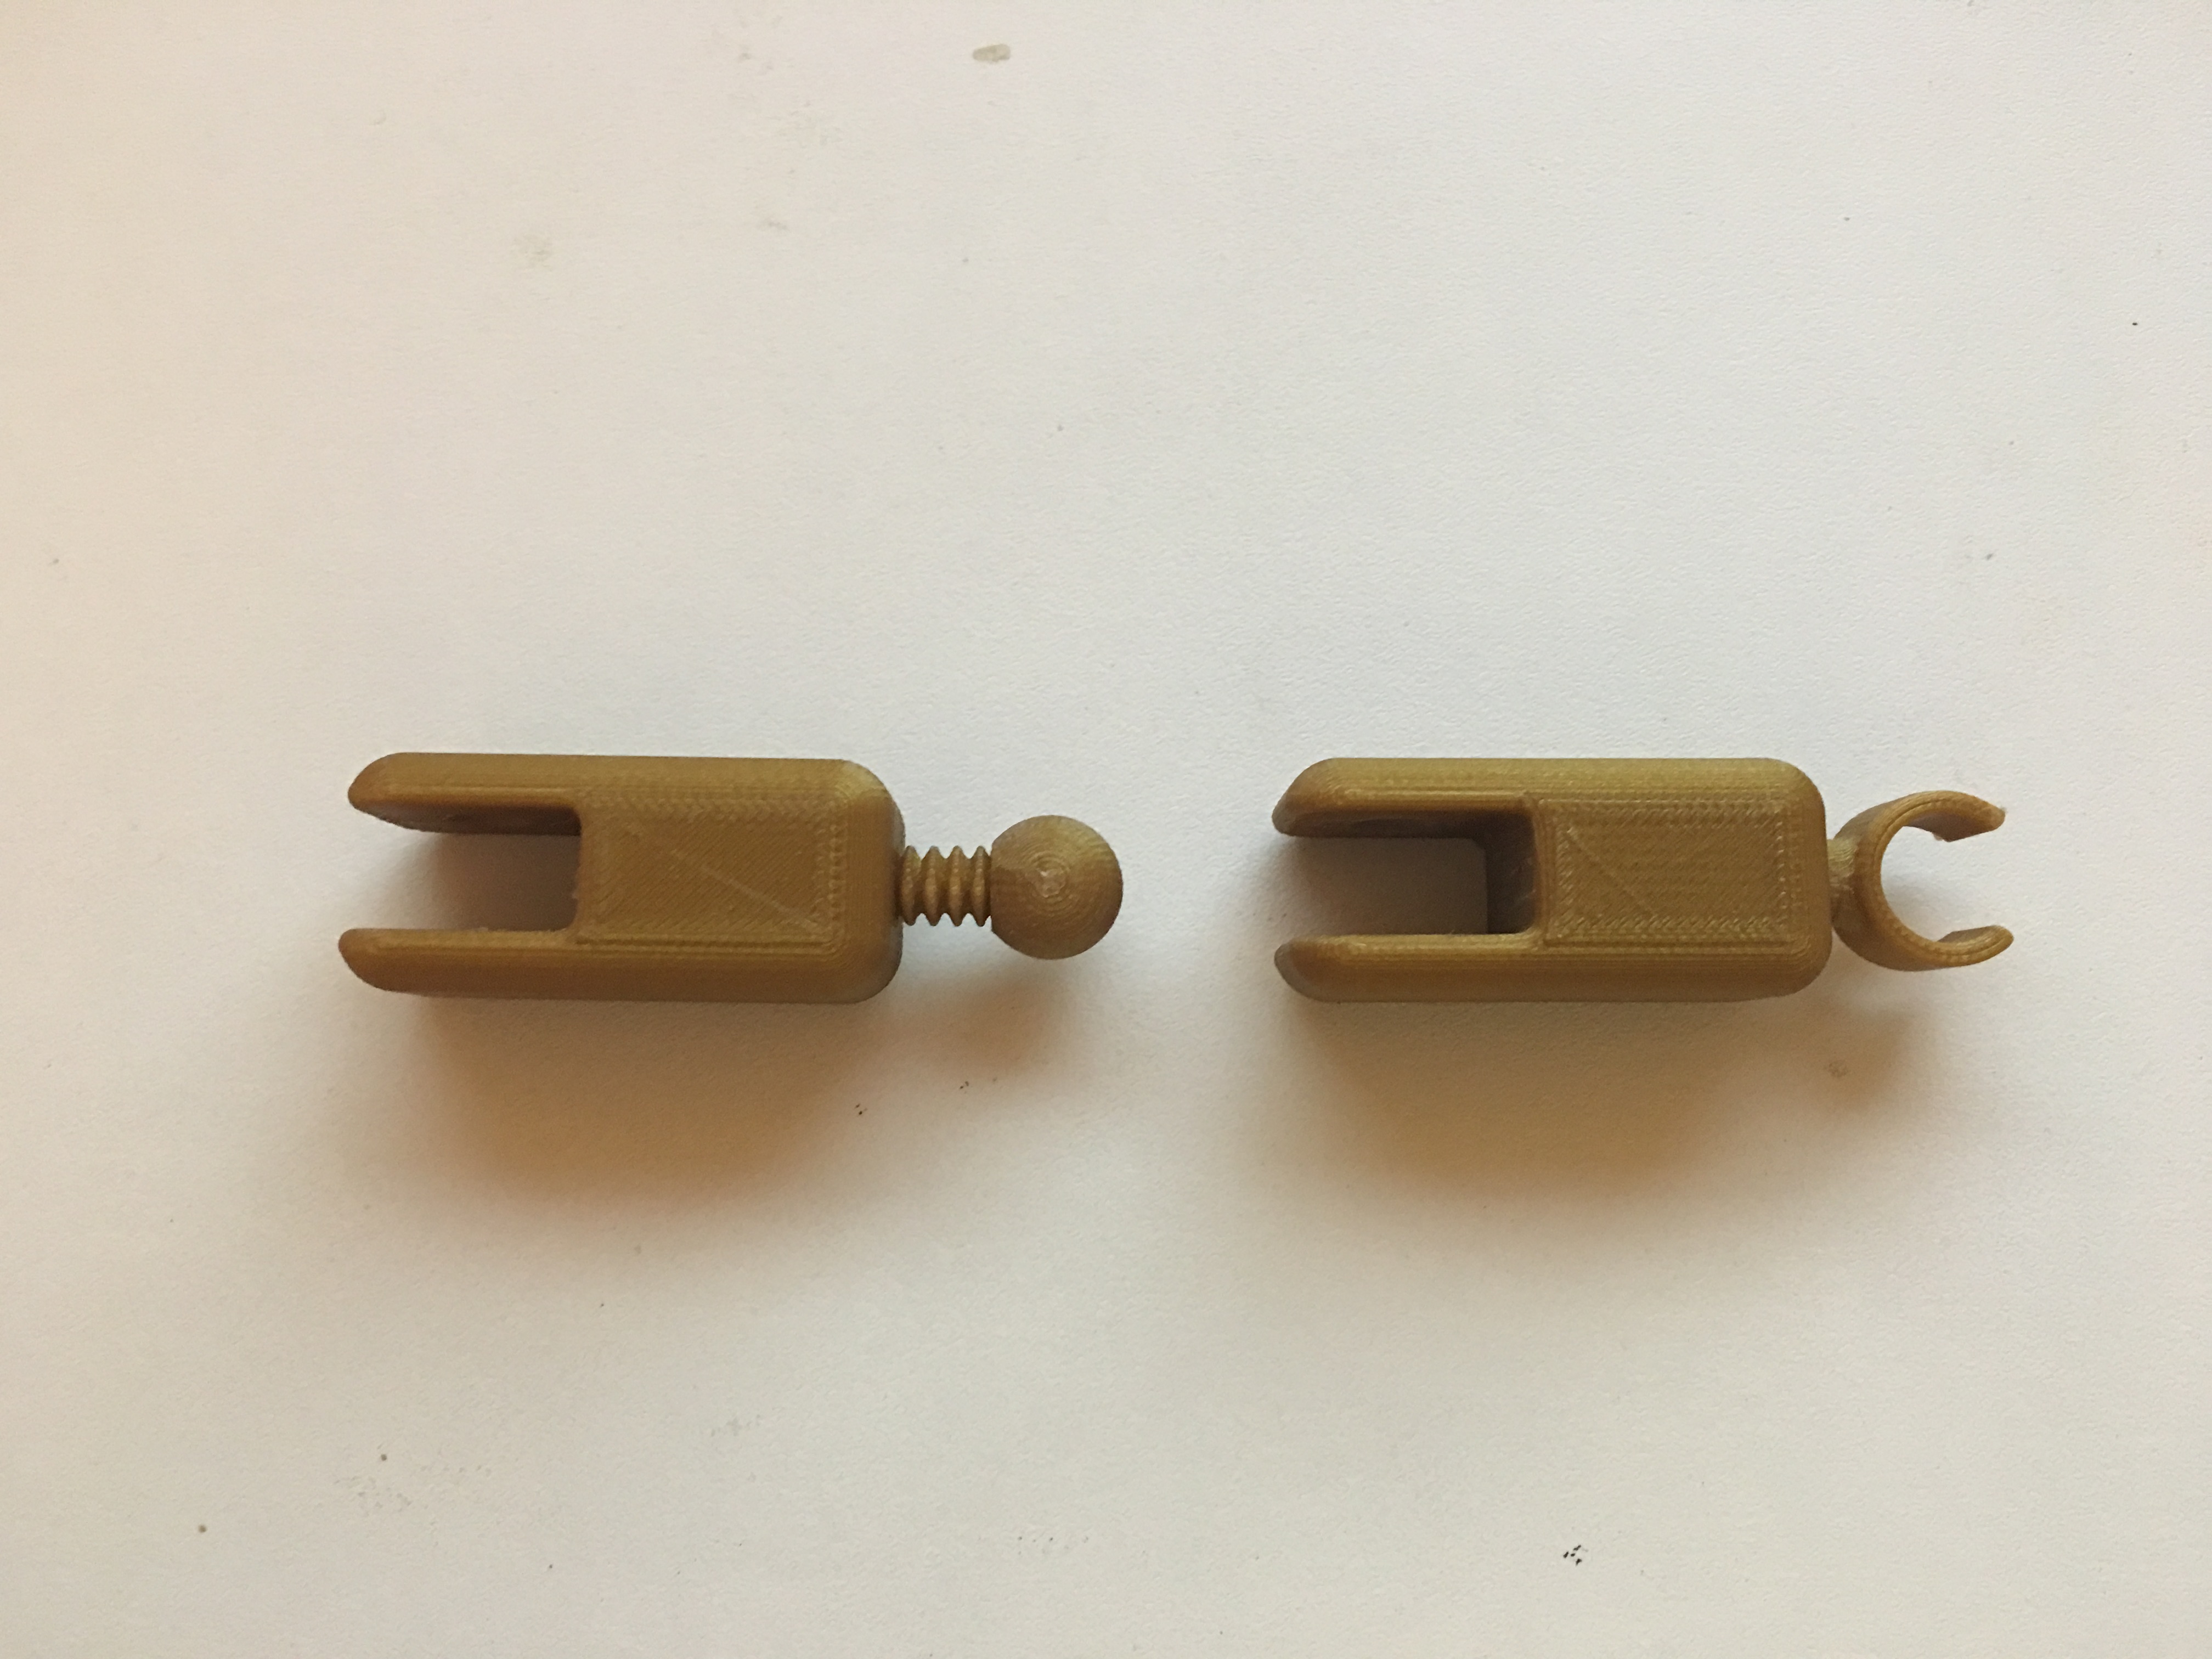
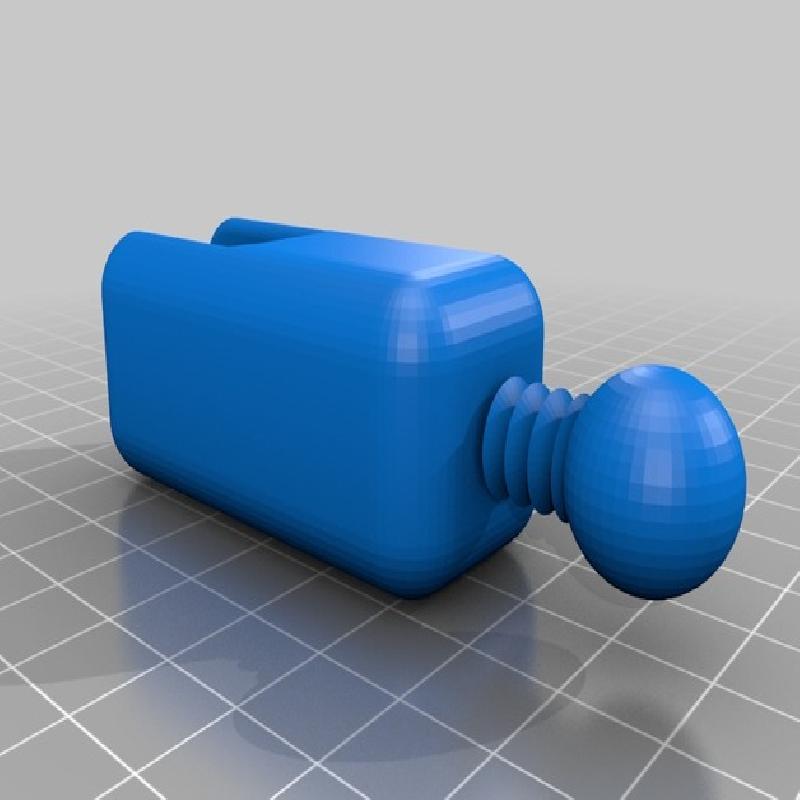
Joint Assembly Example: Step 1
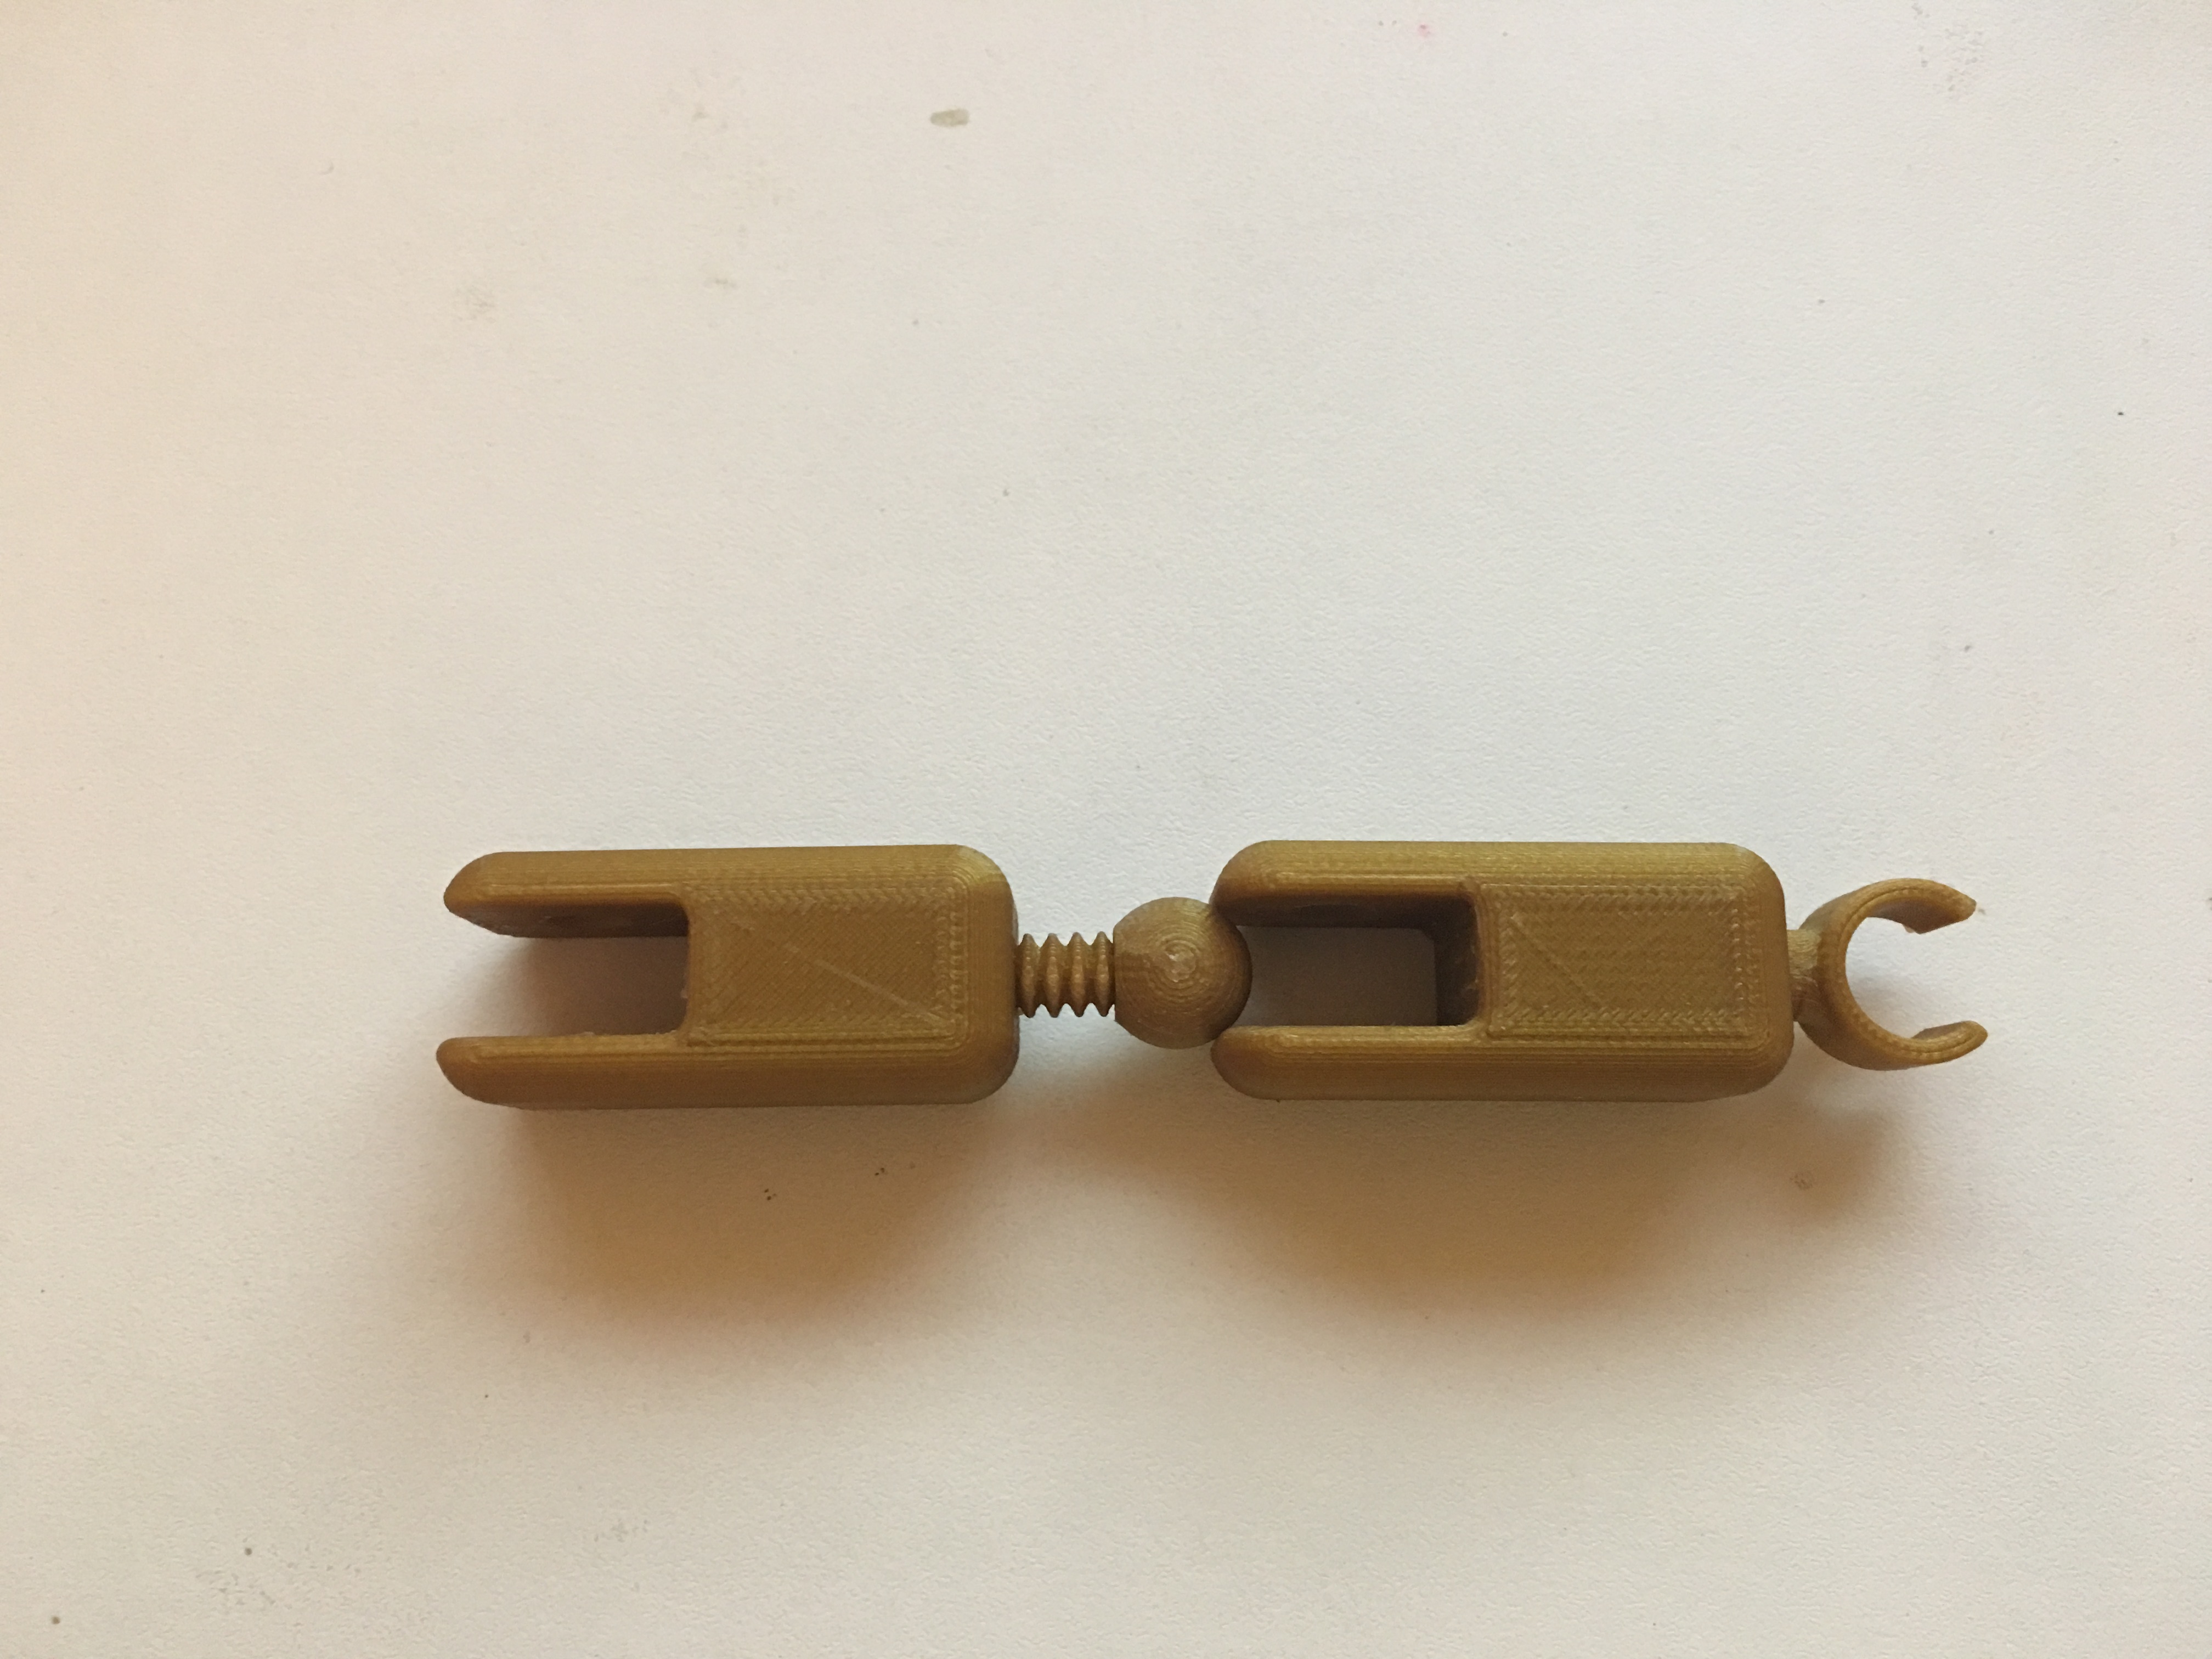
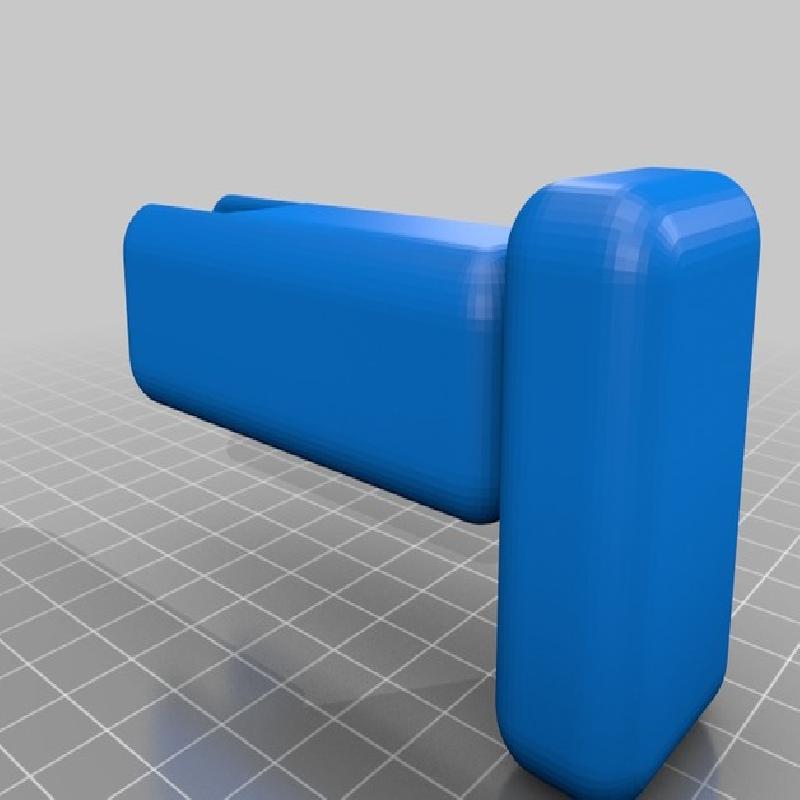
Joint Assembly Example: Step 2
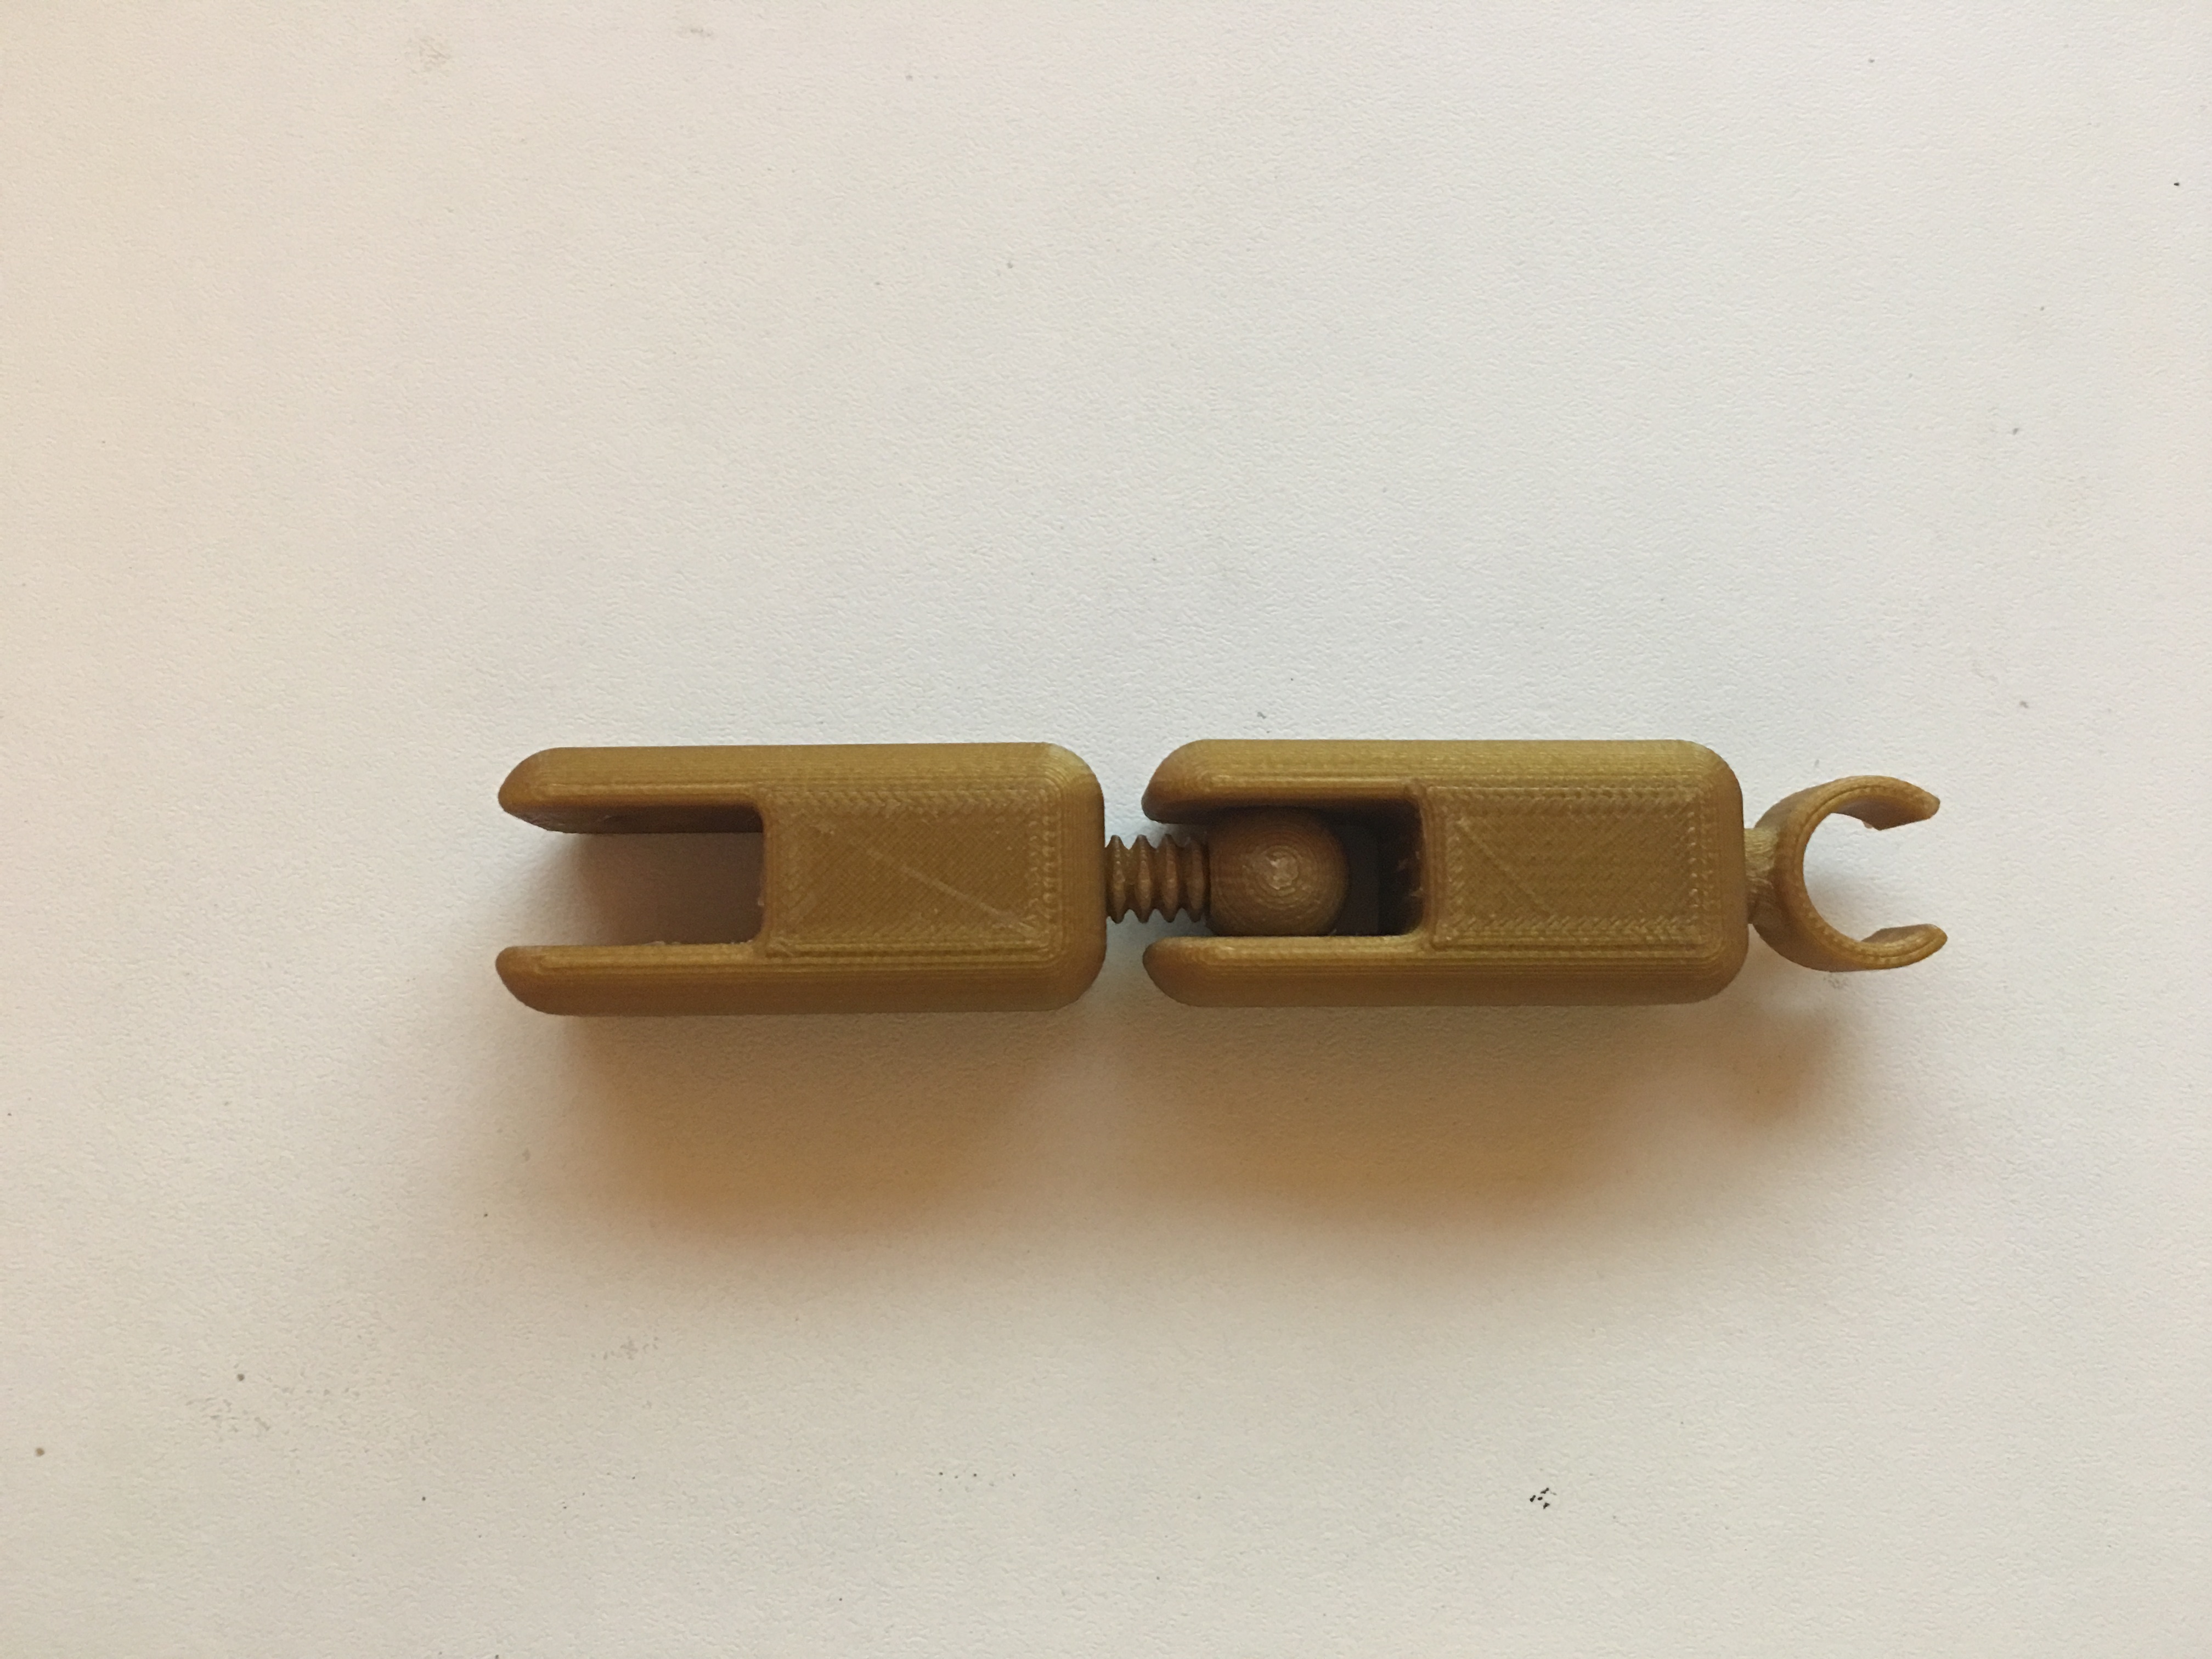
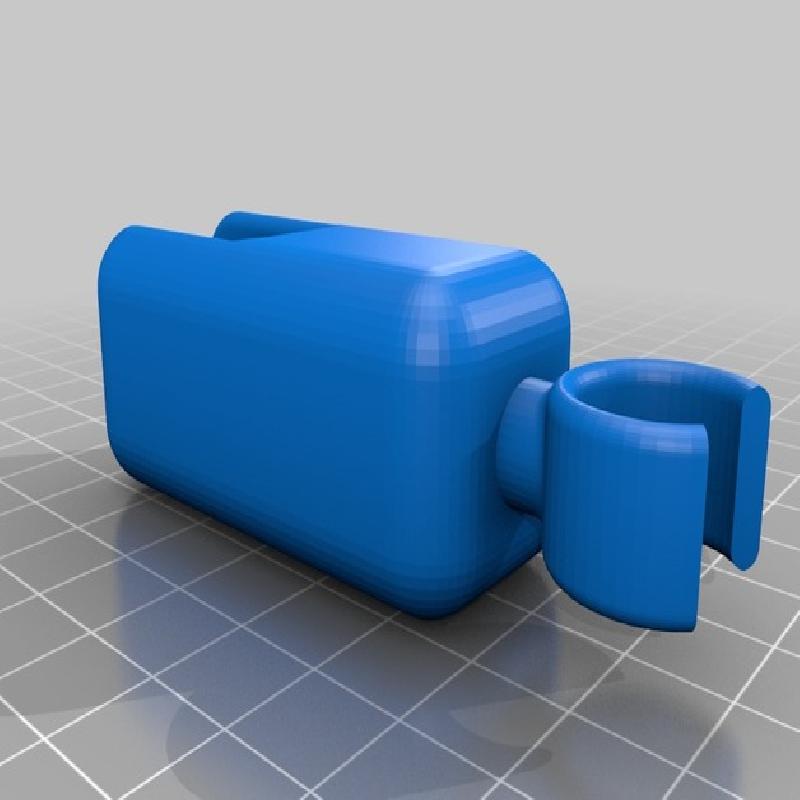
Joint Assembly Example: Step 3