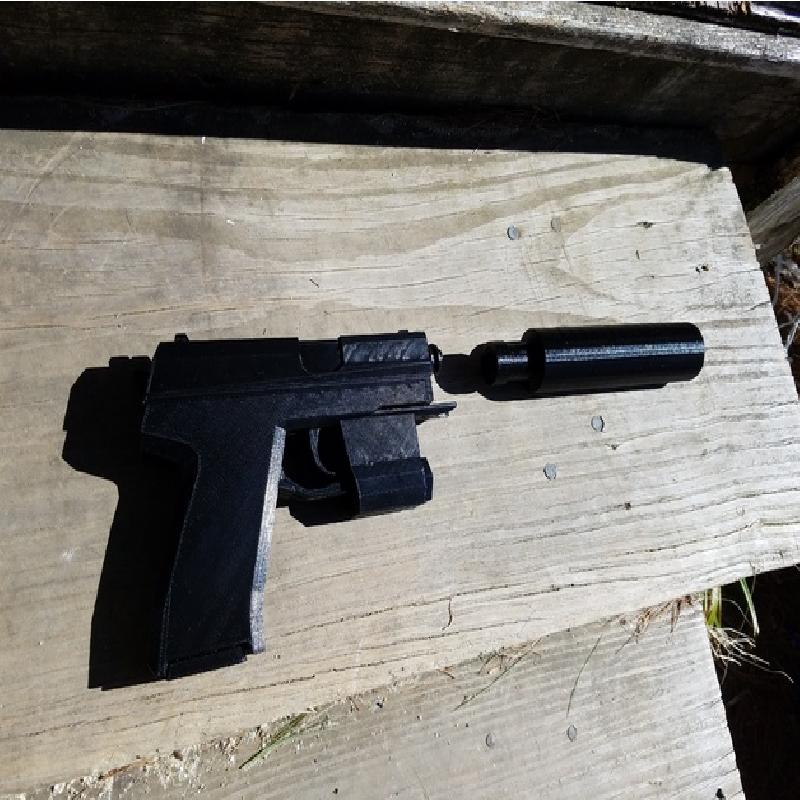
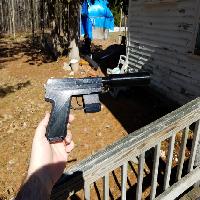
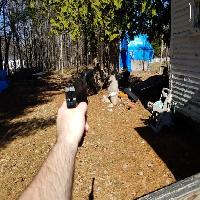
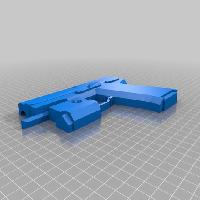
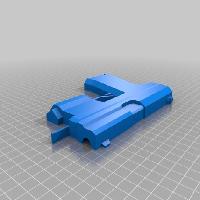
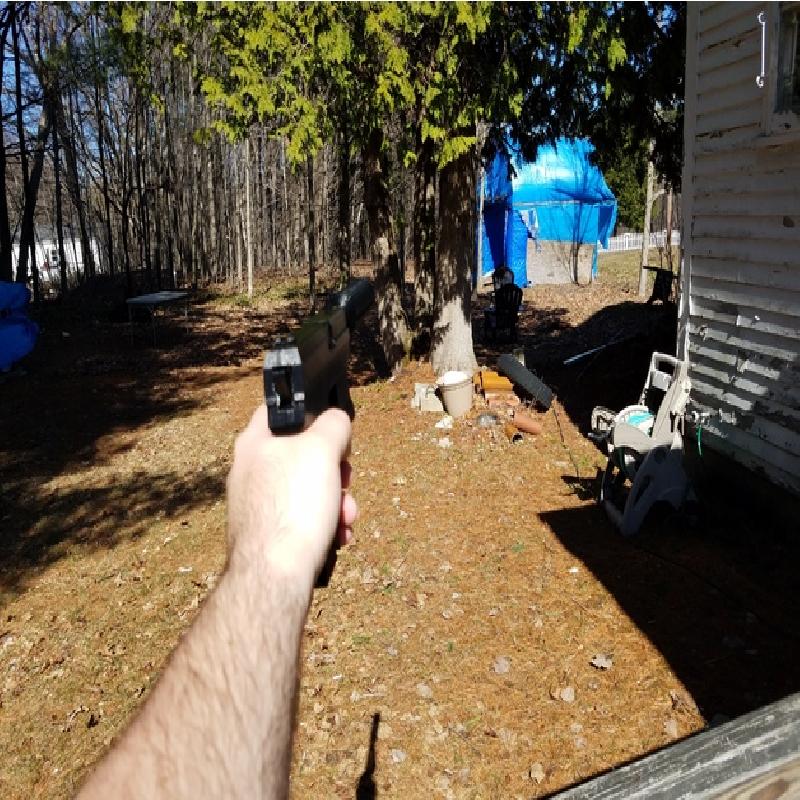
This is a remix of hackervincent's H&K model, modified to have a removable suppressor. The final version is a lot of fun to play with, but could definitely use a rebuild. It looks like a low poly game model, and some parts are a bit blocky.
I'm new to 3D printing, so I went looking for cool models and found this beauty. The only issue was it looks like it was pulled straight from a game, and was not directly printable in the original version.
Printer:
Maker Select V2.1
Rafts:
Doesn't Matter
Supports:
Yes
Resolution:
.2
Infill:
20
Assembly
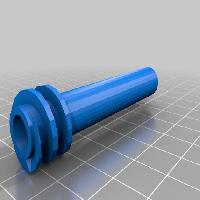
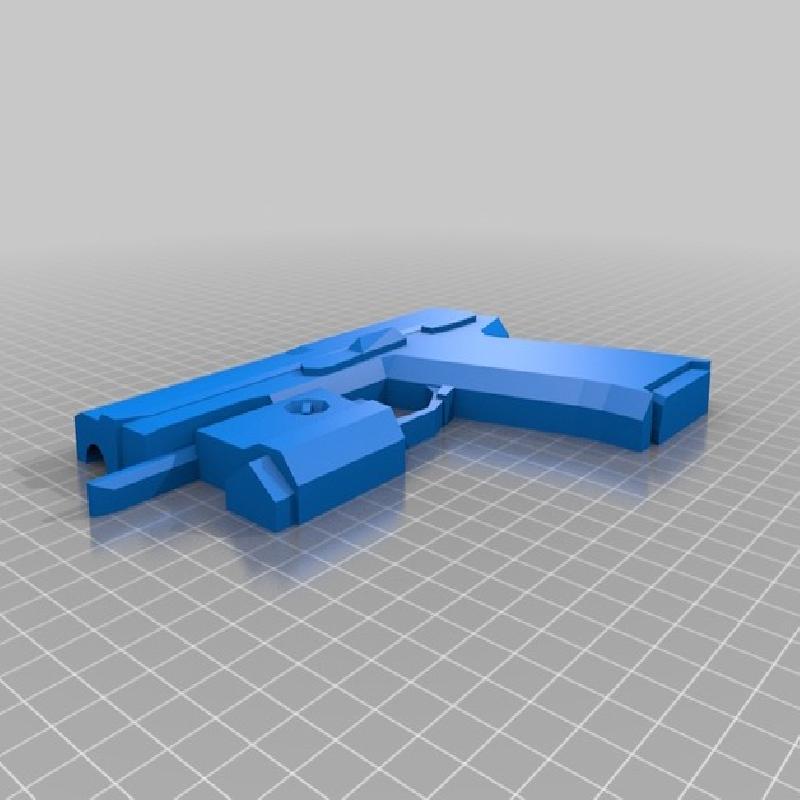
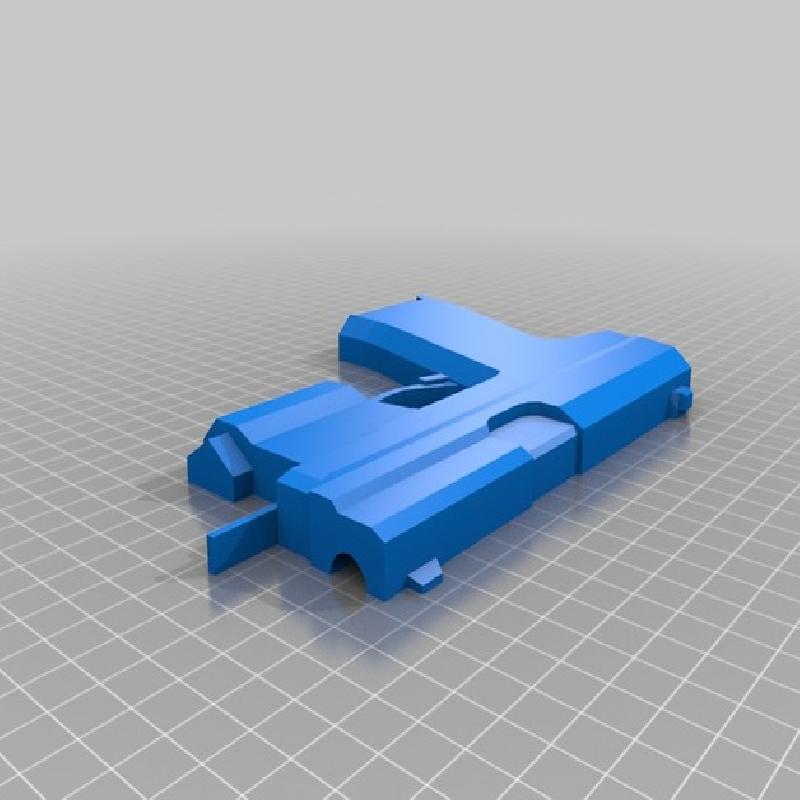
The best way to put this together is gluing the barrel insert into one side of the gun, then gluing the other side onto both the insert and the first gun half. This allows the insert to help with the aligning of the sides, and you don't have to worry about it not being able to go in because the sides aren't glued properly.
As a note, it's best to do a quick dry fit before gluing. I tried to make the tolerances big enough so the insert would be tight but clear the receiving hole. If the halves won't go together flush with the insert in place, some sanding might be needed before final assembly.
Goal
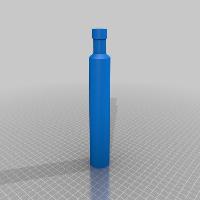
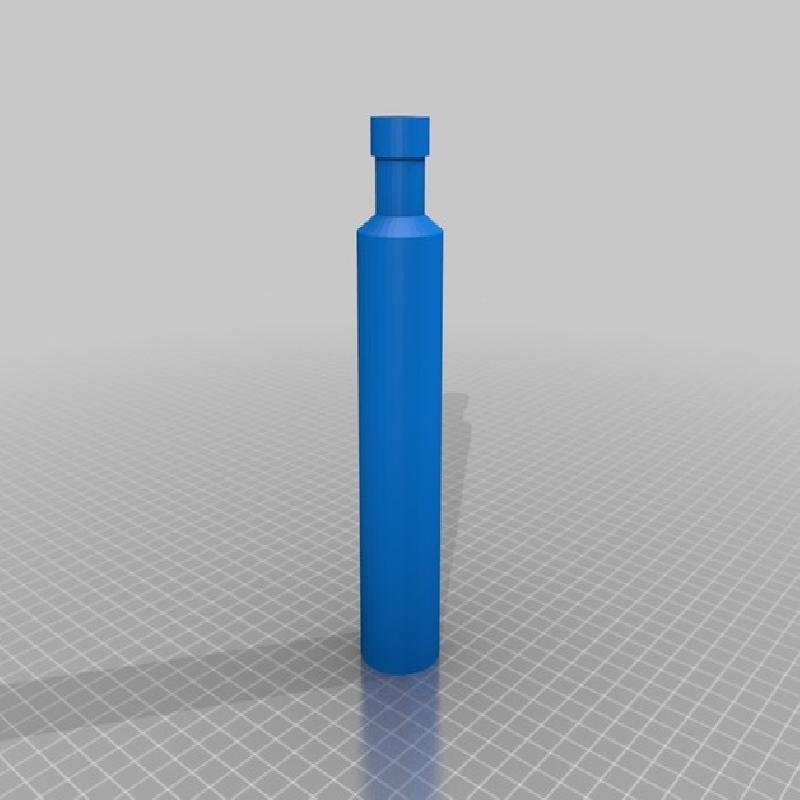
My goal was primarily to make this awesome gun printable. I also wanted to print the suppressor separately, as vertical cylinders tend to come out looking better and don't need supports.
I also wanted to print the gun in 2 big pieces, splitting it down the middle. I intended for it to be more like a toy, but this was definitely the quickest way to get all of the outside parts printed smoothly without supports, and a little finish will make the small seam disappear.
Clean Up
I used the free Microsoft tool (https://tools3d.azurewebsites.net/) and Mesh Mixer for the bulk of the cleaning. It looks like a game model, and they always need a little help.
I ended up fully remaking the suppressor in Blender because the original was so faceted. This was could still be smoother, which I only realized after it printed.
Finally, I used Mesh Mixer to split the gun up and do a last pass for errors.
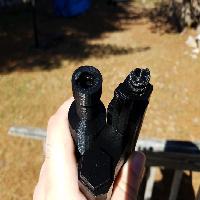
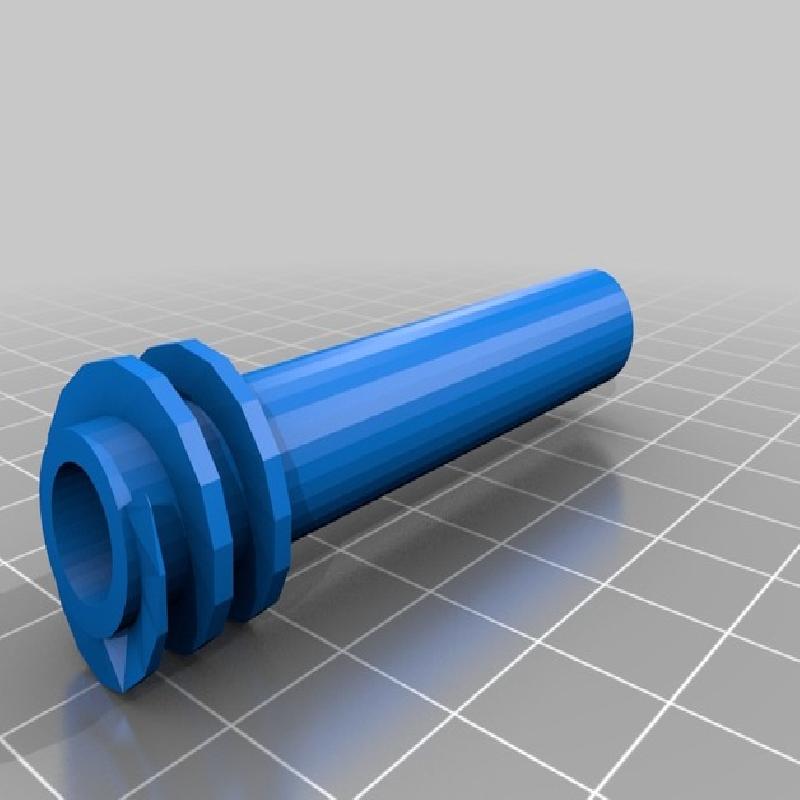
Suppressor Threads
I decided on a barrel insert with threads, and matching threads on the receiving end of the suppressor. This was done because I didn't want to print the threads in half with the rest of the gun, and possibly not have them line up right after gluing.
This was my first time ever modeling threads, much less ones that were designed to be functional. They came out alright, and hold just fine, but could definitely use some polish. I made them a bit aggressive so 1) I could put the suppressor on with just a few turns like a movie star, and 2) so I could get my pliers in there to remove the support material.
For example, the number of "steps" blender uses could be bumped up, and the transition at the end of the threads could definitely be better.