Starter Motor For Eric’s – Toyota 22RE Engine
This the start of the project for the- Starter Motor System- for Erics Toyata 22RE Engine- so everything is a bit messy at the moment,,,
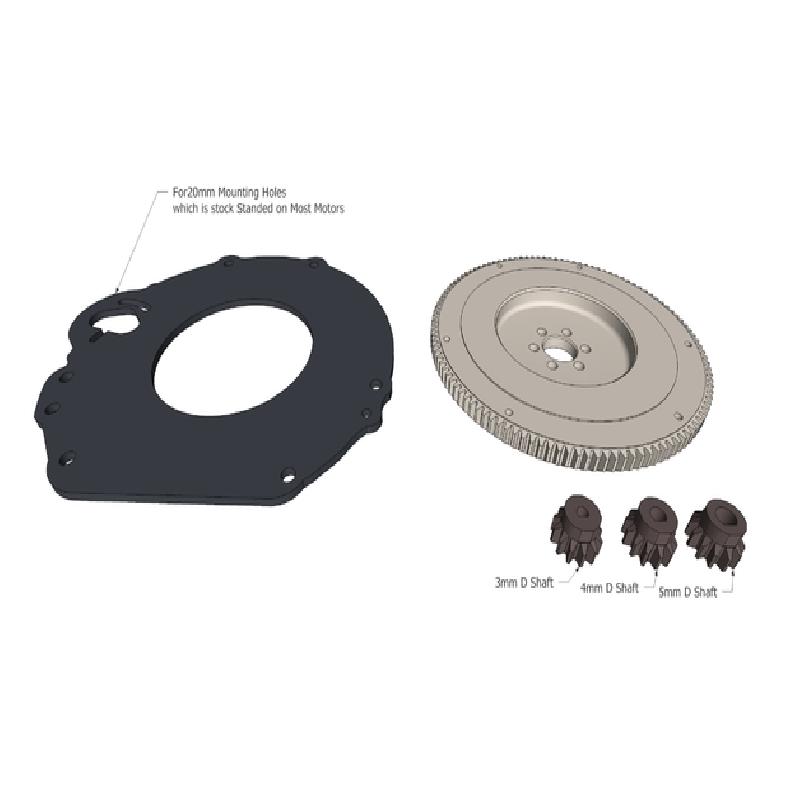
The “Starter Motor Mount” and “Pinion Gear” are Finished and Fully Adjustable,,,, they have been printed several time and checked for errors ,,i will upload some pics when i print the showcase parts not quick Print ones i'm doing,,,,, stills need Covers & Stuff to make it more realistic but that cosmetic work,,, the Geared Down Electric Motor can be found on Ebay or Amazon etc,, and it’s between 27mm & 30mm in Diameter about 60mm long with a 4mm “D” Shaft-----the “D” Shaft is 12mm long,, there actual a really common motor used in tons of stuff-,, the main thing is to make sure it has 20mm spacing for the mounting holes which is the standard size for these motor anyway -and have geared down so it’s got plenty of torque- my is 12v - 1000rpm but that might to fast even after it goes through the pinion &crown gears--- so I speed controller will be good idea for this setup-,,,
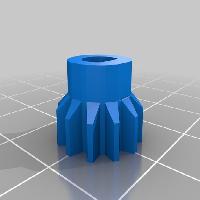
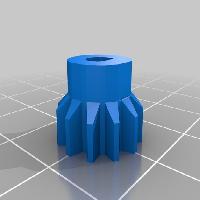
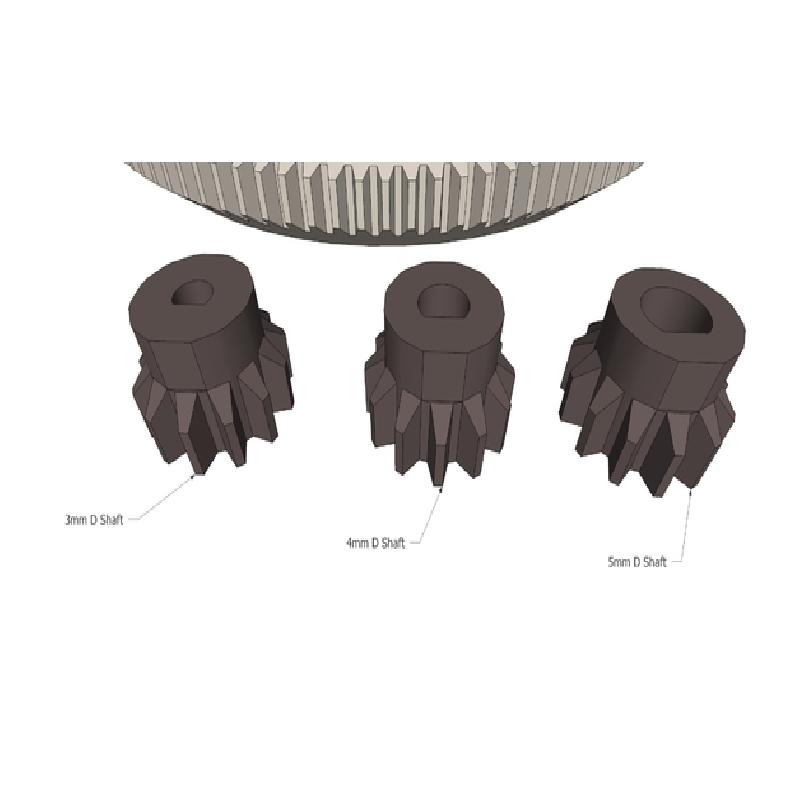
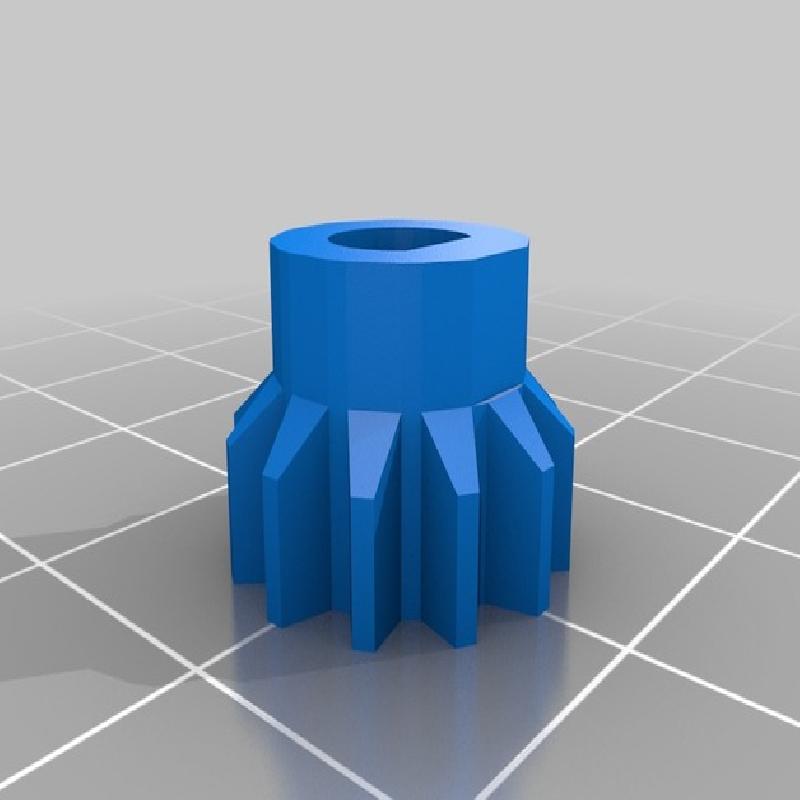
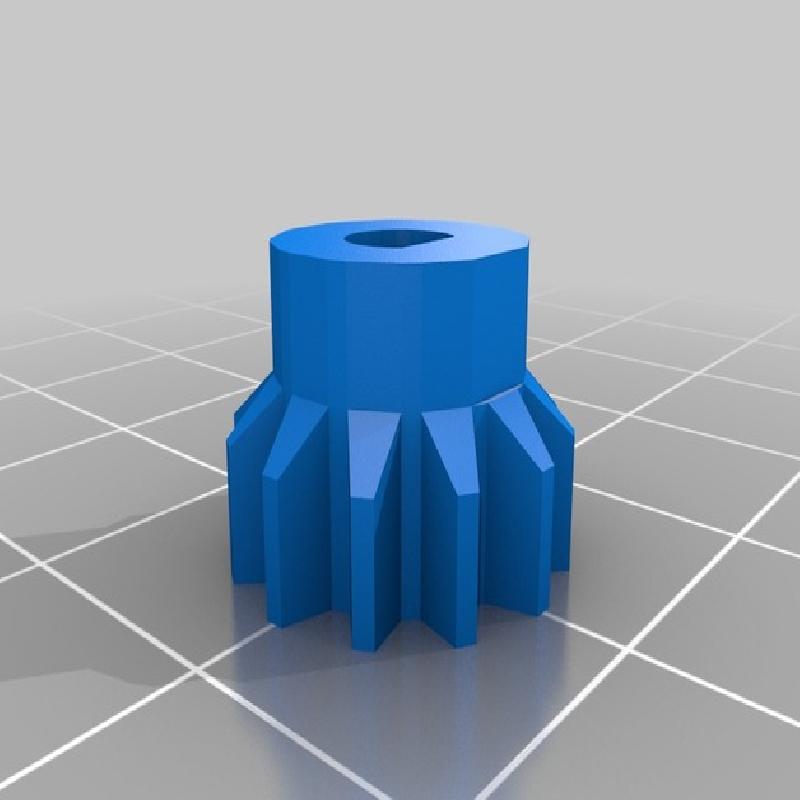
The Pinion Gear are designed for a "D" Shaft" - in 3mm /4mm /5mm Sizing ,, The standard Round shaft on the electric motors are not good enough,,,, even with a grub screw holding it in place,,, because when you tighten it up the plastic will crack ( that’s why there always made of metal ) but the ”D Shaft” in plastic works perfectly,,, if the electric motor you want to use has is Round Shaft then you will have to put the Shaft in a Vice and File it down,, (use some Masking Tape around the shaft to get a better grip in the Vice )
Wait until the Pinion Gear has cooled off completely before pushing it on,,, you will might have to work it On & Off a few times before it slips all the down on the shaft,,, Make sure you do a pretty slow print speed and it’s a Solid print (No Infill) and check the inside for any crap before pushing it on,,, if it’s a tight fit like mine there’s no need to have anything holding it in place,,,, a drop of Liquid Nails would be better the a screw,,, I have included a XL hole version that is 0.4mm bigger then the Shaft (4.4mm /3.4mm/5.4mm) – The other ones are- 3.2mm/4.2/5.2mm ,,, they are a quick print so print both size out to see which one fits better,,,
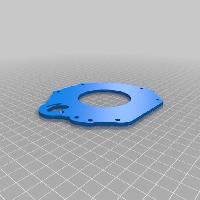
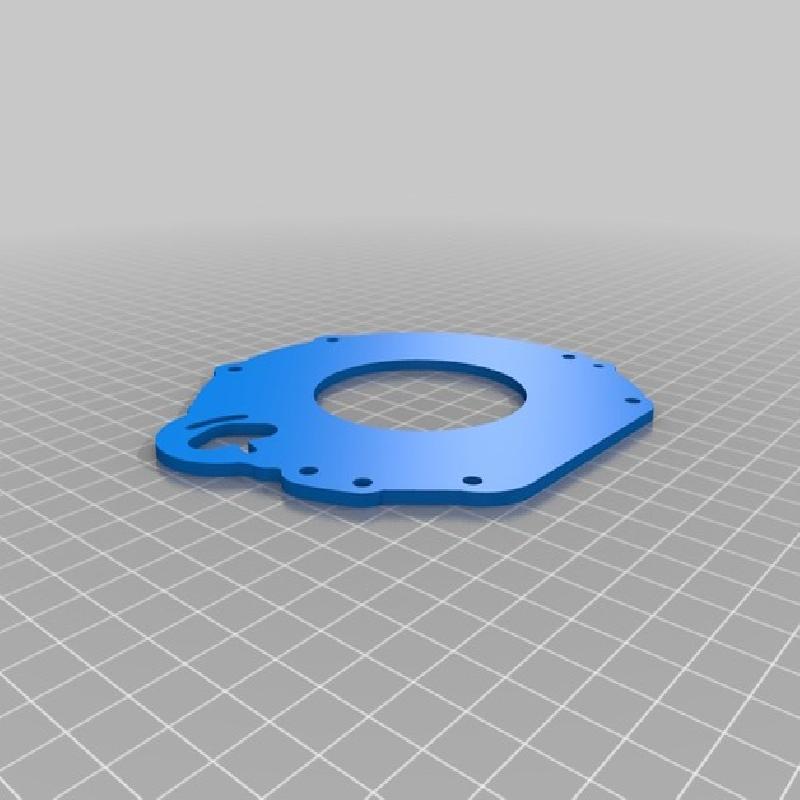
The “Starter Motor Plate” is- 2.5mm Thick -should be printed with 100%infill or you might get to much flexing which could lead to stripping the pinion gear or jumping of the teeth,,,
-Bell Housing install-
Once the Electric Motor is installed and “Adjusted” you will have to remove to screw that hold on the “Starter Motor Plate” and line up the Bell House and “Starter Motor Plate” together and then bolt back together (you might need longer screws)
If you need a different Shaft Hole Size/ mounting holes- just message me the size and I’ll see what a can do,,, SketchUp File is Included In download-
This is working progress,,,, but I hate the Frig’in bright orange bar they use,,,,,
-=Mindless=-