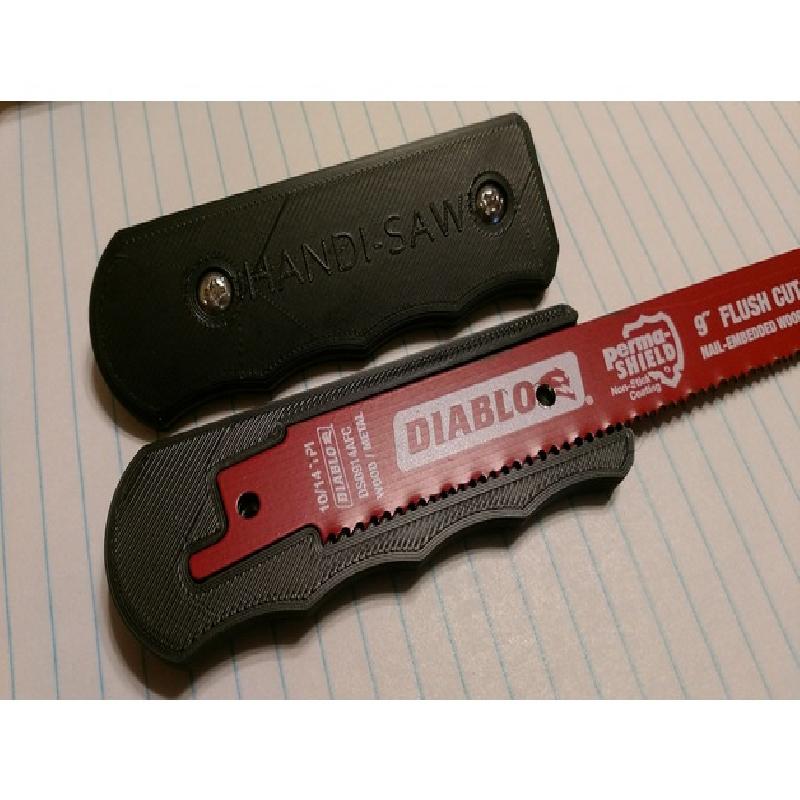
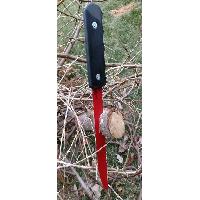
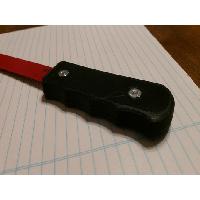
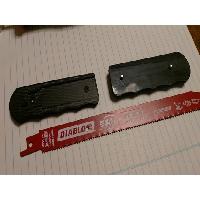
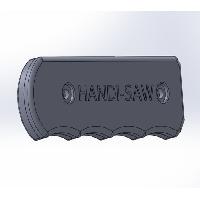
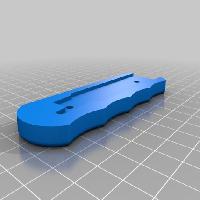
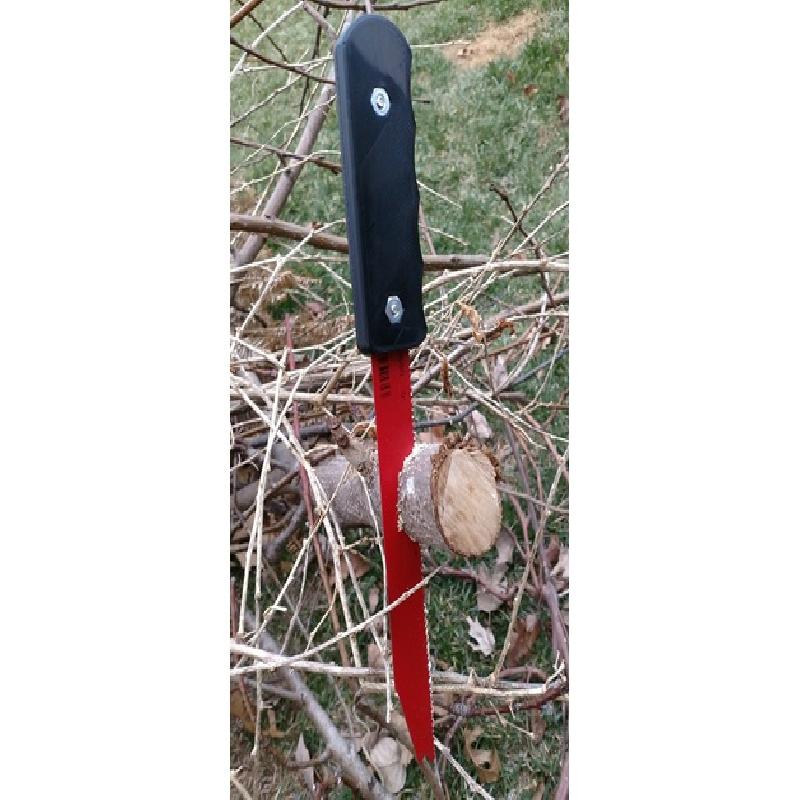
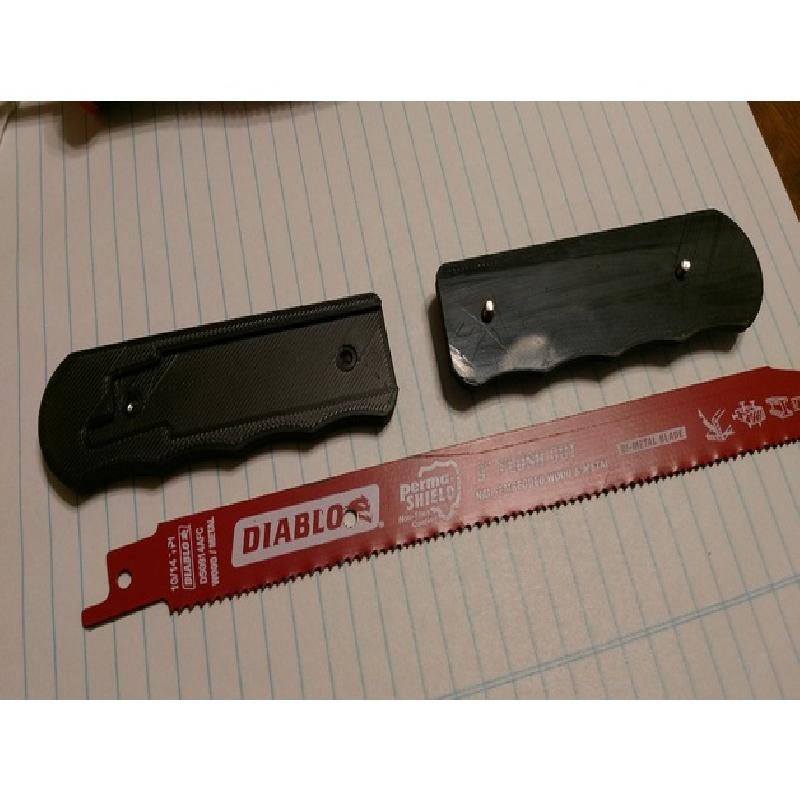
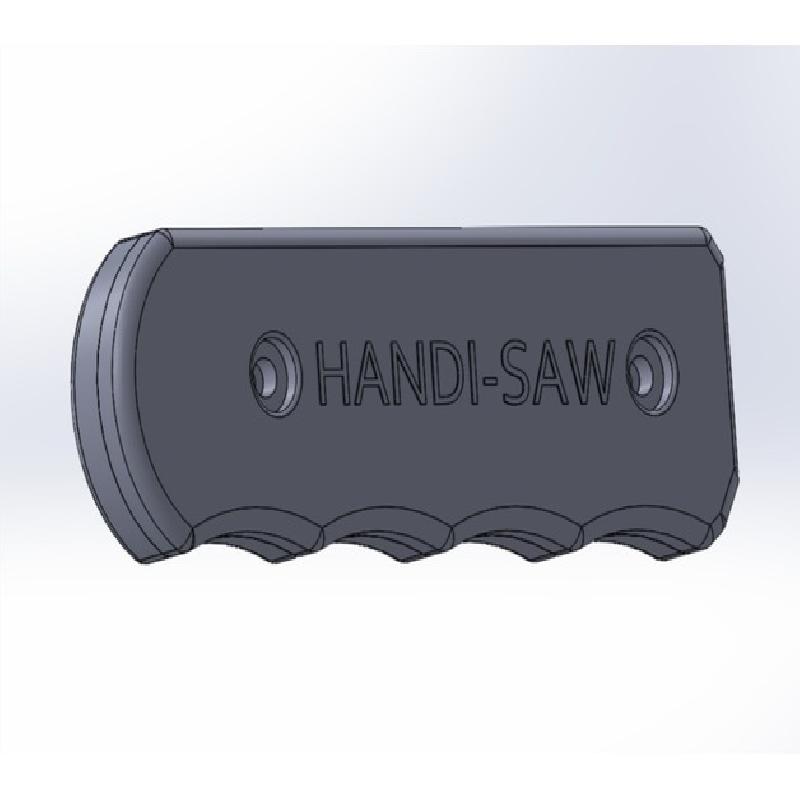
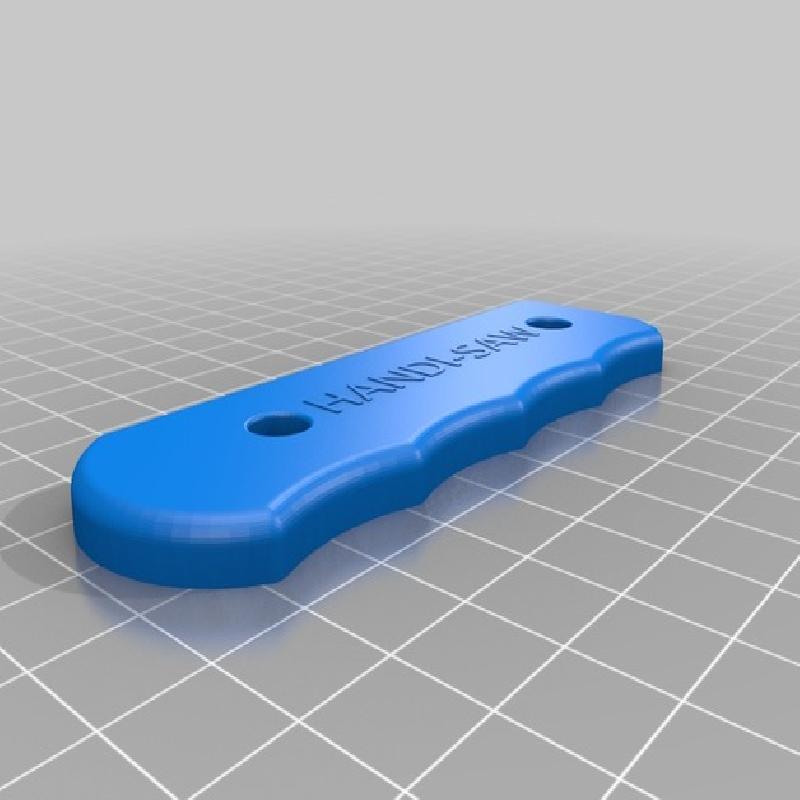
This is a simple print that allows you to buy cheap Sawzall blades and cut with them by hand. It's remarkably fast at cutting if you choose the right blade - I recommend finer-tooth blades like the one pictured. Two machine screws and nuts are required, and a 2nd hole must be drilled into the blade for a 2nd handle anchor point. The handle works best with 9" blades in a recessed, full-tang format. Extra long or shorter blades can be a little harder to work with. The nuts and bolt heads are recessed into the handle for extra comfort. There are many different screw and nut combinations that can work with this handle, but I used hex nuts that are 5/16" from flat side to flat side, and a pan-head screw with a 7mm OD head and 3/8" long. Thread type doesn't matter as long as your nuts and bolts match up, obviously. This was a fairly quick build and can certainly be improved, so feel free to do so. I wanted a minimalistic saw in my tool belt for the times I need to trim up a poor circular saw cut or something. I've not used it for that yet, but have cut many limbs down on a couple of pear trees that needed pruned up. Supports in the hex nut cavity make printing easier and more likely to be successful, but you can also experiment with pausing the print at the appropriate height and placing the correct sized nut into the hole and printing over it in place. I tried this but failed to modify my gcode correctly the first time and haven't attempted again.
Printer:
Prusa i3 MK2S
Rafts:
No
Supports:
Yes
Resolution:
About 0.2mm
Infill:
Around 50%
Push in your hex nuts, mark and drill out your 2nd hole in the sawblade, then screw it all together.