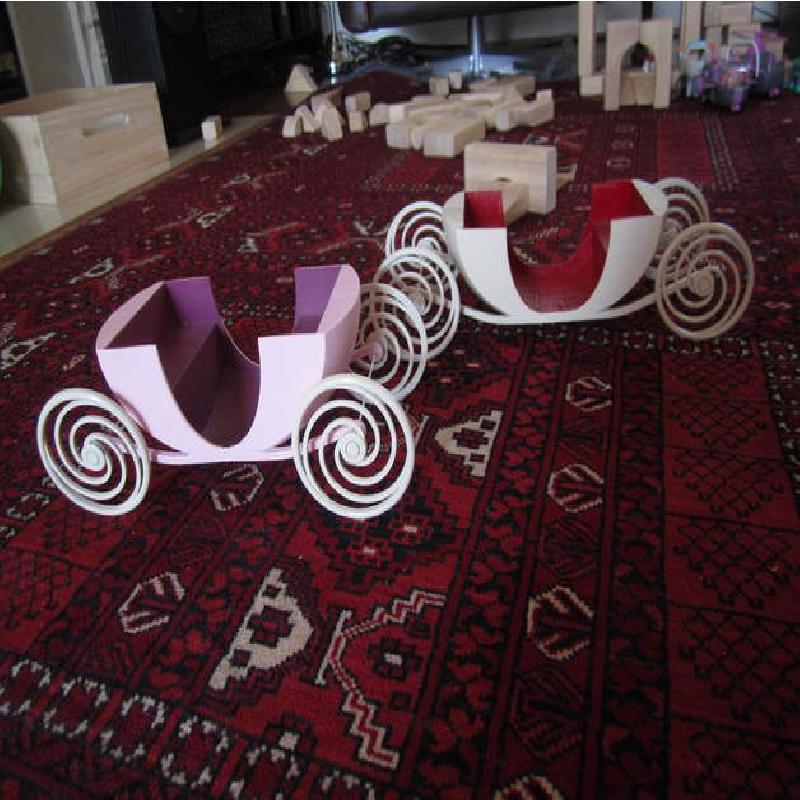
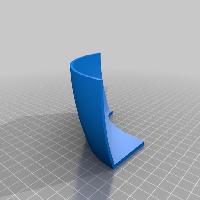
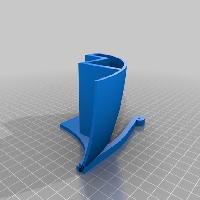
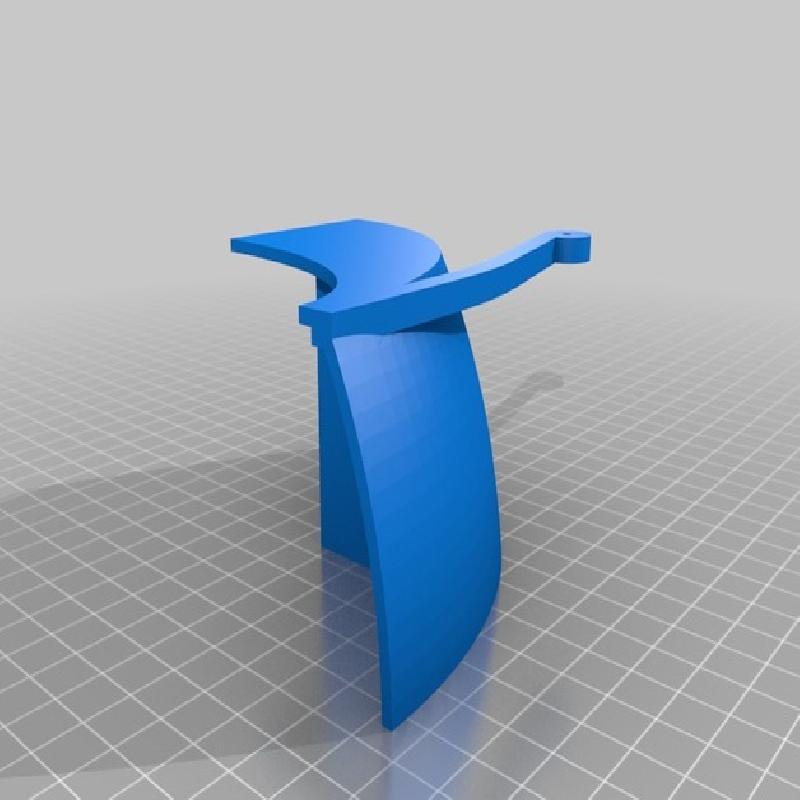
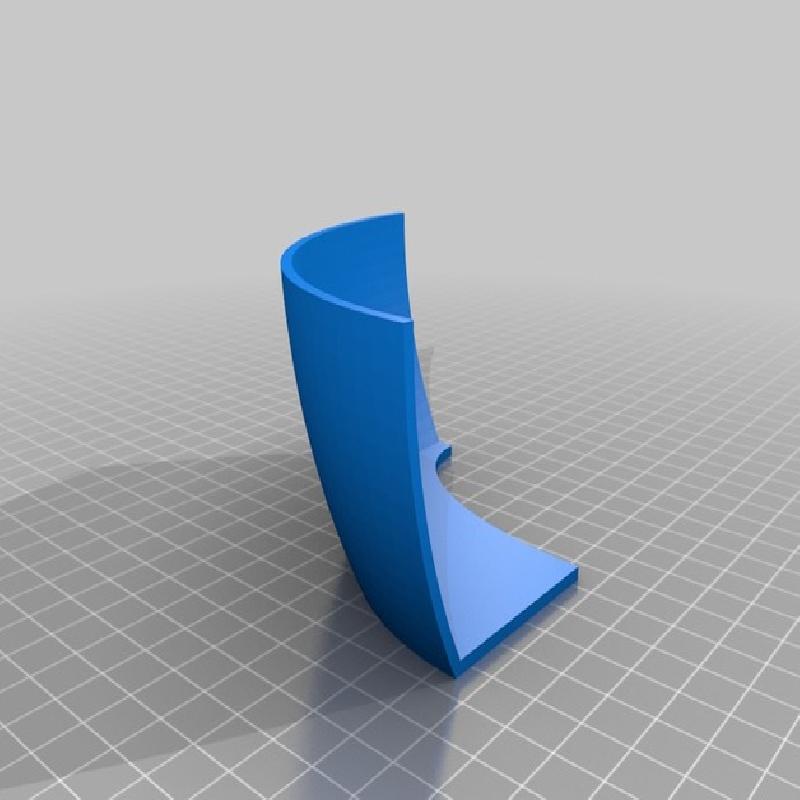
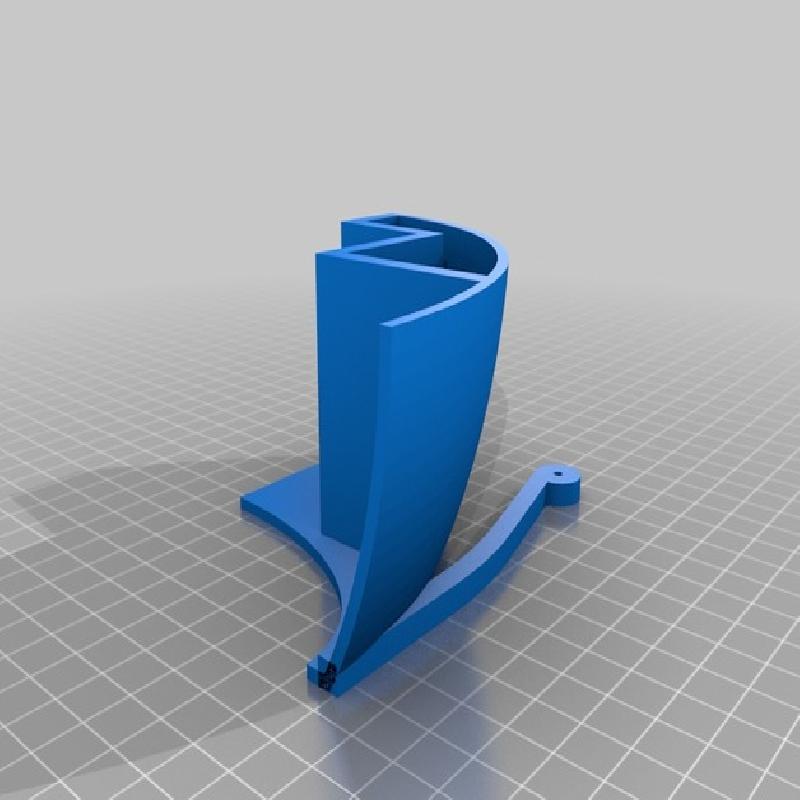
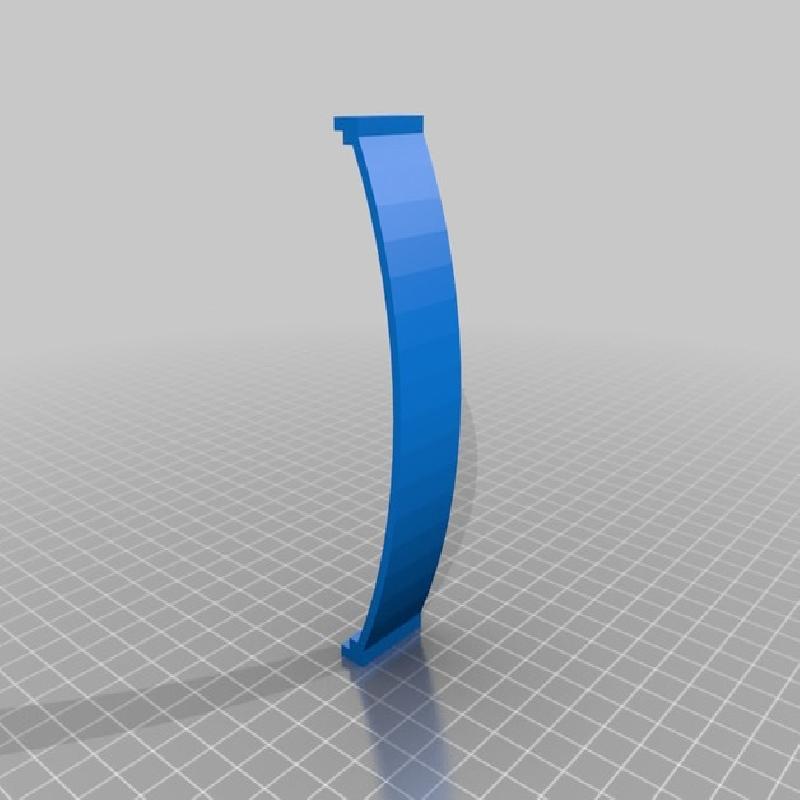
My daughter wanted a carriage party, and suggested that I would be able to design and print her dream carriage. After many iterations on the design aesthetic we settled on this design. I printed it a while back on a Printrbot Simple, so it's four pieces that have to be glued/welded together (due to print bed size limitations).
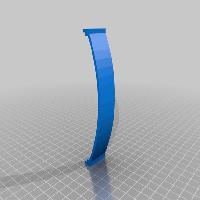
After seeing the carriage, she wanted a roof. I never got around to printing it, but the files are here if you wish to try. I recommend not attaching the roof as it will be hard to get dolls in and out of the small oval door.
Printer:
Printrbot Simple 2014
Rafts:
No
Supports:
No
Resolution:
0.3mm
Infill:
20%
Notes:
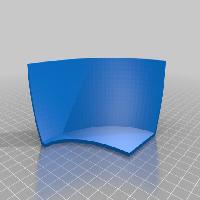
You may consider brim as the print has a large footprint and does want to curl. You will need at a minimum two each of the Carriage Side files. If you want a carriage that comfortably fits a full sized Barbie, you will also need the extension. Barbie sized dolls that can bend their knees will fit. Printing in PLA is probably a necessity as I'm not sure this would be successful with ABS.
Assembly
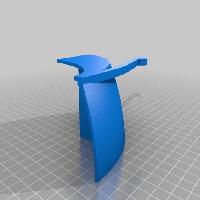
There are four pieces (minimum) which have to be glued together. The carriage is mirrored around the center plane, so there are two of each type of bottom piece required. If you want to make the longer version, you will need the extension piece as well. The arrangement should be rather straightforward as the extension sits between the two halves. I use a temperature controlled soldering iron to "weld" PLA parts together and this worked well. You could probably use adhesives, but I have no experience with adhesives and PLA.
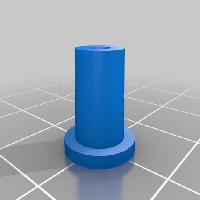
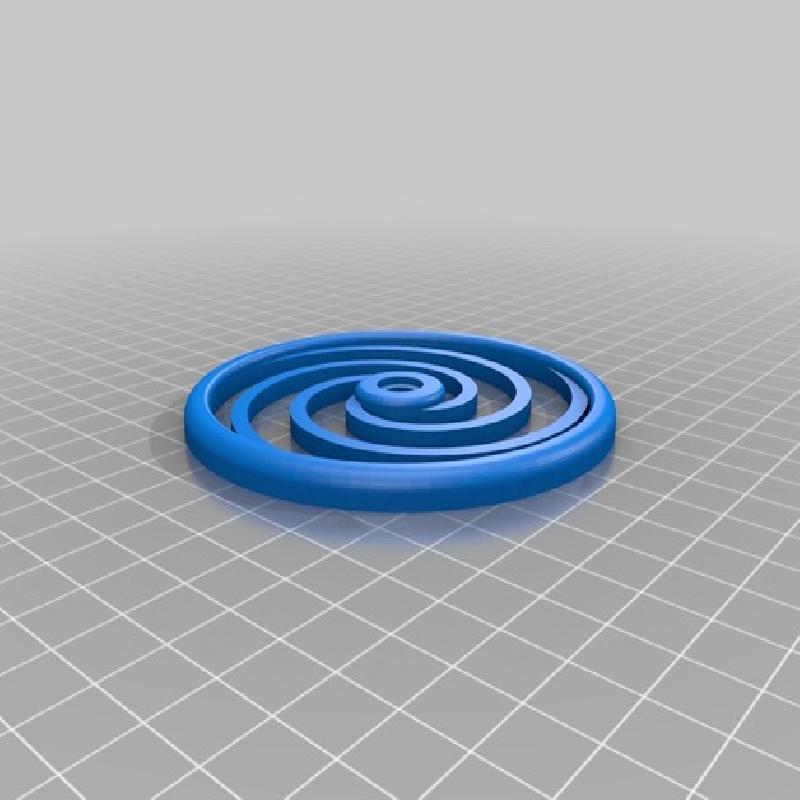
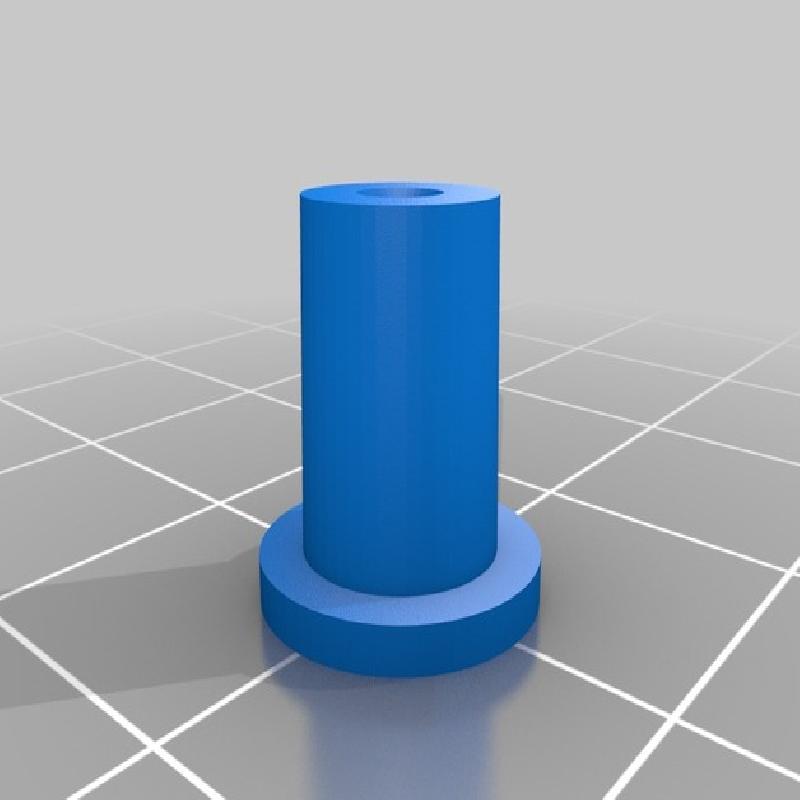
The hubs press fit into the wheels (glue if you must) and the shaft is a standard clothes hanger wire suitably straightened glued in place. It is difficult to get that to fit perpendicularly, so I undersized the hole a bit so I could customize the fit to whatever wire I had available.
The printer I used was rather finicky, so I don't guarantee the fit of all the parts will be perfect for your machine as they were "tuned" for my plywood and zip tie printer.
Obviously, feel free to paint it afterword. Be sure to consult the recipient or your efforts will be wasted.
In collaboration with my daughter.