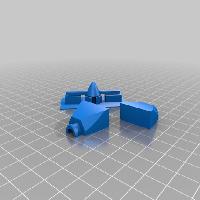
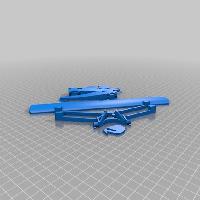
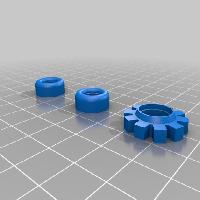
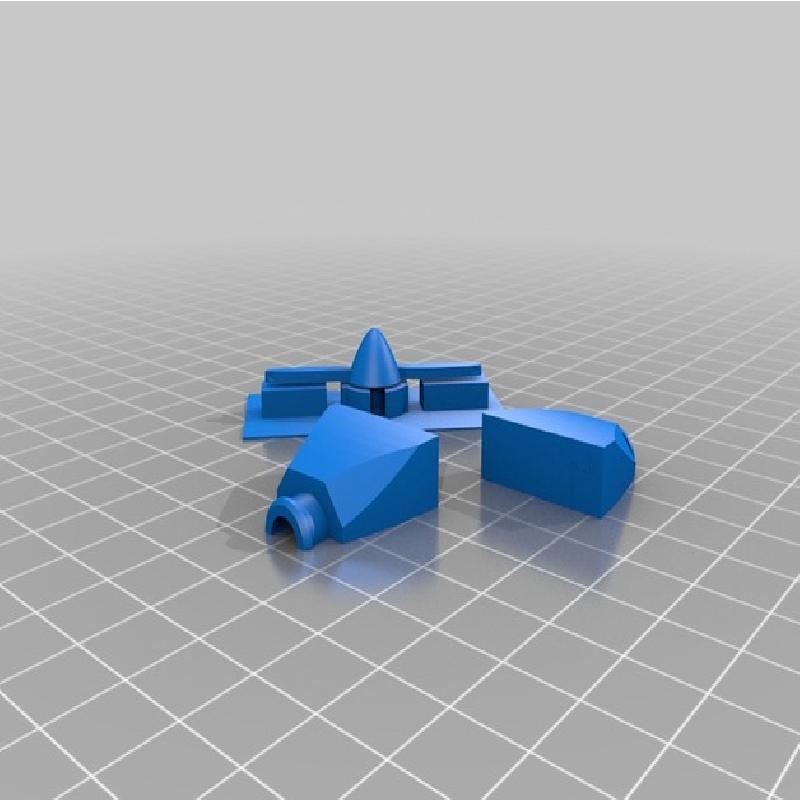
Here is a minor remix of Fichthorn's Spirit of St. Louis. I've split the plate into parts for three colors - white for the fuselage, wings, tail, and struts, silver for the front part of the plane and propeller, and black for the wheels and engine.
Also, since I have a common 200x200 buildplate, I've scaled the model up, to 25% larger than his original, and re-arranged a few parts to accommodate these changes.
Please note that the gaps between some parts are very thin, as it's designed to snap togetgher. You'll need a very well calibrated printed and good filament to reproduce this well enough, and you'll probably need to make use of your hobby knife here and there.
After printing, there are numerous support bits that need to be removed, and some knife work will be needed to clean up the bridging inside the four square holes on the underside of the front wing.
Assemble the fuselage onto the front struts first, then add the back strut, and the front wing, taking care to snap the struts into the holes in the wing - they will be a tight fit.
Press the back wing onto the back end of the plane, with the wide cut facing away from the fuselage and the side that was on the build plate facing up. Then, press the tail into place.
At this point, glue the existing parts together. Since you'll need to squeeze and press the glue into the nooks and crannies of the model, you'll want to use something that takes a while to dry, so that you can cleanly wipe off any excess as needed. Superglue is okay for the front struts, but not recommended for the fuselage seam.
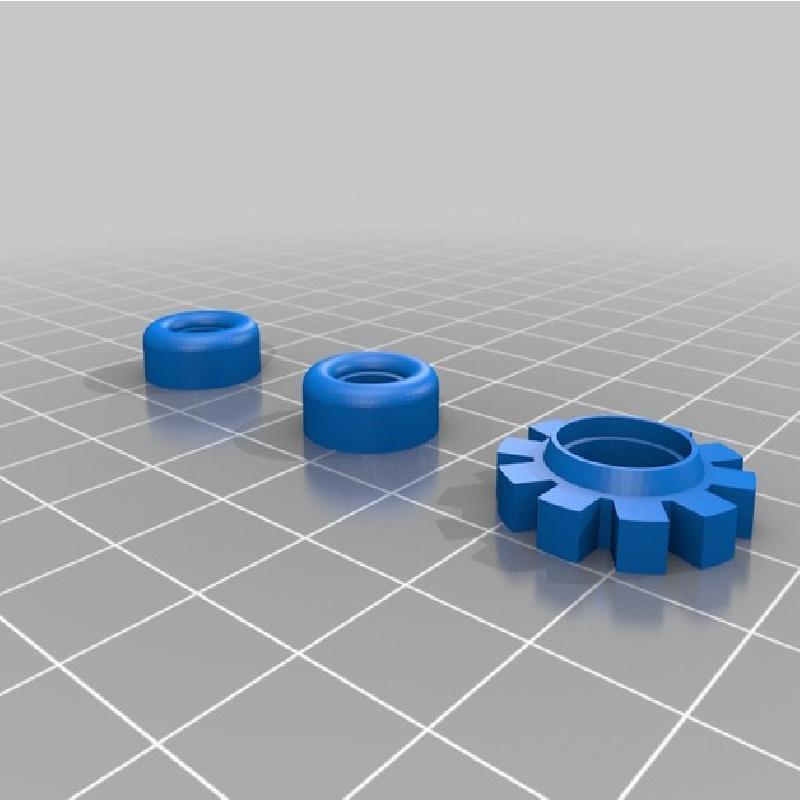
Next, trim the flared projection on the back of the propeller, and trim the inside of the matching projection on the front of the silver front end pieces, so that the frontend pieces fit flatly together when the propeller is installed. With the two pieces held together, snap the engine on, with the flared side away from the frontend.
Press the propeller into the hole - this part will be tricky, as the flare on the propeller shaft is a tight fit. Glue the engine and frontend pieces together, but leave the propeller loose. Glue the assembly to the front of the fuselage, with the steeper slope facing up.
Finally, snap the wheels into place, flat sides toward the struts.
Printer:
Prusa i3
Rafts:
No
Supports:
Yes
Resolution:
0.1 mm
Infill:
15%
Notes:
This model "needs" supports, but it already comes with support objects as supplied by Fichthorn. You could also "split" the model and delete those in favor of what your slicer provides, if you want.
The pictured model was printed with Atomic "Bright White", "Metallic Silver" and "Deep Black" PLA. I printed it with 0.2 mm layer thickness, but in retrospect, 0.1 mm would have looked much better on the fuselage.