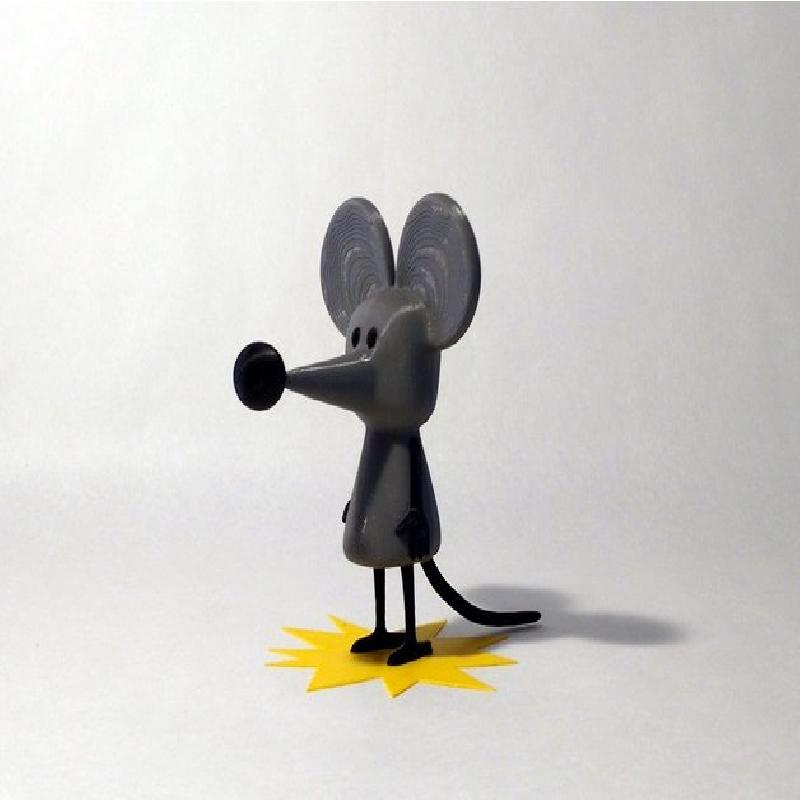
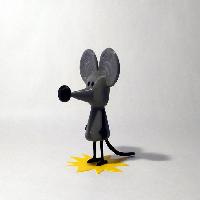
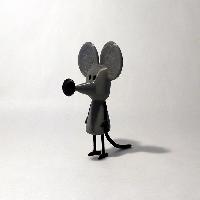
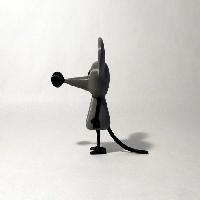
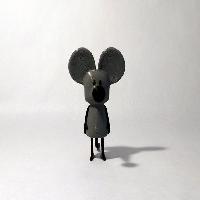
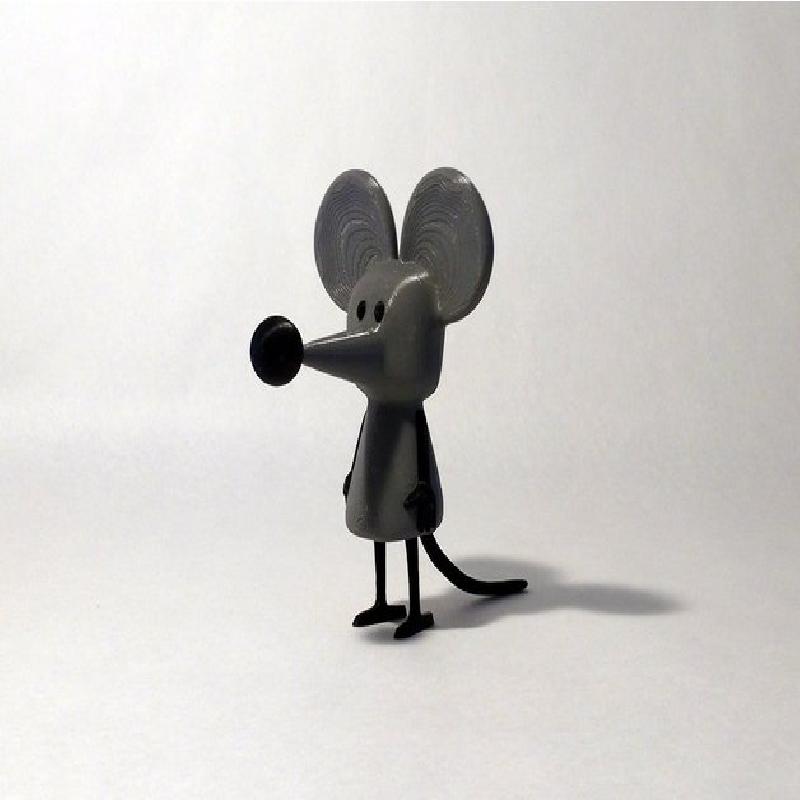
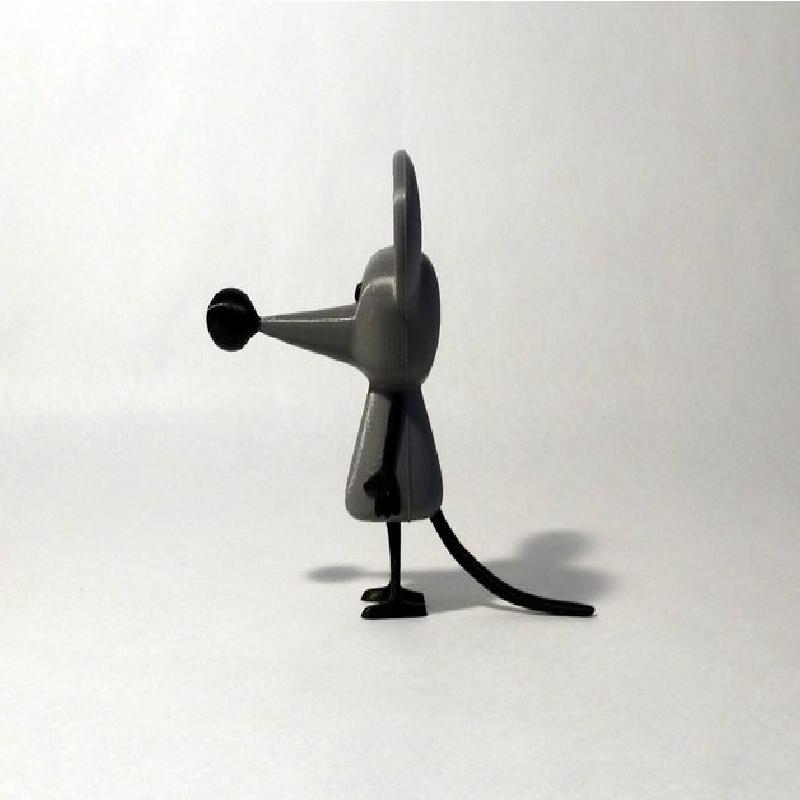
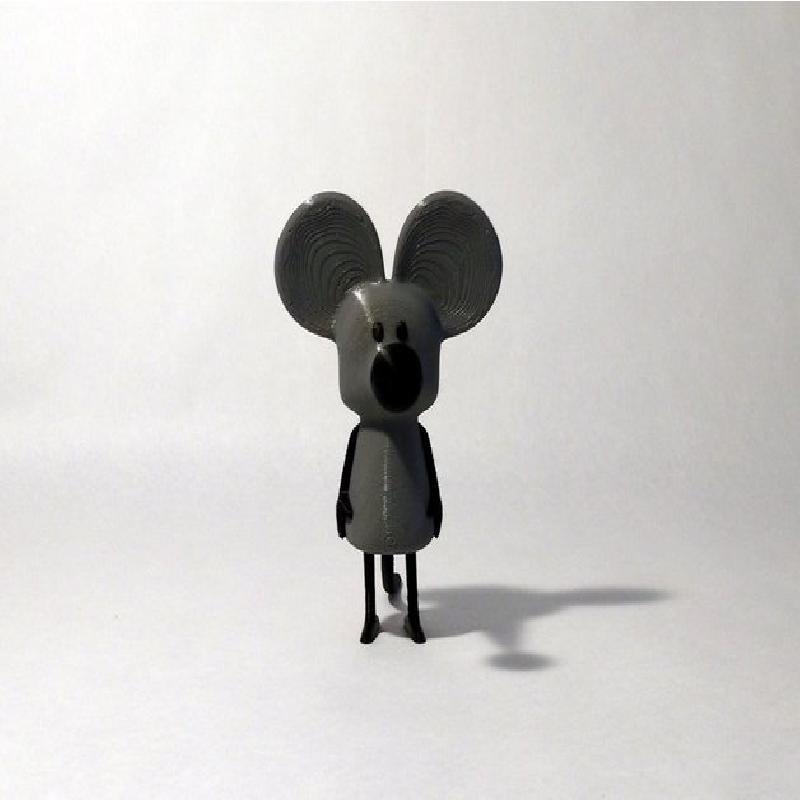
Rat from the comic strip "Pearls Before Swine" by Stephan Pastis.
Rat is an insensitive character in the strip, whose interactions with others are typically sarcastic, condescending, self-centered, insulting and sometimes violent.
No supports are required. If you have the right filament colors, no painting is needed.
The completed model is 130mm tall after assembly. This model is in proportion to the Pig and Crocodile models from the comic that I've also posted.
Enjoy!
Printer:
FlashForge Creator X
Rafts:
Doesn't Matter
Supports:
No
Resolution:
.2mm
Infill:
10%
Notes:
See below for helpful printing and assembly tips.
Colors (there are no multiple printed pieces)
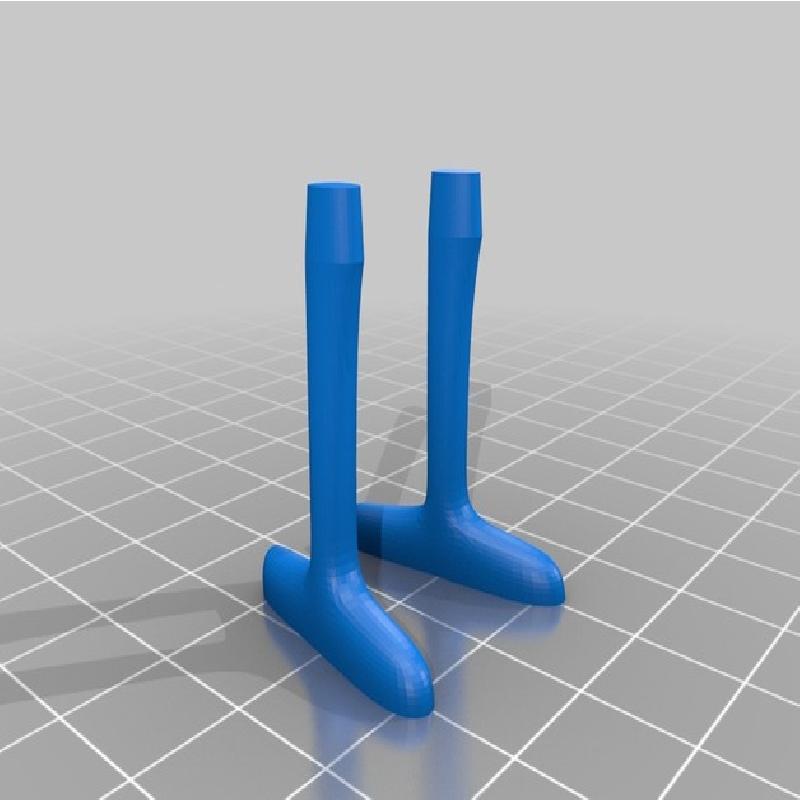
Black:
eye_left
eye_right
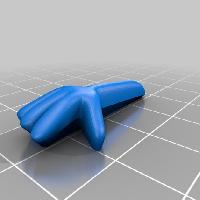
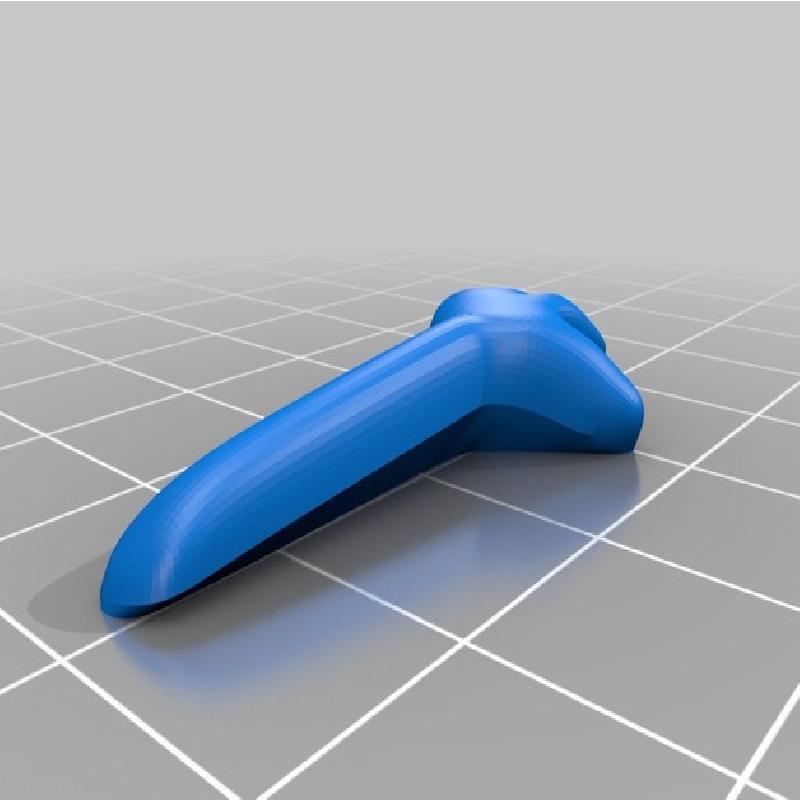
arm_left
arm_right
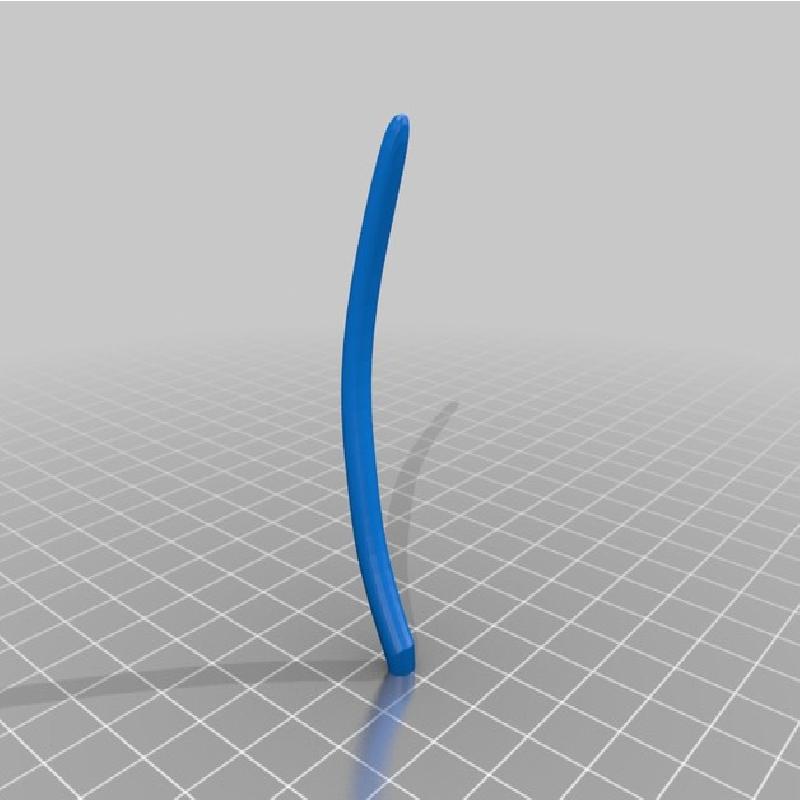
tail
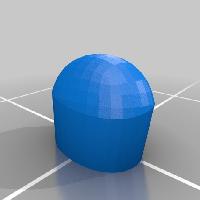
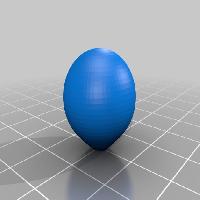
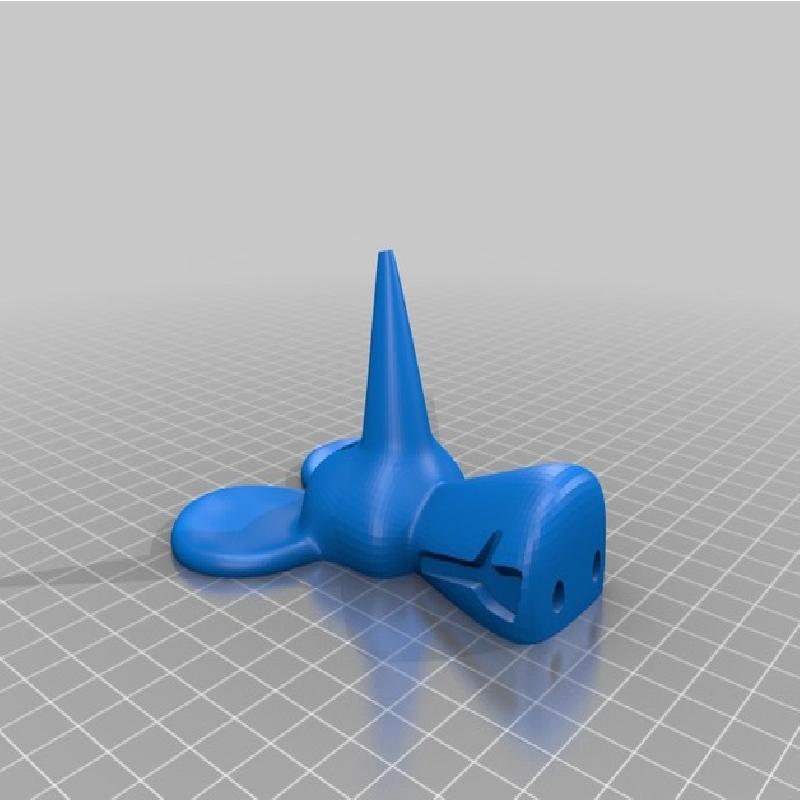
nose
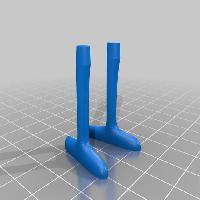
legs
..
Grey:
body_back
body_front
..
Yellow:
base (optional)
..
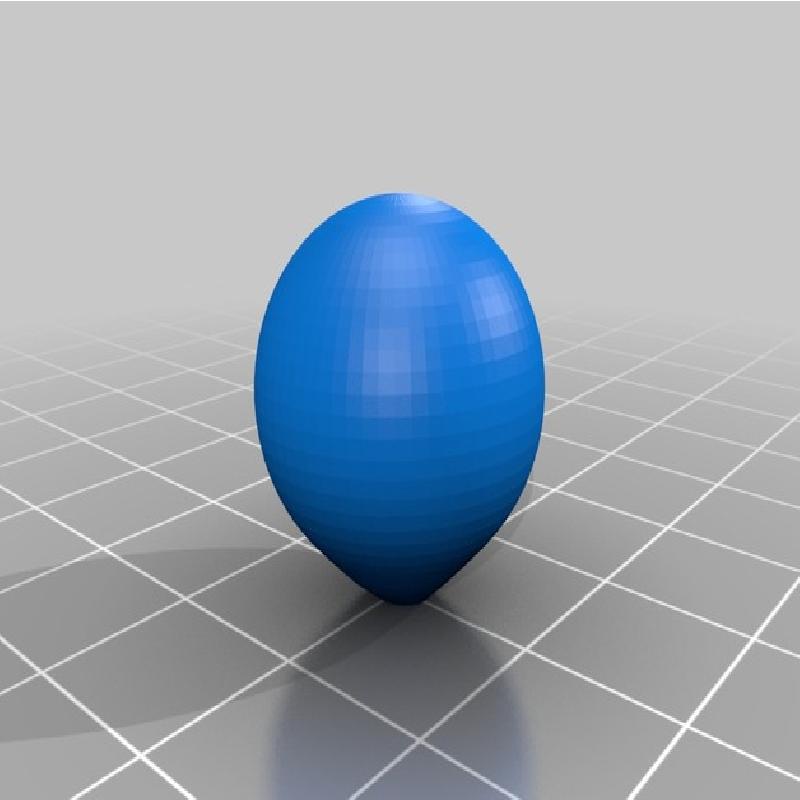
Any color (hidden piece)
body_bumps
Printing and assembly tips
Printing Tips:
1-No supports are required.
..
2-I used a brim on a few pieces, use your discretion based on your own preference:
-tail is a tall curved piece with a very small base
-nose has a very small base with a much larger body
..
3-The eyes pieces might be interchangeable. I did not model them as perfect mirrors so they are posted as separate pieces.
..
4- For the best looking model be sure to clean your brims thoroughly. All the pieces are sized to fit nicely, providing the brims/squish are cleaned up. This includes the holes for the body_bumps.
..
5-I had a difficult time getting the arms modeled so that everything prints without supports. Therefore the fit of the arms to the body are quite tight and a bit of cleanup may be required.
..
Assembly tips:
-The diagram below will help in assembling the model and is quite straightforward.
-The model is meant to be glued together.
-Again, take care to ensure that the first layer 'squish' and any added brim is completely cleaned off.
-The nose to body connection is fairly small and completely flat without any indents for alignment. I use E6000 glue for my models. The glue gets tacky quickly, but then allows for a two hour drying time. I had no issue gluing these parts even though at first glance it seems awkward.
-The model stands nicely on it's own, however a base is included for extra stability if needed.
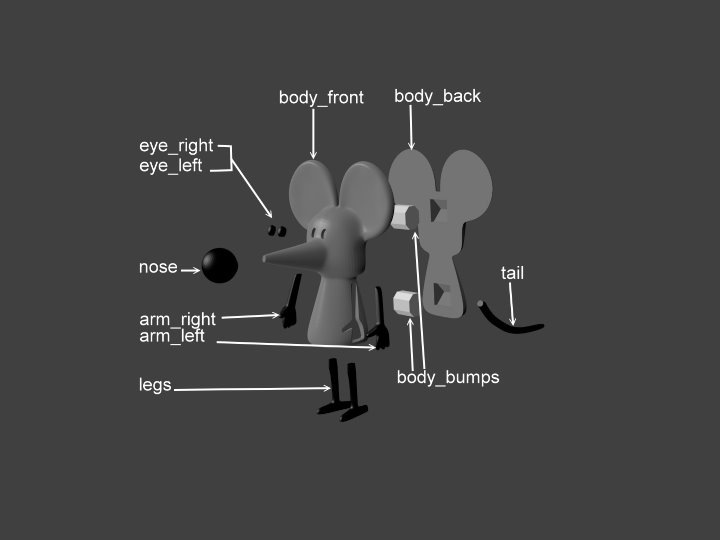
Rat assembly diagram