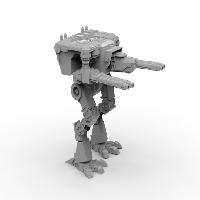
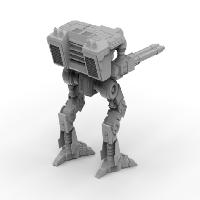
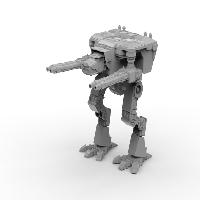
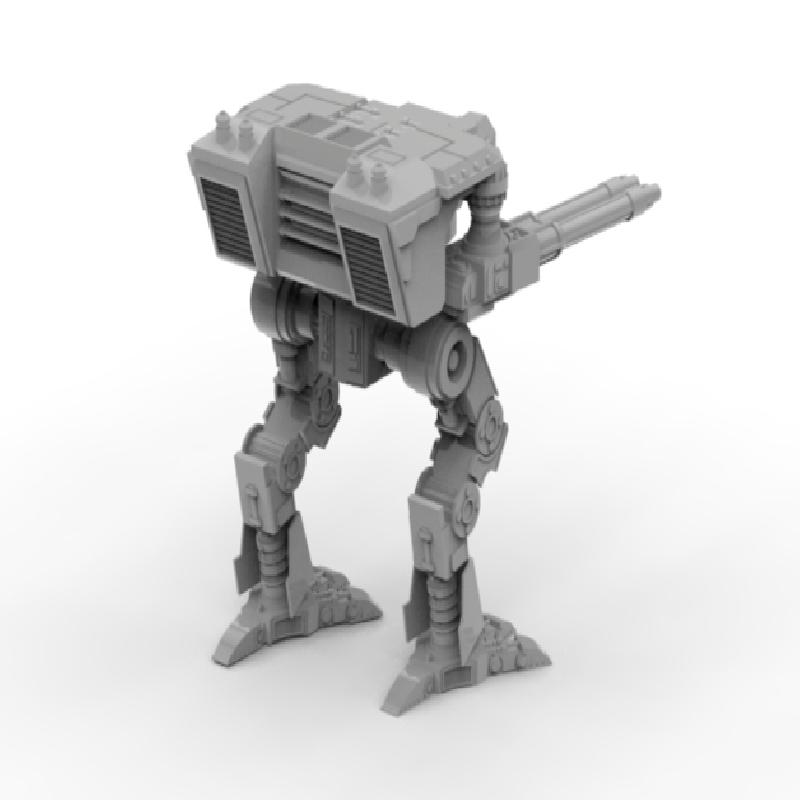
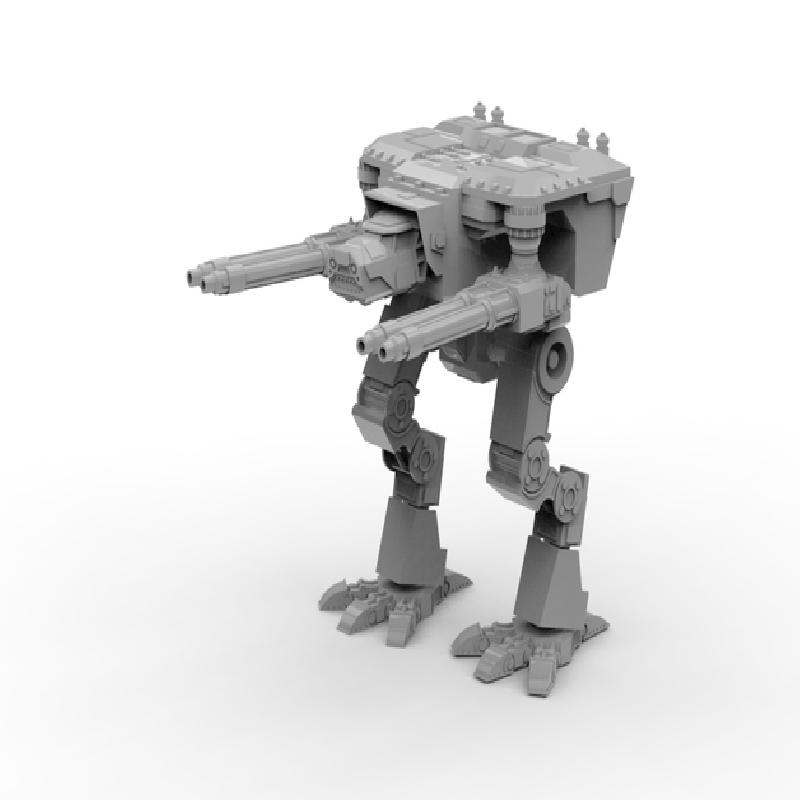
A giant robot titan for use in 28mm tabletop strategy games. After assembly, it measures to about 10.5 inches, or 25cm.
Parts necessary:
Body_1 x1
Body_2 x1
Body_3 x1
Body_4 x1
Body_5 x1
Body_6 x1
Body_7 x1
Body_8 x1
Head_1 x1
Head_2 x1
Head_3 x1
Head_4 x1
Head_5 x1
Head_6 x1
Head_7 x1
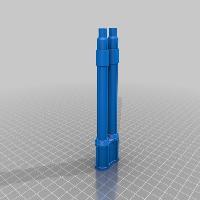
arm_strut_1 x4
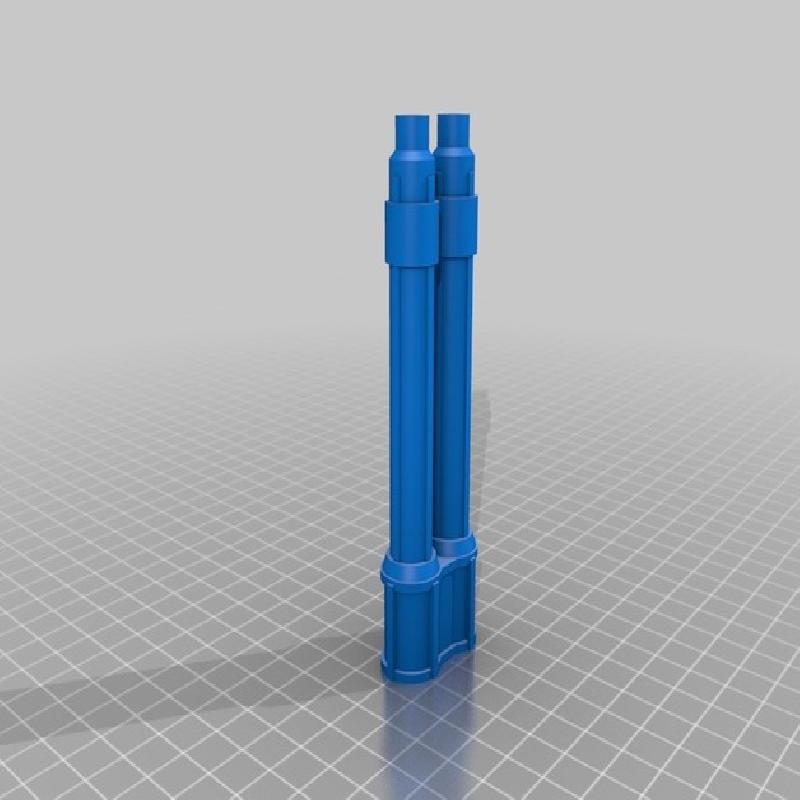
Turbolaser_1 x2
Turbolaser_2 x2
Turbolaser_3 x4
Turbolaser_4 x4
Turbolaser_5 x2
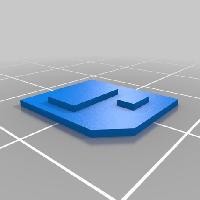
Groin_1 x1
Groin_2 x1
Groin_3 x1
Groin_4 x1
Groinjoint_1 x2
Groinjoint_2 x2
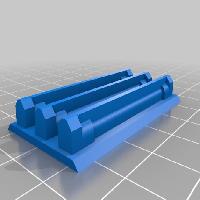
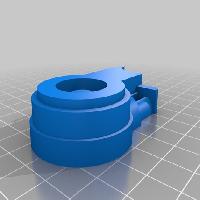
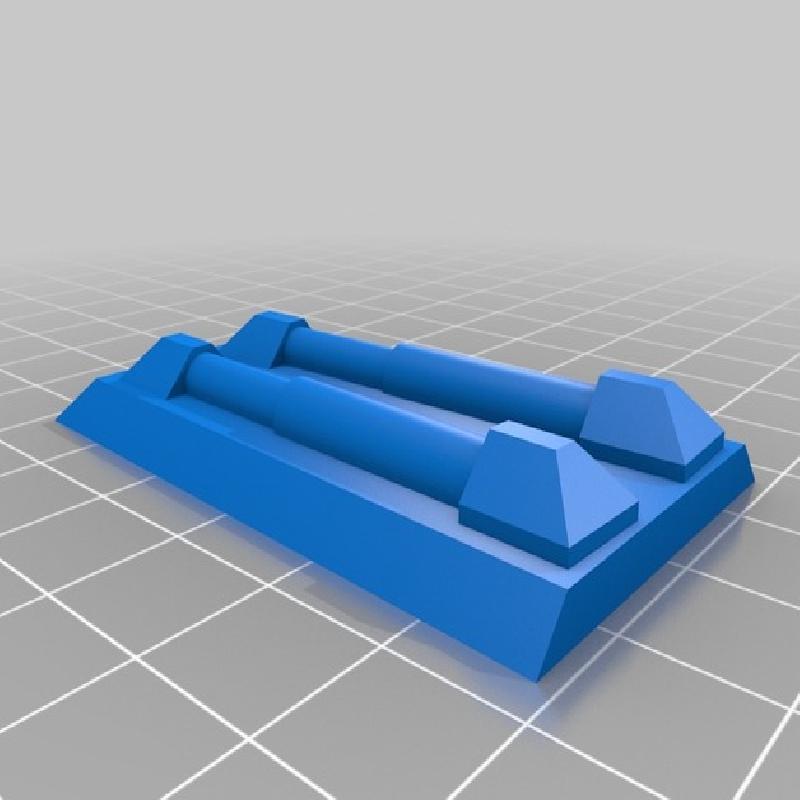
Upperleg_1 x2
Upperleg_2 x2
Upperleg_3 x2
Upperleg_4 x2
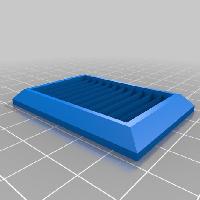
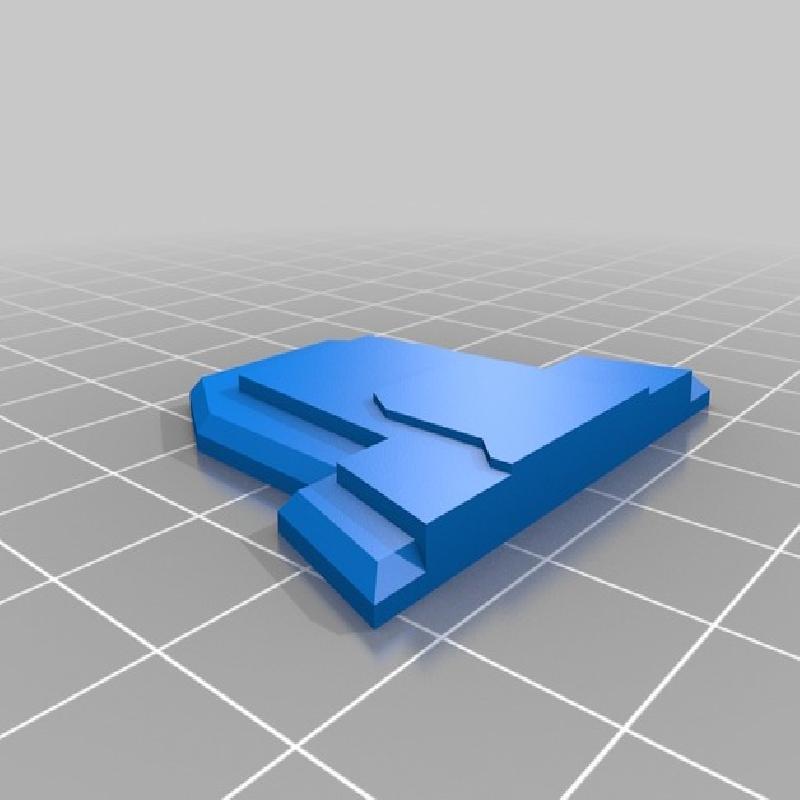
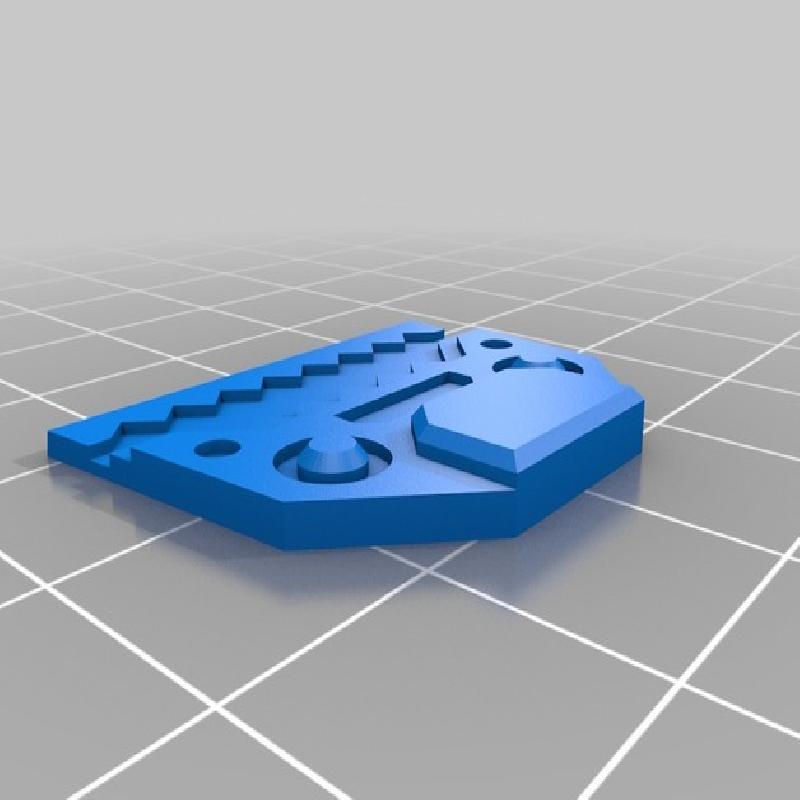
Midleg_1 x2
Midleg_2 x2
Midleg_3 x2
Midleg_4 x2
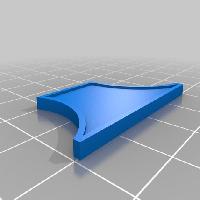
Lowerleg_1 x2
Lowerleg_2 x2
Lowerleg_3 x2
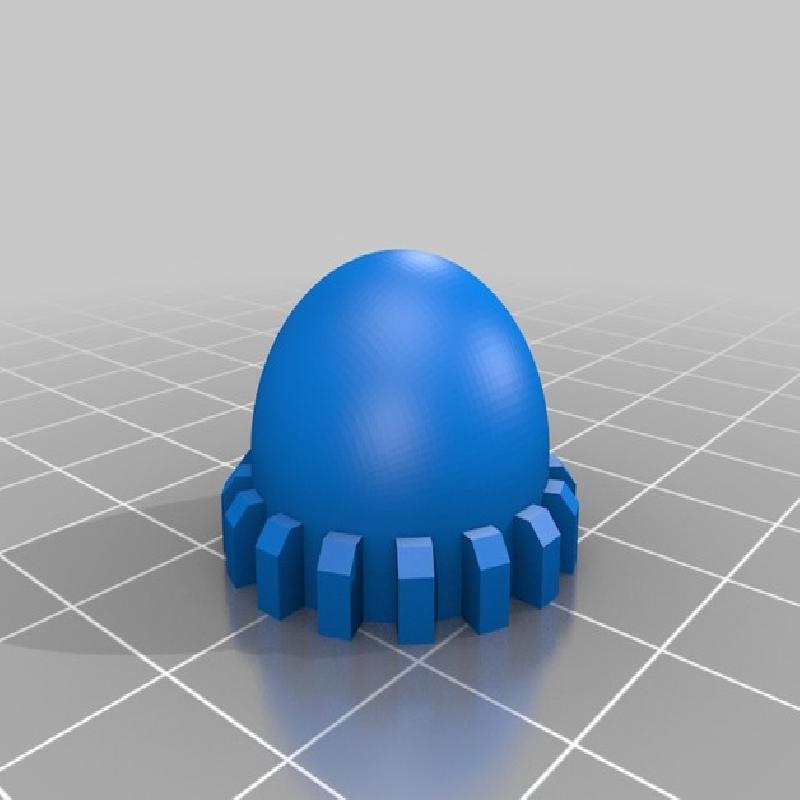
Foot x2
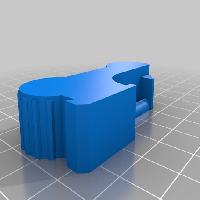
leg_connector x8
Rafts:
No
Supports:
No
Resolution:
0.1 or 0.05 if possible
As usual, apply filler, sand and then glue. Add extra details manually if you want, especially in the shin armour. It was left blank exactly for that
Assembly
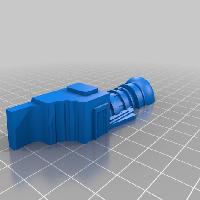
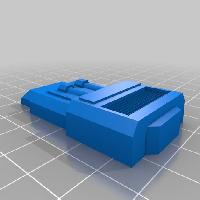
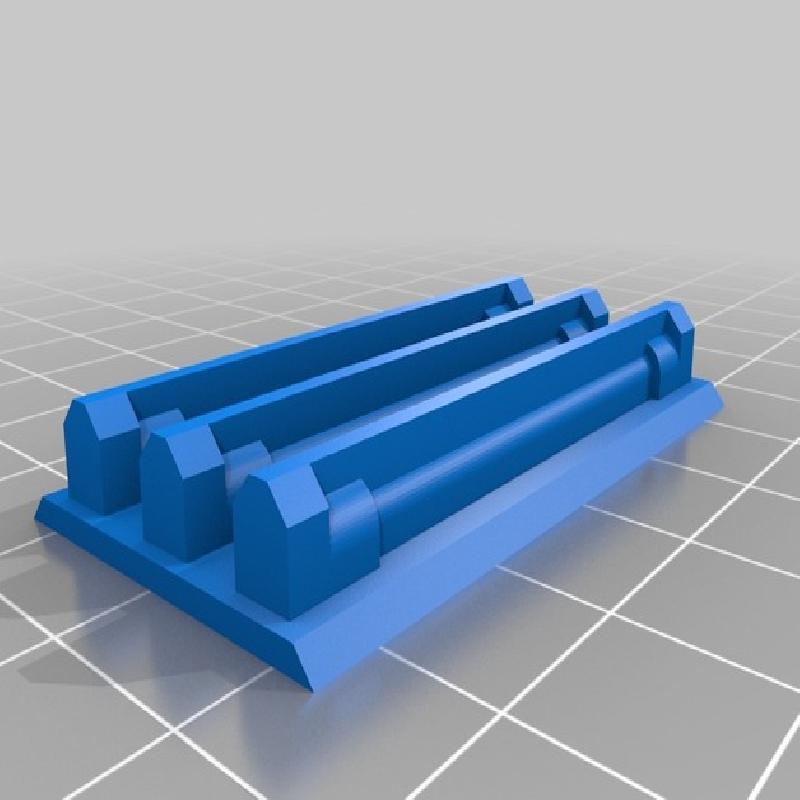
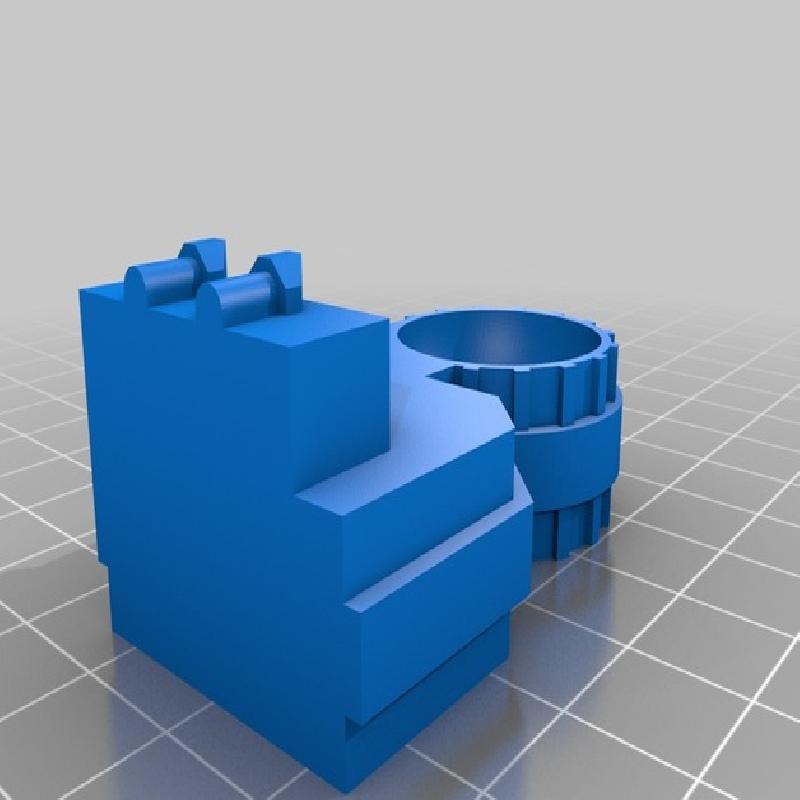
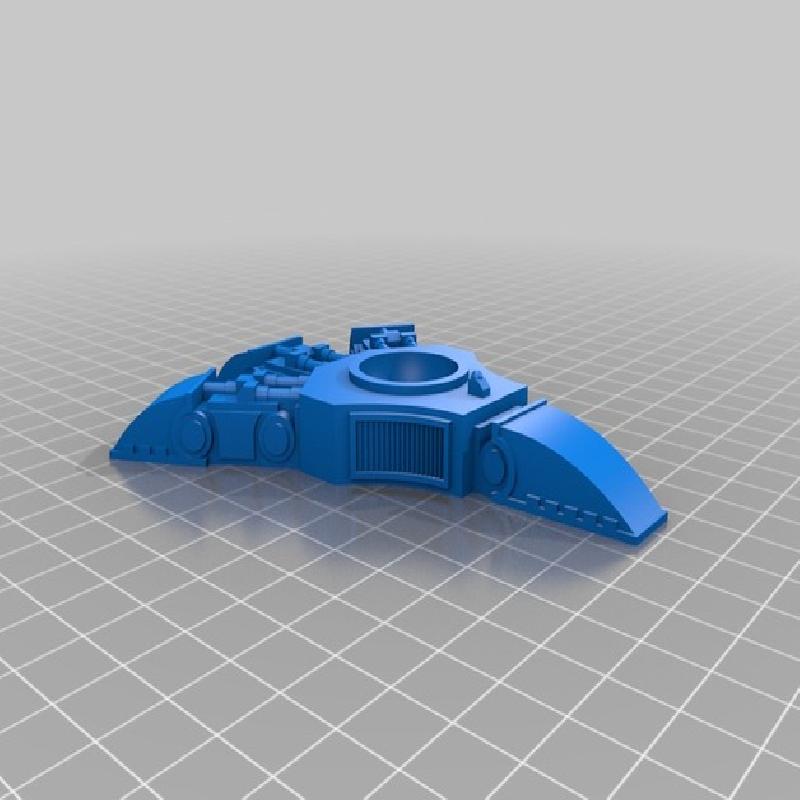
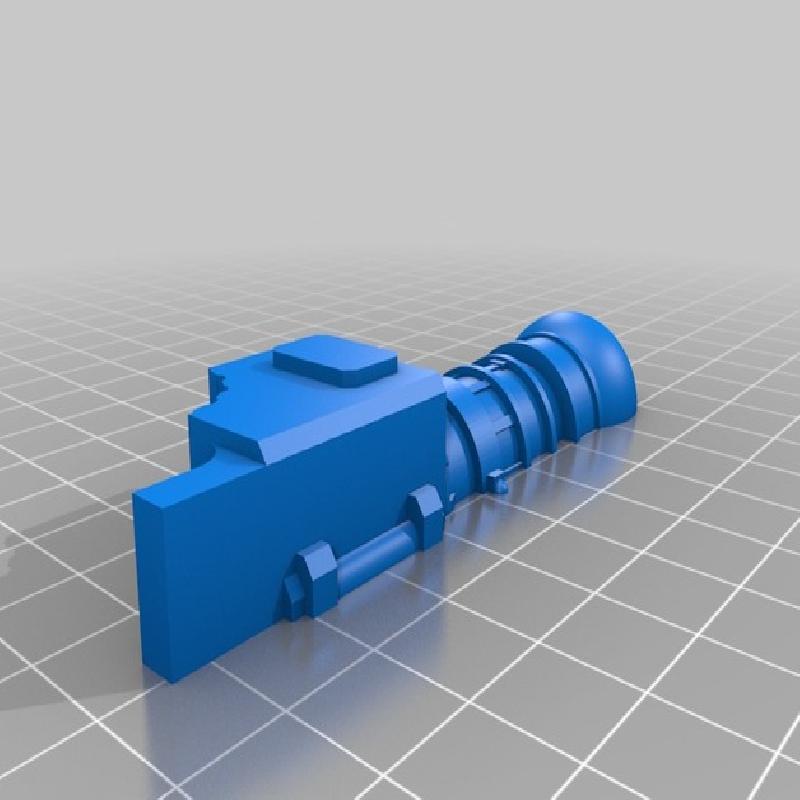
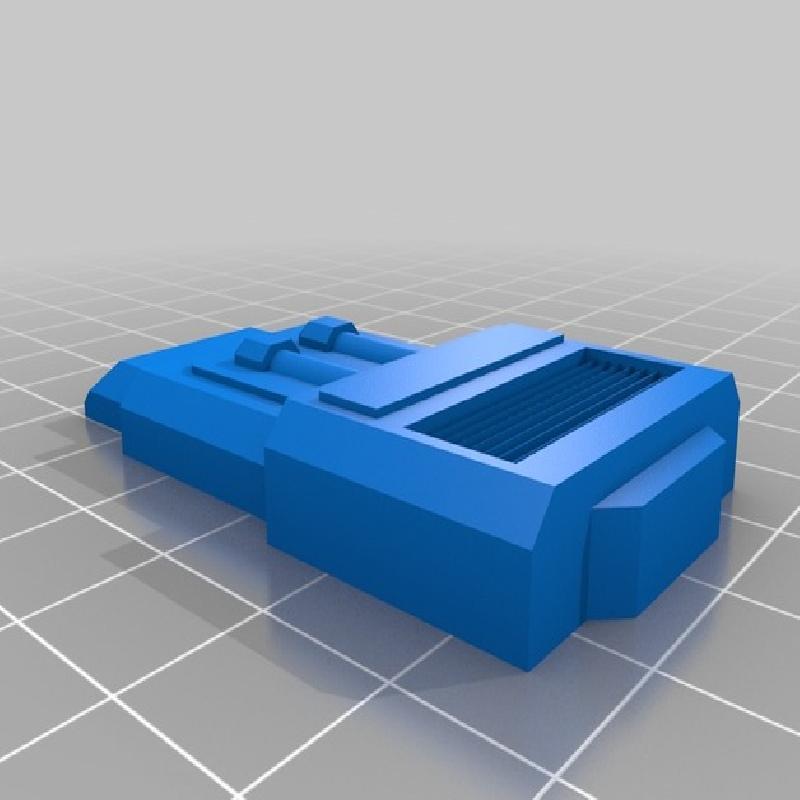
Gun assembly: Print 2x "arm_strut_1" and glue to each other. Print turbolaser_1 and turbolaser_2 and glue them to each other, bottom to bottom. Print 2x turbolaser_3 and 2x turbolaser_4 and glue them to the flat sides of turbolaser_1. The one with the cut corner goes in the back, where the corner is also cut. The other goes on the middle flat area. Print turbolaser_5 and glue it to the front of turbolaser_1. Glue the arm_strut_1 assembly to the round hole in turbolaser_1. That will link with the torso attachment point. Repeat the process for the other arm.
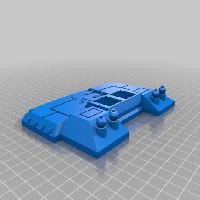
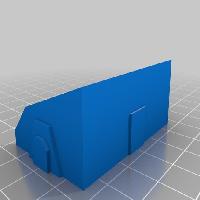
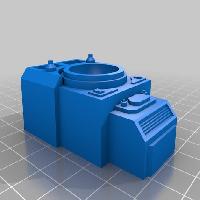
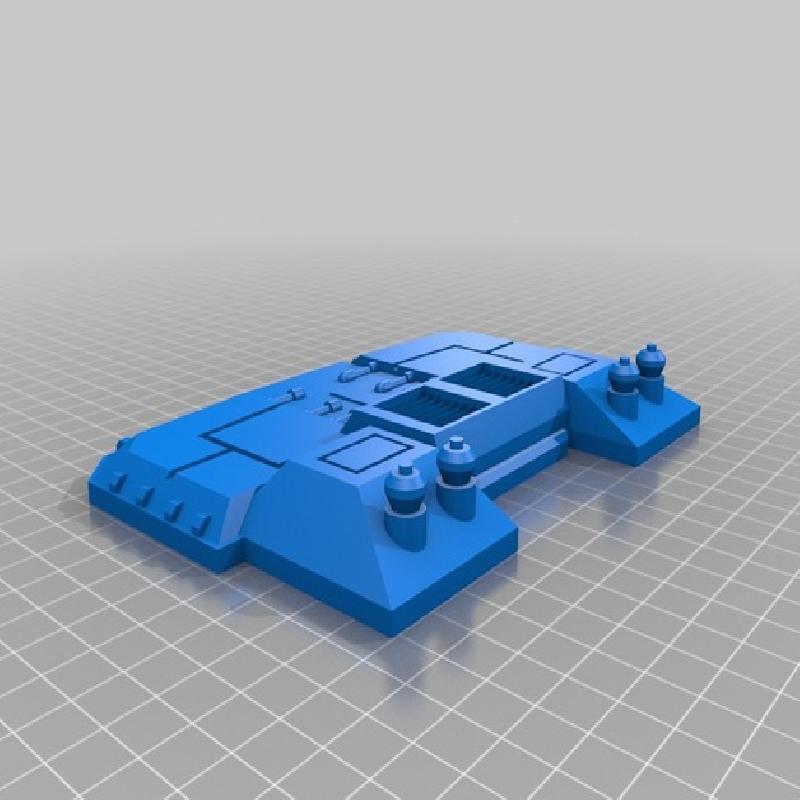
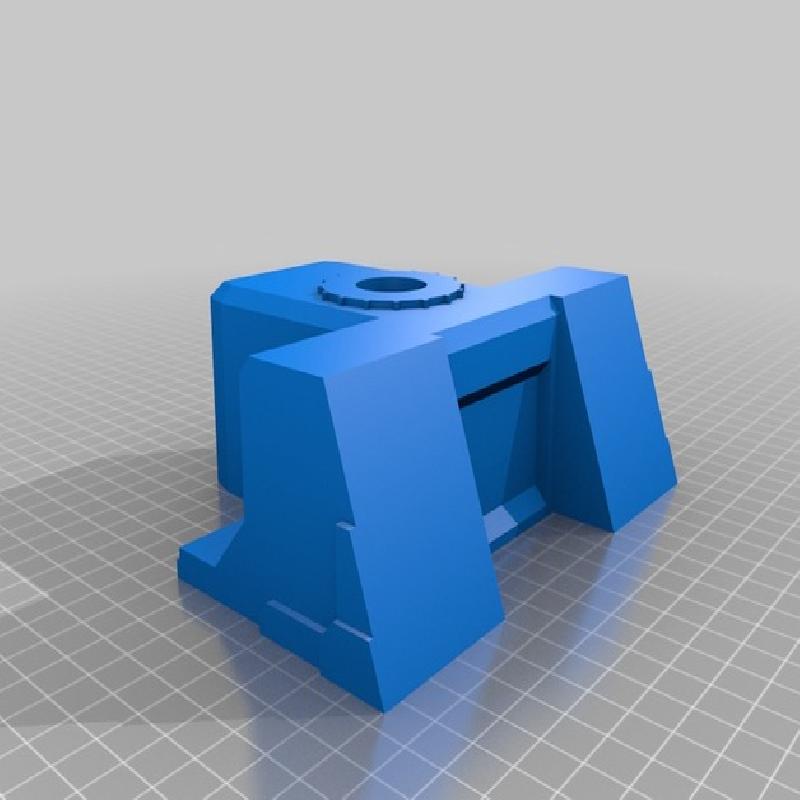
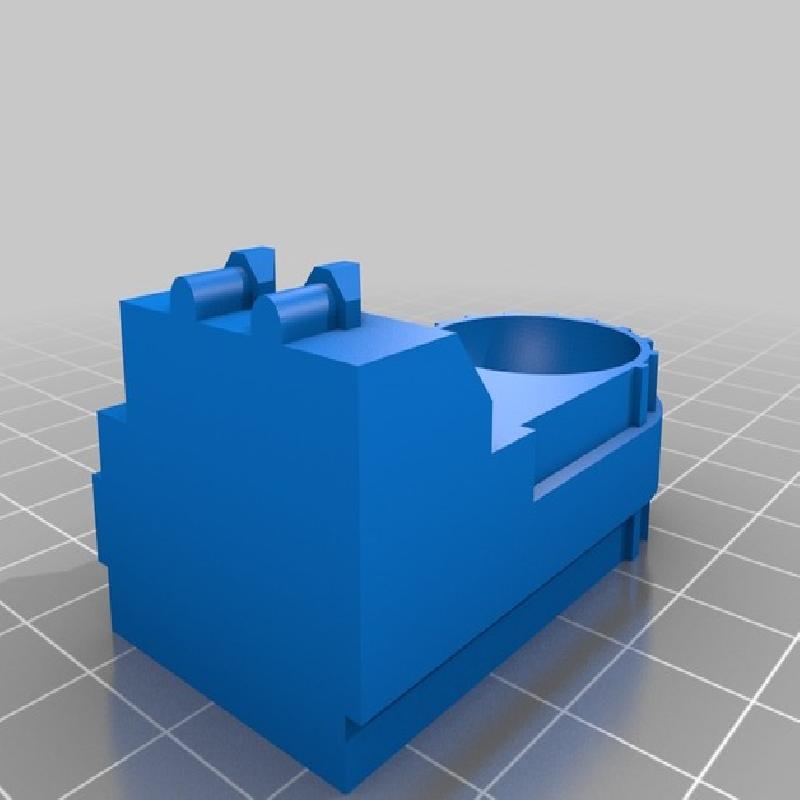
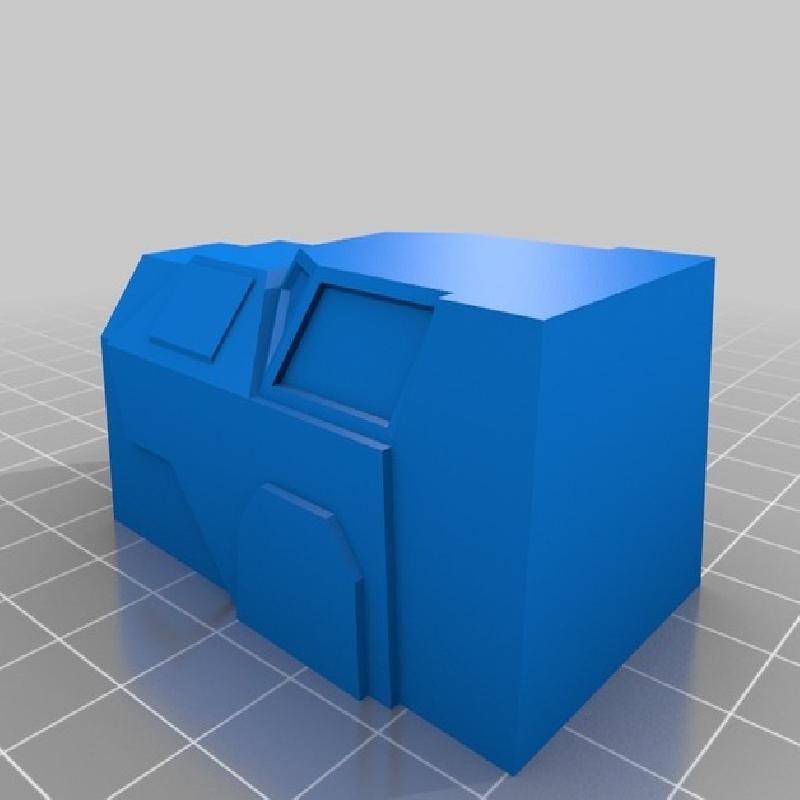
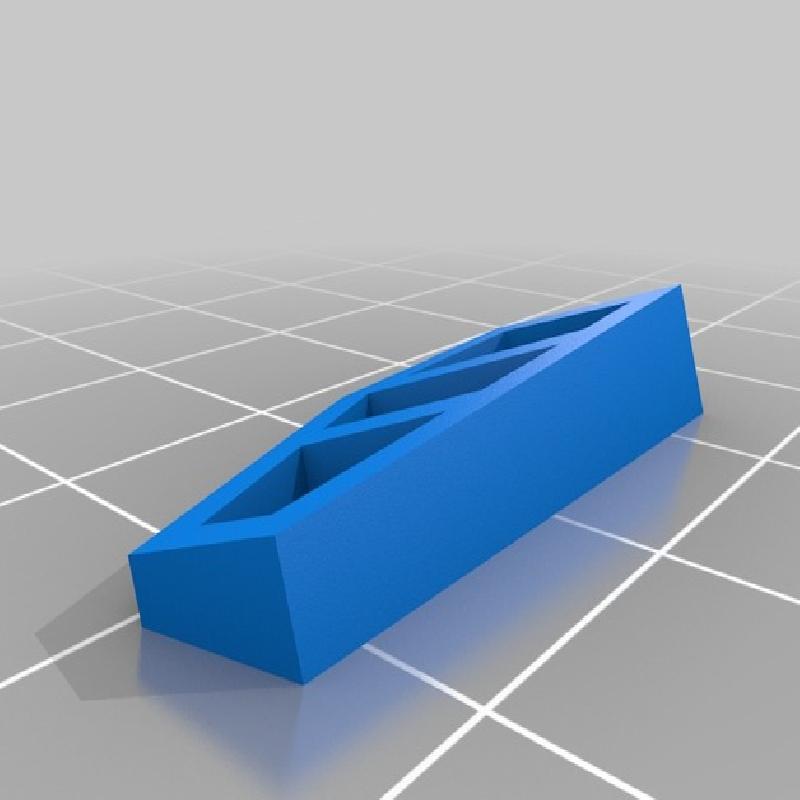
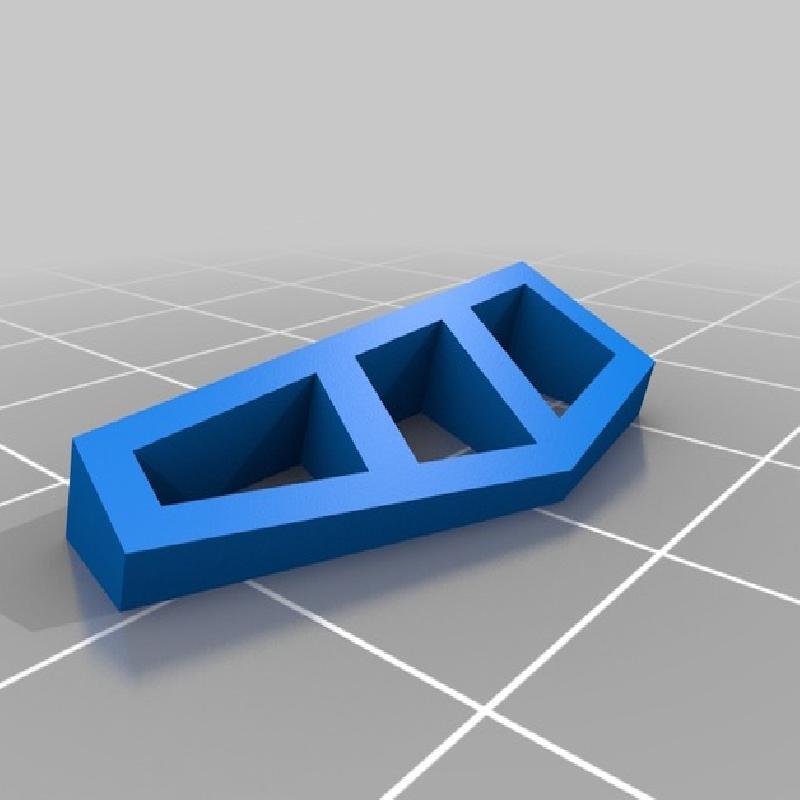
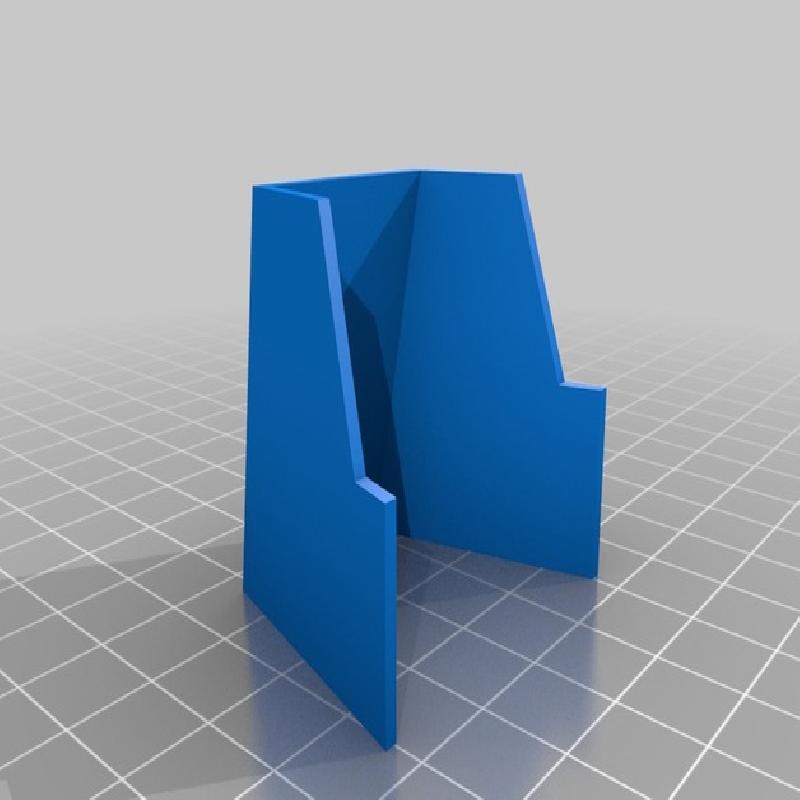
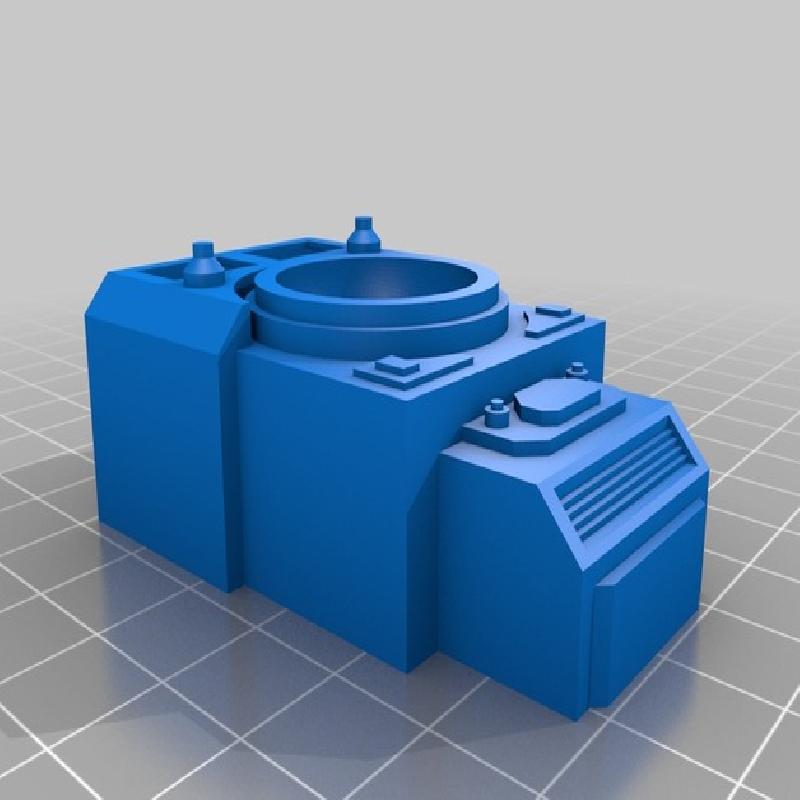
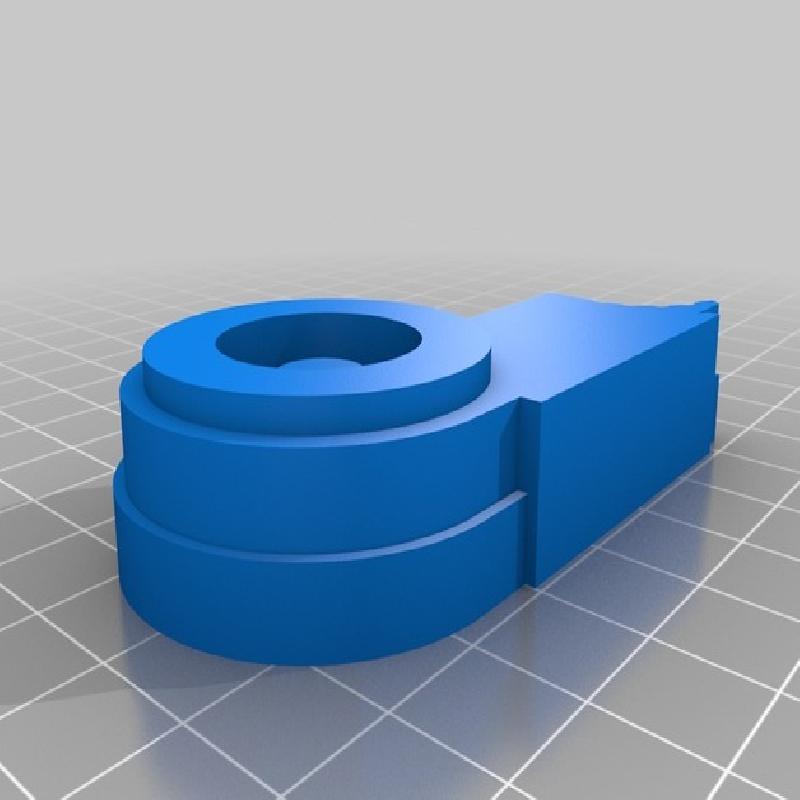
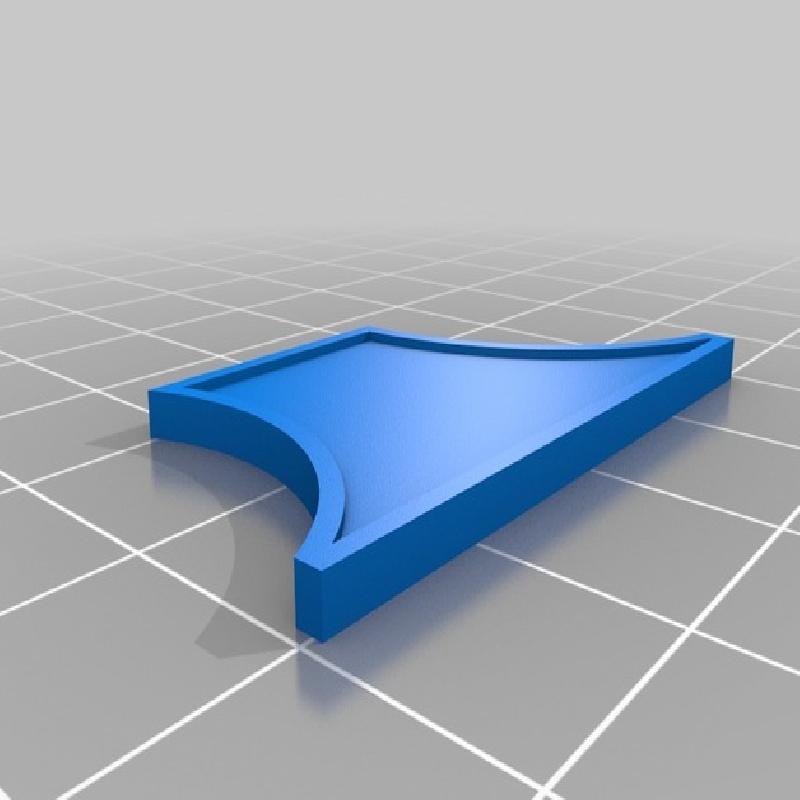
Body assembly: Print body_1 and body_2. Glue them together bottom to bottom. Glue body_3 to the rectangular indentation in the back of body_2. Print body_4 and body_5 and glue it to the inclined flat area in the back of body_2. Glue body_6 and body_7 to the space under body_1 near the front. Use the indentations to align the parts. The round hole should be facing down and further to the back of the part. This will then receive the gun assembly made earlier. Glue body_8 to the front, over the round hole, centered horizontally. Assemble only after the head to use it as a position reference.
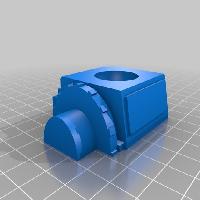
Head: Glue head_1 and head_2 together, bottom to bottom. Try centering the parts as you glue. Glue head_3 to the flat top area. Glue head_4 to the front flat area. Glue head_5 to the flat area in the back of the head assembly. Try to keep it centered. Glue head_6 and head_7 to the sides of the head, on the flat area near the back. Glue the head to the round hole in the front of the body assembly. Glue body_8 in the body using the head as reference.
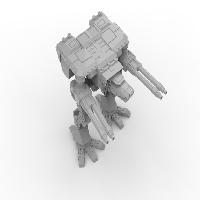
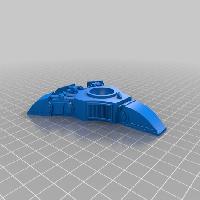
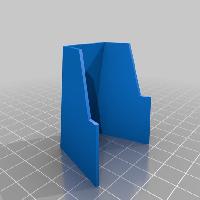
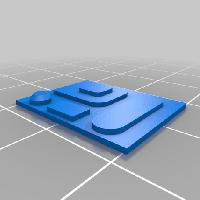
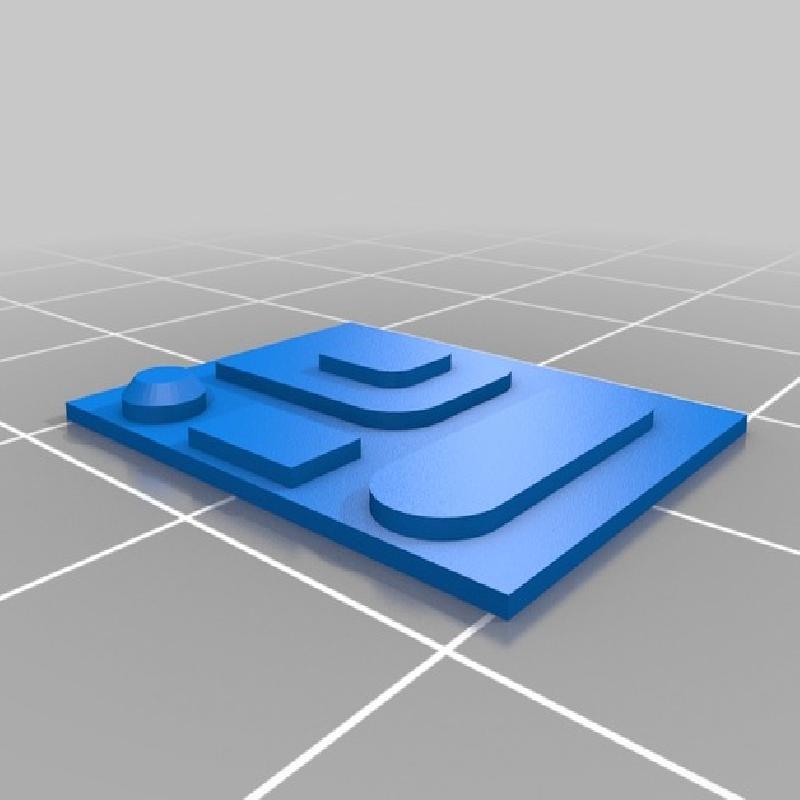
Groin: Glue groin_1 and groin_2 together. Glue groin_3 and groin_4 to the flat frontal areas of the groin assembly.
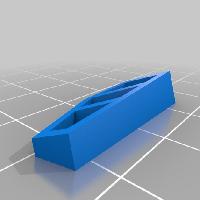
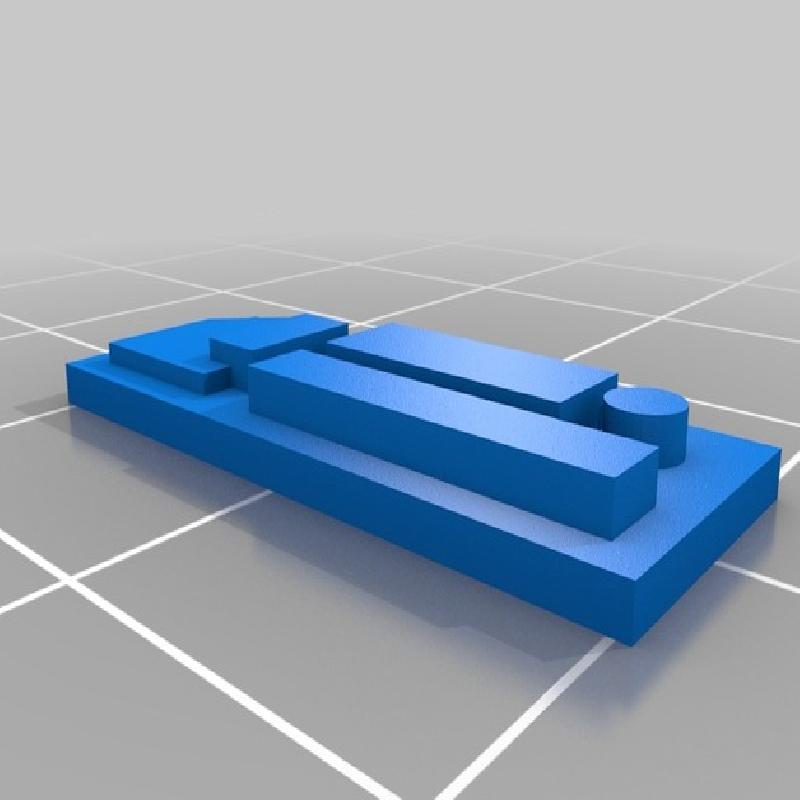
Lower leg: Glue lowerleg_1 and lowerleg_2 together. Glue lowerleg_3 to the small inclined flat area in the front of the lowerleg assembly. Repeat for the other leg.
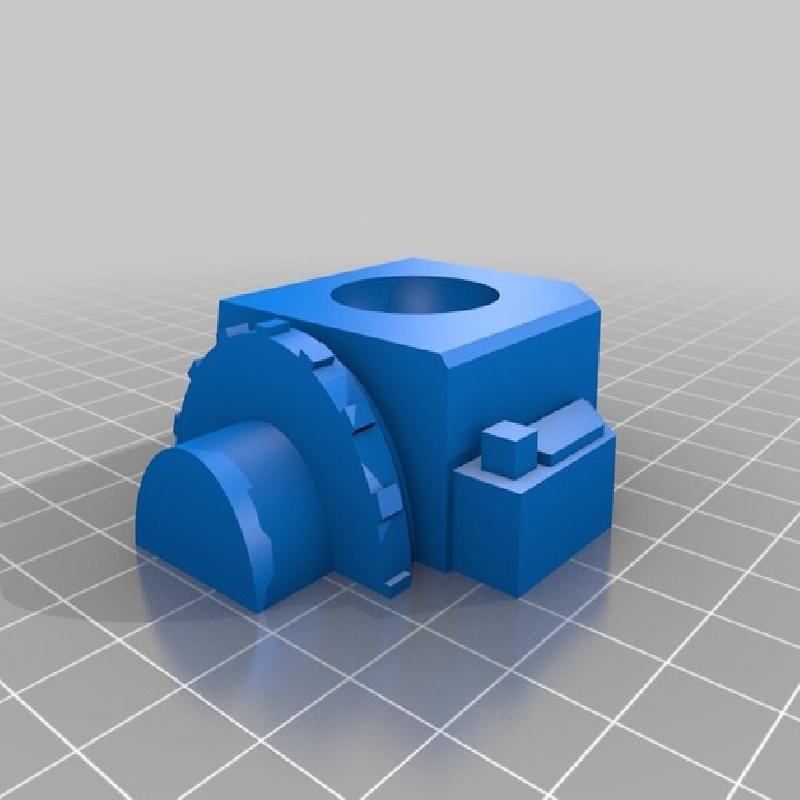
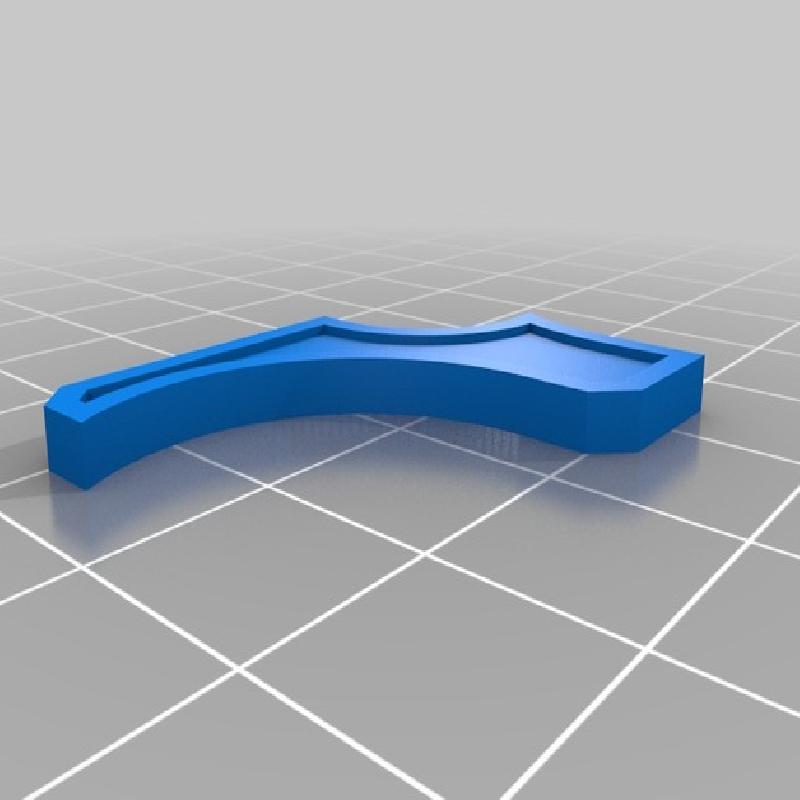
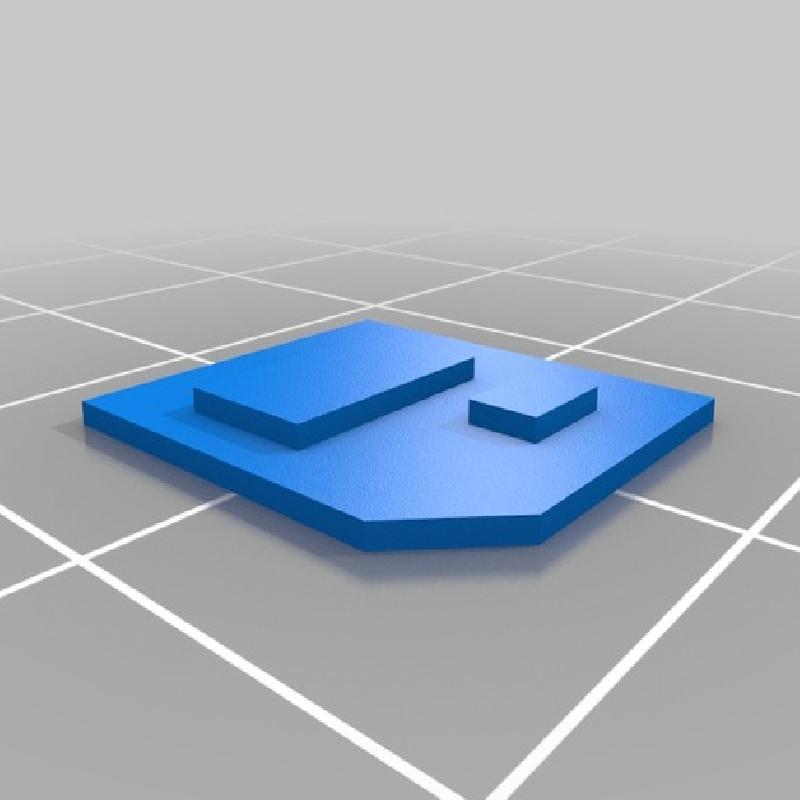
Midleg: Glue midleg_1 and midleg_2 together. Glue midled_3 and midleg_4 to the sides of the midleg assembly, using the front area as a guide. It's supposed to align with the flat area opposite to the cog-like areas in the back. Repeat for the other leg.
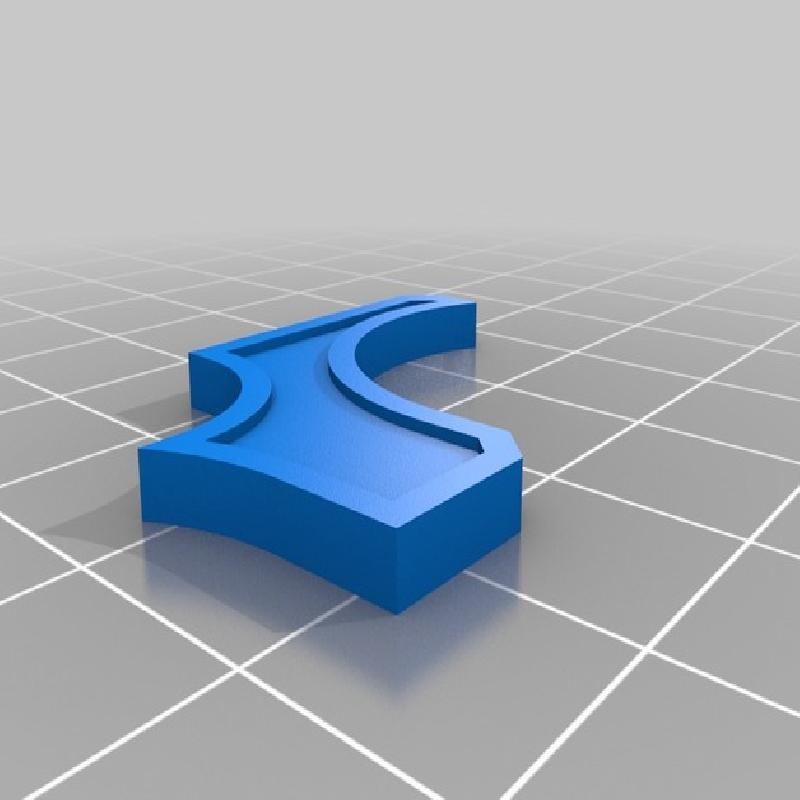
Upperleg: Glue upperleg_1 and upperleg_2 together. Glue upperleg_3 and upperleg_4 to the sides of the upperleg assembly, aligning it with the flat area in the front. Glue the groinjoints to the upperleg assemblies Repeat for the other leg.
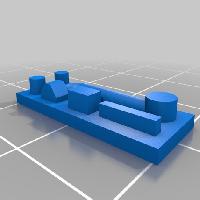
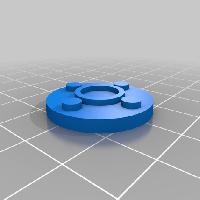
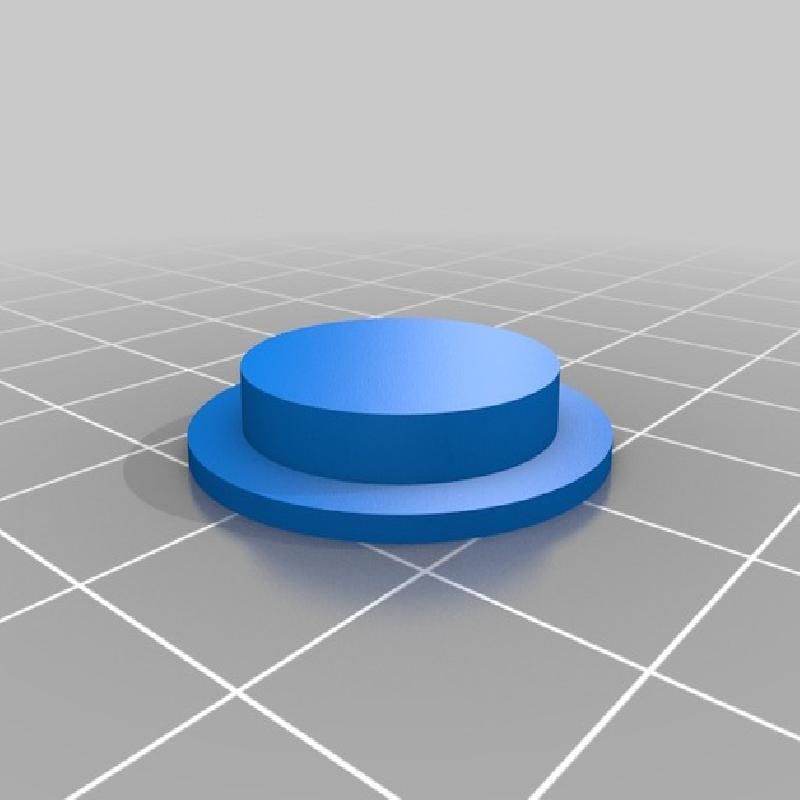
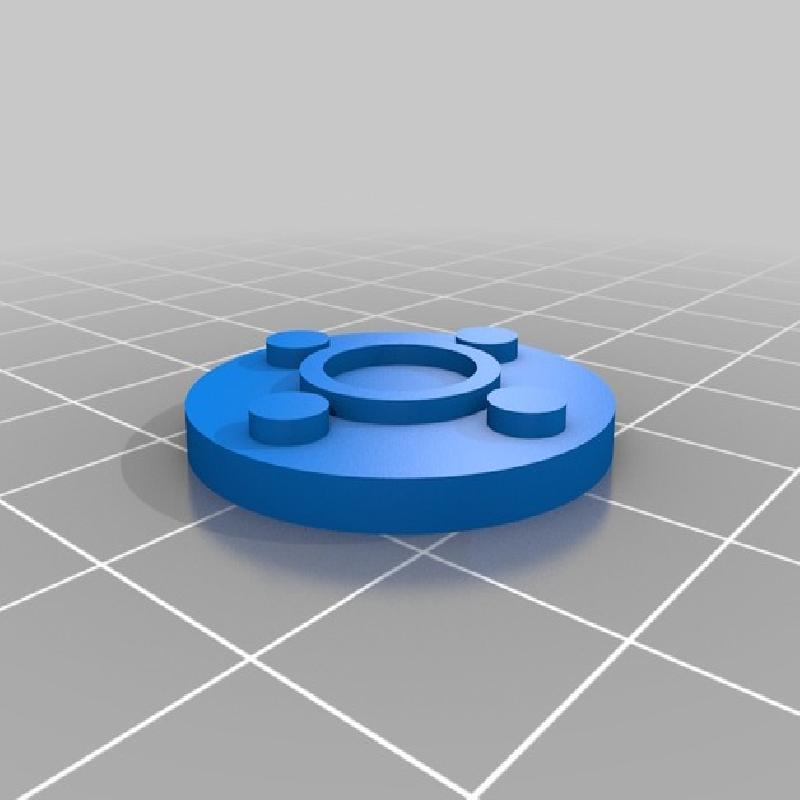
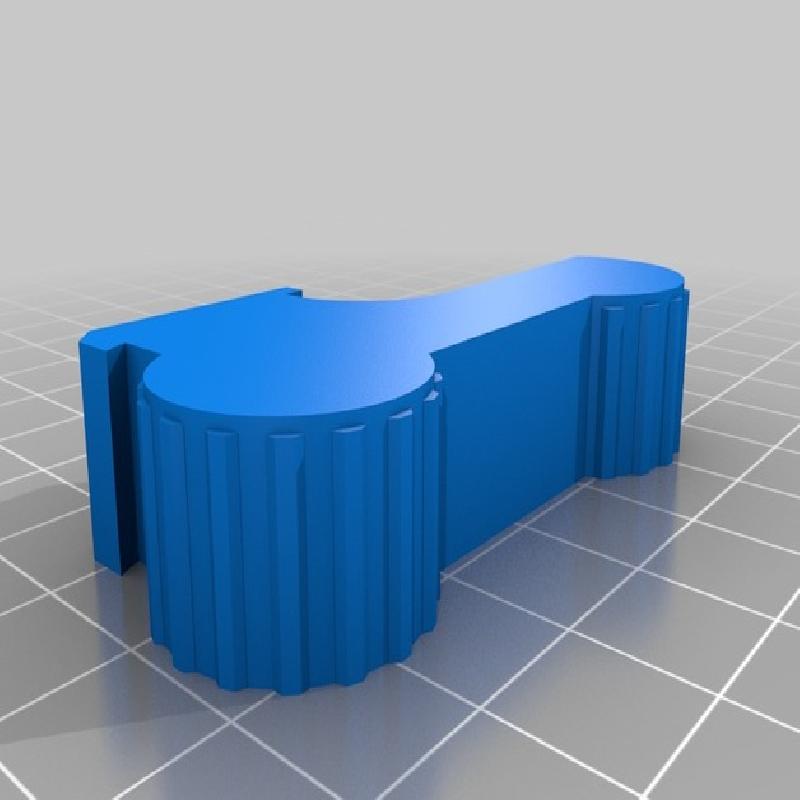
Leg connectors: Print 8x leg connectors and glue them to the round cog-like areas that connect the different leg parts.
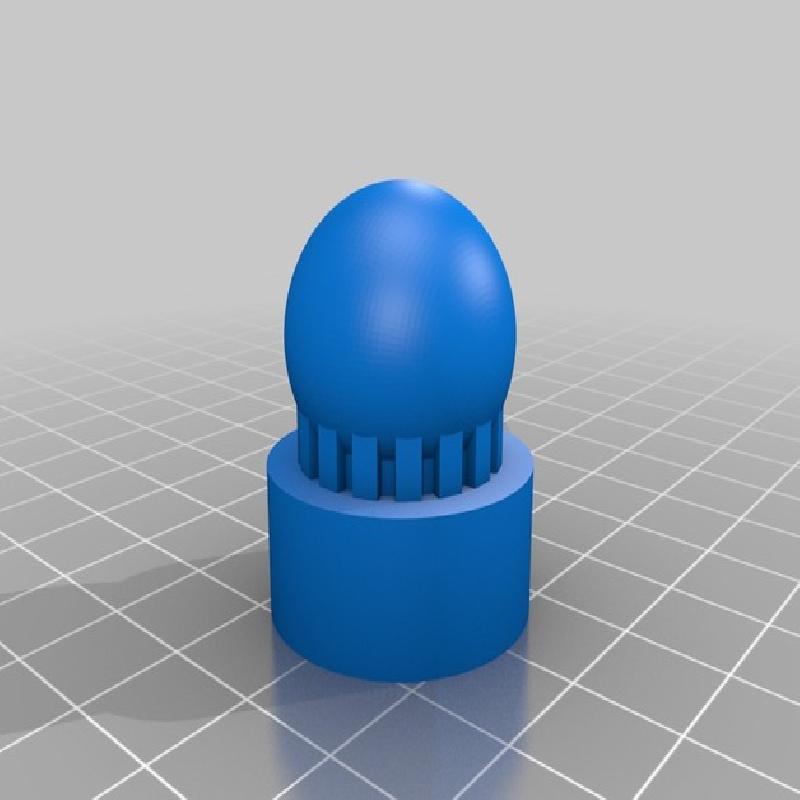
Groinjoint: Pose the legs by using the cogs and the holes as guides and glue them in the pose you want. Glue them to the groin by using the ball and socket fitting.
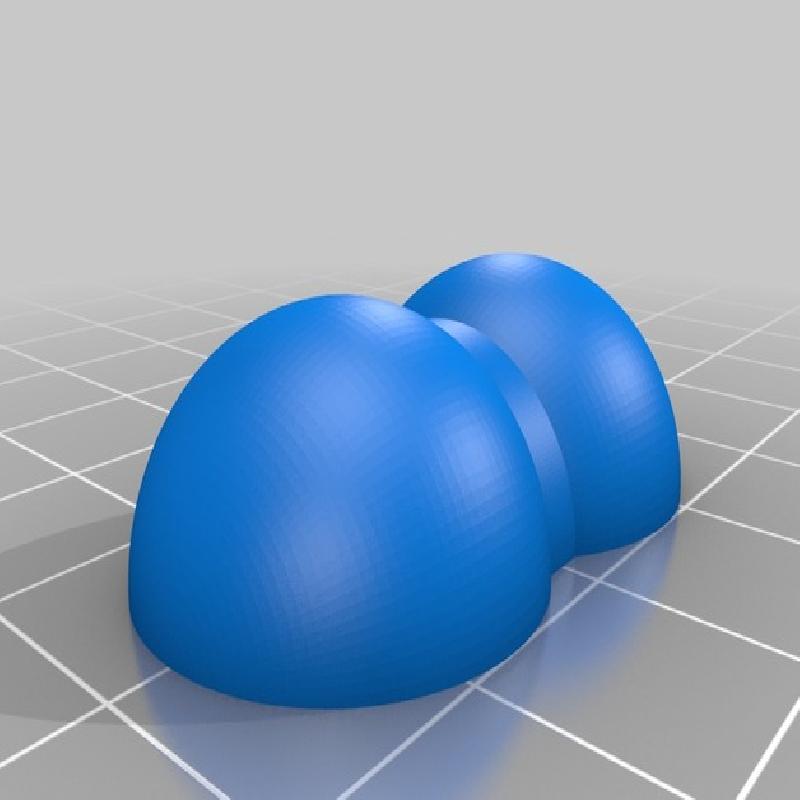
Foot: Kinda self explanatory. Print and glue them to the spherical part of the lowerleg assembly. ONLY do this after posing the legs.
Marry the body assembly with the legs assembly. No need to glue there.