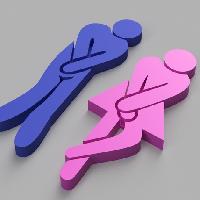
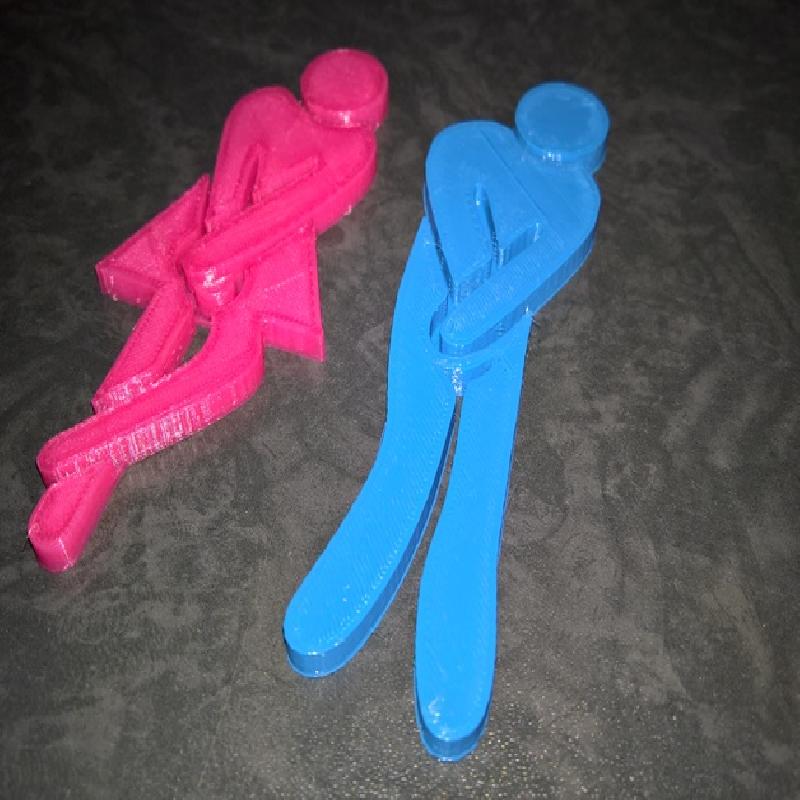
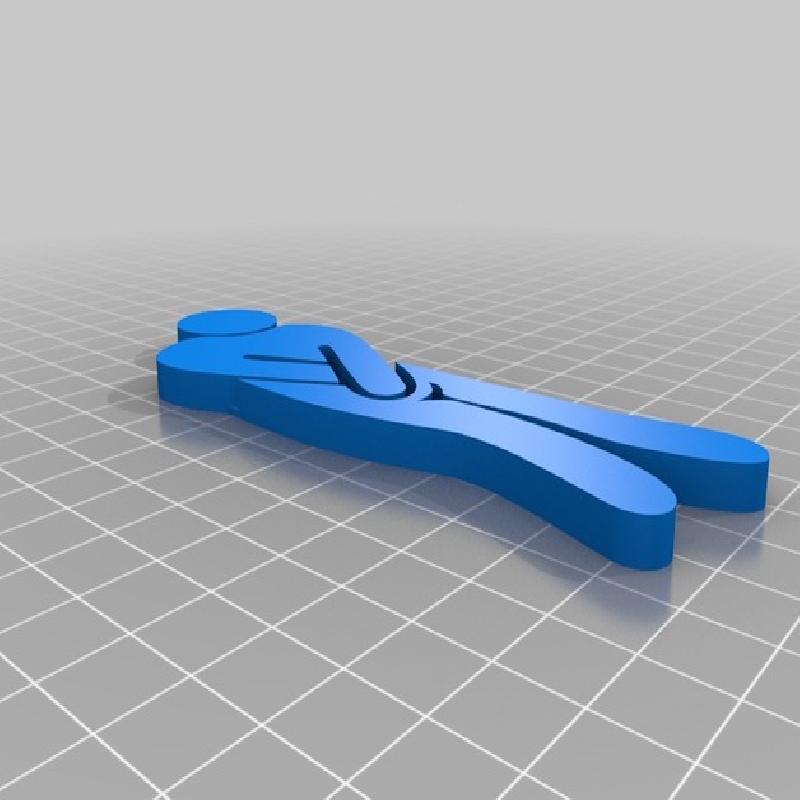
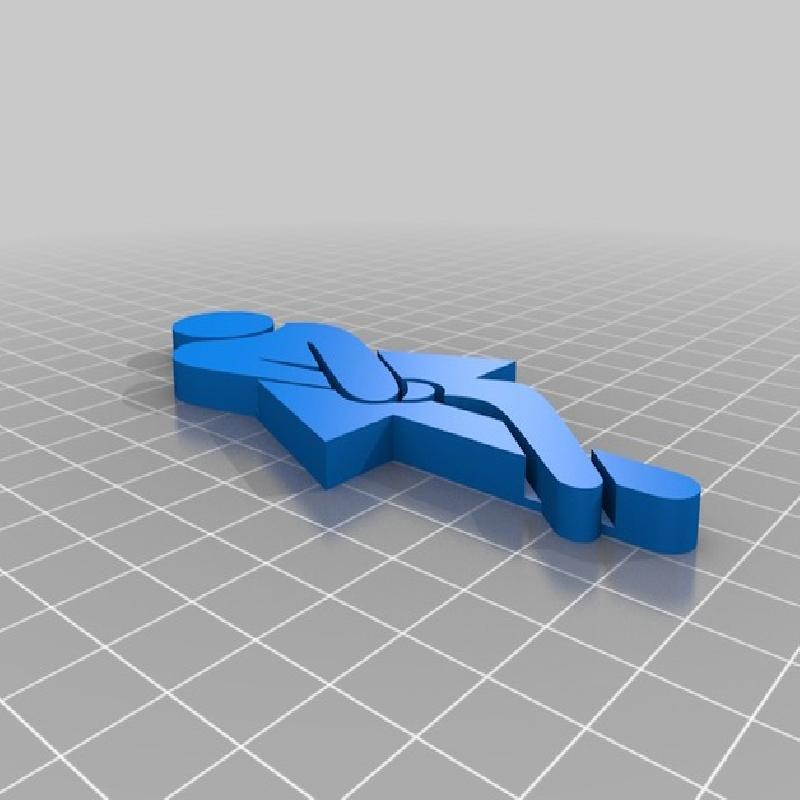
I wanted to print a sign for the bathroom of my company and I've found the "Toilettes" model by Tapion. I liked it, quite humorous, I decied to print that. But hey! That was made of many unconnected objects! Once detached from the printing bed they should be reassembled at the correct distance/position. So I decided to remix the object to resolve that issue.
This object was born. Easy to print, easy to remove from the bed, easy to attach the two models on the toilet doors.
Please post a picture if you use the model!
And if you don't have a 3D printer or you want a better quality object you can order it from Shapeways here: http://shpws.me/MLUY
Printer:
New Matter MOD-t
Rafts:
No
Supports:
No
Resolution:
0,2mm layer
Infill:
20%
Notes:
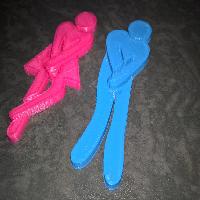
You can print swapping the filament color when the base is done, for best result! I think that a black base and a blue/pink of the top part will be a good choice.
The models fits (one at a time) on the MOD-t printing bed in horizontal (you'll have to rotate them by 90*)
For a better result I advice to sand the top of the model with progressively smaller sandpaper (I used 280 - 400 - 600 and 1000). Then I'll apply a bicomponent resin on the top, for better surface. I'll post a picture when done.
How I remixed the original model
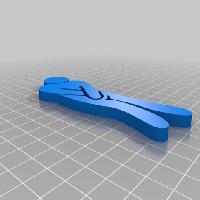
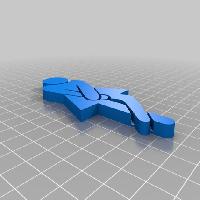
In reality, editing STL files is not a great experience. So I decided to redesign from scratch the whole model.
The figures are easily findable on a search engine so I downloaded them and traced the raster image with Inkscape, I've added the lines to connect the unconnected parts, scaled at my desired size and exported as "Pure SVG".
Then I've imported the SVG file from Fusion 360. I've extruded the "main parts" (the black ones of the original file) and then I've extruded the connecting parts (enclosed in the lines I've added), only a fraction of the height.
That was not much work but the result is not bad, isn't it :)