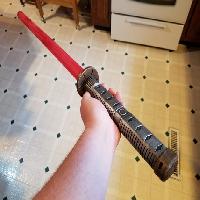
A katana inspired lightsaber I made for a Halloween costume prop. The pieces twist lock together with a bit of friction, though you could glue them.
I used the guts from a toy lightsaber for lights and sounds: this one
For the blade, I just used a fluorescent light tube guard sanded down to make it light up better and lightly painted red (which you could skip as the LED from the toy is already red.
Its a pretty tight fit, and you'll have to solder a bit to get wires the right length for the speaker and such and come up with a solution for holding the 3 AAA batteries. I used this thing for the batteries. Also, I drilled a hole for the button and made a little standoff to activate the saber. Its worth the effort, though, because you end up with light and sound effects.
Enjoy!
Printer Brand:
Ultimaker
Printer:
Ultimaker 2
Rafts:
No
Supports:
No
Resolution:
0.1mm
Infill:
20%
Assembly
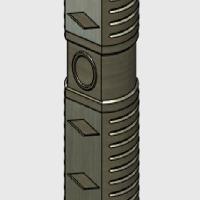
The parts twist lock together. With the tolerances on my printer, they stay together with friction, though if a piece is loose, or becomes loose over time, you can use a bit masking tape on the male end to increase friction for a better hold. Just cut a few tiny squares and stick them on various spot of the "plug", adding more until it feels good to you. I did the same with the tube I used for my blade, so help it stay on when swinging.
For the belt clip ring, you have two options, you can print it first and then carefully put it into place as the hilt is printing, or just snip it near a corner and put it through after, using some strong glue to keep it together afterwards.
Painting
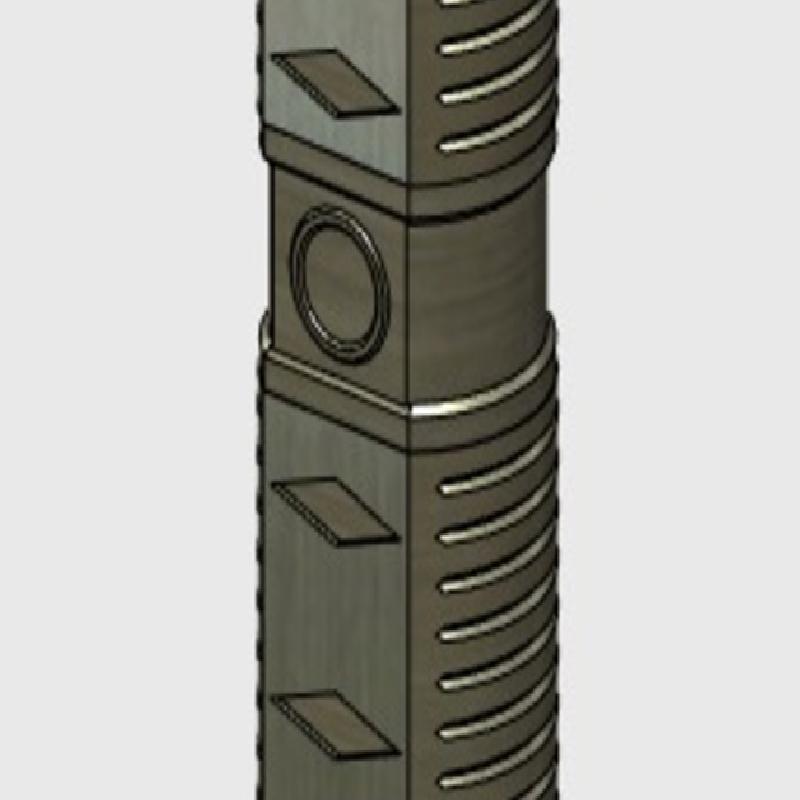
To get the aged saber effect, I primed with filler primer, sanded, and then spray painted the parts in their base metallic colors, gold and silver. Next, I took black, brown, and yellow (very little yellow) acrylic paint and just mashed an old brush into the colors to get a sort of random mix. Cover the whole saber (which should be assembled without the electronics) in this paint, remixing and smudging as you go. Once the whole thing is covered, and you will get messy doing this, let it dry for about 2 minutes and then take a rag and rub off as much as you can. Repeat until it looks as grimy as you like. I also darkened specific areas, such as the diamond shapes, but carefully putting the paint into those spots and letting them dry longer before wiping.
The saber was originally designed for a 1 inch outer diameter tube, but I couldn't get one, so instead I had to put the tube over the protrusion on the emitter. So, to make it look right while the blade was attached, I painted the end of the tube to look like the end of my emitter and carefully grunged it up to match. this also hid the tape used to keep things secure.
Designed in 123d Design