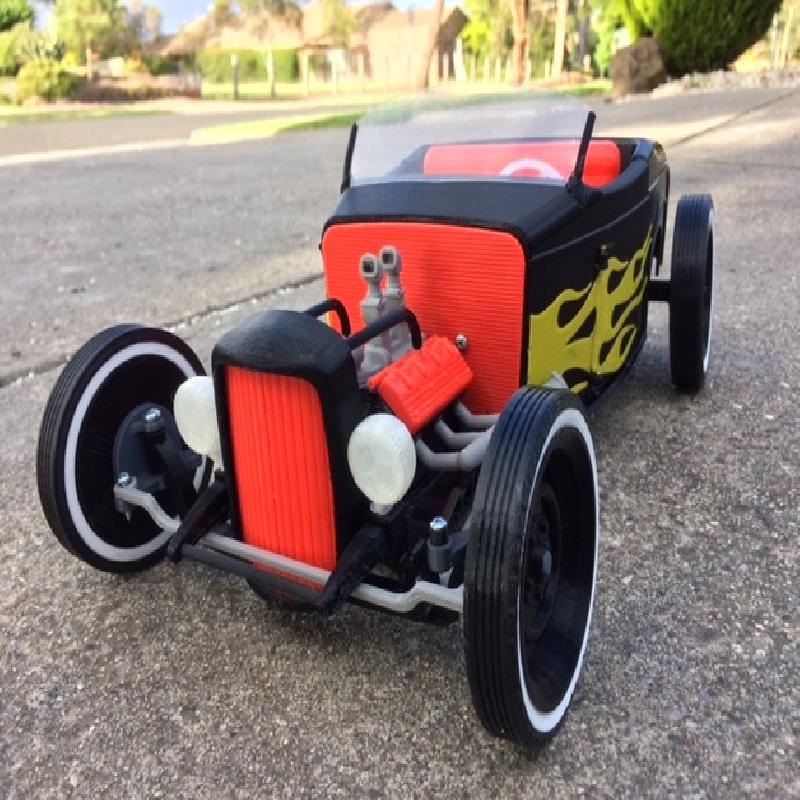
Its my passion , creating ,modelling, Hot rods, 3D PRINTING and of course teaching this topic to others.
I just love it! enjoy!
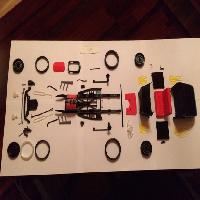
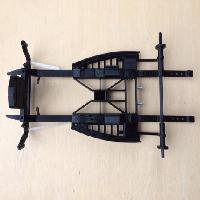
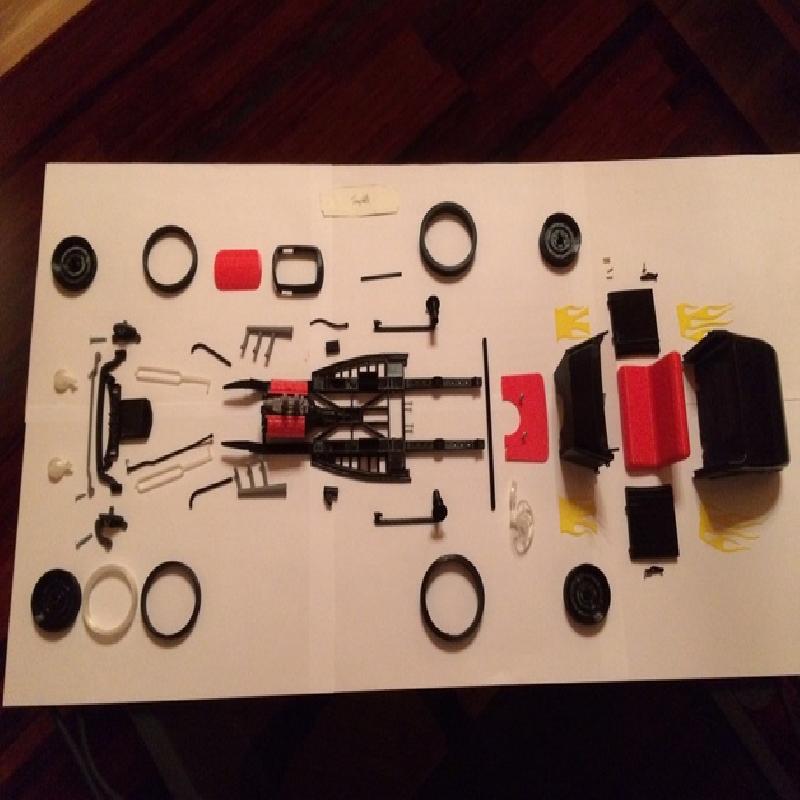
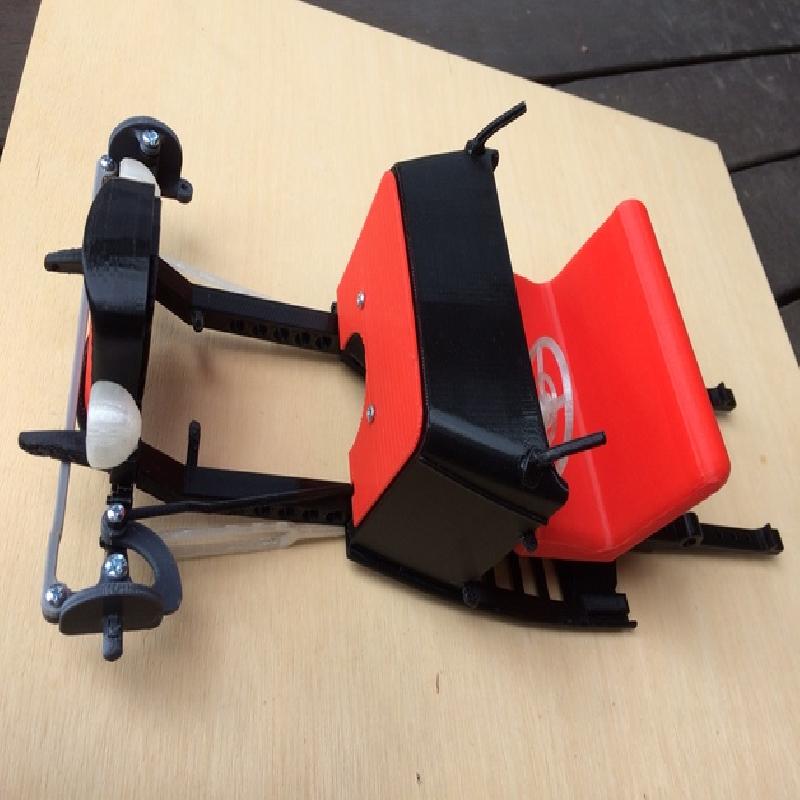
The print time I did over 10 days ( outside of working hours) if you follow the print numbers you can work on the parts and assembly as you print.
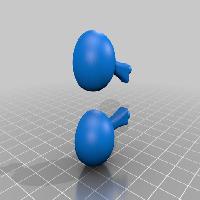
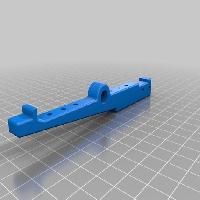
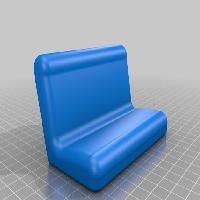
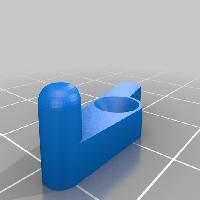
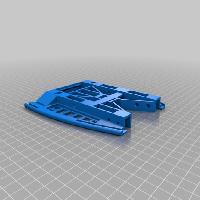
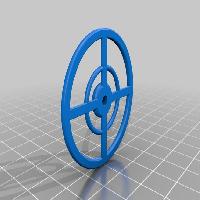
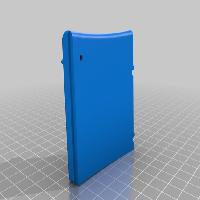
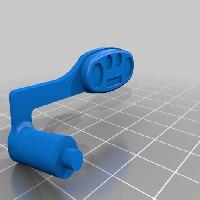
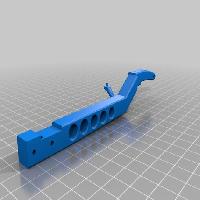
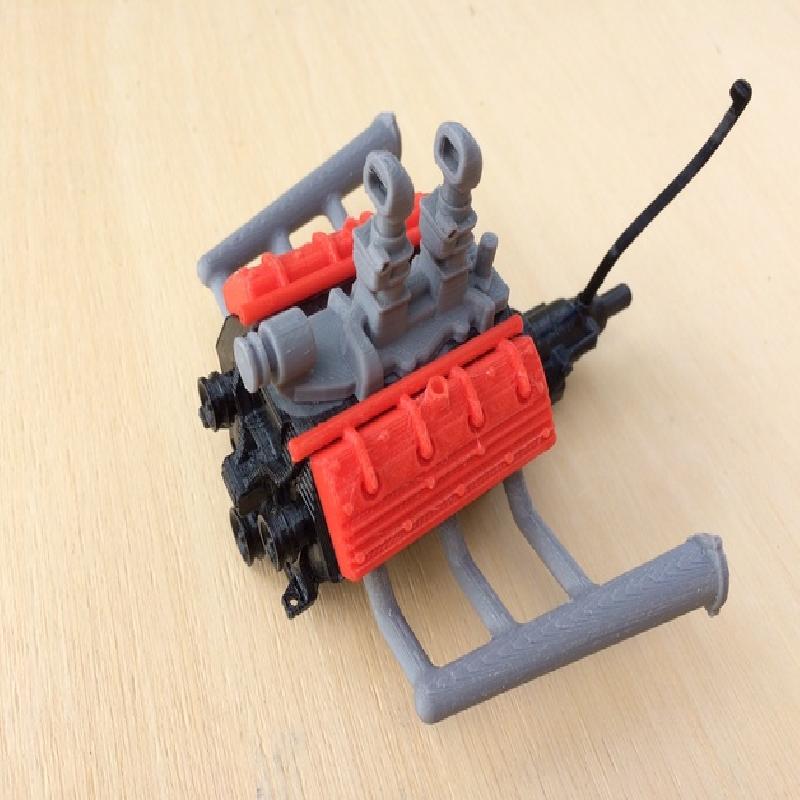
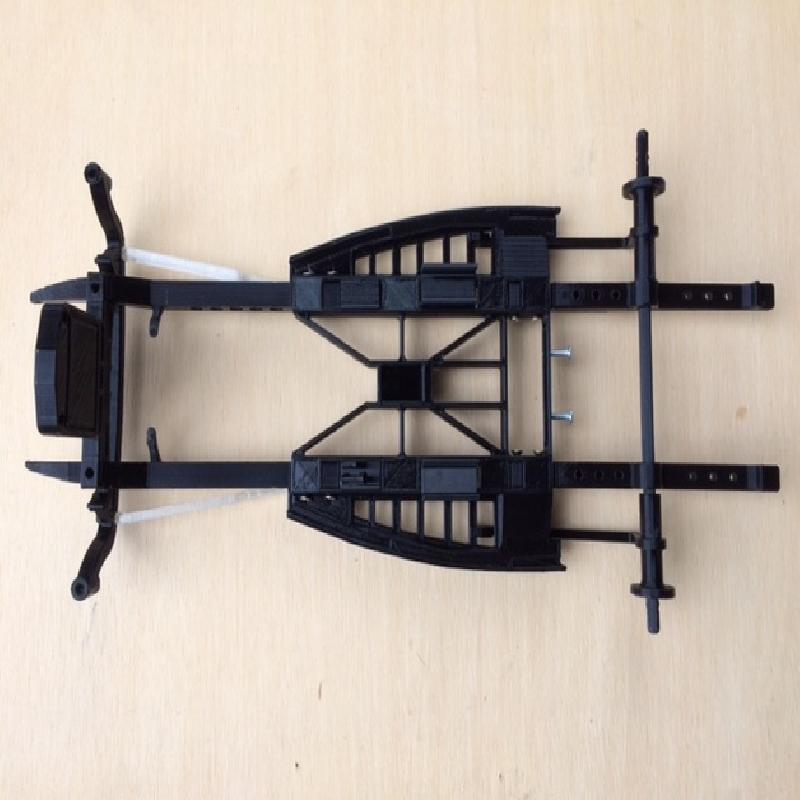
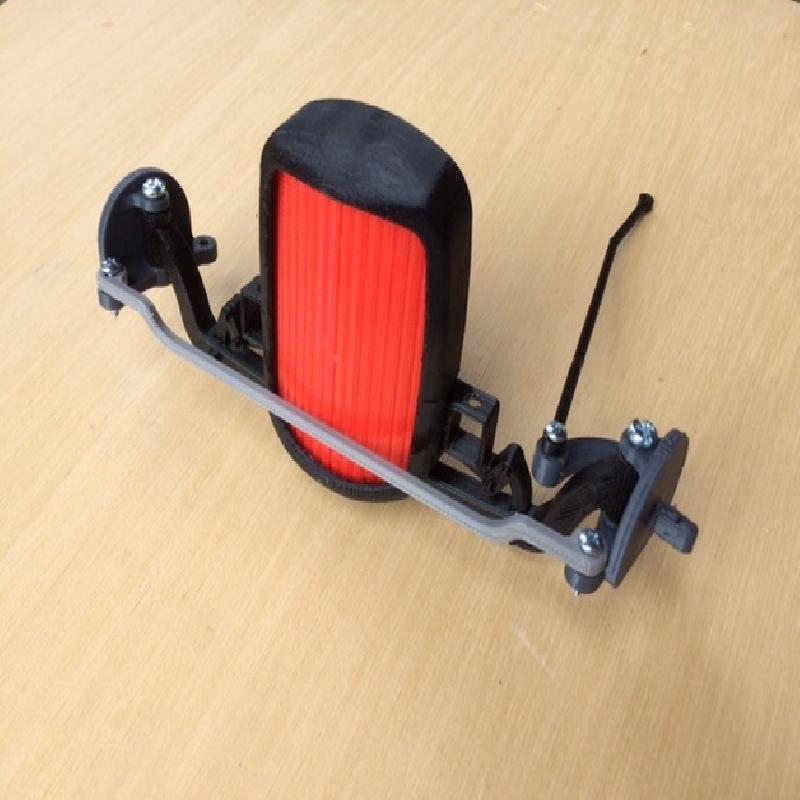
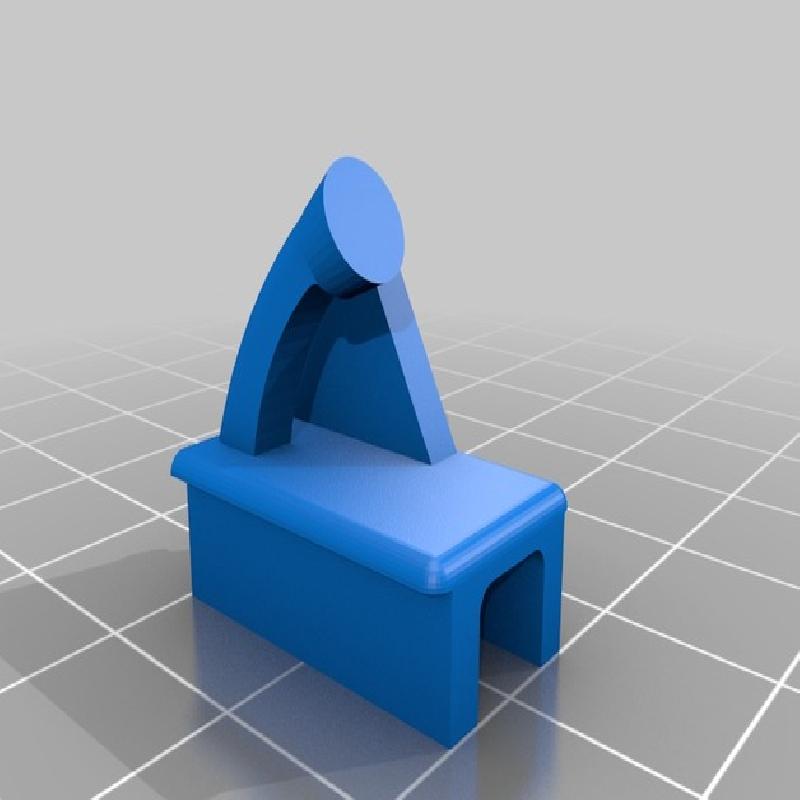
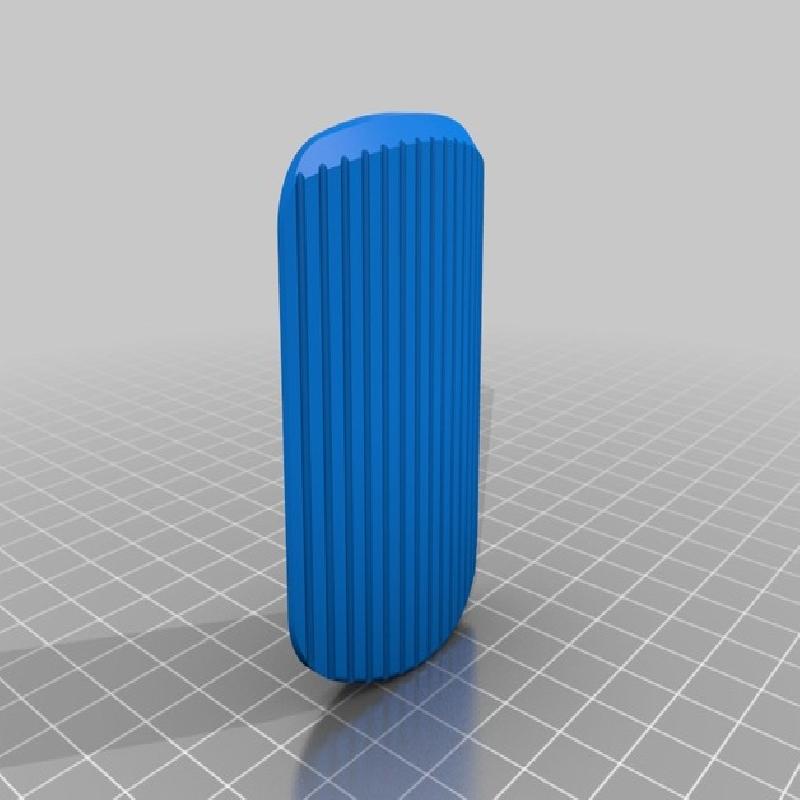
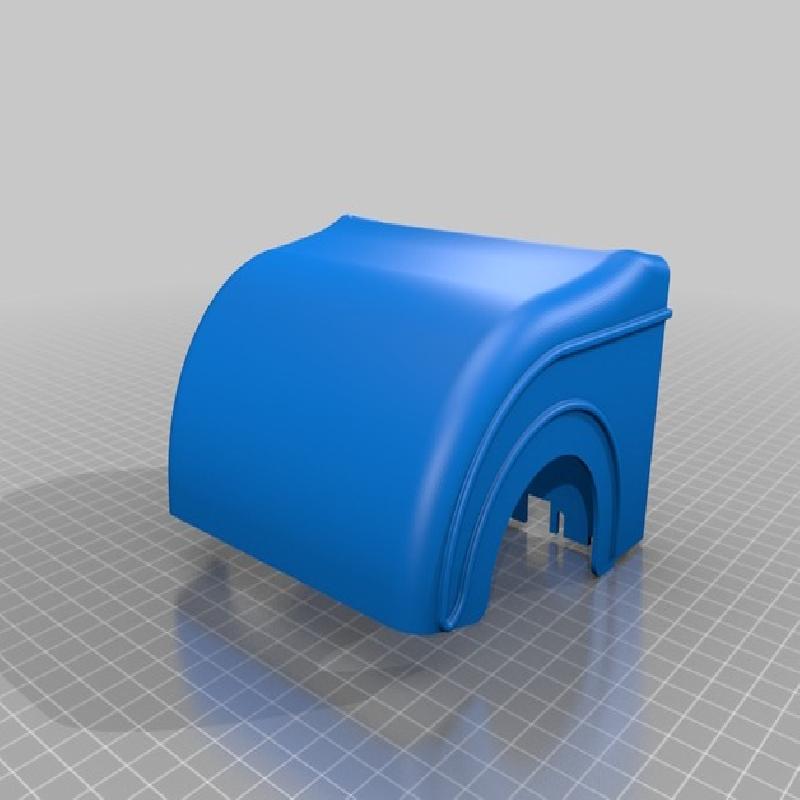
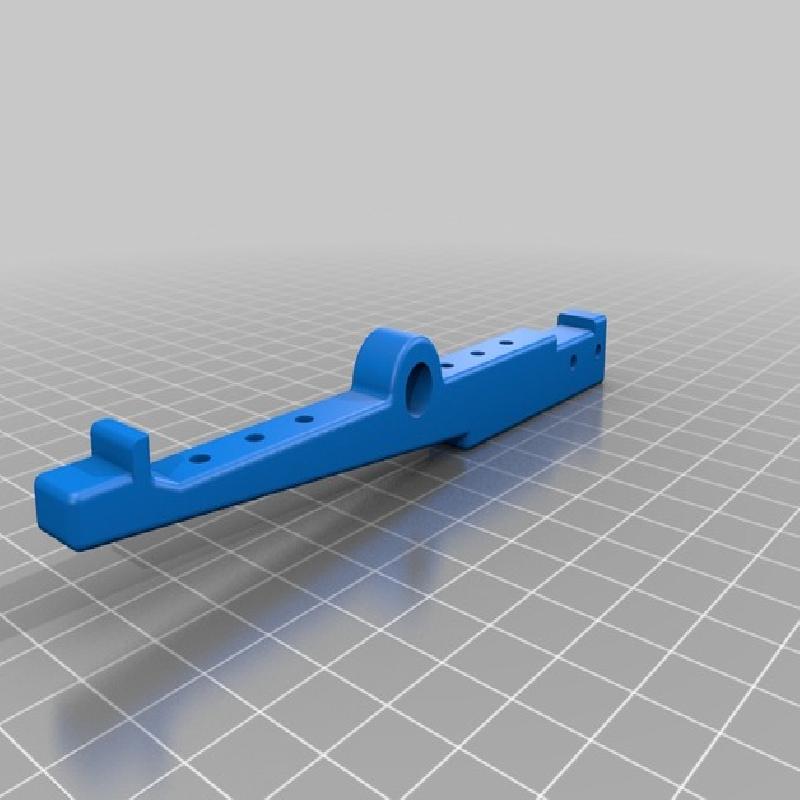
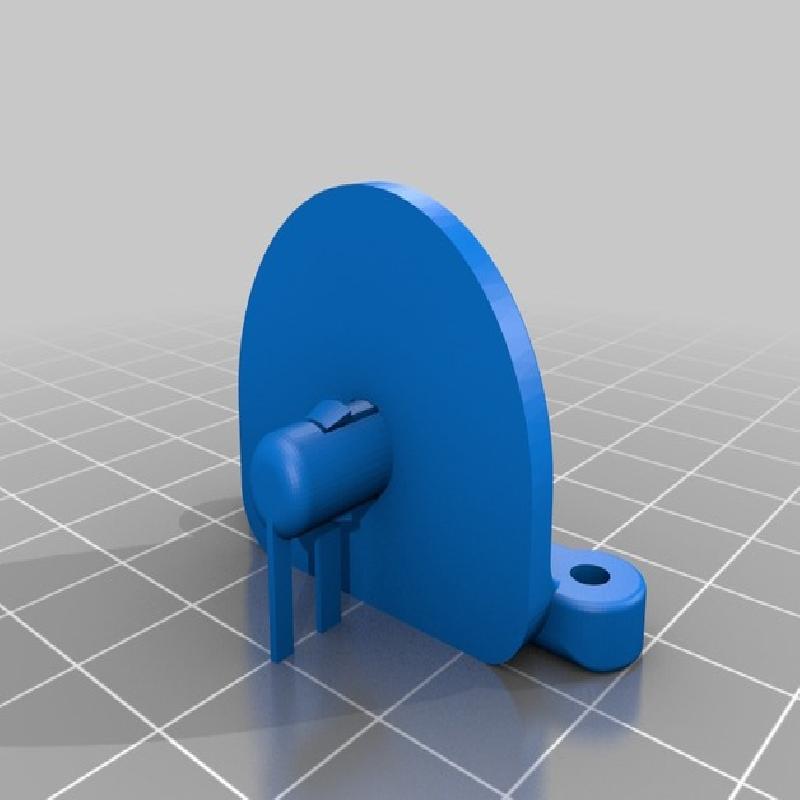
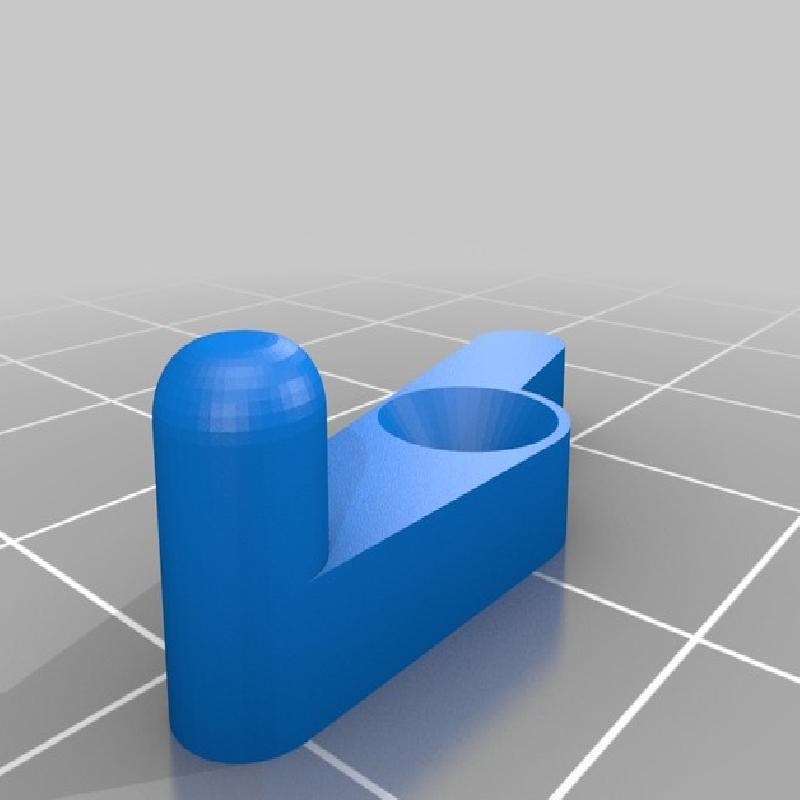
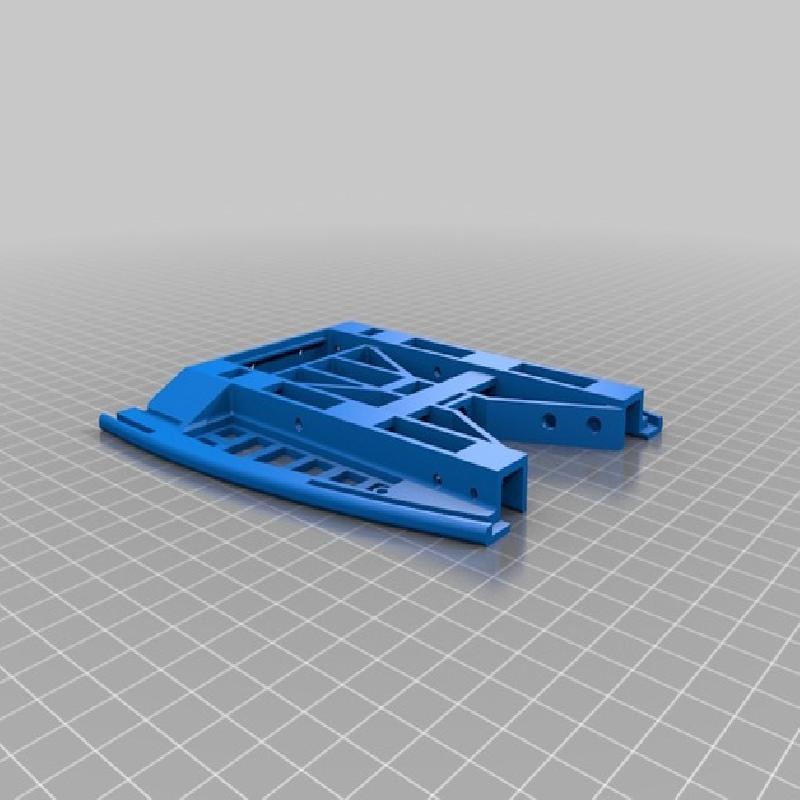
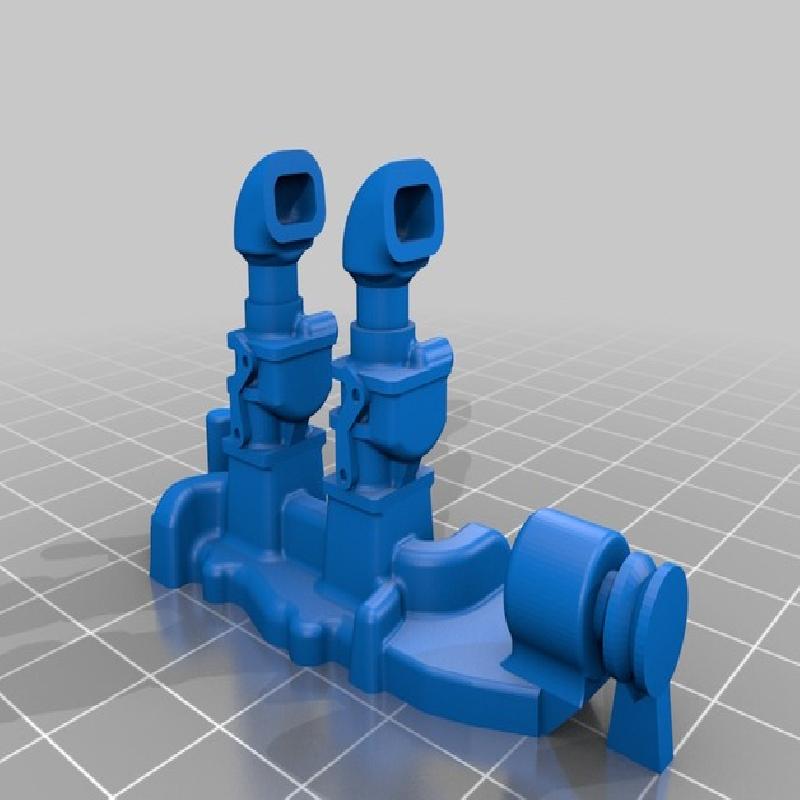
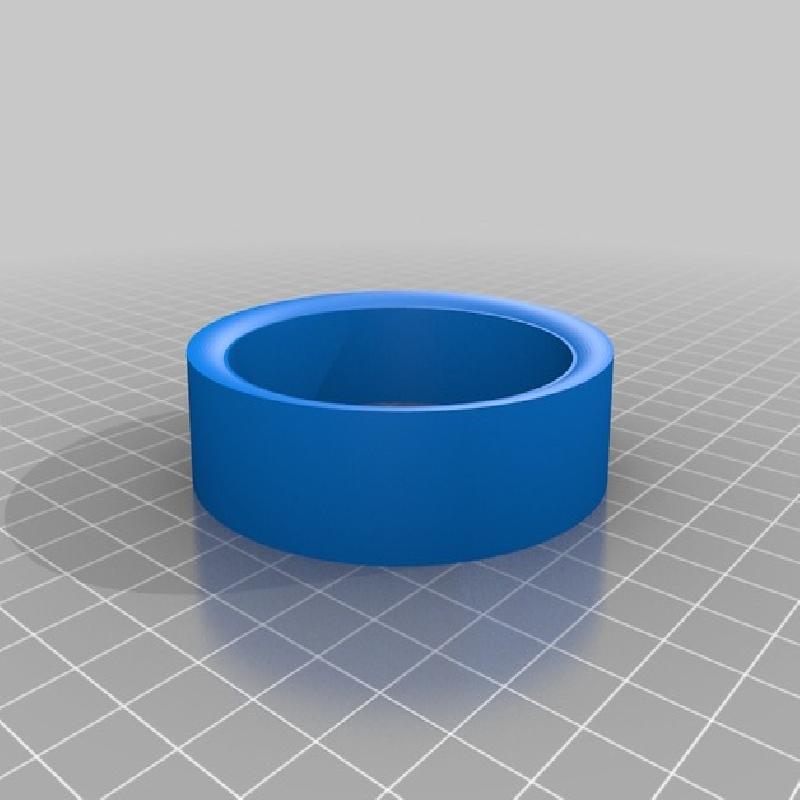
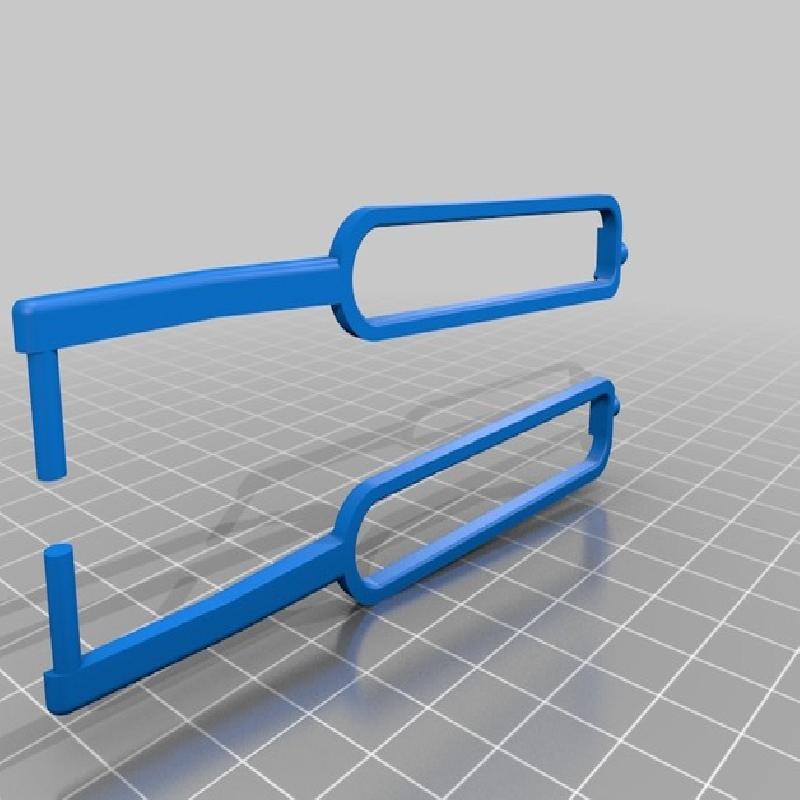
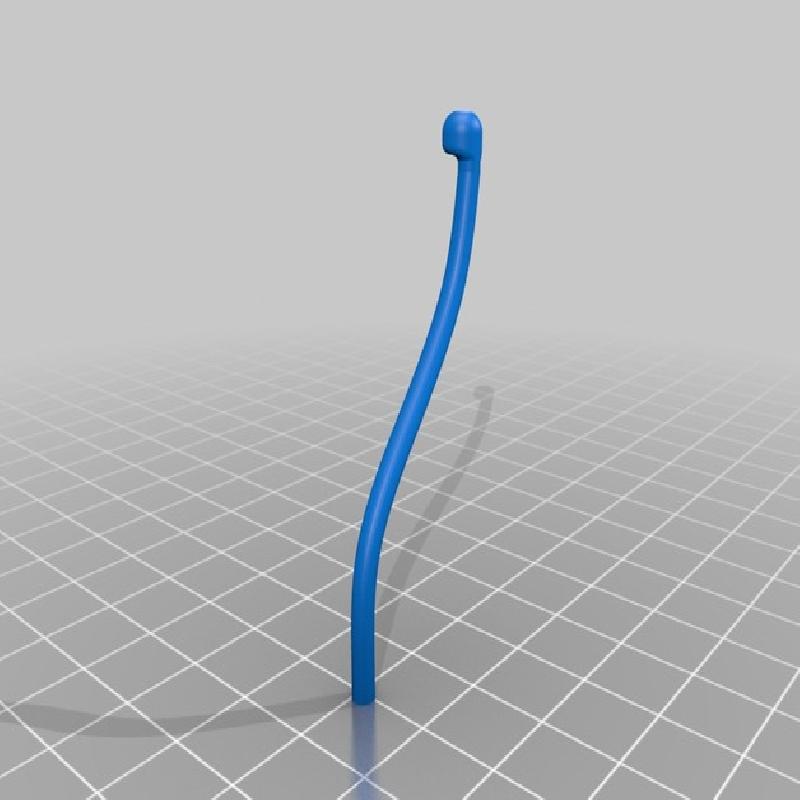
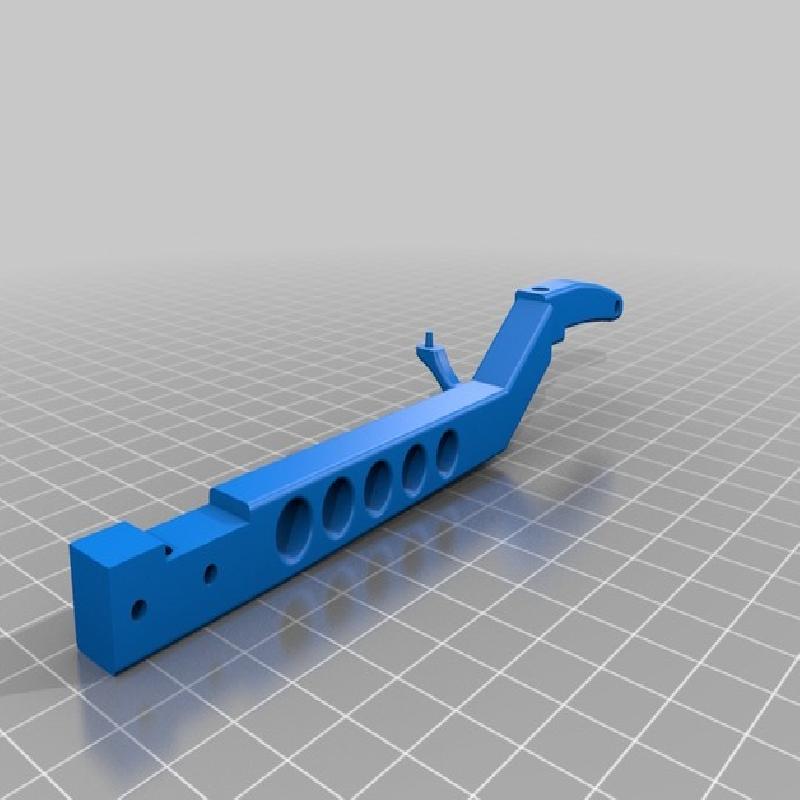
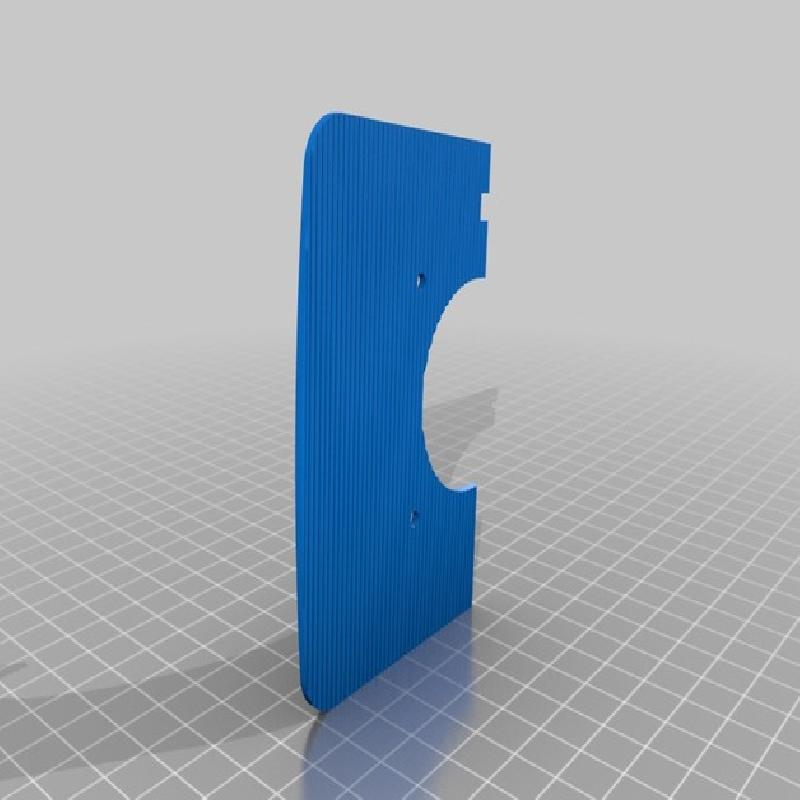
have designed nearly all parts to print easy on a flat surface, read the printing guide it lists all the requirements. The assembly guide list all the steps to complete the model.
Printer Brand:
MakerBot
Printer:
MakerBot Replicator 2
Rafts:
Yes
Supports:
Yes
Resolution:
standard settings
Infill:
10%
Notes:
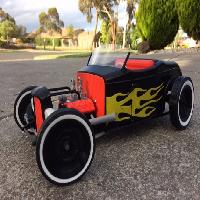
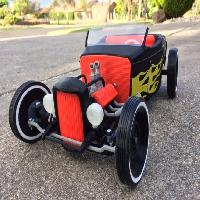
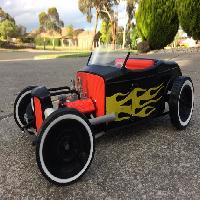
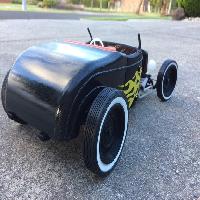
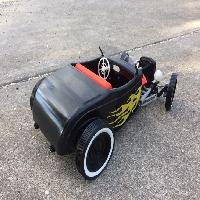
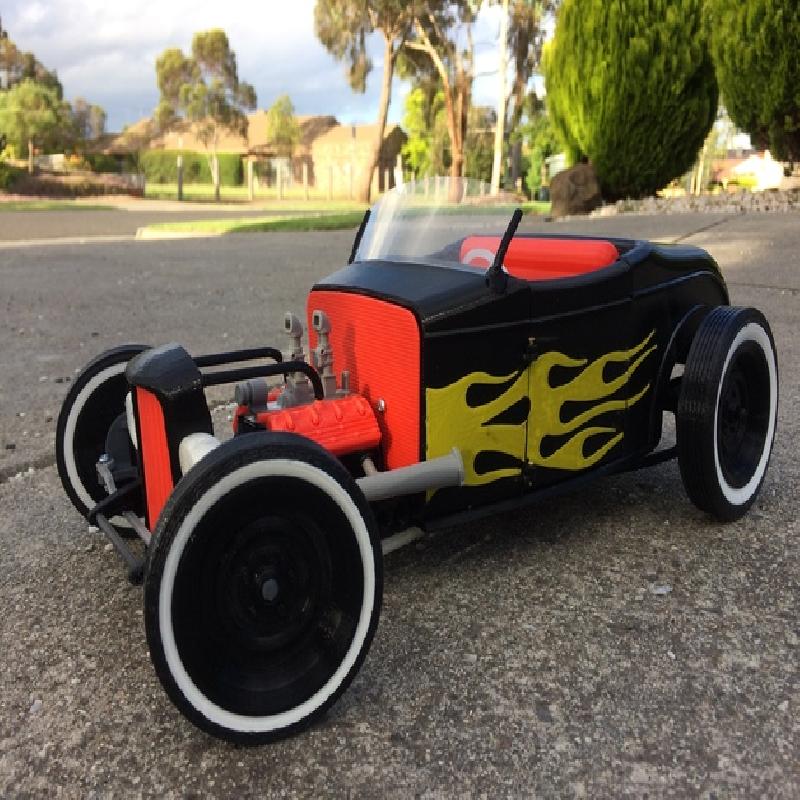
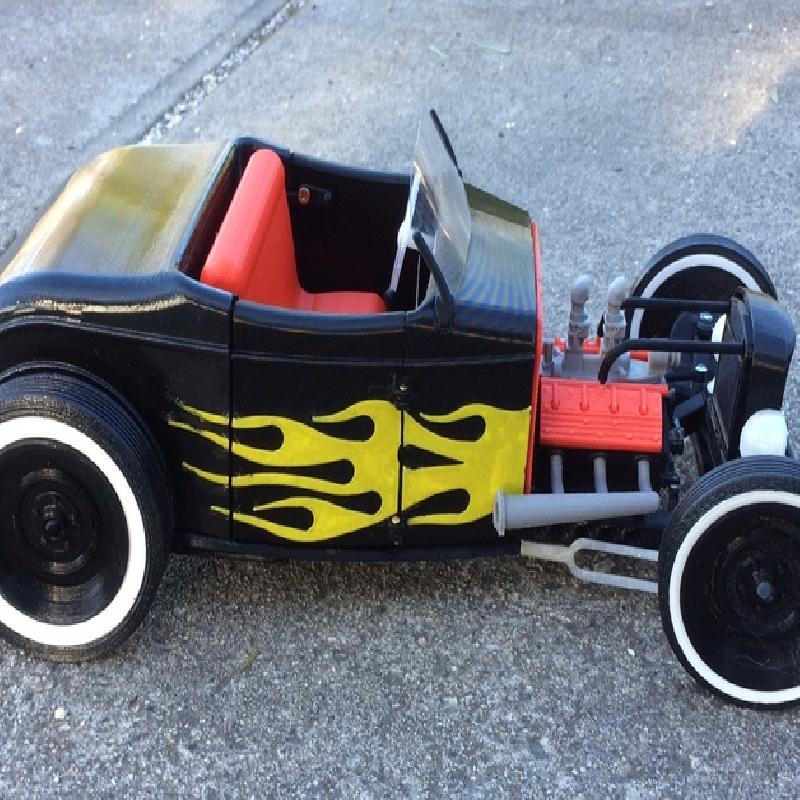
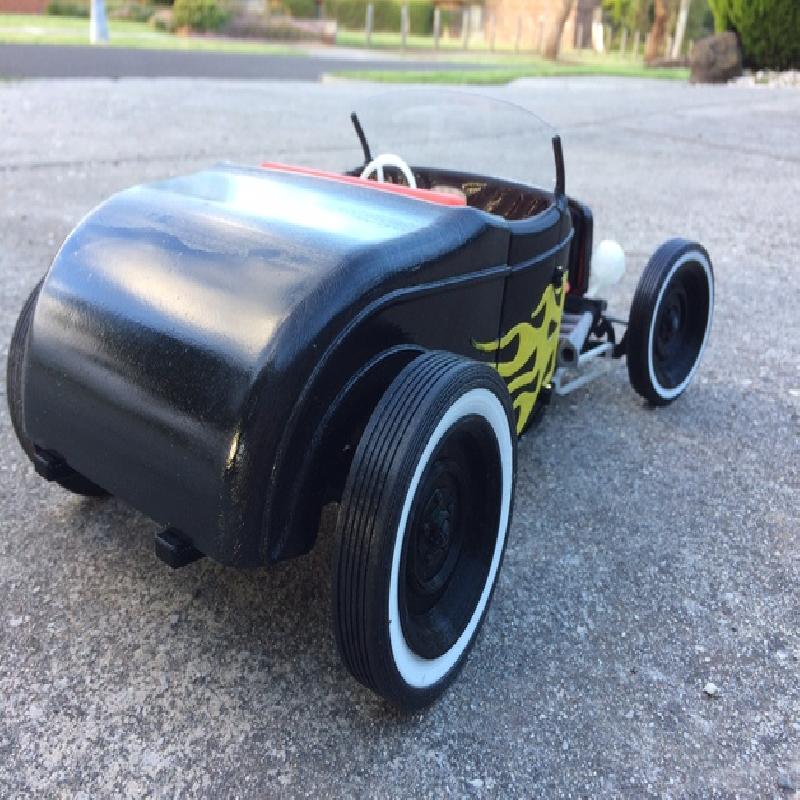
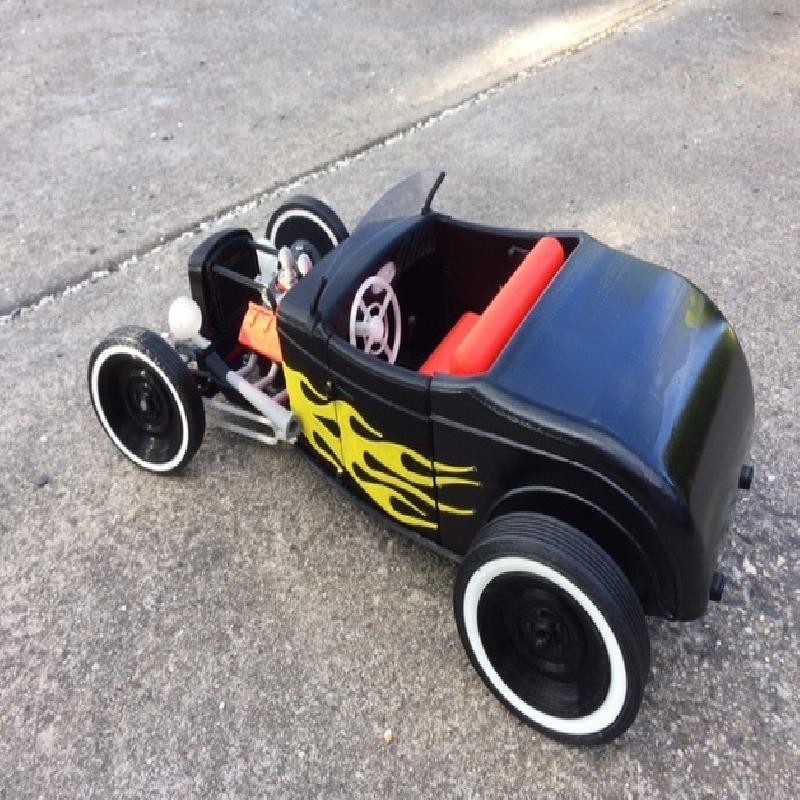
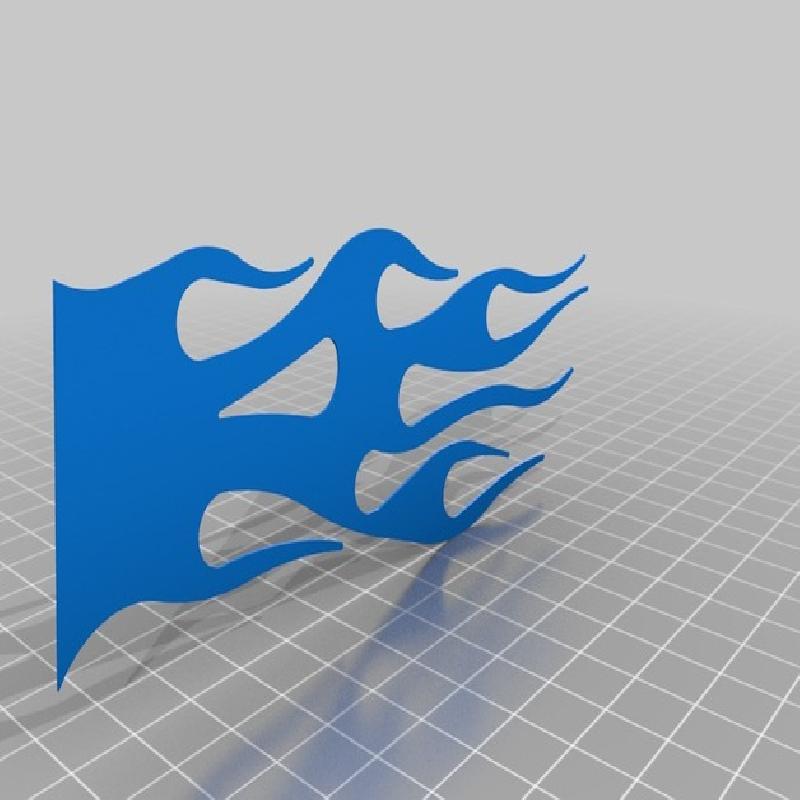
It looks great straight off the printer using colours that are available, of course you could use finer build tolerances if you can wait. Also you could use spray putty and rub the body down a get a mirror finish (without the Flames). ( My wife said are you going to do the flames), Hats of to her for my absence over the last few weeks!
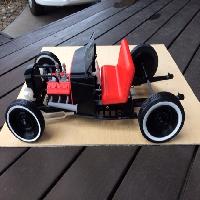
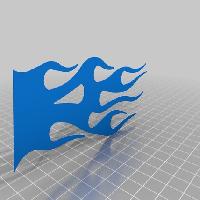
You only need a few small screws and some basic tools to finish( a utility knife, pointy nose pliers, small file, no 2 Philips screw driver, PVA glue, for the flames I had to heat stake them on to hold them in place, so I could improve the application of the flames, possibly a jig to hold them in place while they are drying.
I have designed nearly all parts to print easy on a flat surface, read the printing guide it lists all the requirements. The assembly guide list all the steps to complete the model.
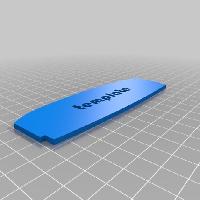
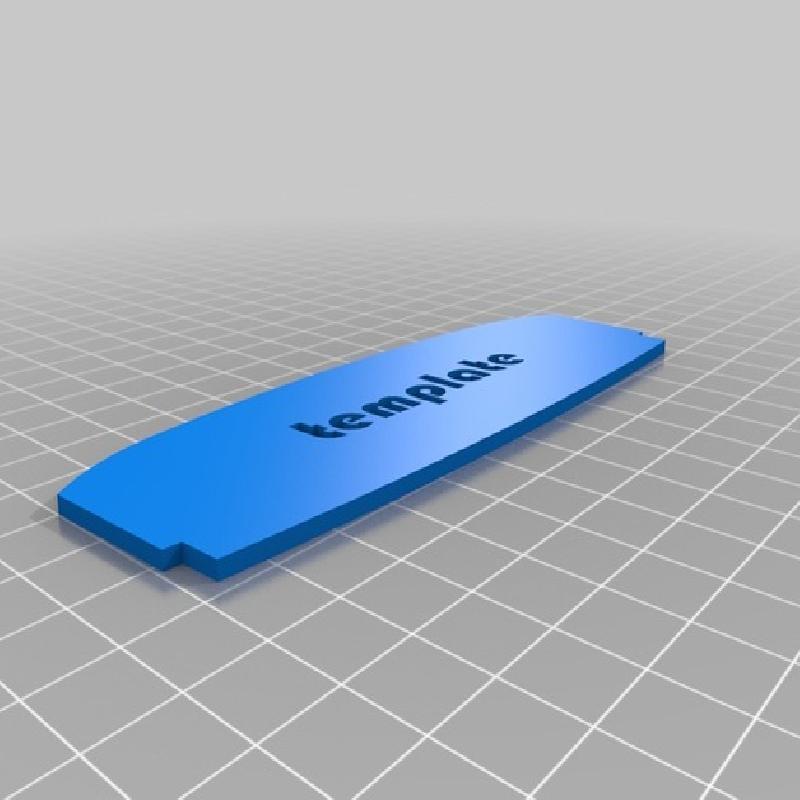
I have used recycling for the windscreen - some common plastic packaging sheet, a template is included in the STL files.
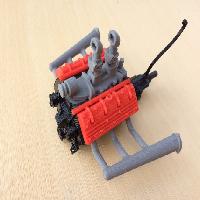
You can add all your radio control gear to this model, if required,
The print time I did over 10 days ( outside of working hours) if you follow the print numbers you can work on the parts and assembly as you print. It looks great straight off the printer using colours that are available, of course you could use finer build tolerances if you can wait. Also you could use spray putty and rub the body down a get a mirror finish (without the Flames). ( My wife said are you going to do the flames), Hats of to her for my absence over the last few weeks!
You only need a few small screws and some basic tools to finish( a utility knife, pointy nose pliers, small file, no 2 Philips screw driver, PVA glue, for the flames I had to heat stake them on to hold them in place, so I could improve the application of the flames, possibly a jig to hold them in place while they are drying.
I have designed nearly all parts to print easy on a flat surface, read the printing guide it lists all the requirements. The assembly guide list all the steps to complete the model.
I have used recycling for the windscreen - some common plastic packaging sheet, a template is included in the STL files.
You can add all your radio control gear to this model, if required,
Passion