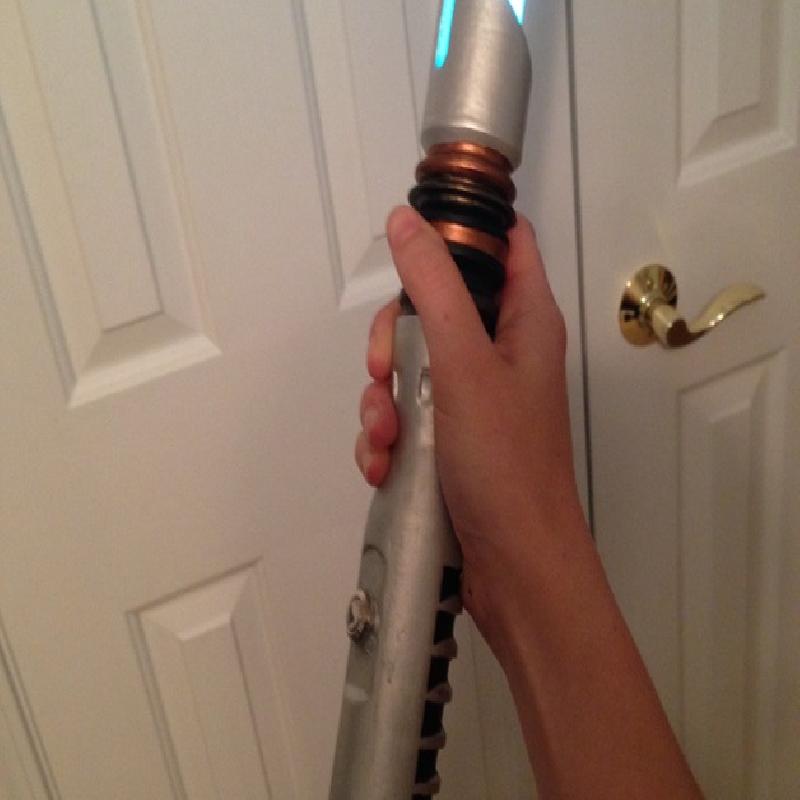
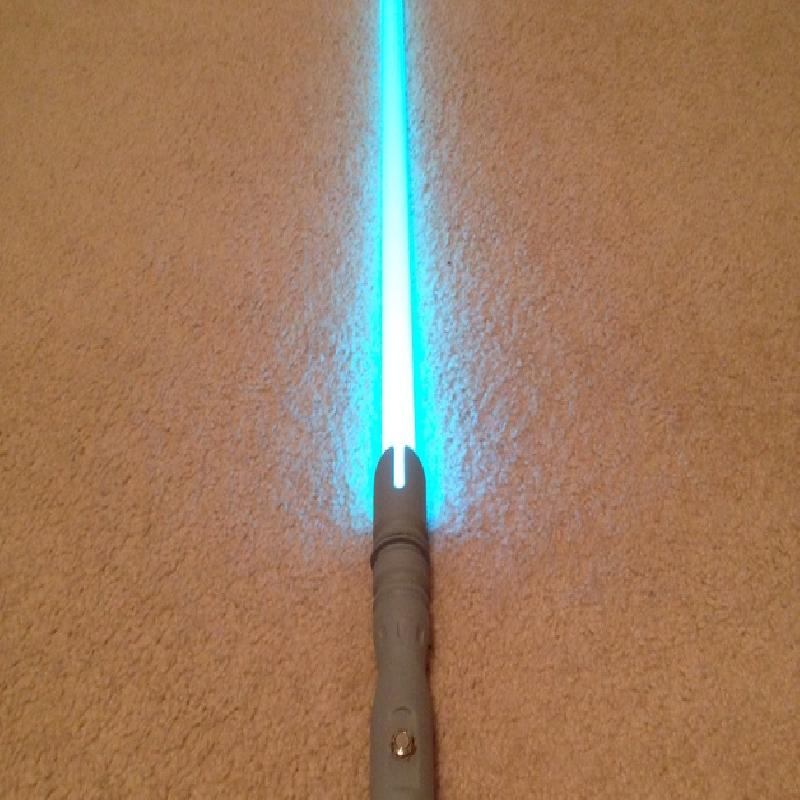
This lightsaber was designed to be a fully functional saber, albeit slightly weak (as it is made of plastic and not metal). The completed model is fully functional in the sense that, once completed, a blade and electronics may be added if you so desire. This was designed and printed over the course of about two months, with many setbacks and trial runs to test the fit of the parts and solve problems related to fitting electronics and the blade.
All of the pieces have a flat side on which to print. Rotate to that side. For the inner cylinders (IC), change the settings to that the x or y-value is 28.5mm. Make sure as well that you print the cylinders standing up, with the slant being printed before the flat side (this prevents overhang).
There are many components to this lightsaber. Here, I will list the components and their function/positioning:
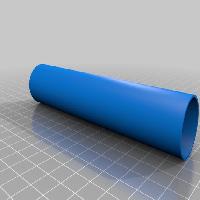
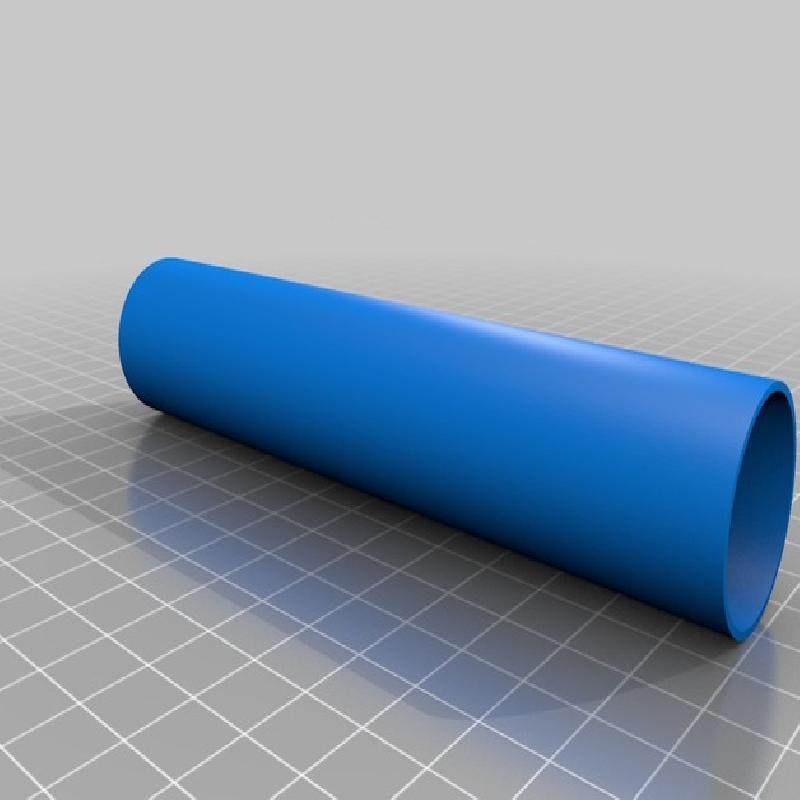
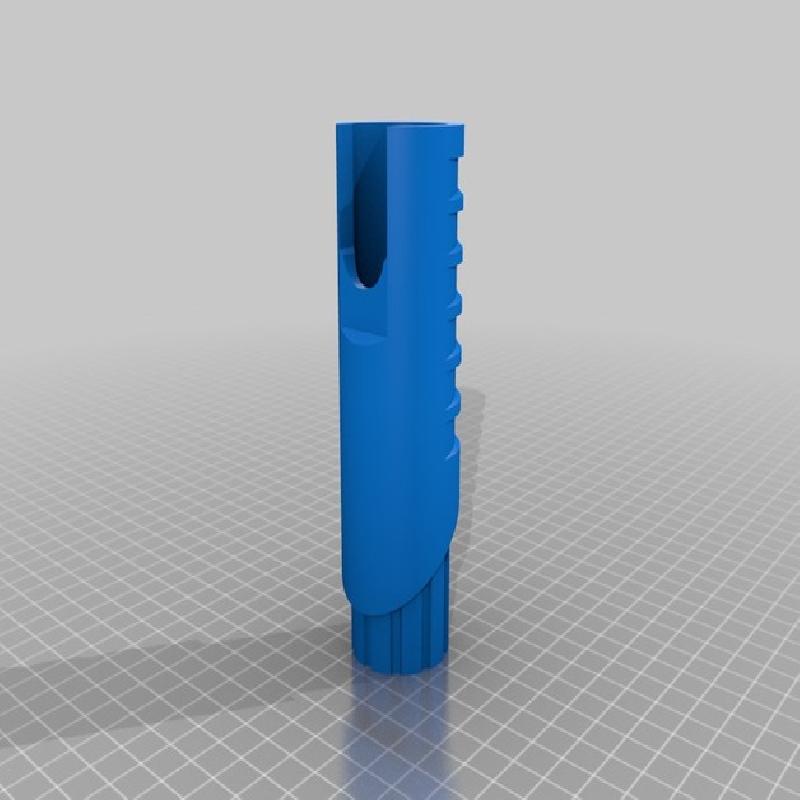
Inner cylinders (IC), which are used to house the electronics and provide a base to position the rest of the parts and to increase strength. There are two (to accurate the MakerBot Replicator print bed size), and each is slightly longer than the total completed length of the lightsaber. This is to accommodate for any problems when bonding the cylinders together. I took off about an inch from the upper cylinder when I was finishing it. The inner cylinders are equipped with ledges for the positioning of an LED emitter (mine is an UltraSabers emitter, but a SaberForge emitter or another kind should work as well, as long as the outer diameter is one inch), and a battery holder. The battery holder size that the lower inner cylinder is designed to fit is a dual AAA battery holder. The flat side of the ledge should be used to hold the battery holder and emitter in place, and the slanted side for strength. If you are installing a switch (I used a SaberForge switch with no internal light), you will have to cut or melt a hole in the inner cylinder for the switch. Make sure to assemble the switch and electronics before combining the sections.
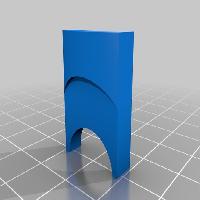
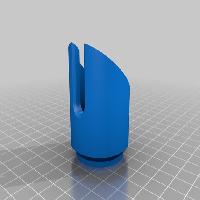
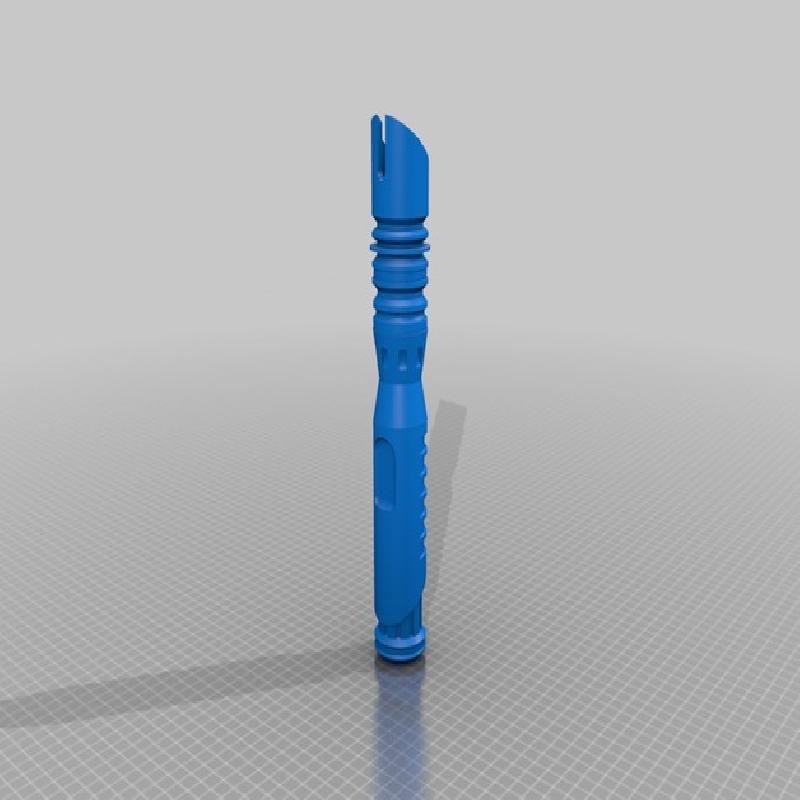
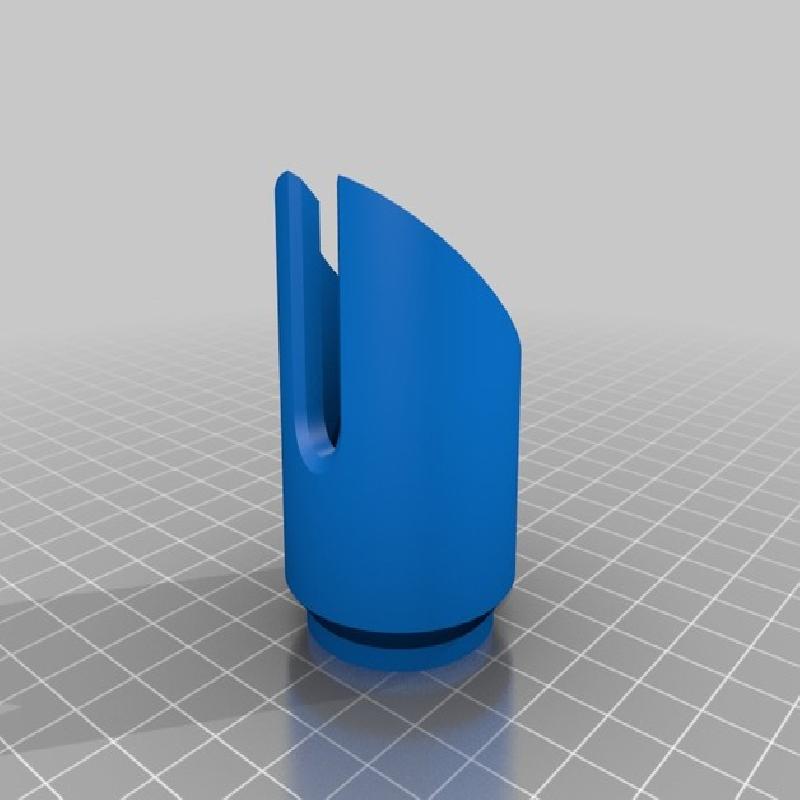
Piece 1 is the "blade emitter." This piece is the top piece. When finishing the lightsaber, you might want to drill a hole for a blade retention screw on the side opposite the tall side to help hold the blade in place when you swing it around.
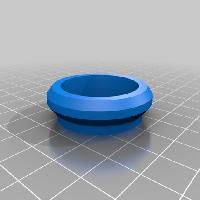
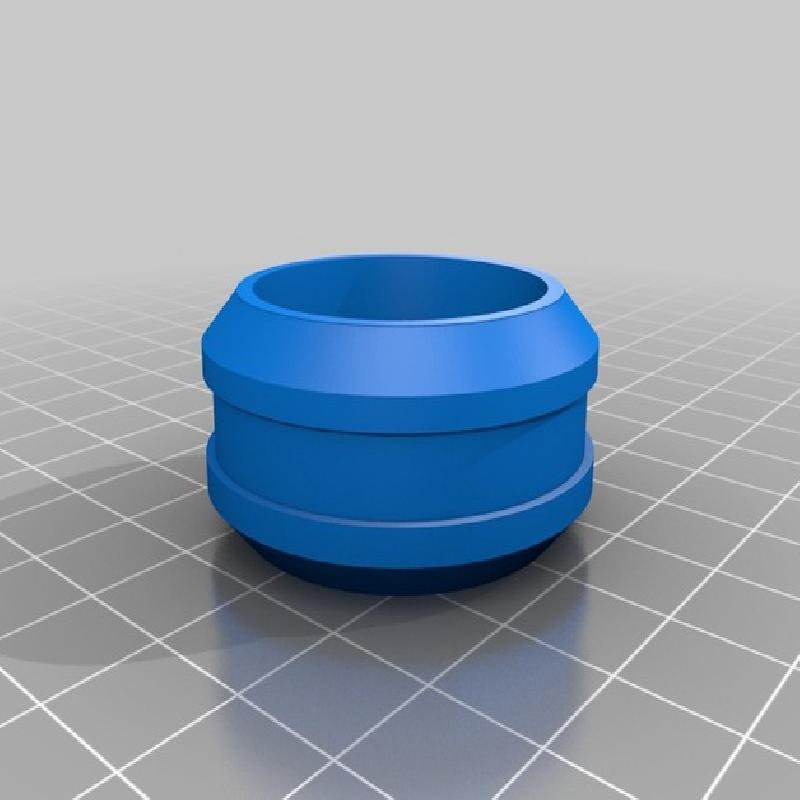
Pieces 2, 3, 4, and 5 are all decorative/grip pieces. They are arranged in that order from top to bottom after piece 1.
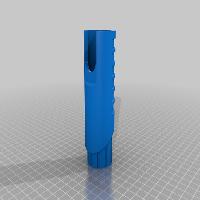
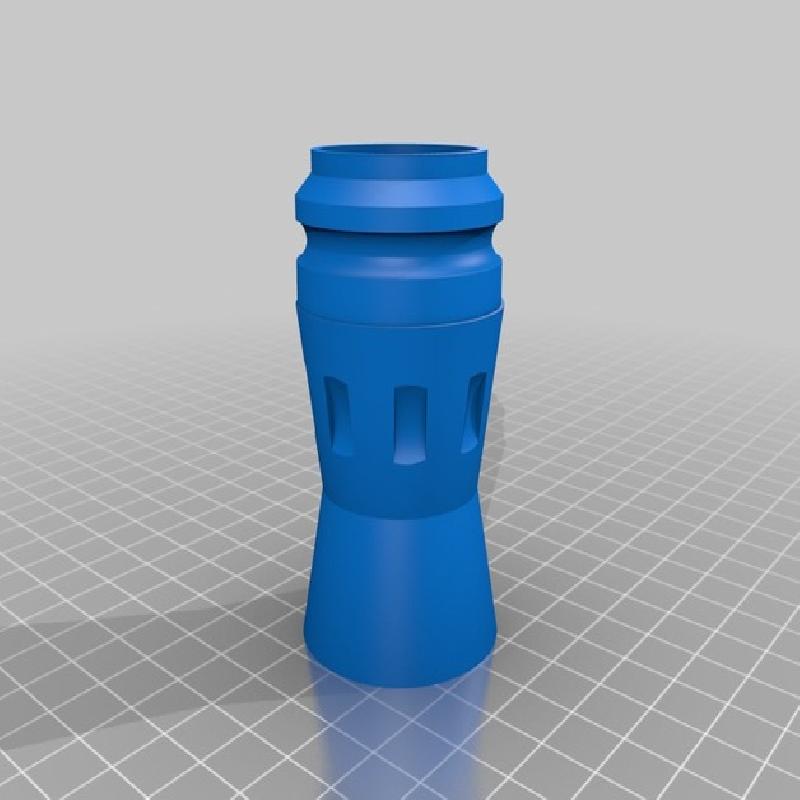
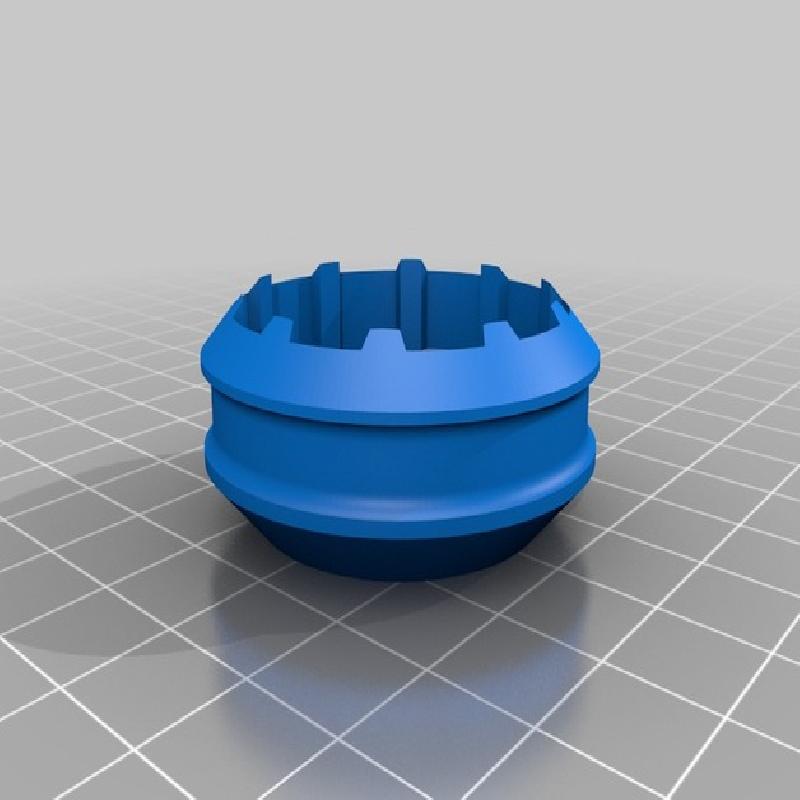
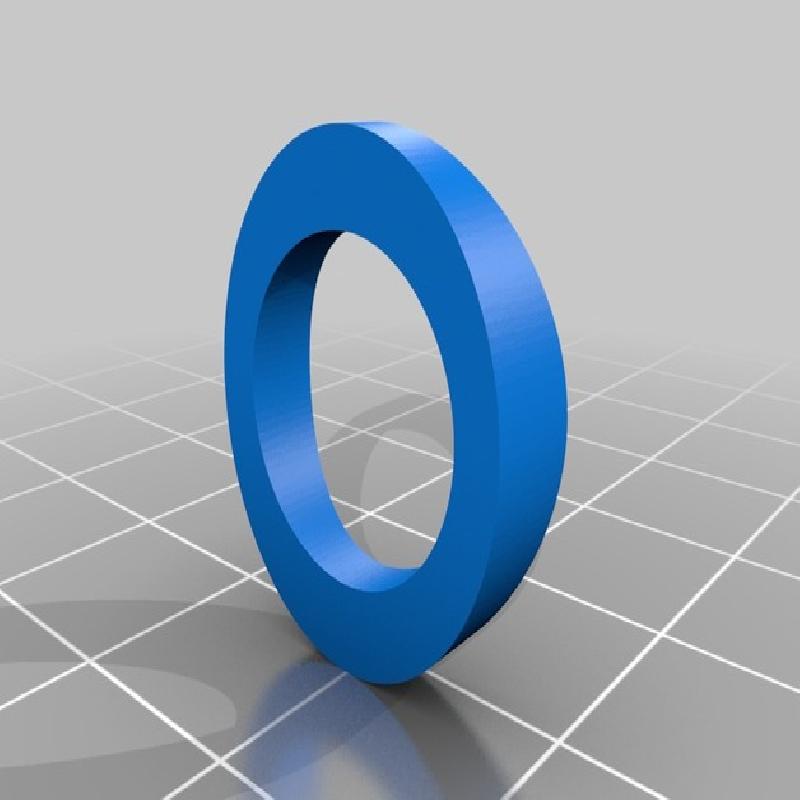
Pieces 6 and 7 are the main body and grip of the saber, and there is space to place a switch. The switch ring and switch cover are used to set the switch into the body of the lightsaber for a closer fit. Place the switch ring around the switch base (I could simply screw on the ring to the switch), and plastic weld the switch ring to the main body and then add the switch cover to the top of the main body.
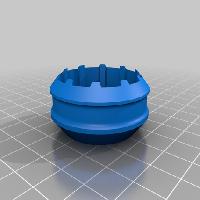
The end cap is used as an access area for the batteries and as as the pommel of the saber.
Printer Brand:
MakerBot
Printer:
MakerBot Replicator (5th Generation)
Rafts:
Yes
Supports:
No
Resolution:
0.15mm layer height
Infill:
80%-100% infill. 0.30mm height
Notes:
You can lower the layer height level to 0.1mm, but I find that 0.15 balances speed with quality the best, and 0.1mm layer height sometimes has beading, which doesn't tend to happen with 0.15 as much.
Additional Materials (optional)
LED emitter (1" OD)
AAA battery holder and batteries
Latching switch
Blade (1" OD)
Blade retention screw (I used an #8-32 brass knurled screw from Home Depot)
Covertec wheel (used with a Covertec clip to attach your lightsaber to your belt)
Adhesive glue/epoxy
Primer
Paints
Fully Functional Saber Instructions
Once you have printed your pieces, go ahead and sand them down to smooth the striations (don't bother to sand the inner cylinders). You must then assemble your electronics with the inner cylinders. First, tape the inner cylinders together (making sure that the flat sides of the battery and emitter ledges are facing towards each respective end), and slide the shell pieces over the inner cylinders. This will show you how much material to trim off of the inner cylinders. Make sure that the inner cylinder stretches through the entire length of the saber, and leave about 2mm empty space at the top so that you can't see the inner cylinder just by looking at the outside of it. Once you have gauged how much will need to be cut off, trim the upper inner cylinder as needed (I took off about an inch).
Place the shell pieces back over the inner cylinders to see where you want to make your hole for your switch. Mine was placed a few millimeters from the top of the lower cylinder. Cut out or melt the hole (I used a 3D printing pen to do so, but you can also use a soldering iron or even an unloaded glue gun if all else), and make sure that your switch can fit.
Now, take your switch and place the switch ring around it. You may have to print your switch ring with different dimensions, if you have a different kind of switch. Mine screwed on for a nice fit. Insert the switch with the switch ring into the hole. The switch ring should be resting on the surface of the inner cylinder. Now you must wire up your electronics. Simply drop the LED emitter into the top of the upper inner cylinder (if you want, add a ring of hot glue or other adhesive so that it doesn't rattle around), making sure that the wires extend from the inside of the inner cylinder with enough wire to work with. Place the battery holder into the bottom of the lower cylinder, making sure that those wires extend out far enough as well. Then wire the switch in between the batteries and the LED emitter. Before plastic welding the cylinders together, make sure that your wires are soldered together and connected properly, as you won't be able to get them out (besides the batteries - make sure you have long enough wires to pull out the batteries, or you won't be able to change them!) without destroying your lightsaber. Once your electronics are tested and good, you can plastic weld the cylinders together. Your inner cylinders should now be one, as in the photo below.

Inner cylinders plastic welded together. Note that the batteries are loose inside the housing, This can be solved by wrapping a cotton ball in electrical tape and sticking that in with the batteries, Keep in mind that the end cap will hold them in place as well. Again, make sure that your electronics are functional before plastic welding the cylinders together.
Fully Functional Saber Instructions Continued
Now that you have the base completed, the real fun can begin. Before you assemble the rest of the pieces, go ahead and plastic weld the switch ring onto the inner cylinders, and then plastic weld the switch cover above the switch ring. Make sure while you do this that the main body (pieces 6 and 7) fits together with the switch cover and switch ring. I had to melt the switch cover a little to get it to fit well.
Once your switch is set, get some glue. I used an epoxy that smooths 3D prints, and that worked very well. If you're using a different adhesive, test it with other 3D printed parts to make sure that it has a secure bond. In any case, make sure your adhesive is thick enough to close the gap between the shell pieces and the inner cylinder. Once you have prepared the adhesive, coat the entire inner cylinder with it on the outside (you may want to cover your LED emitter and battery holder to keep them safe - I typically just shove some paper towel on top of the emitter, but I didn't bother with the battery holder). Then, slide on the main body (pieces 6 and 7). Make sure that it is snugly situated on the inner cylinder. You may then assemble the rest of the pieces, but DO NOT affix the end cap. The end cap will fit onto the end of the saber without any adhesive or other device once you are through. Wait until the adhesive is completely dry before continuing.
Once your lightsaber is assembled, complete any last sanding you would like to do. After assembly and sanding, I coated the entire thing in two layers of epoxy for strength and to hide any leftover striations. I then sanded down the epoxy layers for any defects as well. The more sanding and smoothing work you do, the more authentic the final product will be.
At this juncture, you may commence with the final steps, or, if there are larger defects due to plastic welding, go ahead and use some Bondo to fix those. I had to use some around the switch area and on the bottom of the end cap. Make sure to sand it down well.
Prime your lightsaber with a couple good layers of primer spray paint. PLEASE make sure that your LED emitter, switch, and batteries are properly covered before priming or painting, and DO NOT attach the end cap while priming! Prime the saber and the end cap SEPARATELY! That way you'll be able to access the battery compartment. Once this is complete, your saber will look almost complete, as shown in the photo below.
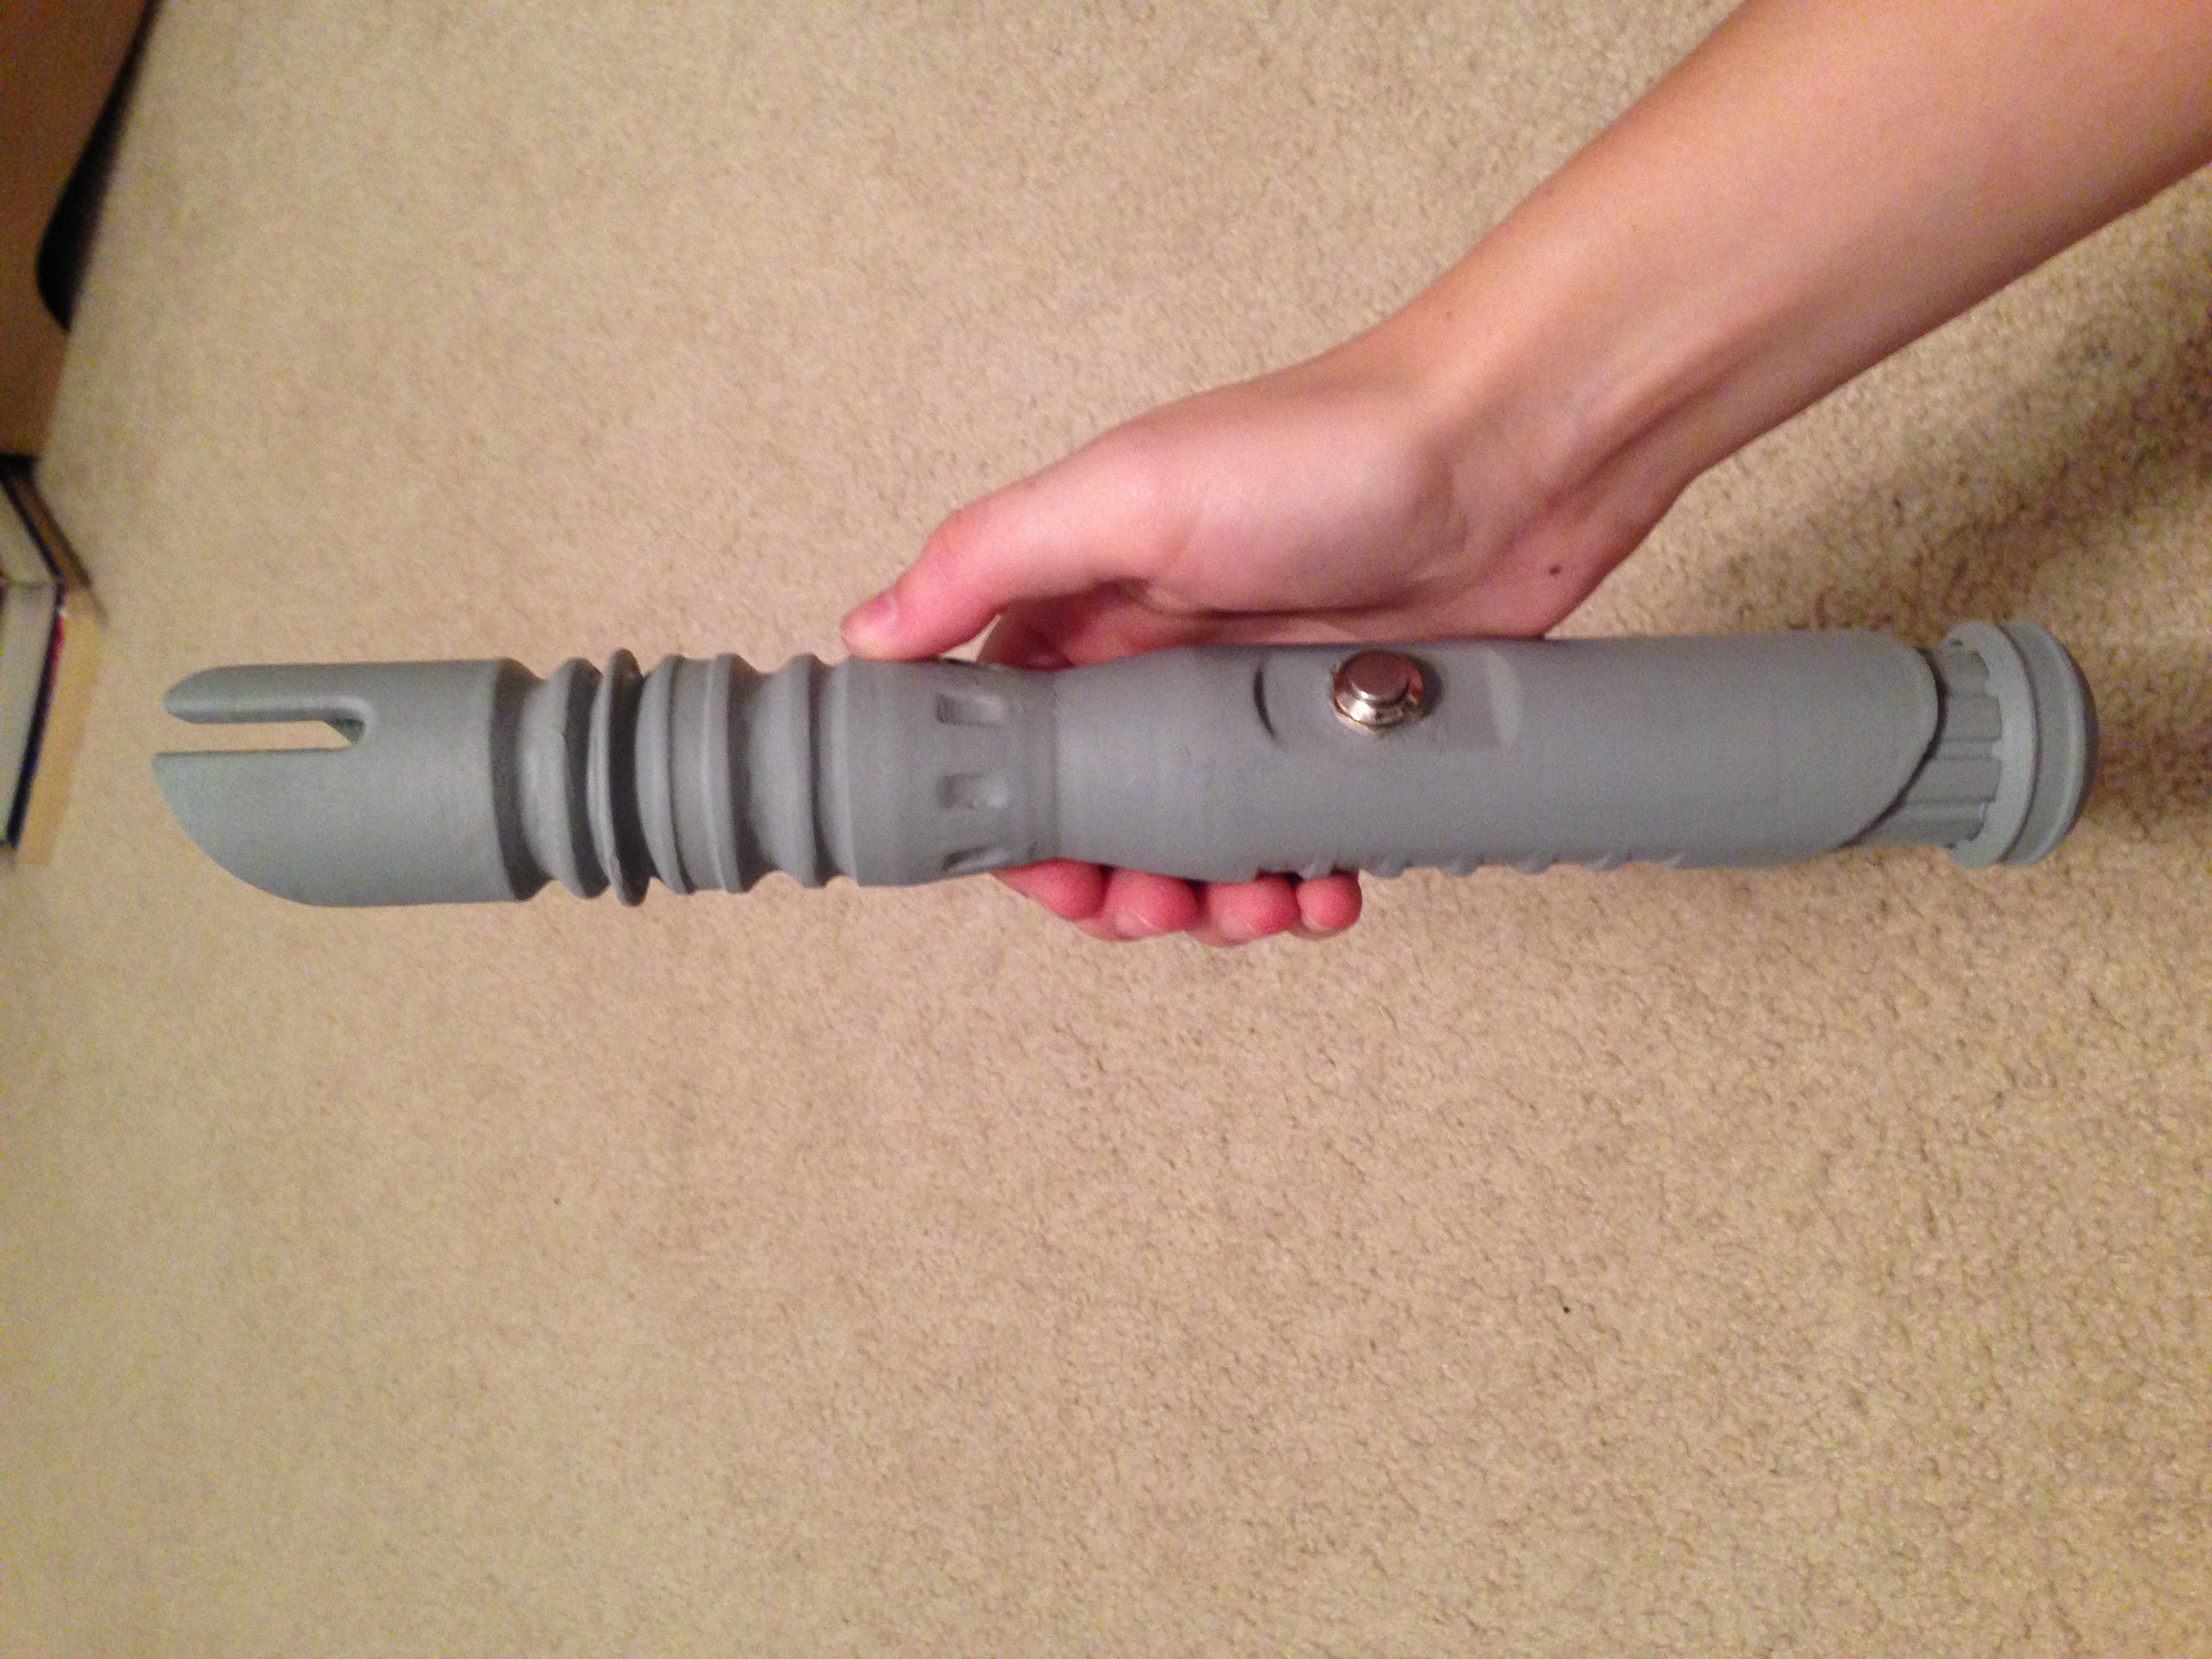
Primed lightsaber.
Fully Functional Saber Instructions (Continued)
Once your primer has dried, you are free to paint it however you would like. I started off with a few layers of silver spray paint, and then added details in bronze, black, and copper acrylics.
Again, be sure to cover your switch, LED emitter, and batteries while painting.
I finished the lightsaber with another coat of epoxy to prevent scratches to the paint and other damage.
Now that your main workload is done, you can add the finishing touches. For a retention screw, you will need to drill and tap a hole opposite the split part of the emitter of piece 1. Then simply screw in your blade retention screw to hold your blade in place. For my blade, I also used a layer of electrical tape for a friction grip in case the screw failed.
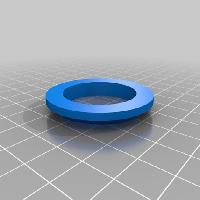
If you want to add a Covertec wheel, The bump on the bottom of pieces 6 and 7 can be used for this. It should accommodate a standard wheel, but you may have to sand down the edges a little or use a Dremel tool to sand down your Covertec wheel to fit the curve properly.
Then drill and tap a hole into this section (PLEASE make sure you REMOVE THE BATTERIES BEFORE DRILLING! If you don't, you could cause yourself serious harm by puncturing the batteries accidentally). Screw on the Covertech wheel, and you're finished!
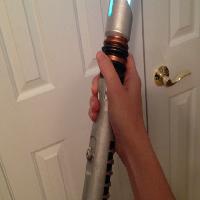
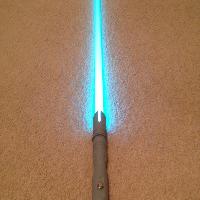
You have now completed your very own lightsaber! Congratulations!
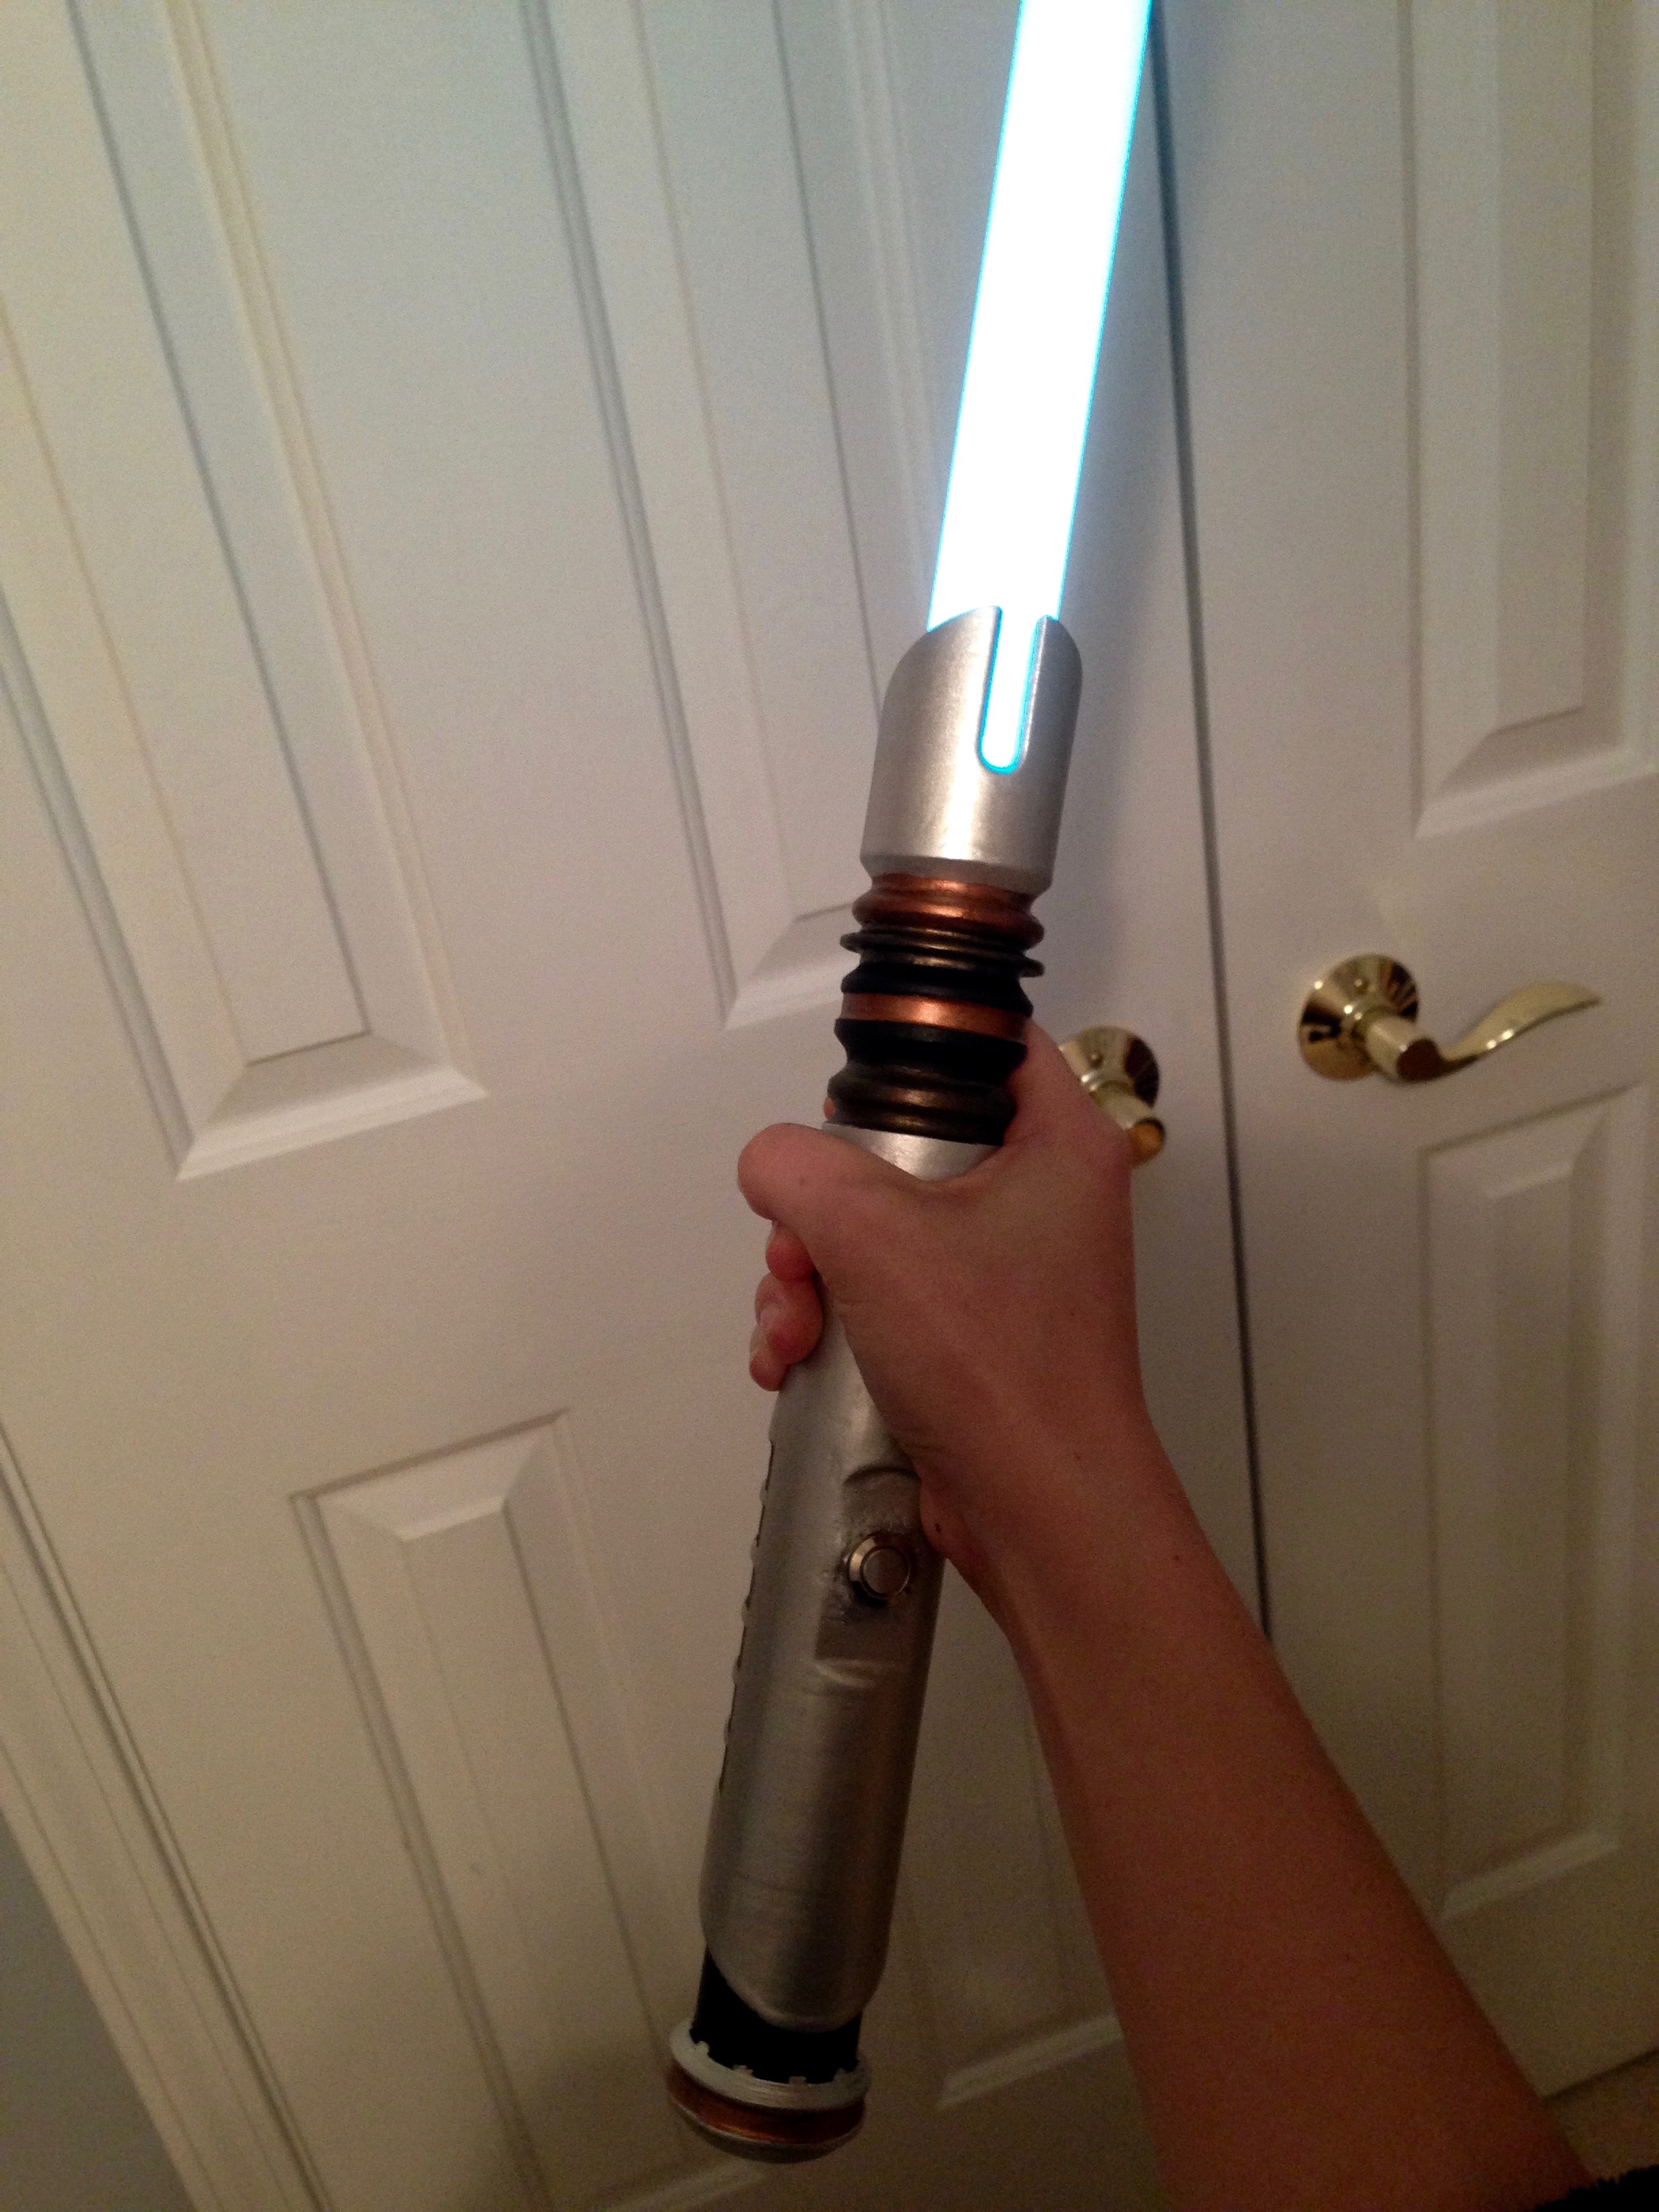
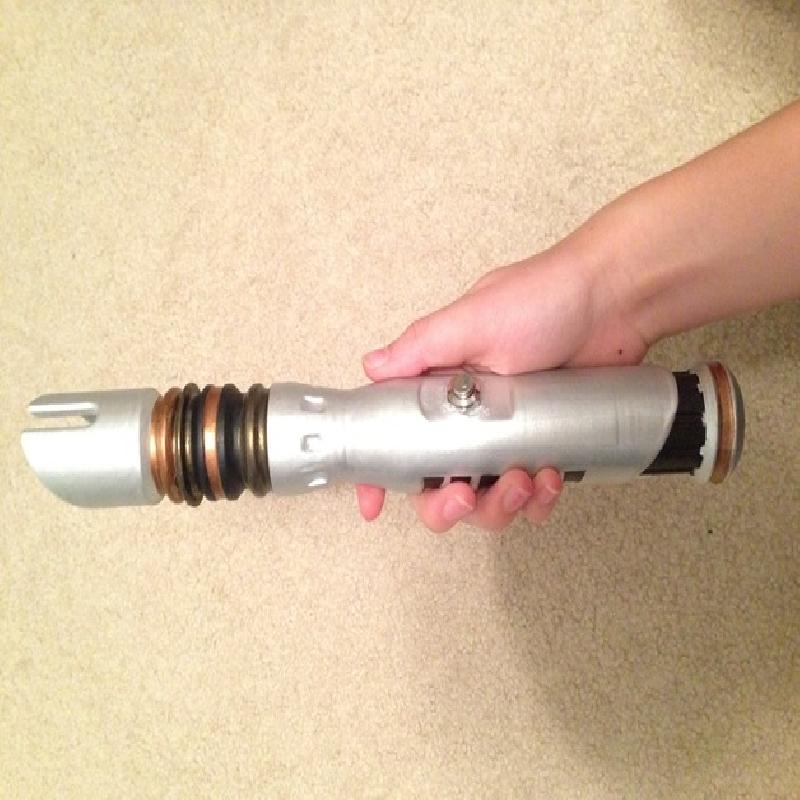
Finished lightsaber (without final epoxy layer)