by neophyl
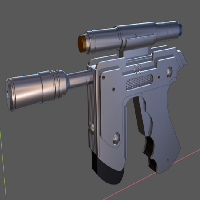
Blake's 7 Scorpio Clip Gun Blaster
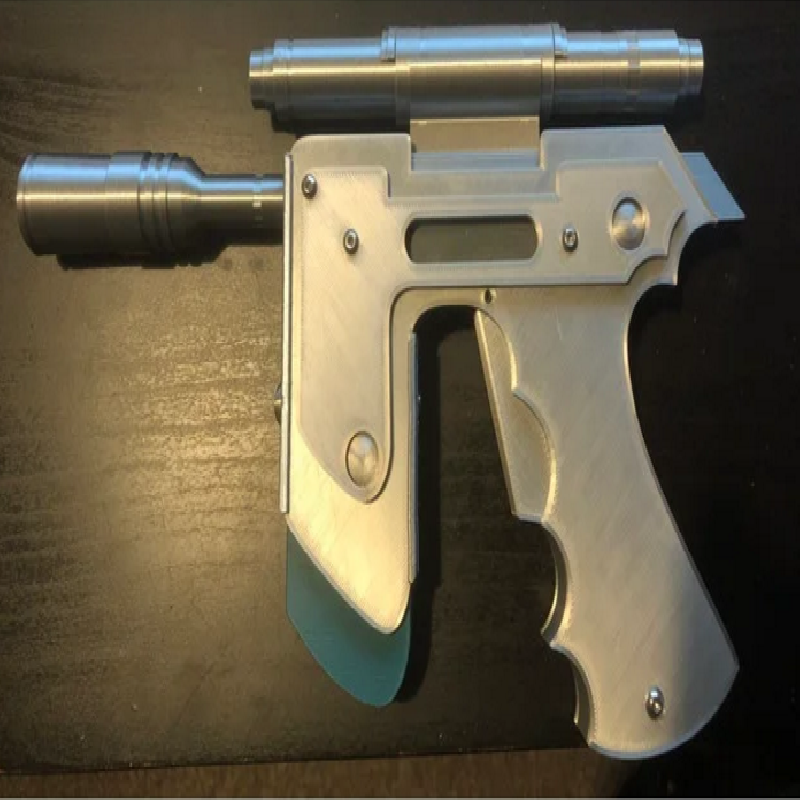
I seem to be on a bit of a Blake's 7 kick at the minute, converting old projects to 3d printed versions. Quite a few years ago I made a series of aluminium versions of these with full laser tag electronics inside, working 'clips' that changed the damage done, full sound and lights etc.
I decided as I still had the svg files I did to get the panels laser cut I would do a 3d printed no electronics display model version.
So here it is.
As well as the printed parts you will need a few extra bits of hardware to assemble it.
2x M3x30 cap head screws. (could probably use pan head too if the head is less than 8mm diameter).
2x M3x8 Countersunk head screws.
9x M3x10 pan head (slotted) screws.
3x M3NS thin m3 square nuts. If you have ever assembled a prusa printer you will be VERY familiar with these.
5x M3x15 Female threaded Hex standoffs. (although 12mm long ones should also work, but you might need slightly longer screws if you do)
2+ 10x3mm magnets. These are used to hold the clip in place. One glued to the body inner and another to each clip you make.
5-6mm diameter spring approx 20-25mm long for the trigger.
Optional parts
The original clip guns used mirror screw covers for the domes. In the UK these are available at hardware shops and even places like Wilco's. These covers are used on screws for mirrors, once the mirror is screwed in place the domes then screw into the head of the screw to cover it up. I included printed versions though in case you cant get them.
Aluminium Mesh - the sides have a mesh insert. I used some from a car shop, normally used to back body work repairs for my original project. I modeled some up but its the part I am least happy with. I need to figure out a better/easier way to do it in Blender. The original mesh is fairly fine anyway so I don't think a printer will do a nice version unless its a resin printer or you have a small nozzle fitted.
3mm metal pin for the trigger pin to replace the printed version.
Done in Blender 2.91
Print Settings
Printer brand:
Prusa
Printer:
i3 MK3
Rafts:
No
Supports:
No
Resolution:
0.2
Infill:
20%
Filament brand:
MKOEM
Filament color:
Silver and black
Filament material:
Silk PLA
Notes:
This was printed in MKOEM Silk silver and as I didnt have any black handy I used some Spectrum Dark Grey I had.
Post-Printing
Assembly Instructions
Print all the parts but you will need multiples of a few parts
5 of the mirror domes
2x indicator bezels (for the front and rear of the sight tube)
2x indicator lenses (one should be in amber for the front and the rear one should be in a clear/translucent filament)
2x Left Mesh (its the same either side)
Assembly
Print and clean up all the parts. Ream out any holes etc.
Take the Top Body and insert the M3x30 screws into the holes. Then take the sight mount and fit it onto the screws.
Next take the Front sight tube and fit the M3SN nut in place. Do the same with the Rear sight tube. I tacked them in place with some glue to stop them moving around.
Fit Front and Rear tubes into the Sight middle tube. Line up the holes for the screws.
You should now be able the fit the sight to the sight mount. Engage the screws into the square nuts to hold everything in place and tighten it up.
Now take the front panel and slip it over the rear of the barrel.
Insert the barrel into the Top Body. Then insert one of the hex standoffs into the hole. The barrel only fits in one way so you might have to rotate it to get the holes to line up. Take another one of the hex standoffs and insert it into the rear hole in the Top body.
Take one of the inner side panels and slide it into place between the Top Body and front panel. Use one of the M3x10 pan head screws to secure it into the barrel hex standoff to temporarily hold it in place. Then take one of the M3 Countersunk screws and secure it to the other hex standoff towards the rear. The countersunk screw should be flush or below the level of the panel. Its possible you may need to ream the countersink out if the heads on your countersunk screws are larger than the ones I used.
Next take the Body Interior and glue in one of the magnets. When the magnet is dry fit the 3 remaining hex standoffs into the holes for them. Slide the Interior body into place and use a M3x10 panhead to secure into the hex standoff in the bottom of the grip area.
Take your trigger and fit the trigger pin through the hole. Glue the pin on place so that it sticks out evenly each side. (you can use a 3mm metal pin instead if you dont like the plastic printed one as that will be stronger). Fit it into place with the pin going into the holes in the panel. You need to also fit the spring in place at this point.
Once done you can then take the other inner side panel and fit that into place with the pan head screw in the grip and the second countersunk screw, just like the other side.
Make sure the trigger moves freely and the spring is returning it to position.
You can then take the outer panels and fit into place on the inner panel. Before fitting the outer side panels, fit the mesh panels into place (a bit of glue stops them rattling) and also fit the mirror domes into place using the small printed pegs.
There's a slight chamfer on the inside edges of the holes in the outer panels to help hold them down. This does mean that they are larger than the hole though so they have to be in place before fitting the outer panels.
You can glue them to the inner panels too (which is what I did). Each outer panel then uses 3 pan head screws into the hex standoffs, one of them going into the barrel hex standoff.
You may need to remove the screw you had holding the barrel in place to fit them both. The outer panels should cover the countersunk screw heads completely.
Now take the last square nut and insert it into the Interior Body where the magazine goes. There's a small slot for it. Just push it in and line it up with the screw hole.
Take the Rear panel and using a m3x10 pan head, screw the rear panel into place into the square nut. This should lock the panels together around the magazine area.
You can now fit the front mirror dome / peg through the front panel into the body, glueing it into place. This will hold the front panel bottom and the barrel holed the top.
Glue the Indicator lenses into the indicator bezels. You can then glue those assemblies into the front a rear sight tubes. Finally glue the sight tube greeblies into place. They have pegs that locate into holes in the tubes to get the alignment correct.
Take the Clip magazine and glue the other magnet in place. Make sure its the correct way round so that it is attracted to the magnet fitted into the body.
You should now have a completed Clip gun.
(Yes I know it shouldn't really be called a clip as its a magazine but the show was done by the BBC, what do us Brits know about gun naming conventions :) Its called a Clip gun.
I didn't have the proper pan head slotted screws in M3 so I used button headed hex on the prototype. I also forgot to fit the mesh in place for the picture.