by Petal3D
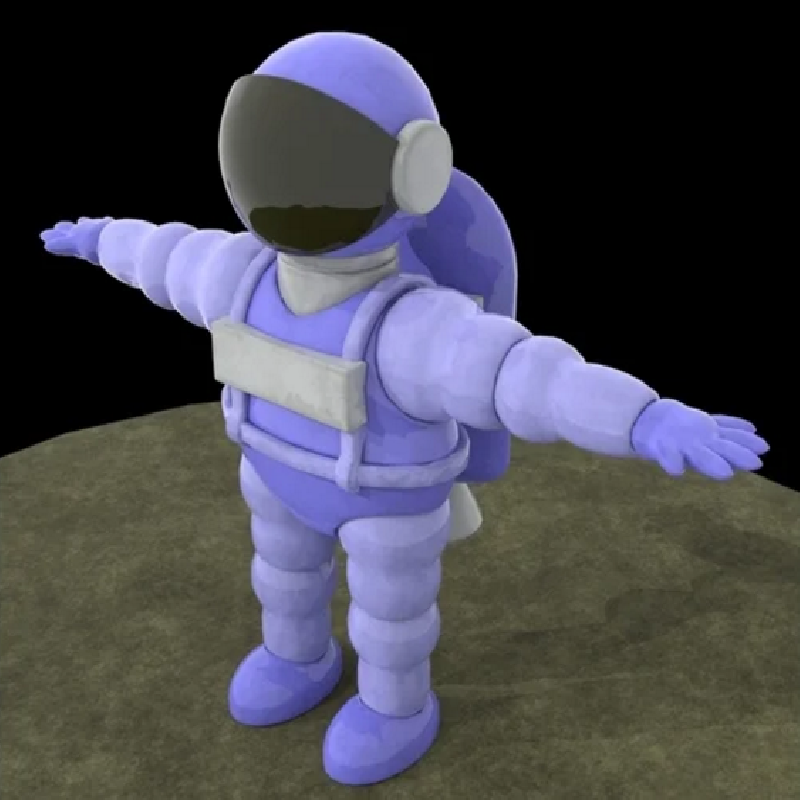
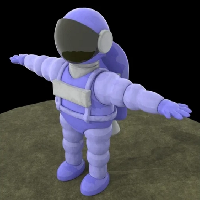
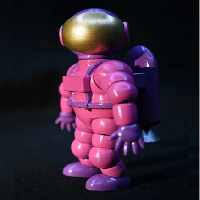
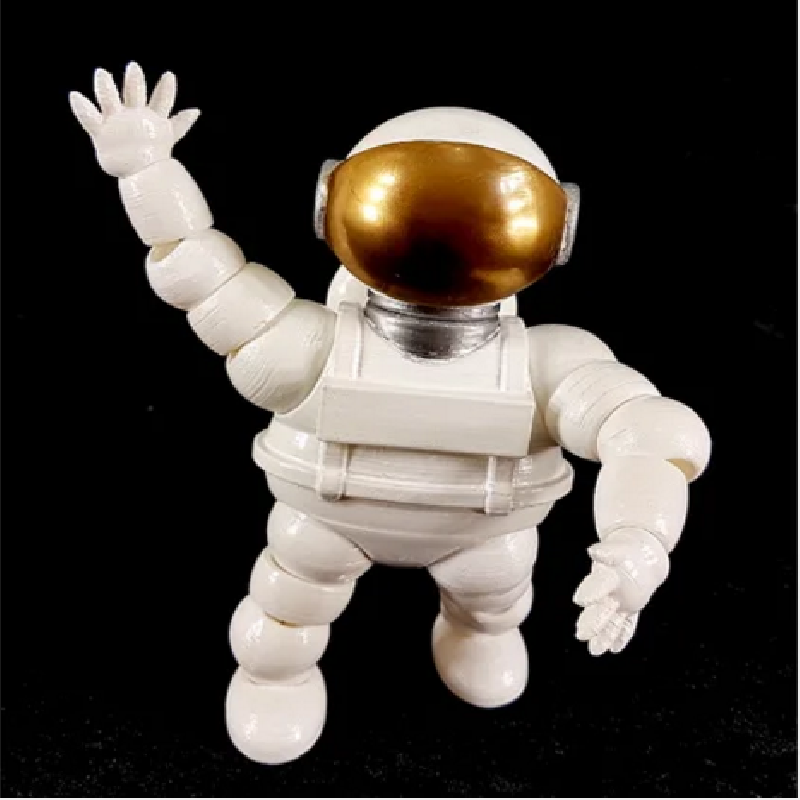
Send your stop-motion astronaut to a destination in a galaxy far, far away; to go where no-one has been before; to a place even beyond infinity. For safety reasons, a good astronaut always has the visor down, even when flying using their jetpack. Your astronaut has the best fashion sense by being dressed in the most modern colour scheme! The astronaut is 1/10th scale, standing at 76mm tall, with an arm span of 225mm.
This astronaut model has had a few iterations.
This model was included in a demo game developed in Unreal where the astronaut has to find their way back to the spaceship:
https://youtu.be/wspaapLo5rg
This version of the model was first shown in a turntable animation:
https://youtu.be/ieJL2TUDN3k
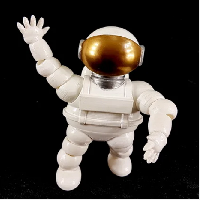
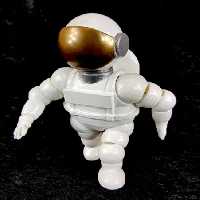
The initial version needed some work:
https://youtu.be/0lmwO01e7iI
The astronaut was modelled in ViaCAD, and was used in the Maya renders and the demo game. For this release, the model was cleaned up in ZBrush for good print quality and relatively small file sizes. Also, torso options were added.
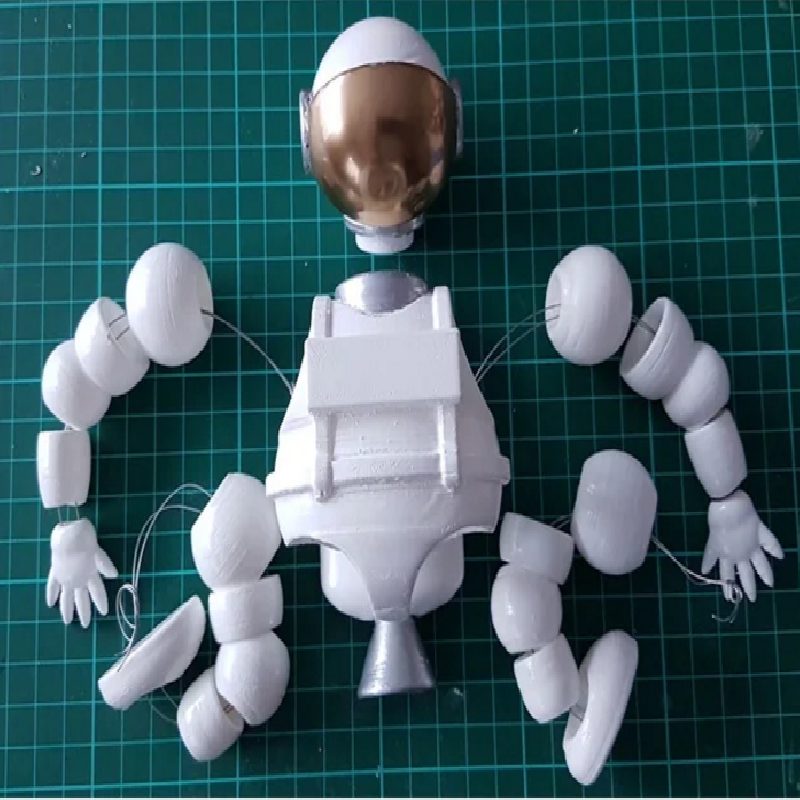
You can either make your astronaut have a fixed pose (easy) or with movable joints (fiddly). To make your astronaut have a fixed pose, use epoxy to join them together, preferably after painting.
You will need to print out one helmet, your selected torso option, two of each of the limb components (arm, foot, forearm, hand, leg and thigh), and, if required, one jetpack nozzle. Print the model as light as possible with infill of about 10-15% and 2 shells. Print using supports for the helmet, hands, torso and jetpack, however, print the helmet and hands without internal supports.
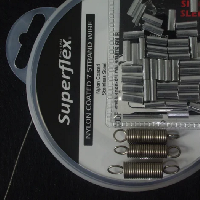
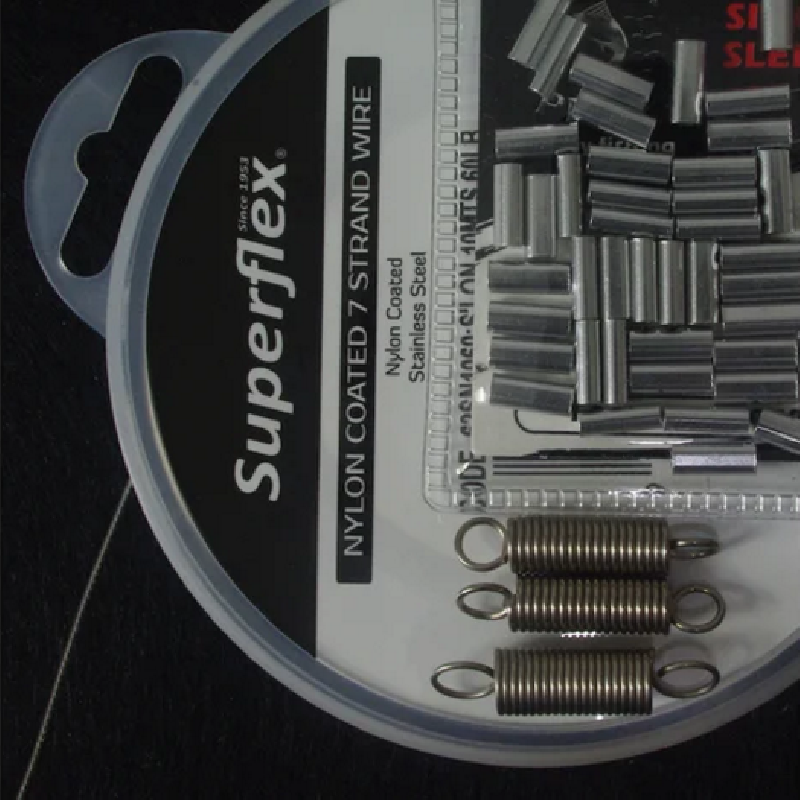
When assembling the stop-motion astronaut, you will need to do some experimentation. A good approach is to use about 1mm diameter coated stainless steel fishing line, crimps and tension springs. You may need a several spring variations similar to those in the photos. Attachment points are provided in the helmet, hands and feet. The three springs are located inside the torso.
(1) Attach two springs to the head using short lengths of fishing line and crimps. Thread fishing line though one of the feet and pass both ends up through the leg components. Use a large nail (or bradawl, or skewer) to stretch one of the springs and hook it across the leg opening. Crimp the leg into position. Repeat for the other leg.
(2) For the first arm, thread fishing line though the hand and pass both ends up through the arm components. Crimp one end of a third spring relatively close to this am. Place the arm’s shoulder in its socket and stretch the spring through the torso and retain it on the outside of the other arm opening. Crimp the second arm in position.
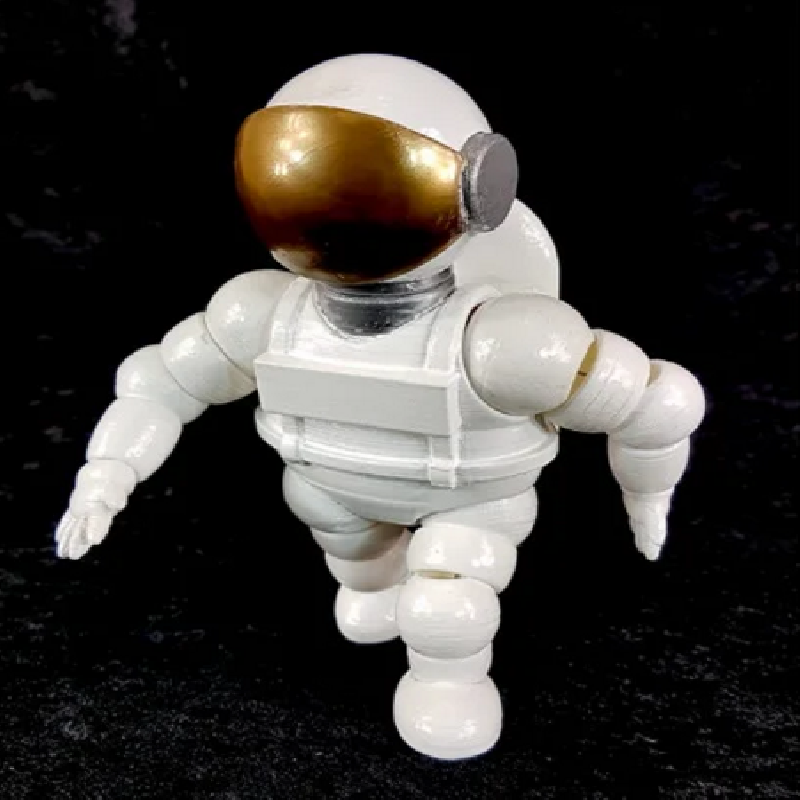
(3) Check that your astronaut stands up by themselves and that the joints can be moved as required. If required, adjust fishing line tension, preferably by changing the corresponding spring(s).
Print Settings
Printer brand:
FlashForge
Printer:
Dreamer
Rafts:
No
Supports:
Yes
Resolution:
0.12 (High)
Infill:
20%
Filament brand:
Any
Filament color:
Any
Filament material:
PLA