by jasonramey
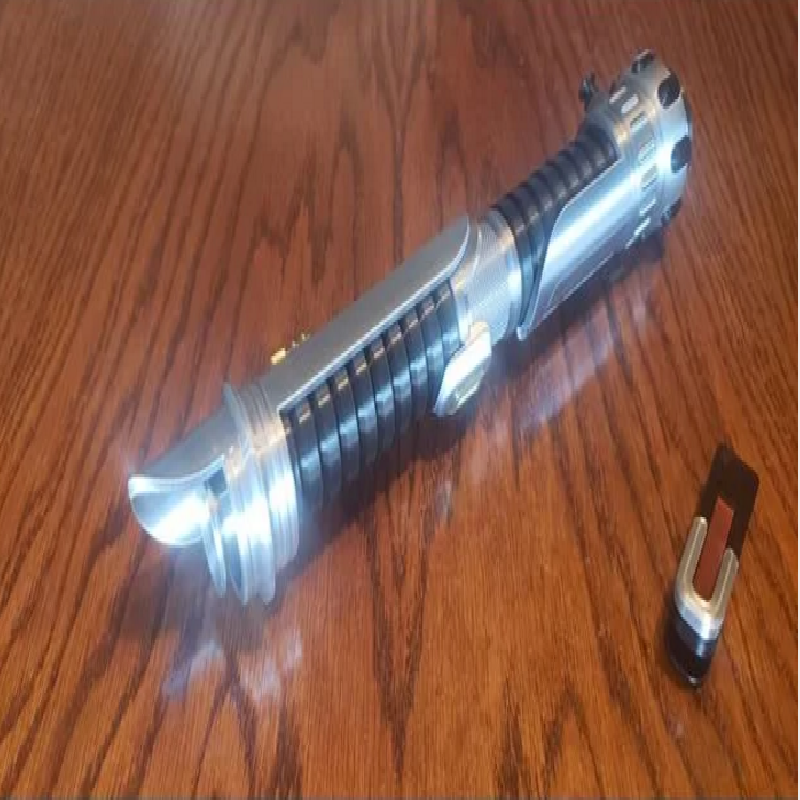
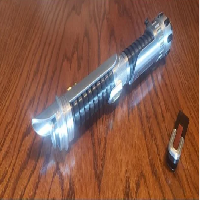
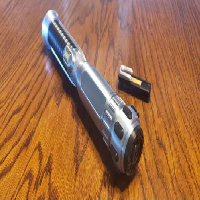
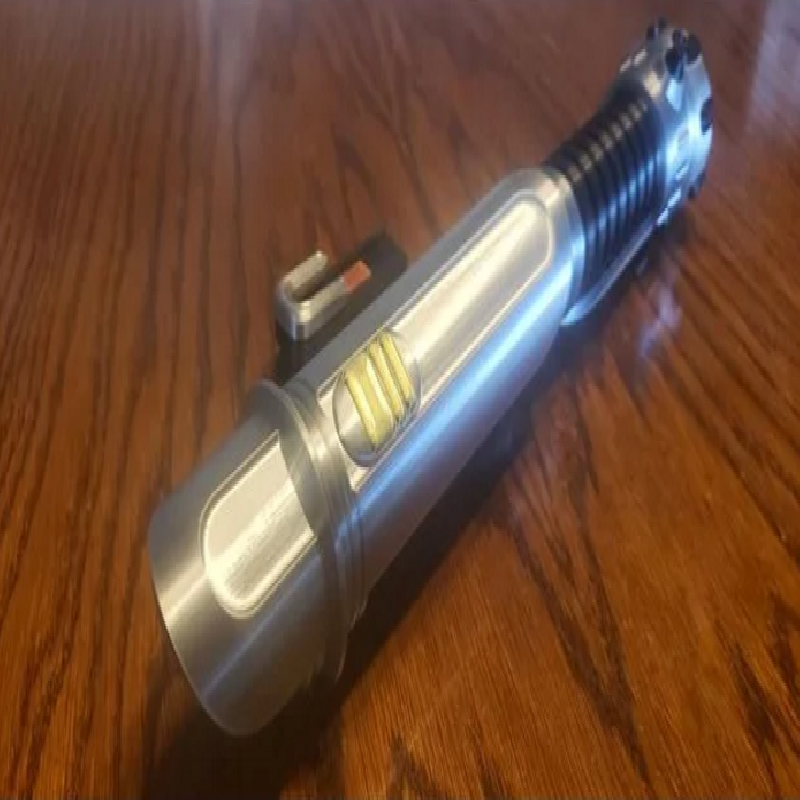
This is yet another lightsaber handle that I designed. It's about 13" long. I wanted to give it an elegant and cohesive look from end-to-end. And it only takes about 10 minutes to assemble. I designed this with a square hole down the center to insert square beams for easy alignment during assembly.
For assembly, you'll need:
a tube of super glue
the belt clip assembly here
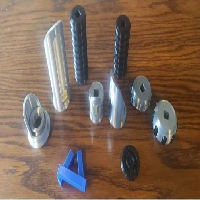
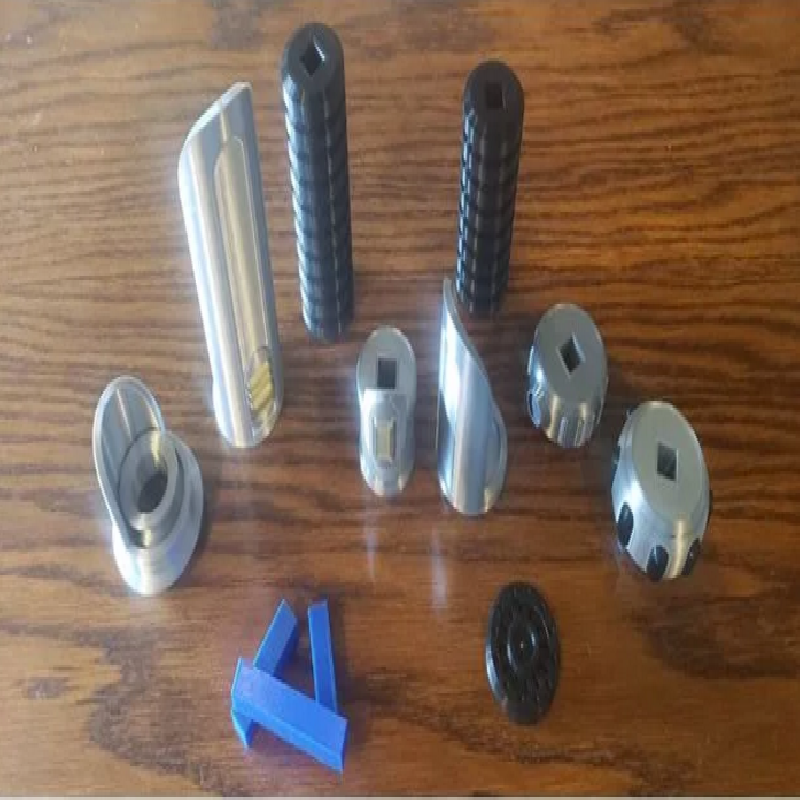
Print one of each part except the following:
2x button2
8x pommel_knob
Assembly
Glue a 30mm beam (beam30) into the underside of the emitter, a 65mm beam into the pommel_cap, and center a 60mm beam in the center_ring. Although there are 3 different sized beams, you can also just print out multiples of beam65 instead if you want a little extra support and alignment. If you want to create your own custom beams, they have a 10x10mm cross section.
Line up upper_panel to the underside of the emitter and glue. The long parts should be in line. upper_gripshould fit under that. emitter_shadow will drop down into the tip of the emitter just to give it the illusion of depth.
With the 65mm beam on the pommel cap, put on the pommel and lower_ring. Then put on lower_panel so the long part is opposite the belt clip socket on the lower ring. Then comes the lower_grip.
Now the two halves come together. Glue the center_ring onto the end of the upper_grip so the button shroud is opposite the long part of the upper panel. Glue on the lower so the long part of the lower panel is inline with the button shroud on the center ring.
Now glue button1 and 2x button2 into the slots on the upper panel and button3 into the center ring. Thepommel_knob pieces will go in the slots on the pommel. And if you've printed out the separate belt clip assembly, the knob goes in the socket on the lower ring.
Print Settings
Printer brand:
Creality
Printer:
Ender 3 Pro
Rafts:
No
Supports:
No
Resolution:
0.08
Infill:
10%
Filament_brand:
Mika3D
Filament_color:
various
Filament_material:
PLA
Notes:
I used the following colors:
silver - emitter, upper panel, pommel
gunmetal gray - lower ring, lower panel, center ring
black - emitter shadow, upper and lower grips, pommel cap, pommel knobs
bronze - buttons
All of these filaments were from Mika3D except the black, which is from Hatchbox. I used gunmetal gray on some of the pieces to give the impression that parts of the lightsaber were repaired/replaced and the materials weren't exactly the same as the original. I'd hoped for a slightly darker gray to increase the contrast, but I think it still looks good.
I printed this at an insane 0.08mm layer heights because I value visual quality over print speed. It will probably look fine printed at the standard 0.2mm layer height though.