by I_am_Darth
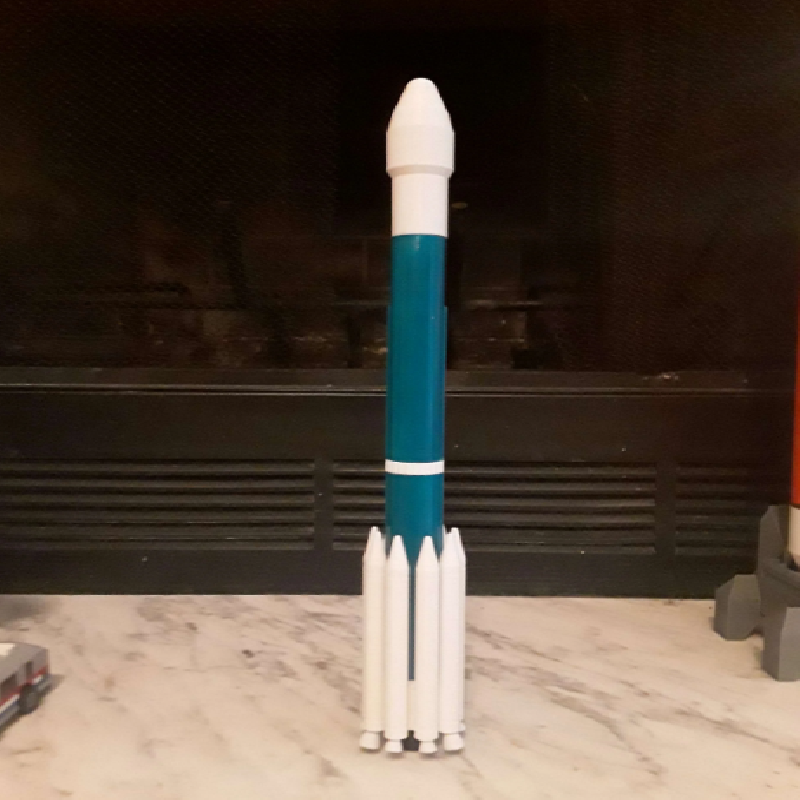
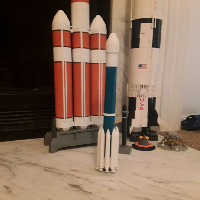
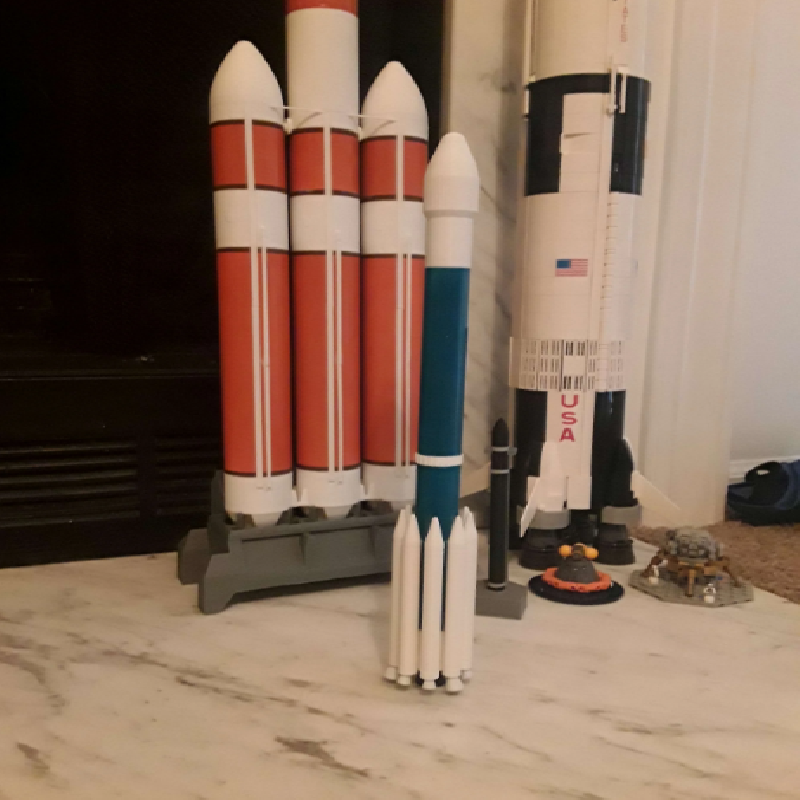
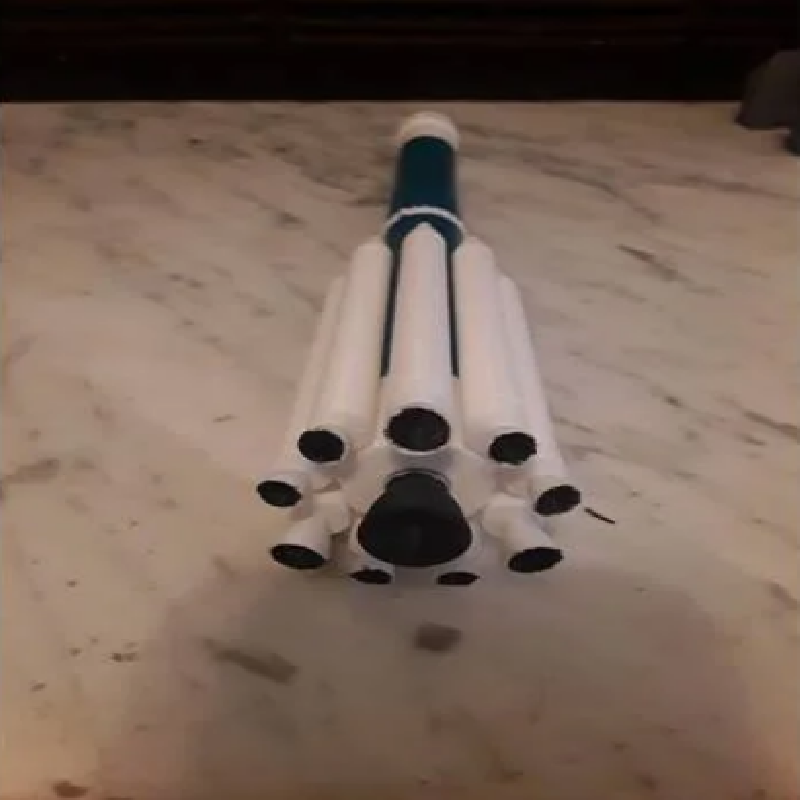
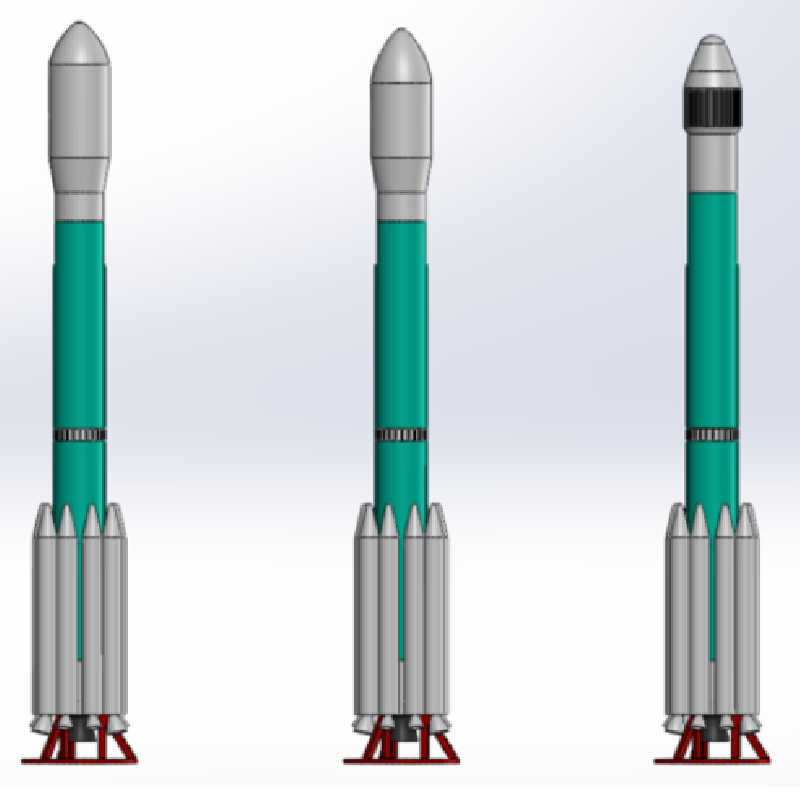
Here's my 1:100 scale Delta II 7000 series model.
"Delta II was an expendable launch system, originally designed and built by McDonnell Douglas. Delta II was part of the Delta rocket family and entered service in 1989. Delta II vehicles included the Delta 6000, and the two later Delta 7000 variants ("Light" and "Heavy"). The rocket flew its final mission ICESat-2 on 15 September 2018, earning the launch vehicle a streak of 100 successful missions in a row, with the last failure being GPS IIR-1 in 1997."
~~wikipedia intro
It's printed in segments by color so that it can be printed in the correct colors or easily painted after printing.
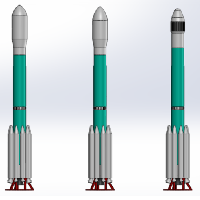
While I printed this with the 9.5ft fairing to match the MER-A Spirit rover launch, the part files include alternate fairings and upper tank segment to accurately reproduce 10 and 10L rocket variants. The Solidworks 2020 files are also included if you want to see the assembly or modify any components for your use.
I have successfully printed this model at 1:110 to match my Lego Saturn V model, so I am confident it can be printed at any scale larger than that. The side mounting pins may become too small at smaller scales, but the GEM 40 boosters could just as easily be glued directly to the mounting points on the sides of the tank.
I hope you enjoy this model.
Let me know what you think and be sure to share any makes.
Print Settings
Printer brand:
Creality
Printer:
Ender 3 Pro
Rafts:
Doesn't Matter
Supports:
Yes
Resolution:
0.2mm layer, 0.4mm nozzle
Infill:
25%
Filament_brand:
Inland
Filament_color:
White
Filament_material:
PLA
Notes:
The majority of the components can be printed without support material except for the rocket boosters. I chose to print them nose down with a cone of support material around the nose so that the they would turn out round but they could be easily printed on their side with the side mounting holes facing down. All of the STL files are exported in the orientation I printed.
Post-Printing
After printing, the components should fit together with minimal movement. If the fit is too loose I recommend wrapping masking tape around the stepped fitting to keep the parts concentric. I sanded all of the parts before assembly to help with both painting and improving the surface appearance. The SRB mounting holes may require cleaning with a drill bit before assembly so that the pins fit. Super glue works well for assembly though you can use any glue that you are comfortable with.