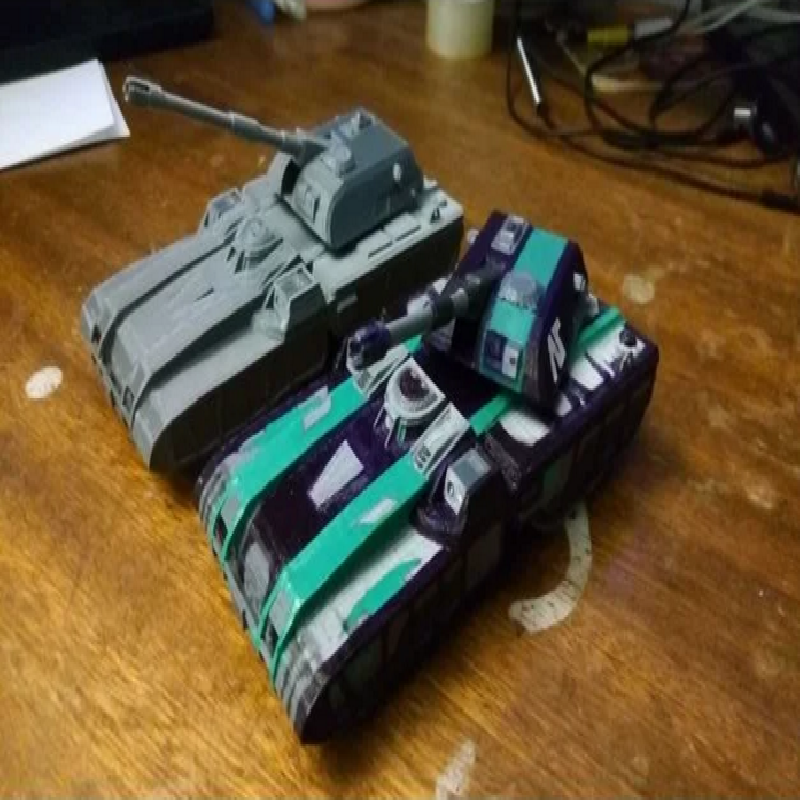
by paleopterix
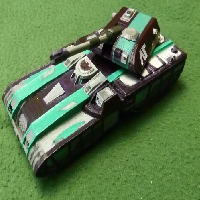
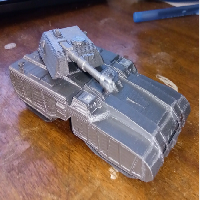
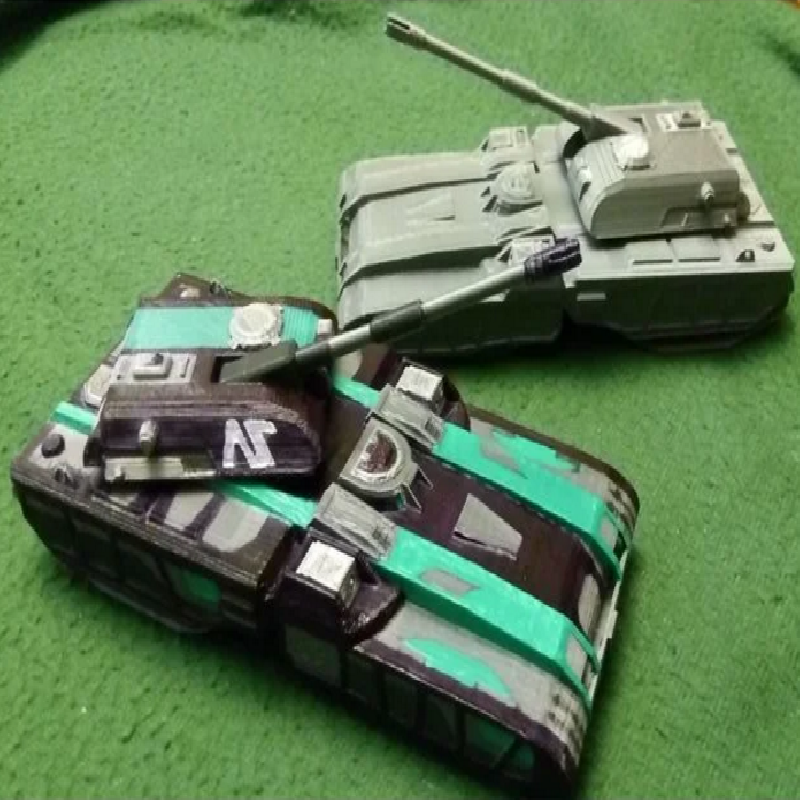
Printable, modular 3D model of the Lightning Tank from Planetside 2 (the classic version, without cosmetics)
The model has been redesigned so it can be assembled from different parts that ca be printed separately - no additional supports required. For this reason, the model may be only 99% accurate - some details have been slightly altered/optimized.
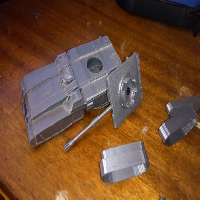
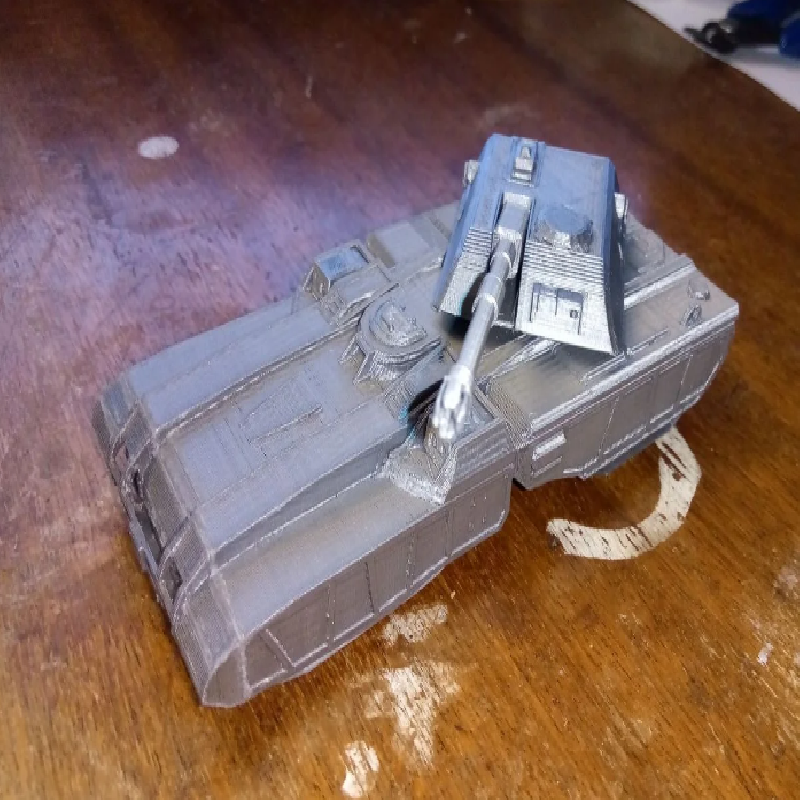
Some trimming & sanding & filing & gluing is necessary to finish the assembly
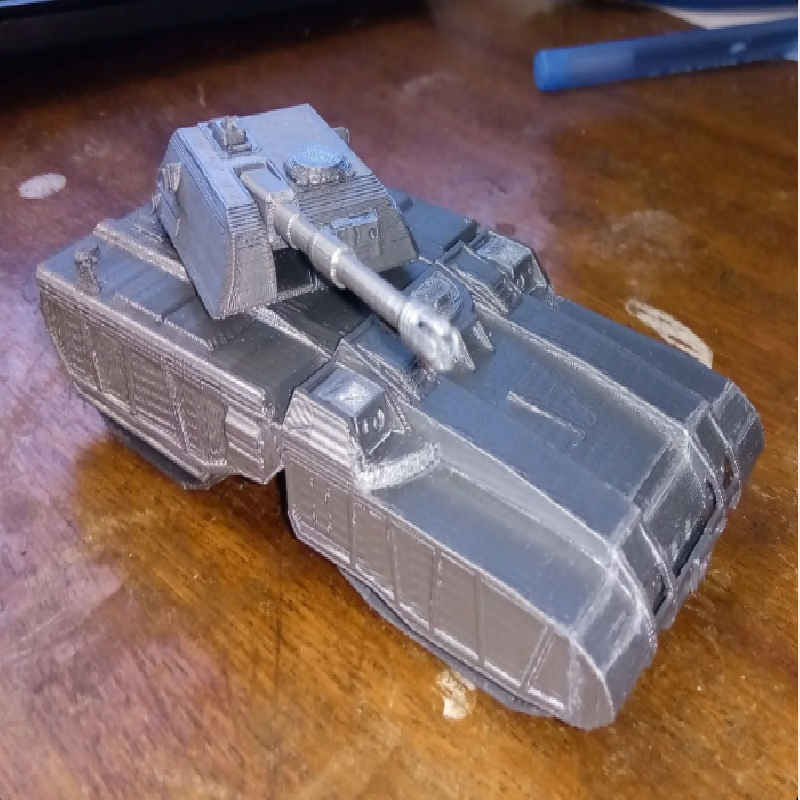
The tank body is printed vertically (I used a 3mm brim to make sure it does not move from the heated bed); The "nose" is printed separately and needs to be glued to the main body; use a file or sandpaper to remove any edges or imperfections left after attaching the two parts;
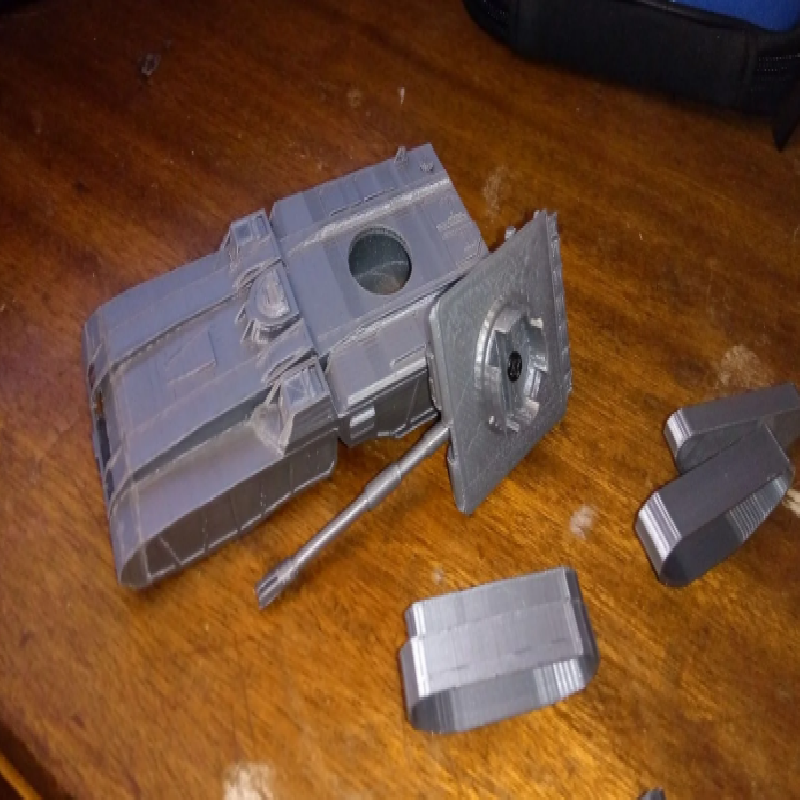
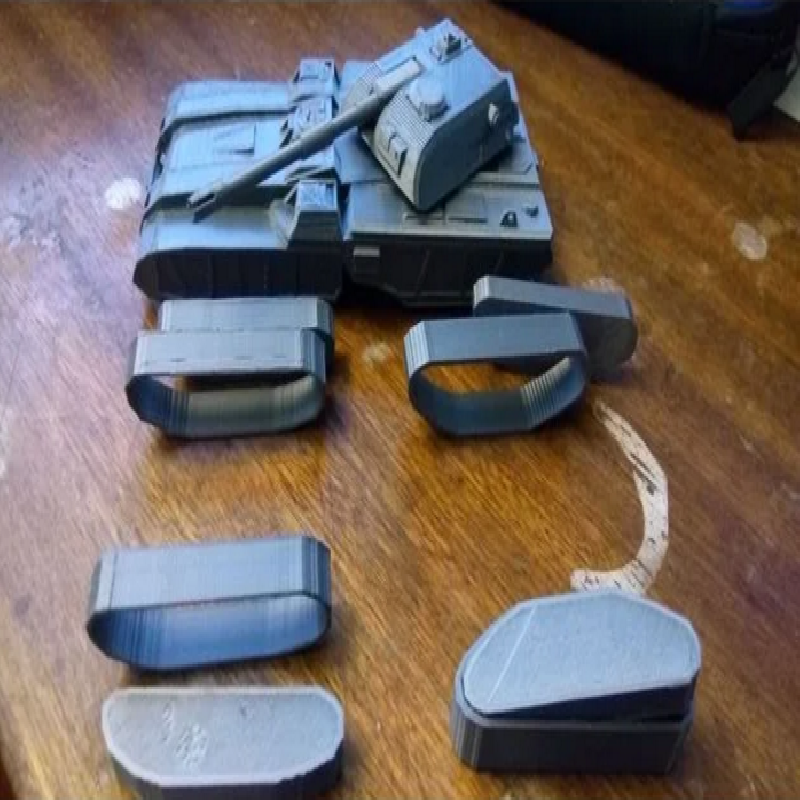
the tracks are fixed and are made from two parts (the "interior" part which slides into the "exterior" part) that need to be first assembled, then glued to the tank body (see the photos for the correct orientation)
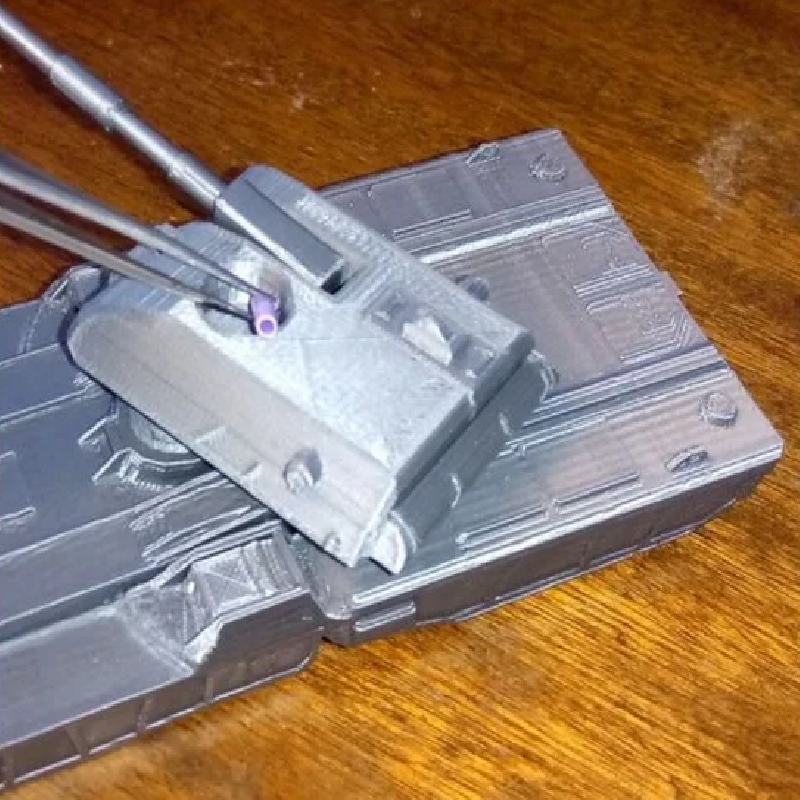
the turret is detachable/moveable and attaches to the tank body through the "flange" part; The flange attaches to the turret either using a M3 screw or by gluing. Once assembled, attach them by gently pushing onto the tank body.
the gun is moveable and attaches (and rotates around) an axle that needs to be inserted through a hole under the turret hatch (which is also a separate part and detachable); The axle can be any cylinder with ~3mm diameter and 10-11mm length. You can cut it from an ear stick or from an empty ball pen ink tube, for example or you can try to 3D print one (I have not included a model for it, but it should be very simple to design one).
the small hatch for the tank body is printed separately and needs to be glued in its place; same with the light "modules" (the left and right one) that need to be inserted and glued in their place (see the photos for the correct positions)
the motor is also printed separately, and it should just slide into its place at the back of the tank body.
** I have included also a tank body version which includes the motor, in case one finds it to be easier to print it this way.
Print Settings
Printer:
Modded CTC Prusa I3 Clone
Rafts:
No
Supports:
No
Resolution:
0.2
Infill:
15-20%
Filament_brand:
DevilDesign
Filament_color:
Silver
Filament_material:
PLA
Notes:
I used a 0.3 nozzle, with 0.2 layer height (0.28 first layer), 1mm wall thickness, 2 bottom layers and 3 top layers.