by minching
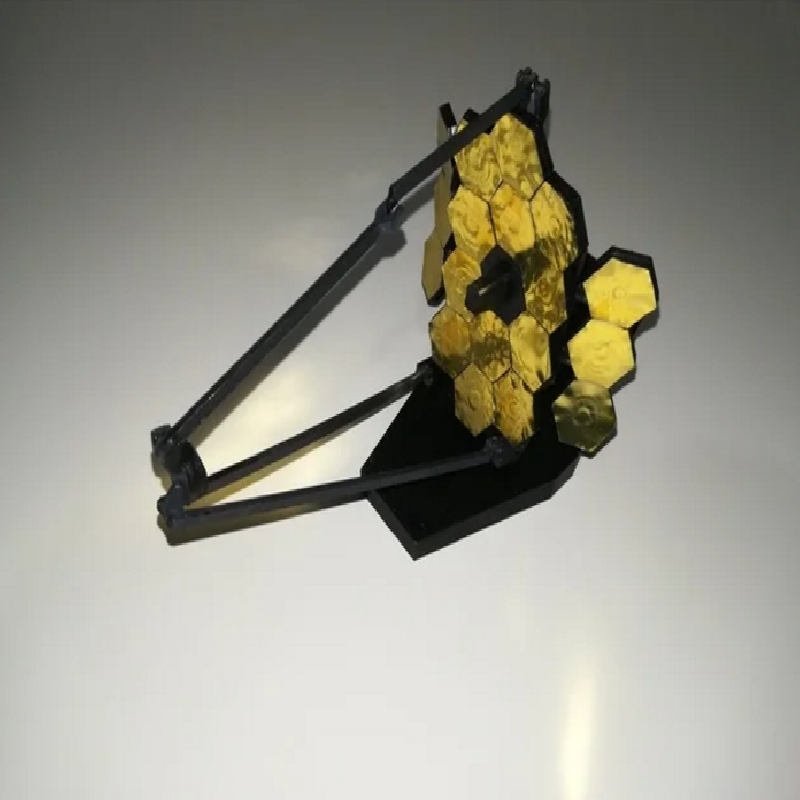
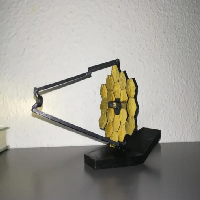
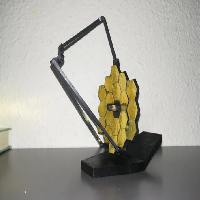
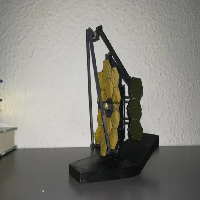
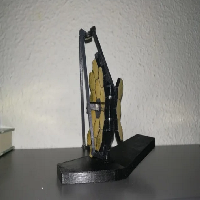
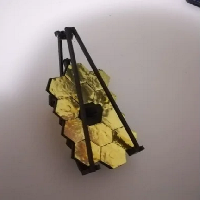
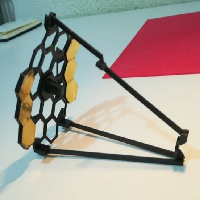
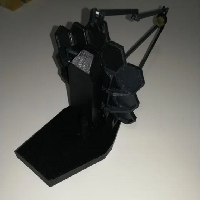
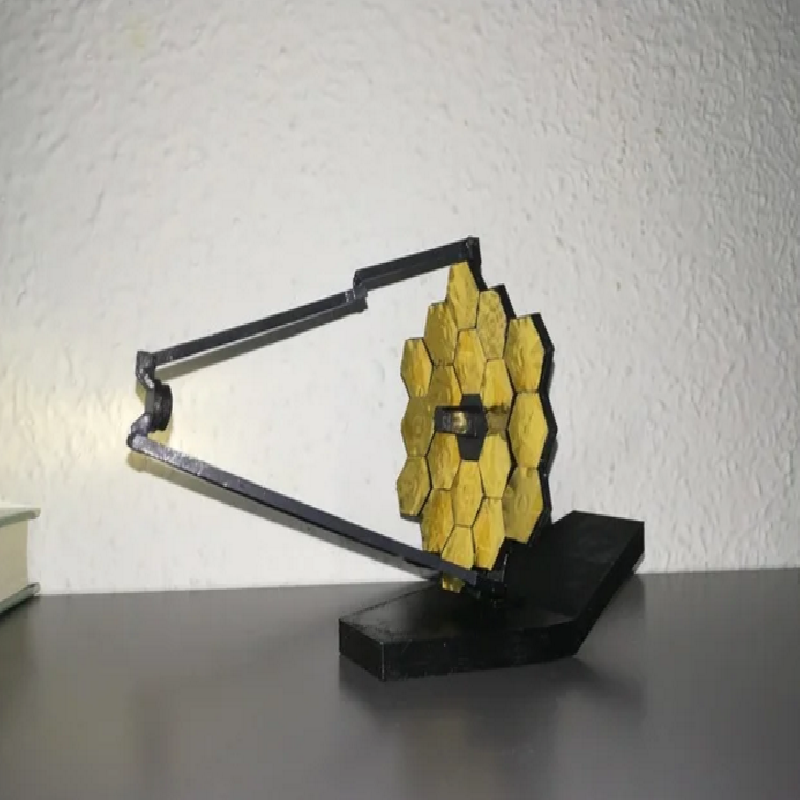
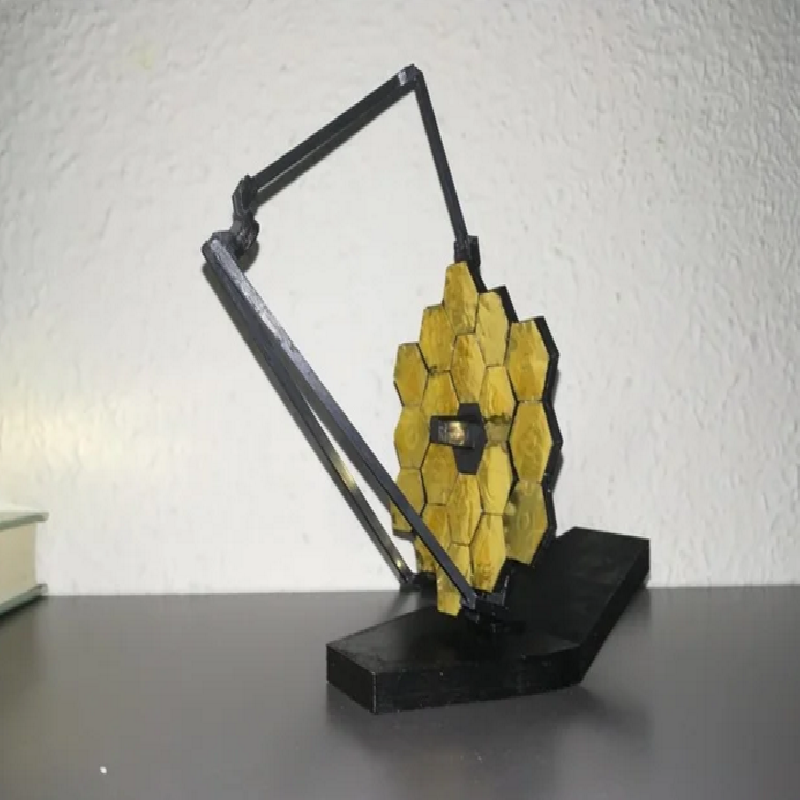
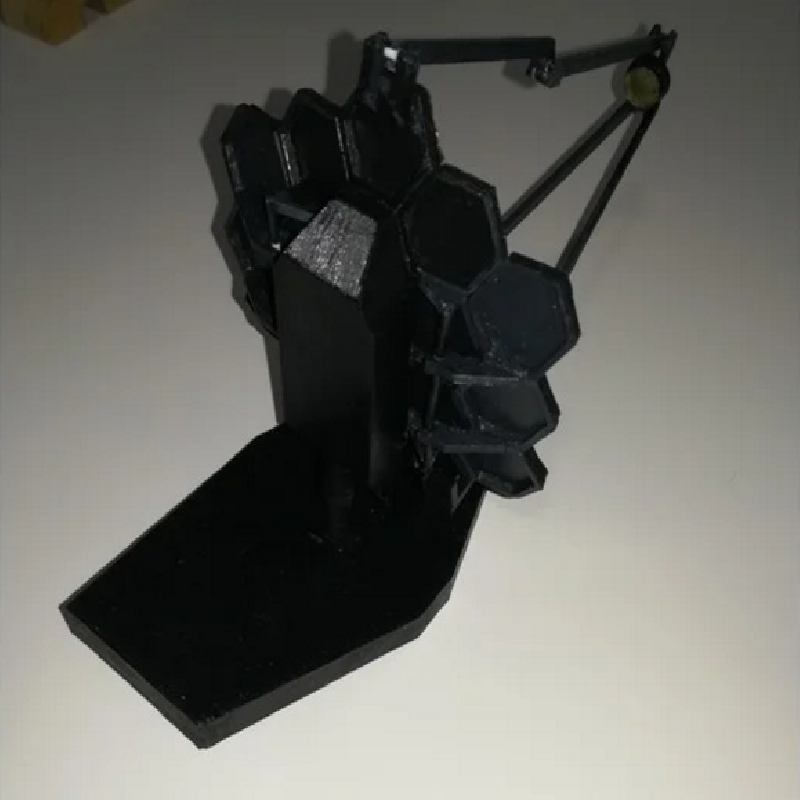
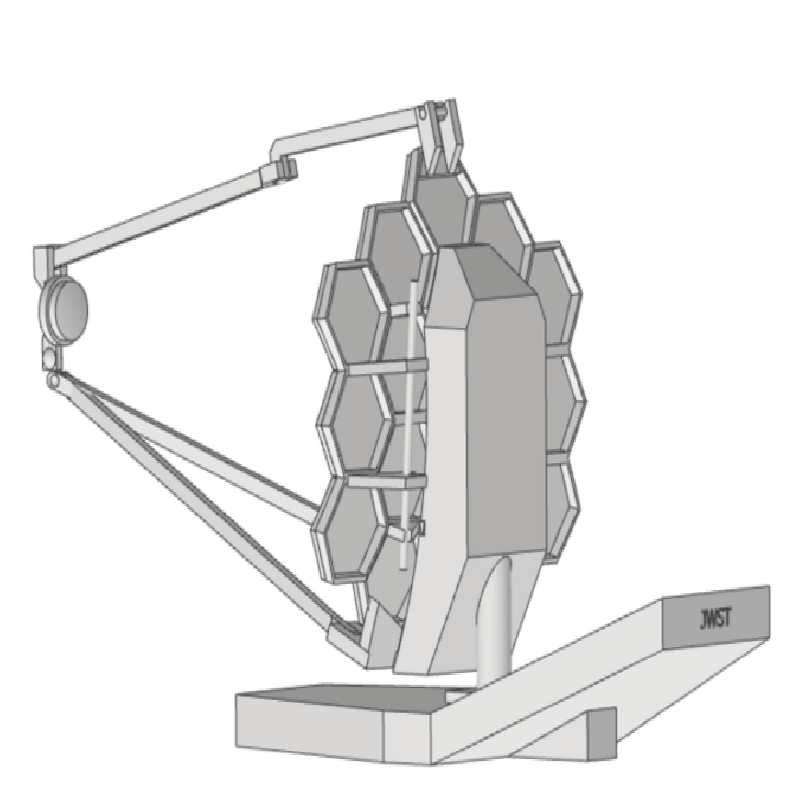
This is an artistic foldable interpretation of the James Webb Telescope.
Scale used 1:72 for the primary Mirror assembly, the base is not in real scale for easier print and display.
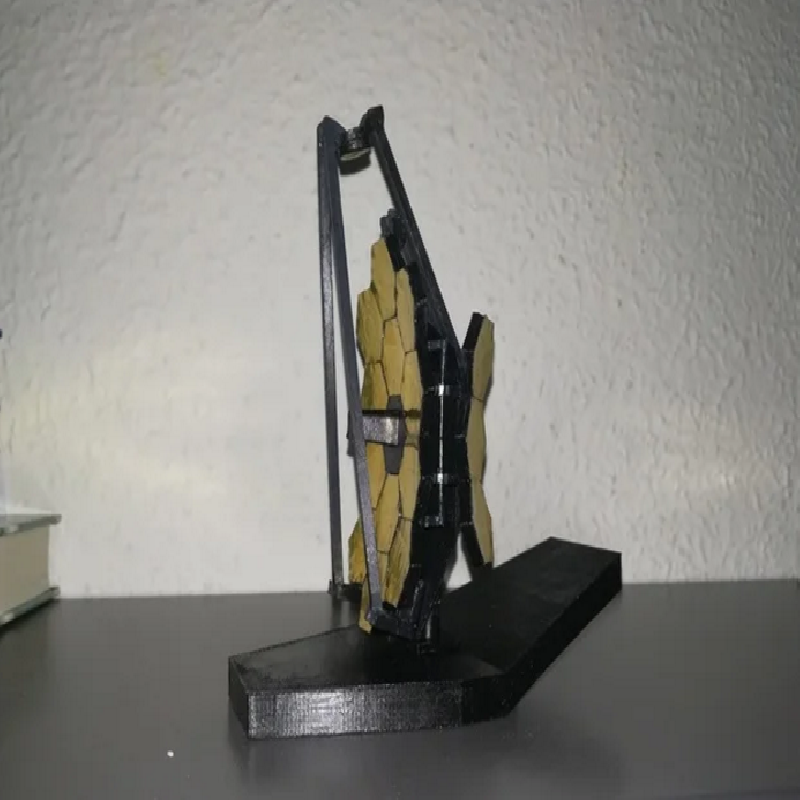
Once mounted, the primary mirror and the secondary are completely foldable as in the real version of the James Webb Telescope.
The mounting procedure is not straightforward and instant glue for plastic is required. Furthermore a file is recommended in order to adjust the hinges.
Pieces needed:
x19 mirrors_support
x18 mirror_units
x2 secondary_mirror_rod_low
x4 hinge_mechanism1
x4 hinge_mechanism2
one unit of all the other pieces
The hinges rods can be done by simply cutting a 1.75mm filament of pla of the correct length: 2x 4cm for the primary mirror wings hinges and 9 mm for the top hinge.
MOUNTING INSTRUCTIONS:
PRIMARY MIRROR
Start by mounting the mirror_mounter_x, y and xy; these will serve only for giving the correct curvature to the mirror hexagonal panels, they can be then thrown away.
Position the mirrors_support one by one on the mirror_mounter and glue them together, creating the typical pattern of the james Webb primary mirror.
Do the same for the two primary mirror wings.
Glue the four hinge_mechanism1 on the back of the primary mirror structure, and glue the hinge_mechanism2 on the back of the primary mirror wing structures.
Glue the 2x 4cm hinge rods on the hinge_mechanism1.
Now you should have a working hinge for the primary mirror wings.
Glue the 9 mm pla rod on the "upper_hinge" and attach it to the top of the mirror structure.
Glue the secondary_mirror_hinge_meachanism1 and Secondary_mirror_hinge_meachanism1_MIR on the bottom of the mirror structure.
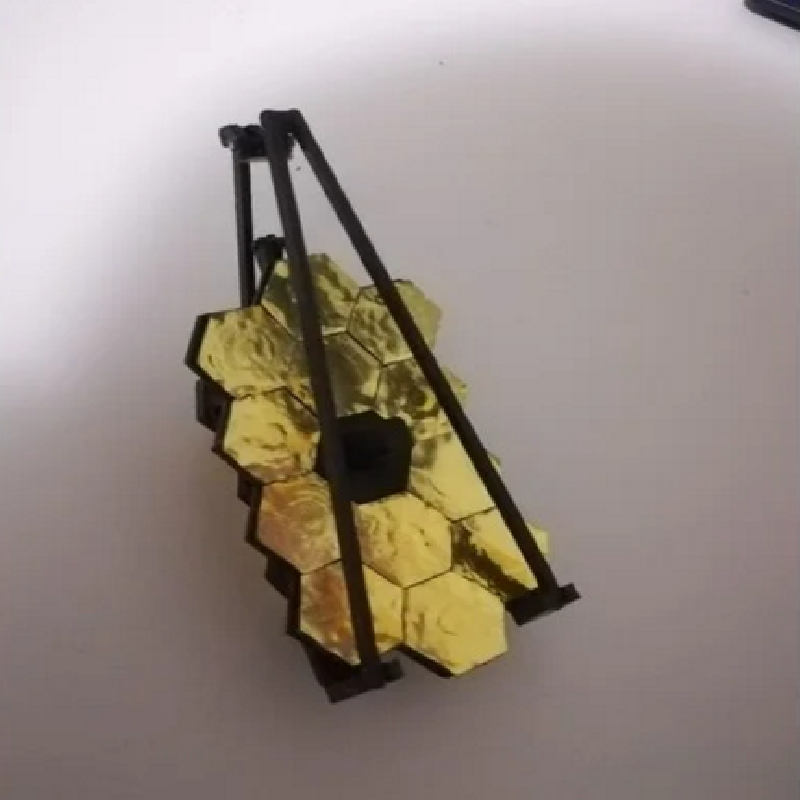
To make the mirror_units golden I used some shiny golden paper, but I guess a gloden spray would also work. Once the mirror_units are golden you can attach them on the mirror structure.
Glue also the "back" on the back of the structure and complete the primary mirror with the central "detector".
SECONDARY MIRROR
On an extremity of the two secondary_mirror_rod_low a concave semi-sphere is present, this matches with the sphere on the secondary_mirror_base, glue them together with an angle of approximately 100°. The two lower rods, in fact, will not move relatively to the secondary mirror, but only the top one.
After making it golden, glue the secondary_mirror on the secondary_mirror_base in order to complet it.
FINISHING
Complete the assembly by inserting the rods in the correspondant hinges.
Glue the mirror assembly on the "heat_shield".
In order to improve this design please leave a comment!! Enjoy :D
Print Settings
Printer brand:
Prusa
Printer:
Prusa Mk2
Supports:
No
Resolution:
0.1
Infill:
25%
Filament_brand:
-
Filament_color:
BLACK
Filament_material:
PLA