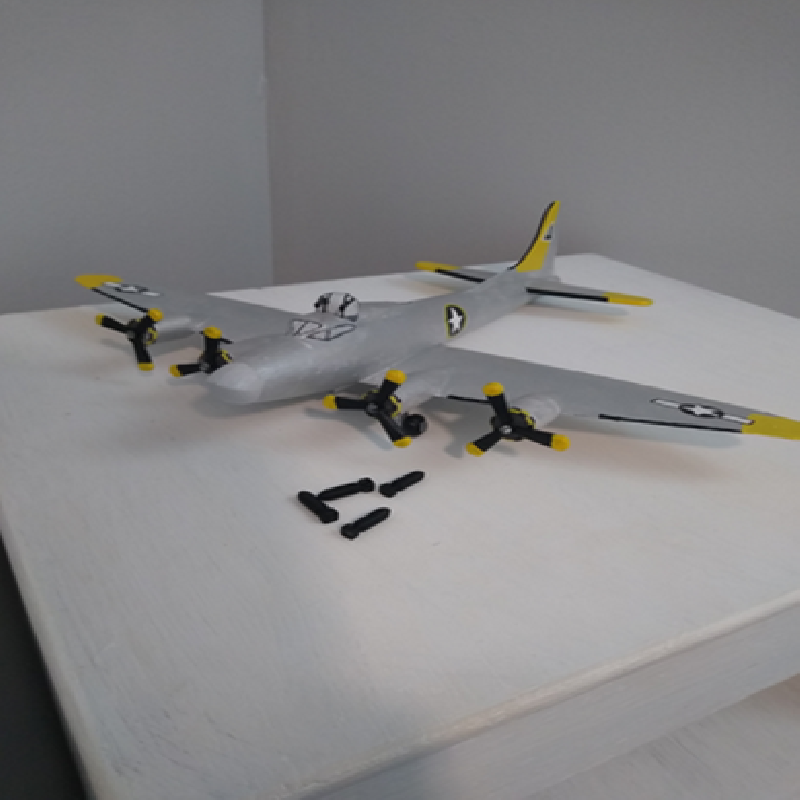
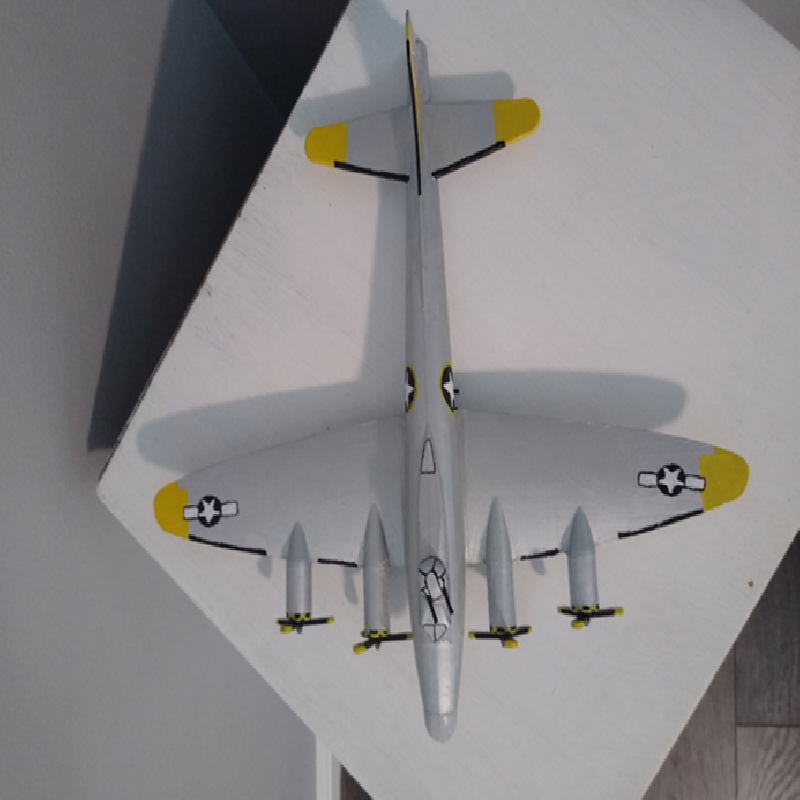
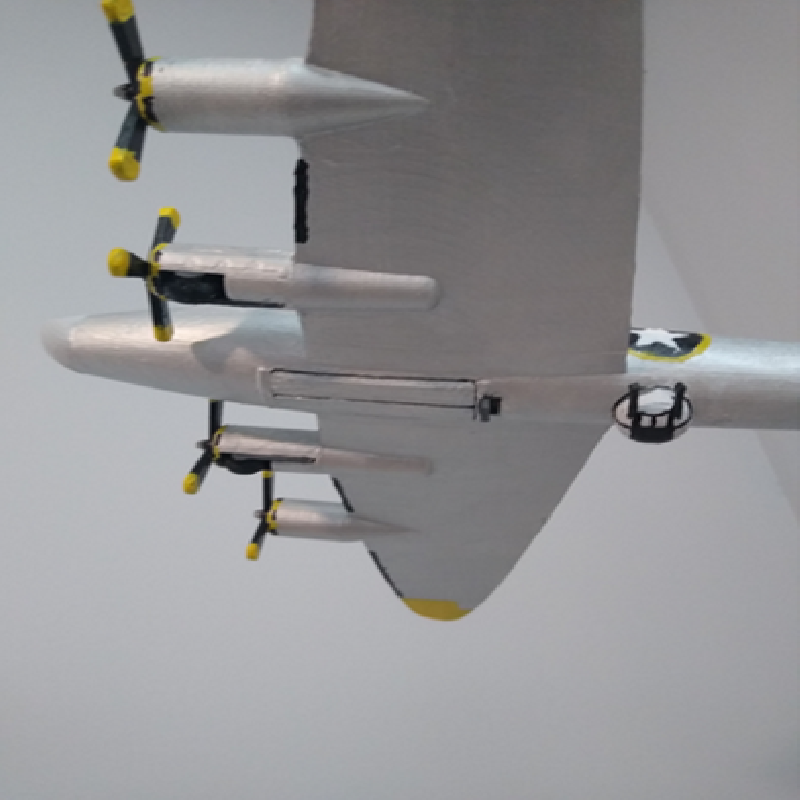
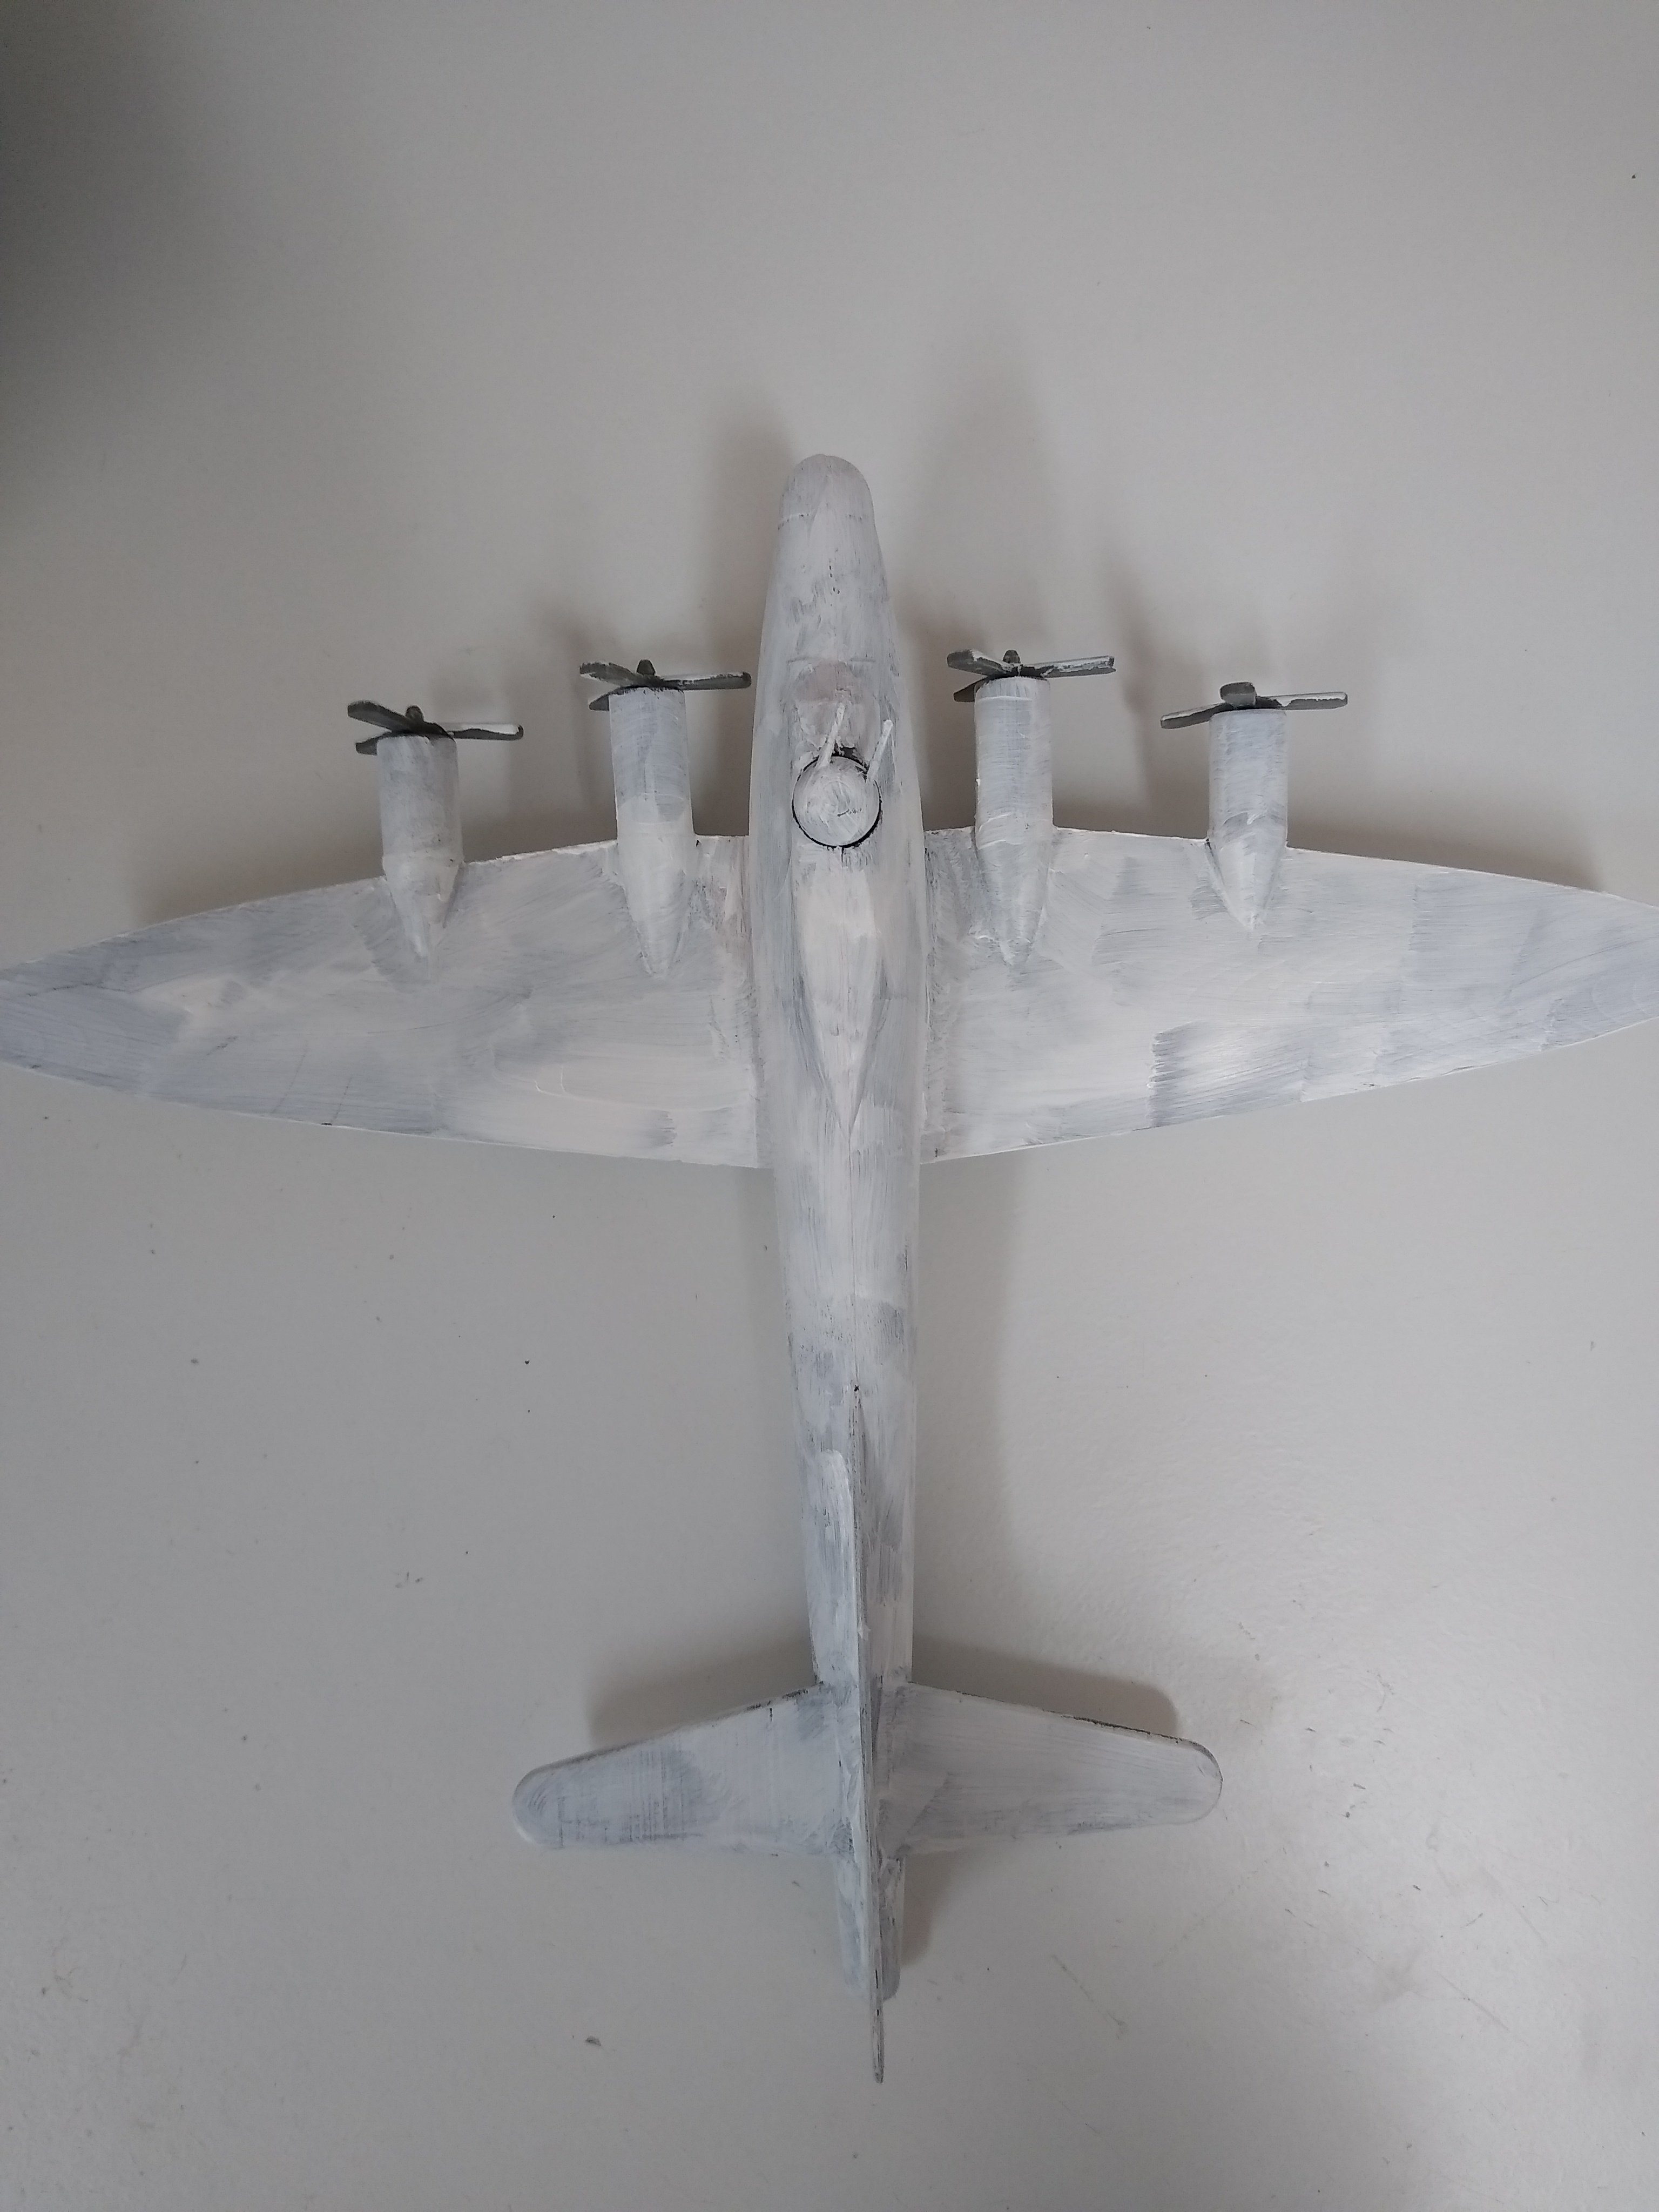
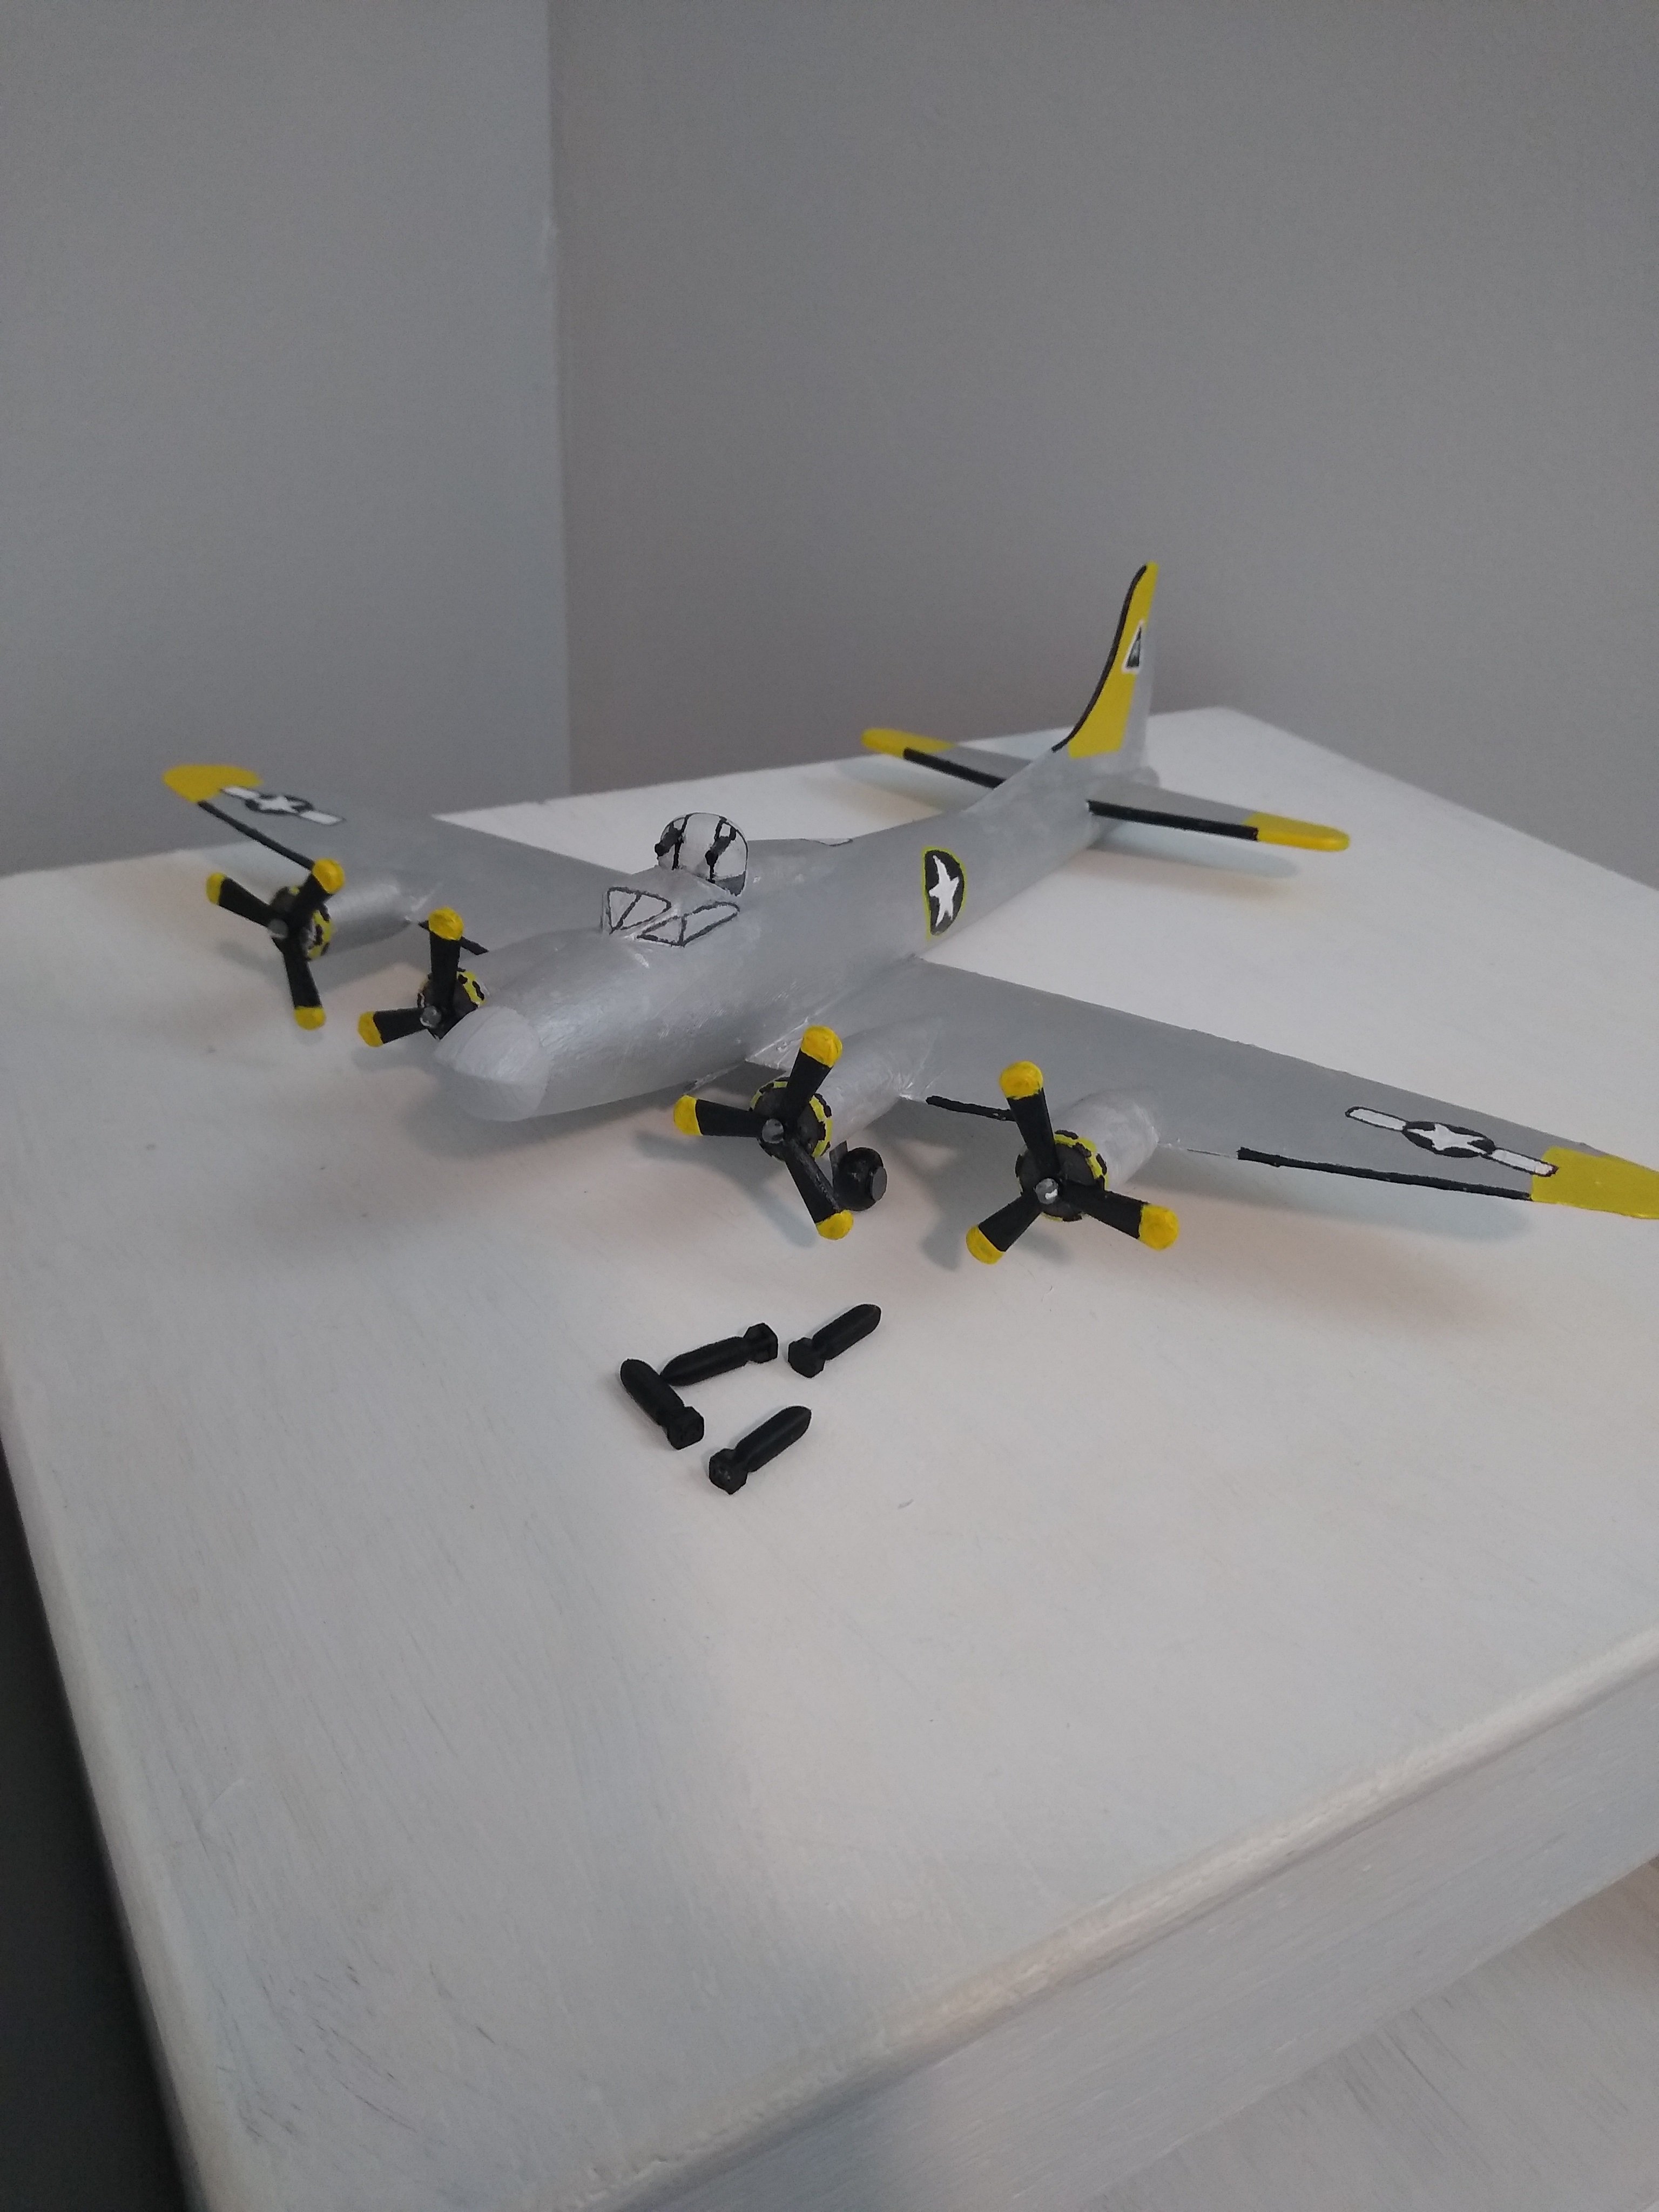
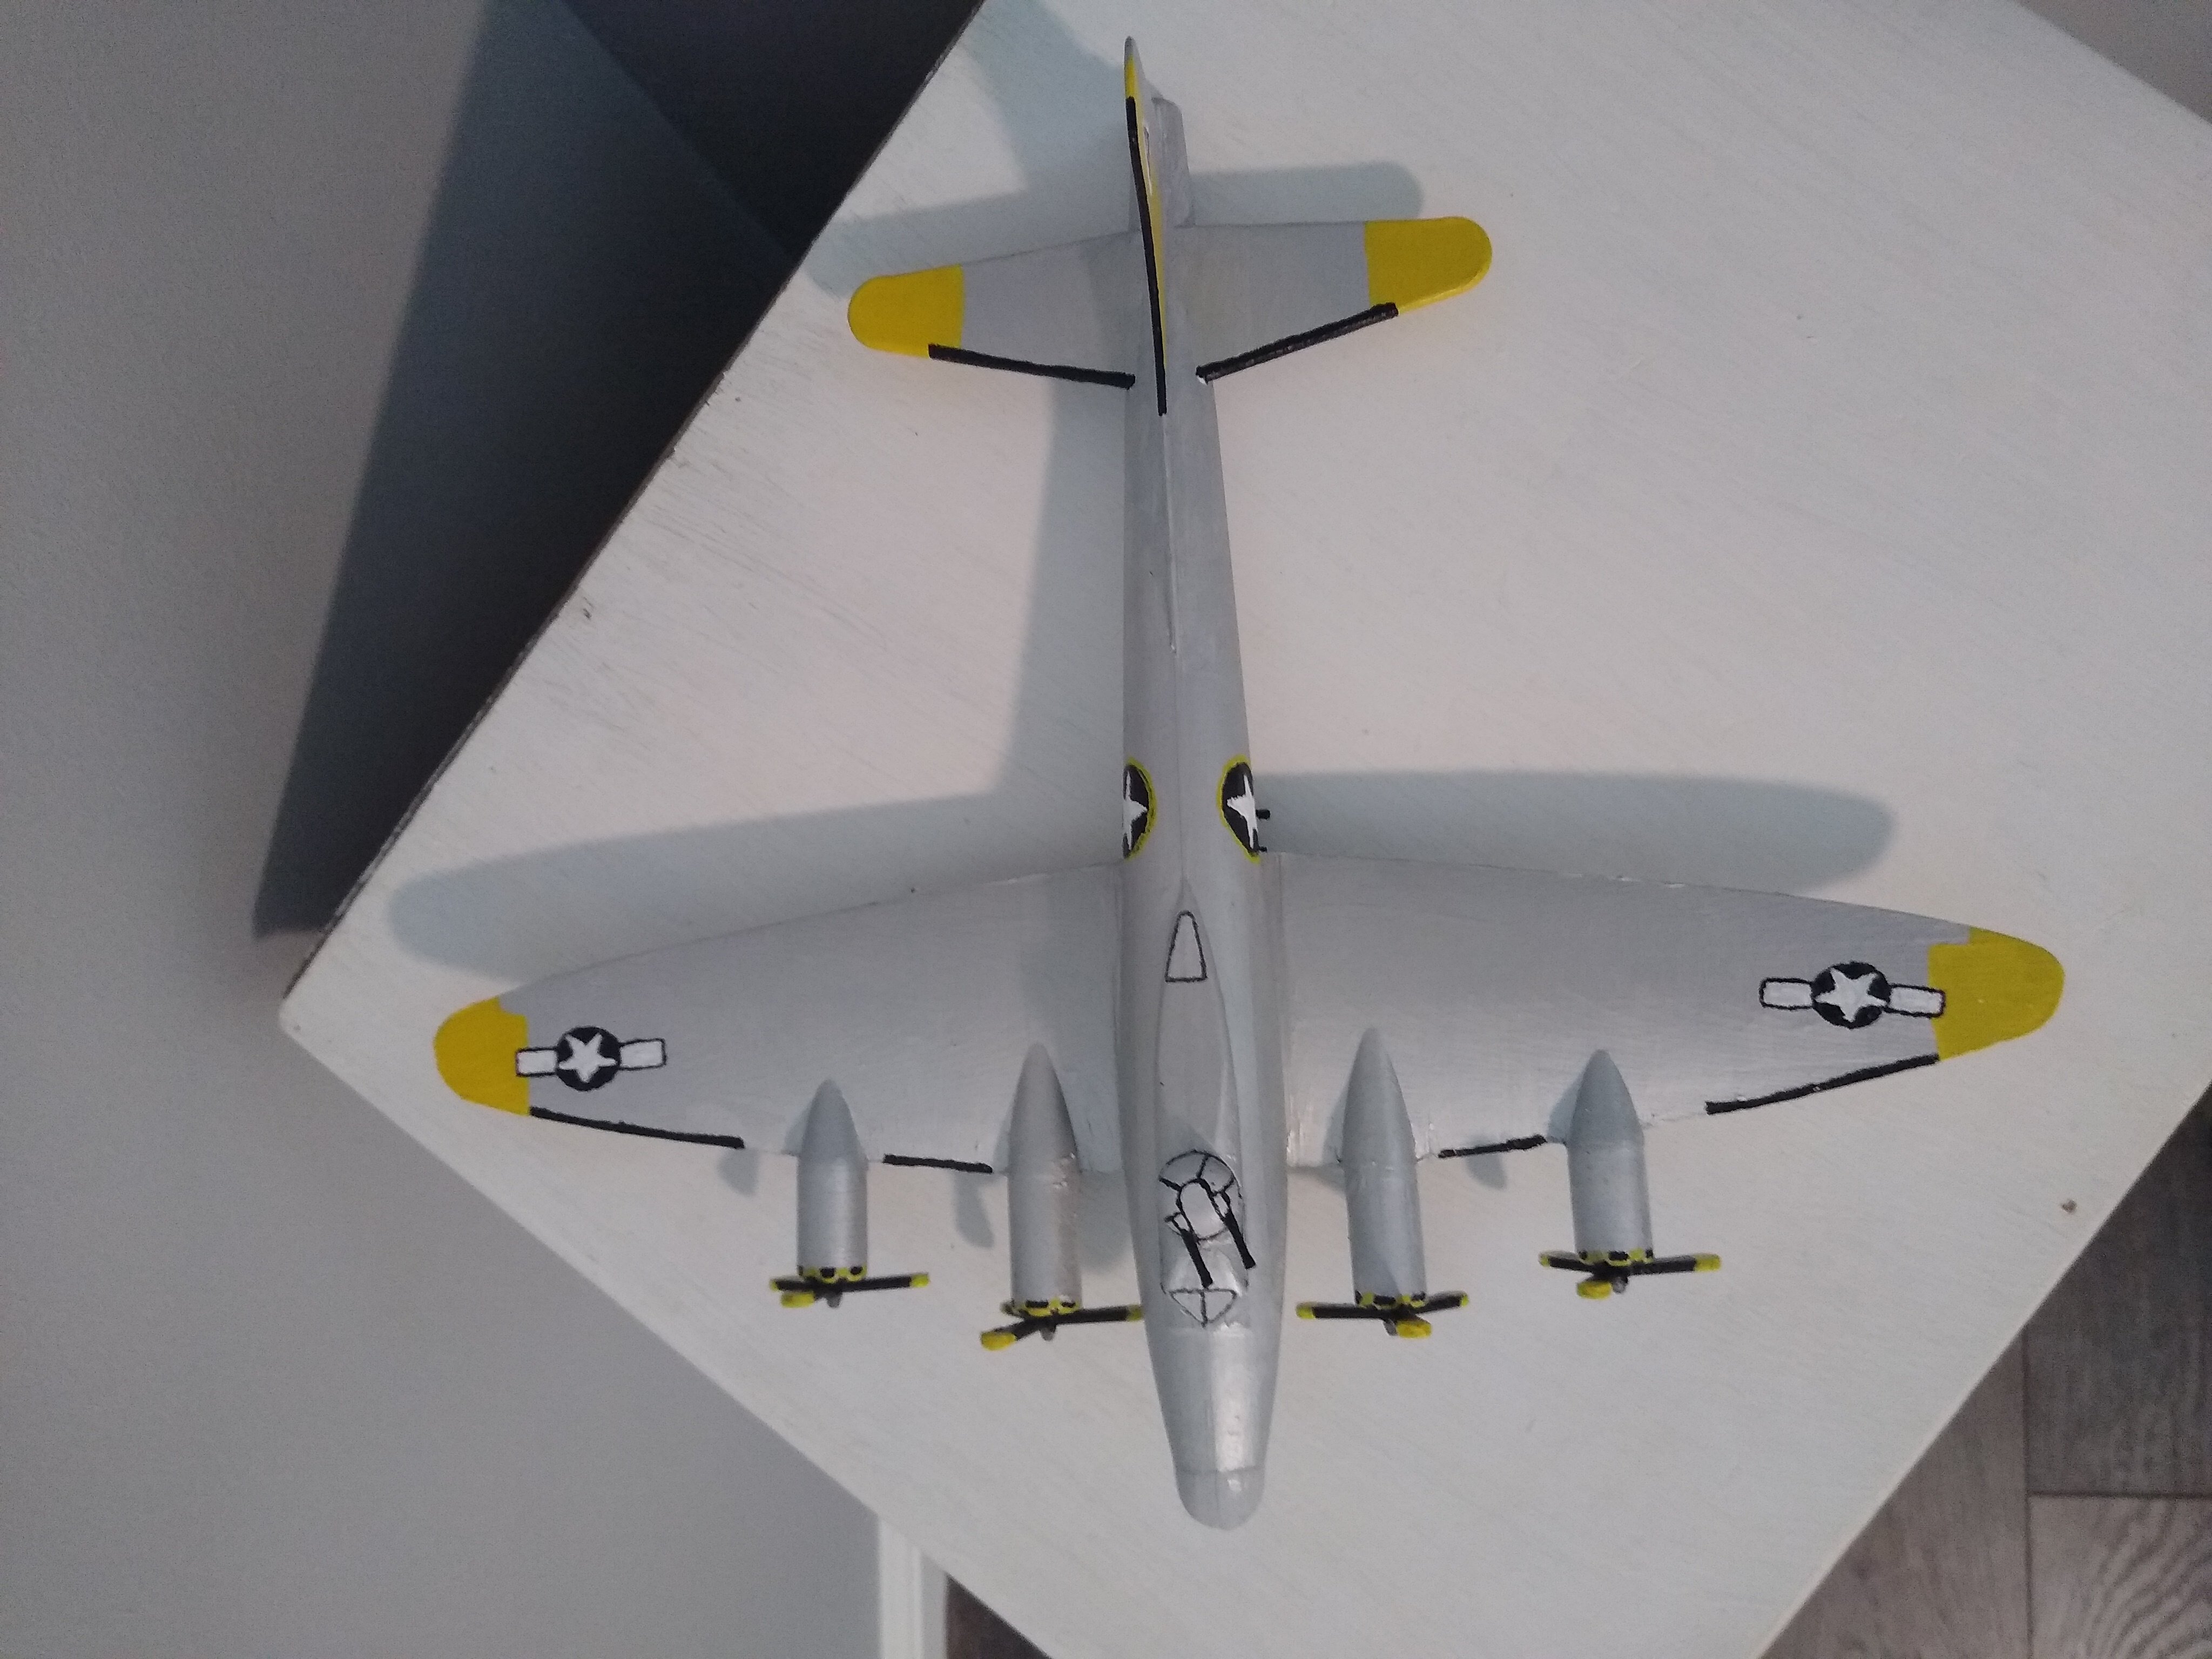
This is a model of a B-17 Bomber with rotating turrets, working landing gear, spinning propellers and a operational bomb bay.
I prioritized the play feature over historical accuracy, so it might not be perfect. You may need to sand some parts down to make sure they fit nicely or move properly.
Comment if you have questions or suggestions.
Print Settings
Printer brand:
Creality
Printer:
Ender 3
Rafts:
Doesn't Matter
Supports:
Yes
Resolution:
.08
Infill:
10%
Filament_brand:
War Horse
Filament_color:
Gray
Filament_material:
PLA
Notes:
The Parts work best if printed at 500% scale or higher. Mine is printed at 500% scale.
Post-Printing
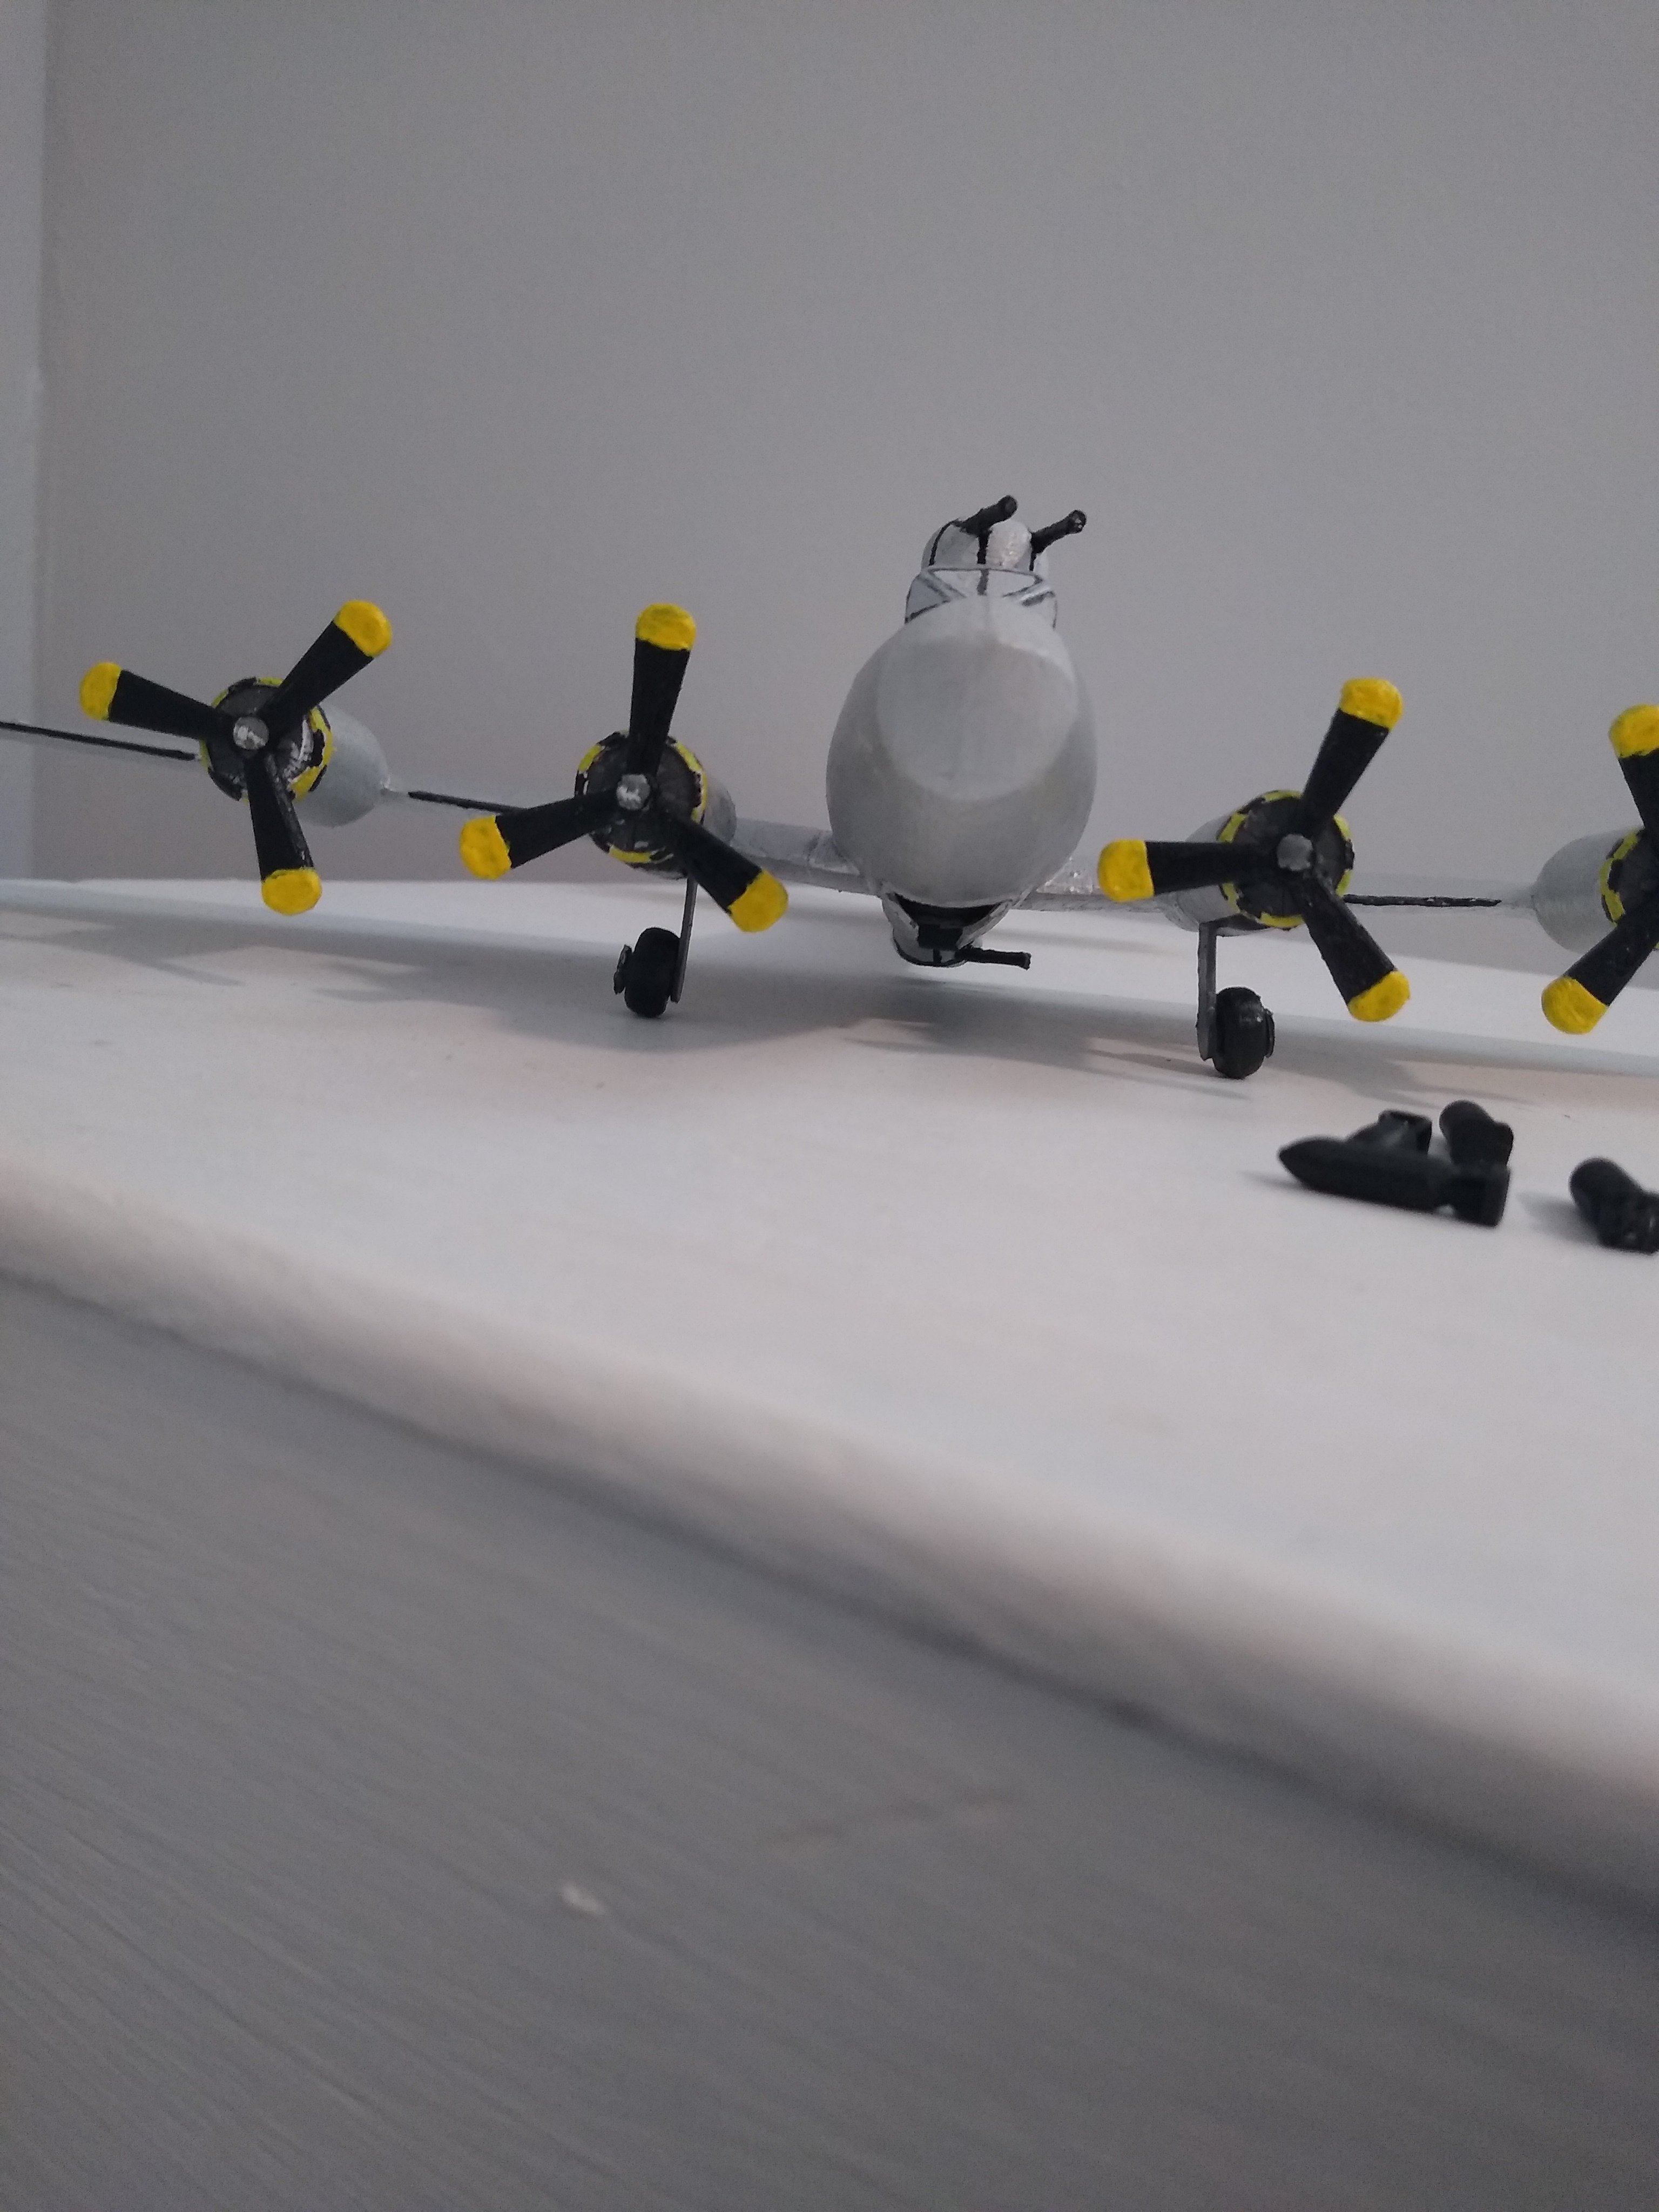
Landing Gear Assembly
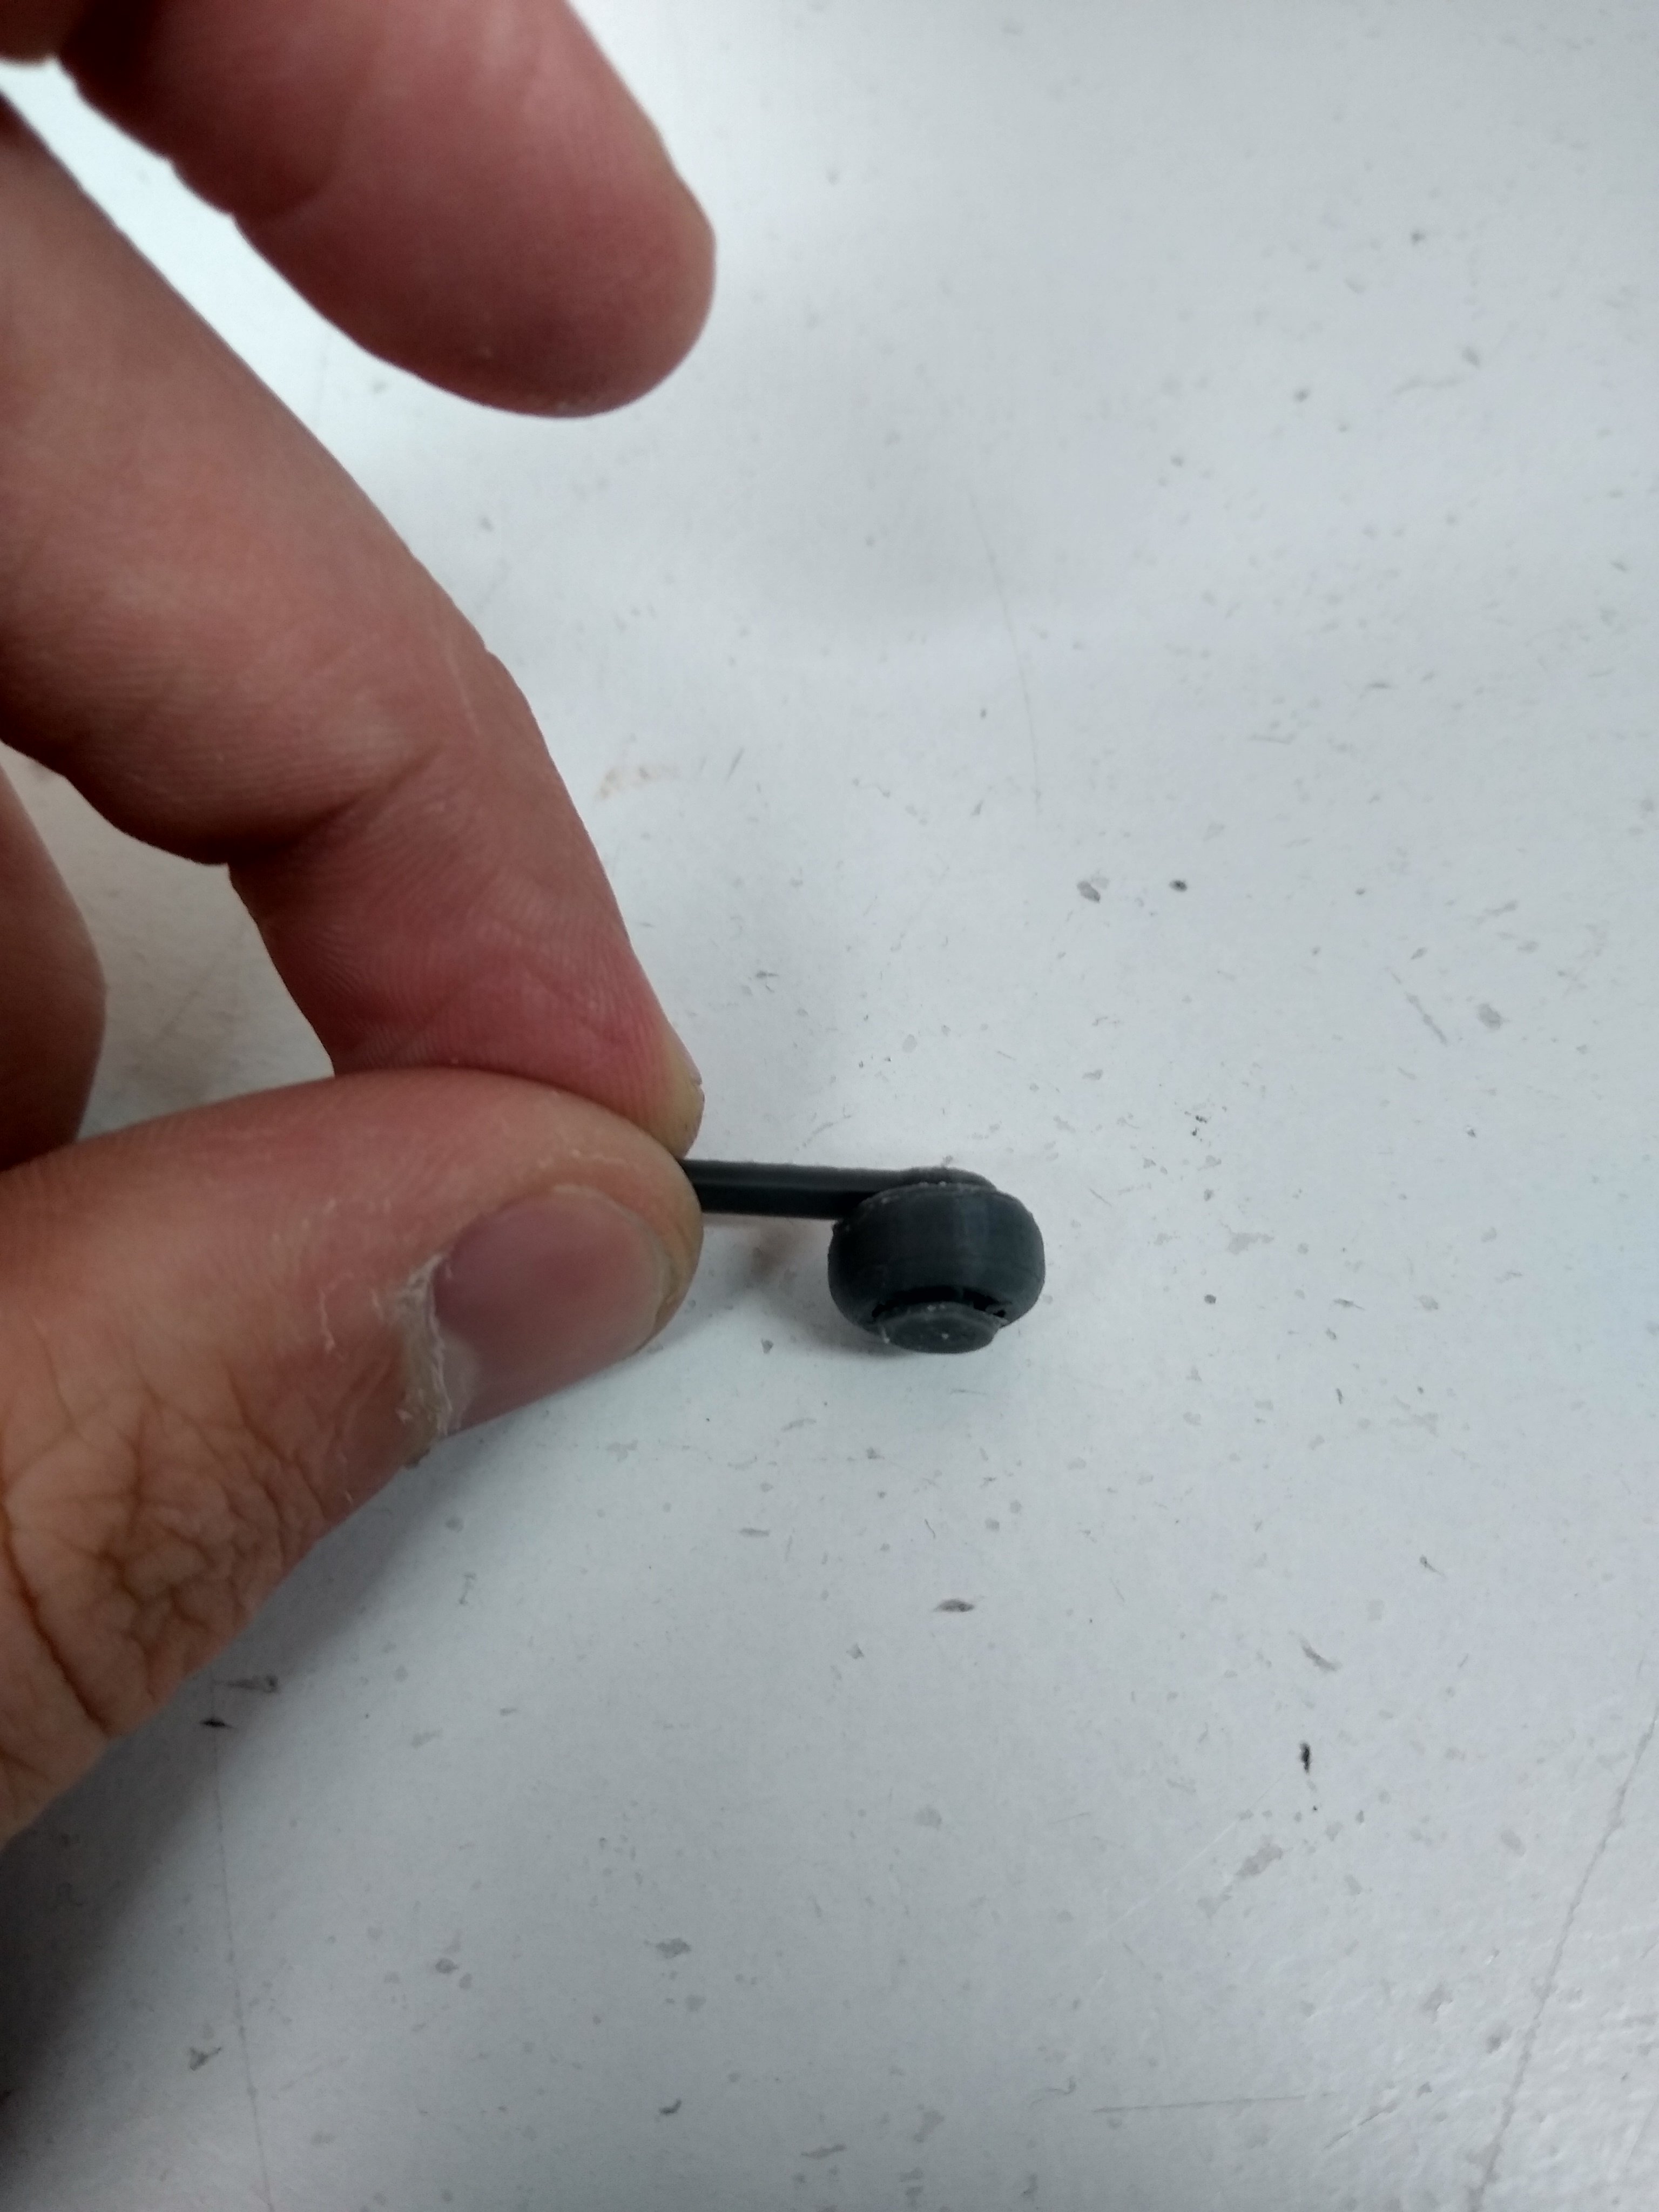
1. Put the wheel onto the Landing Gear part. 2. Carefully glue the Wheel Plug part onto the top of the Landing Gear part to keep the wheel in place.
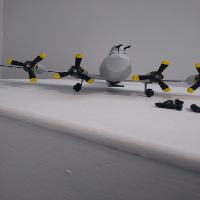
Inner Engine Assembly
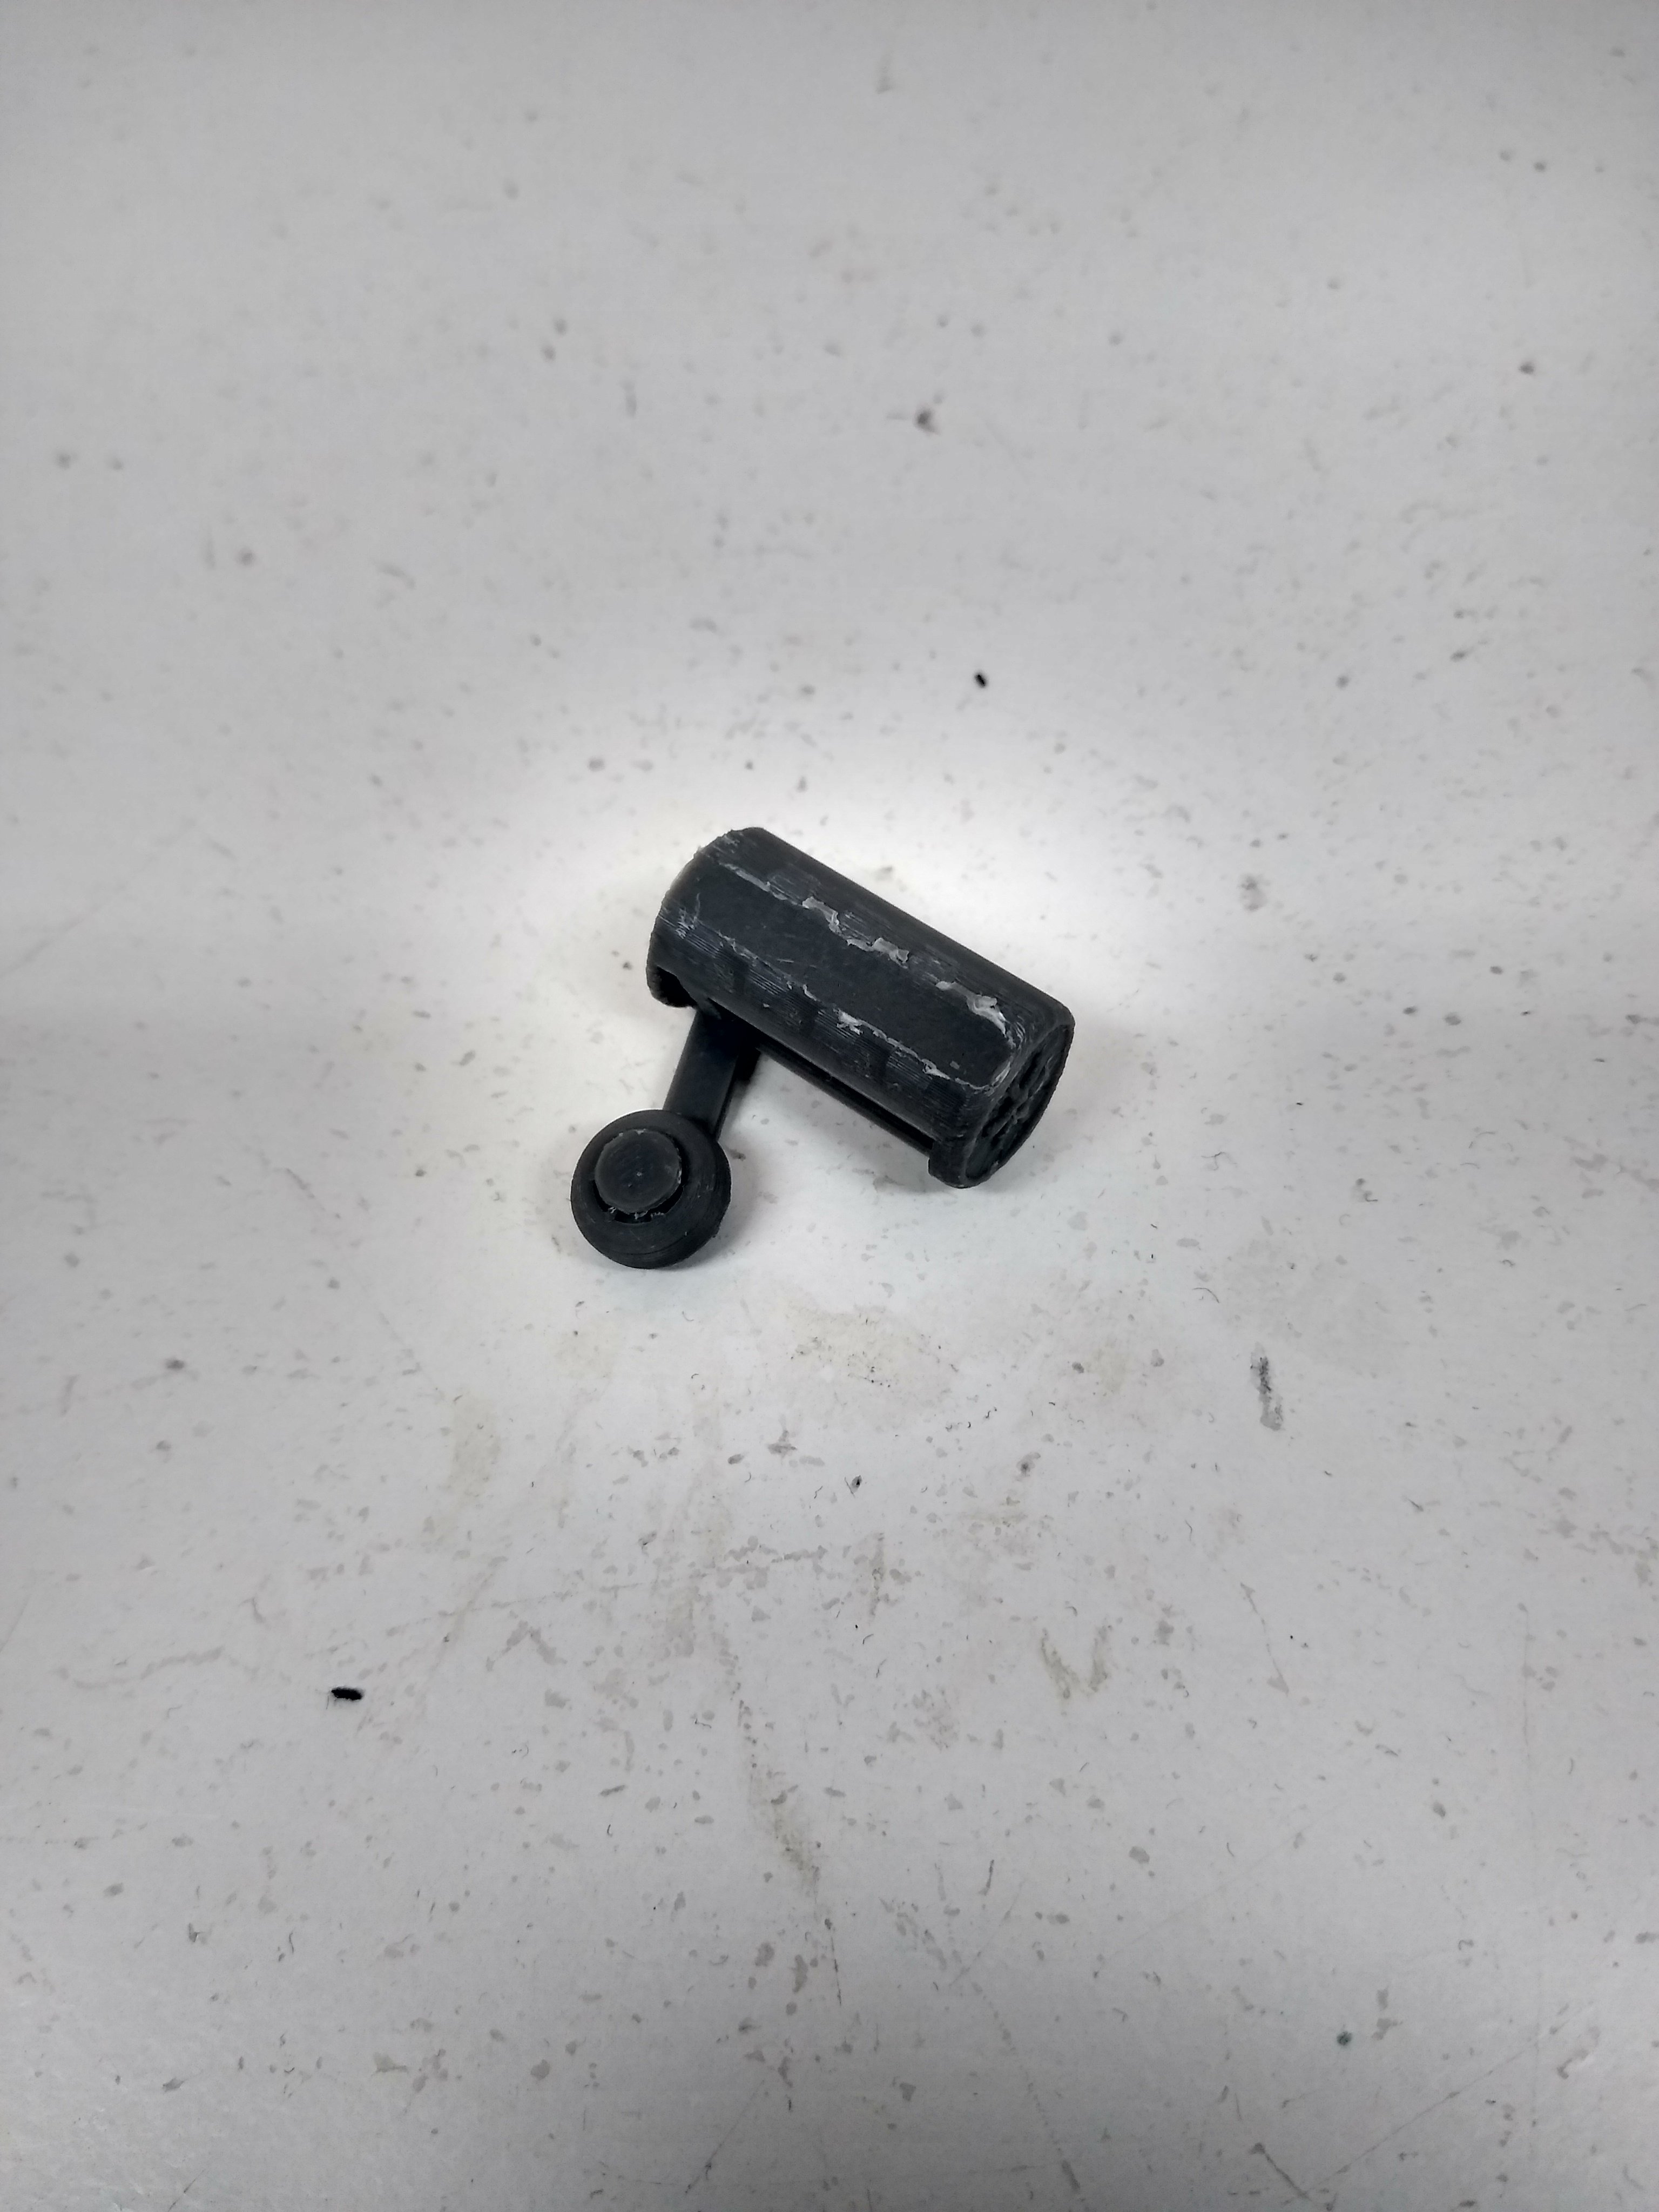
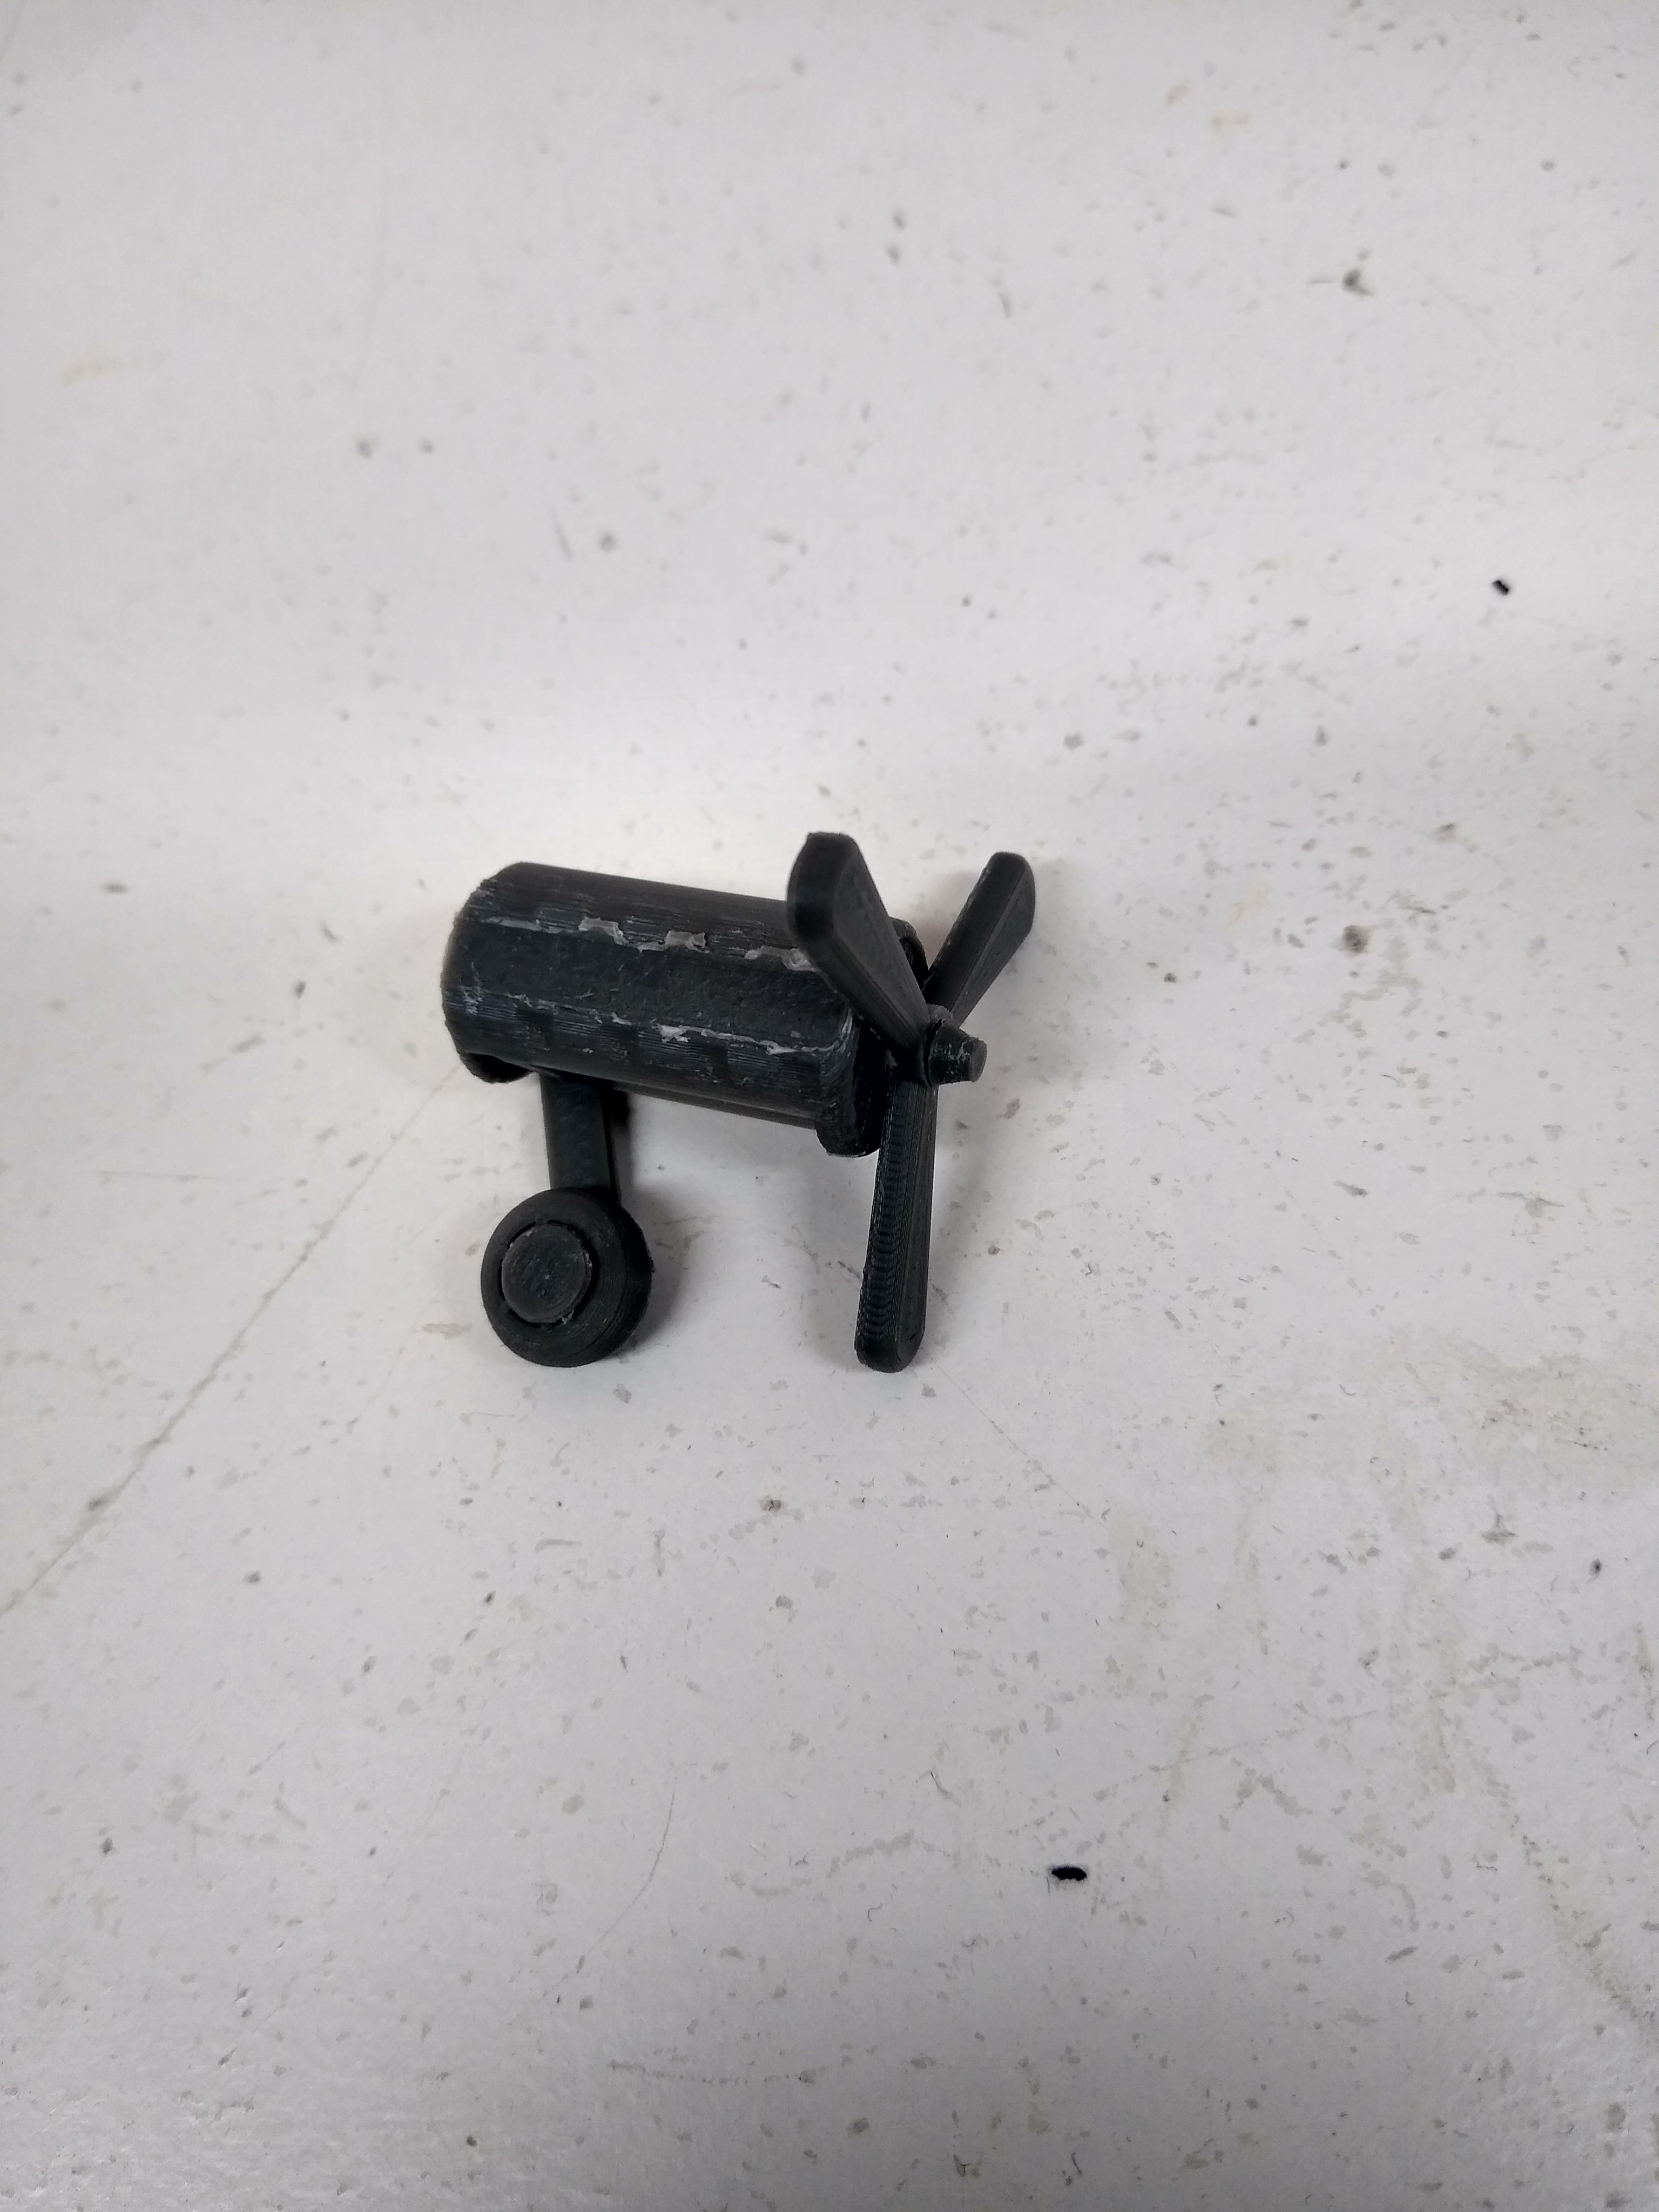
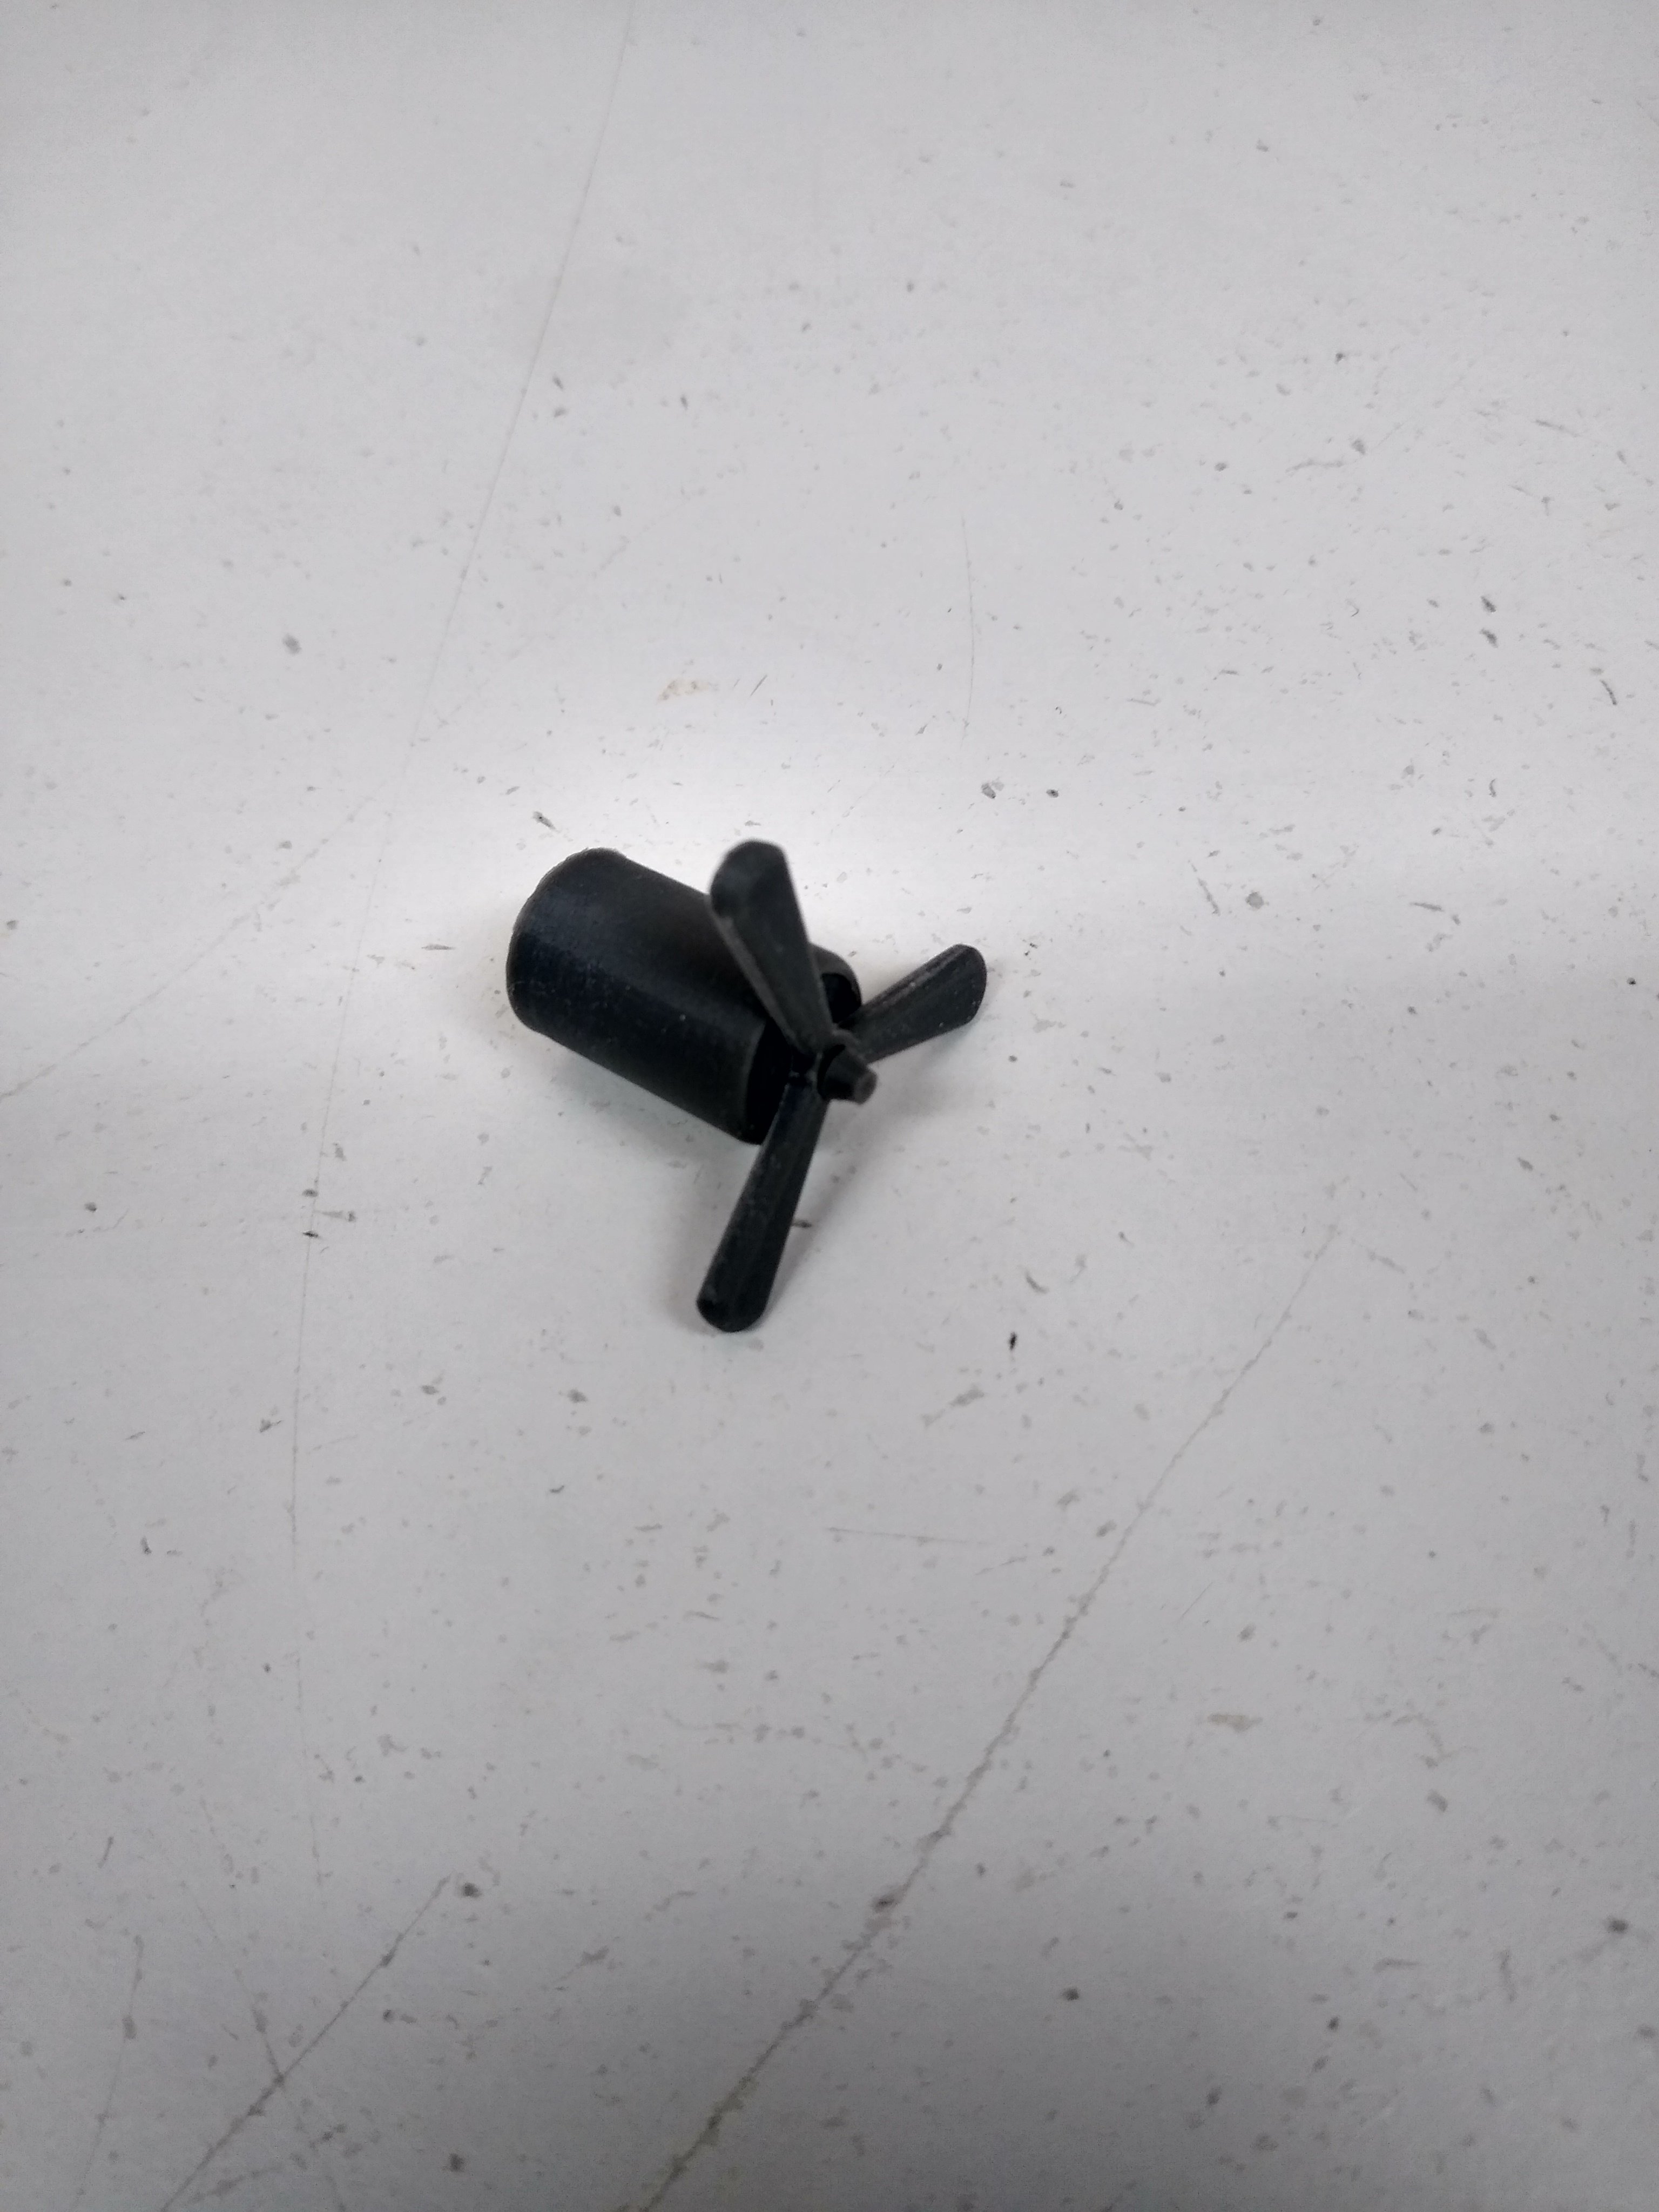
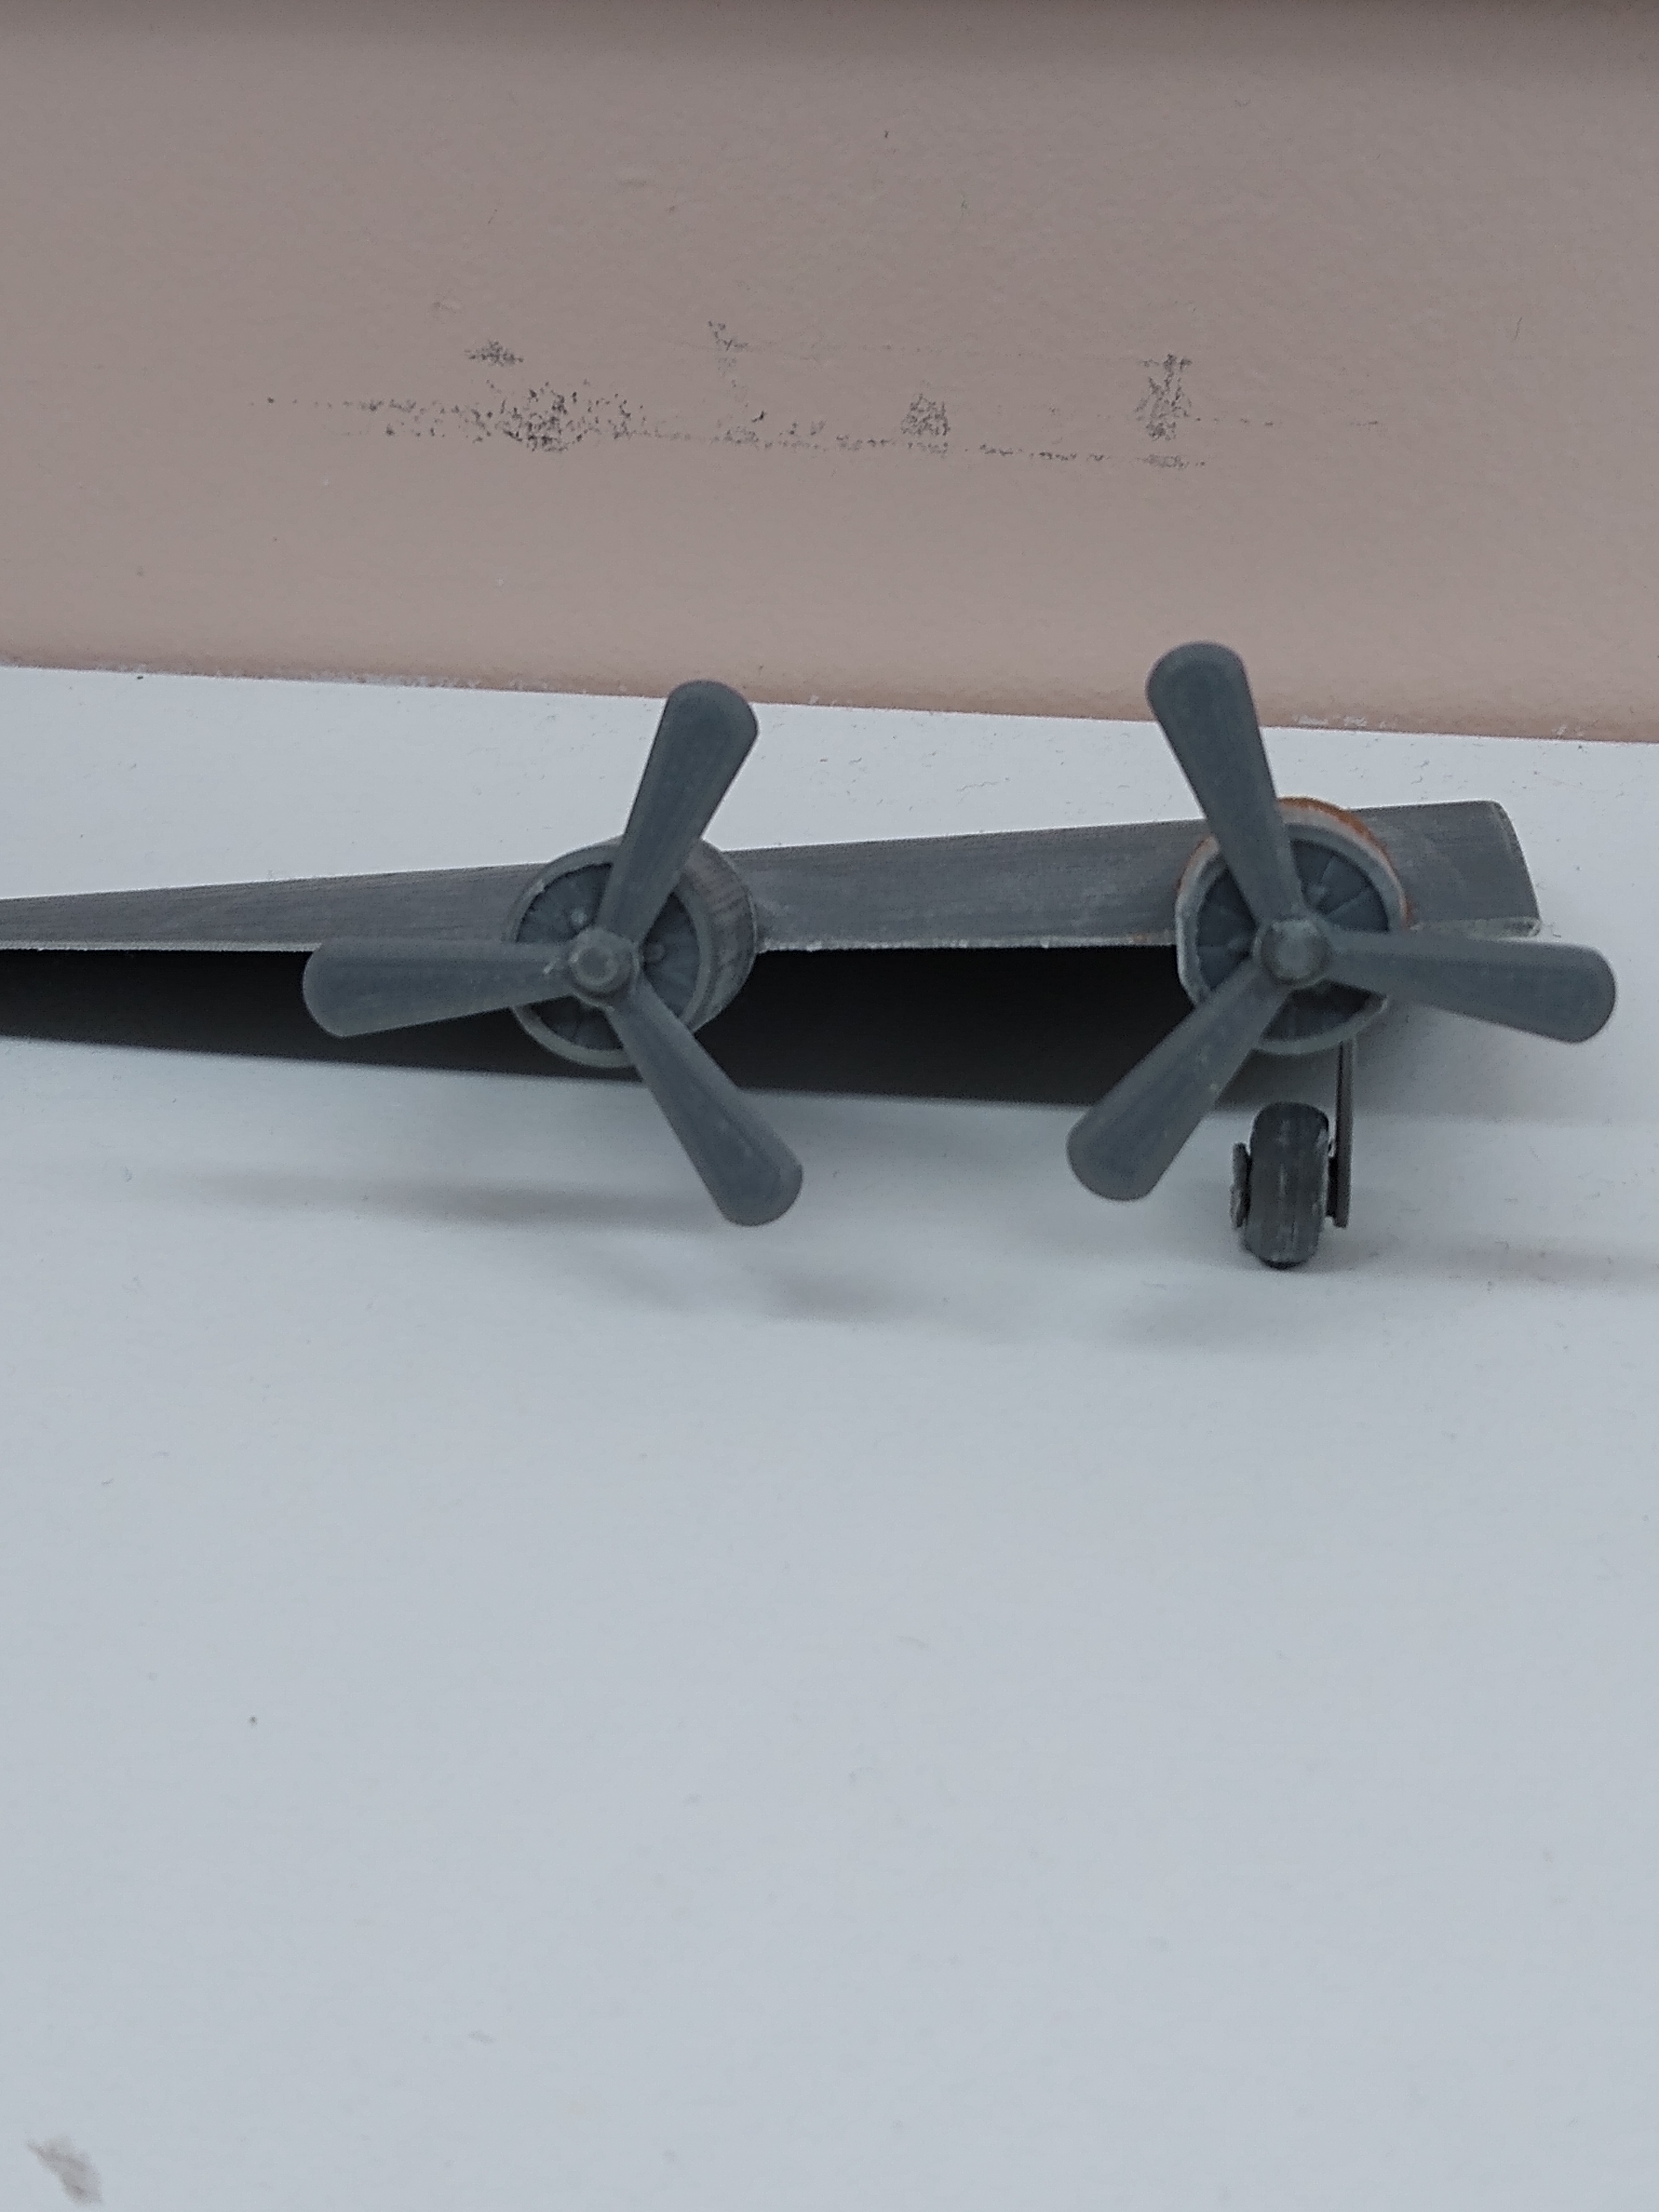
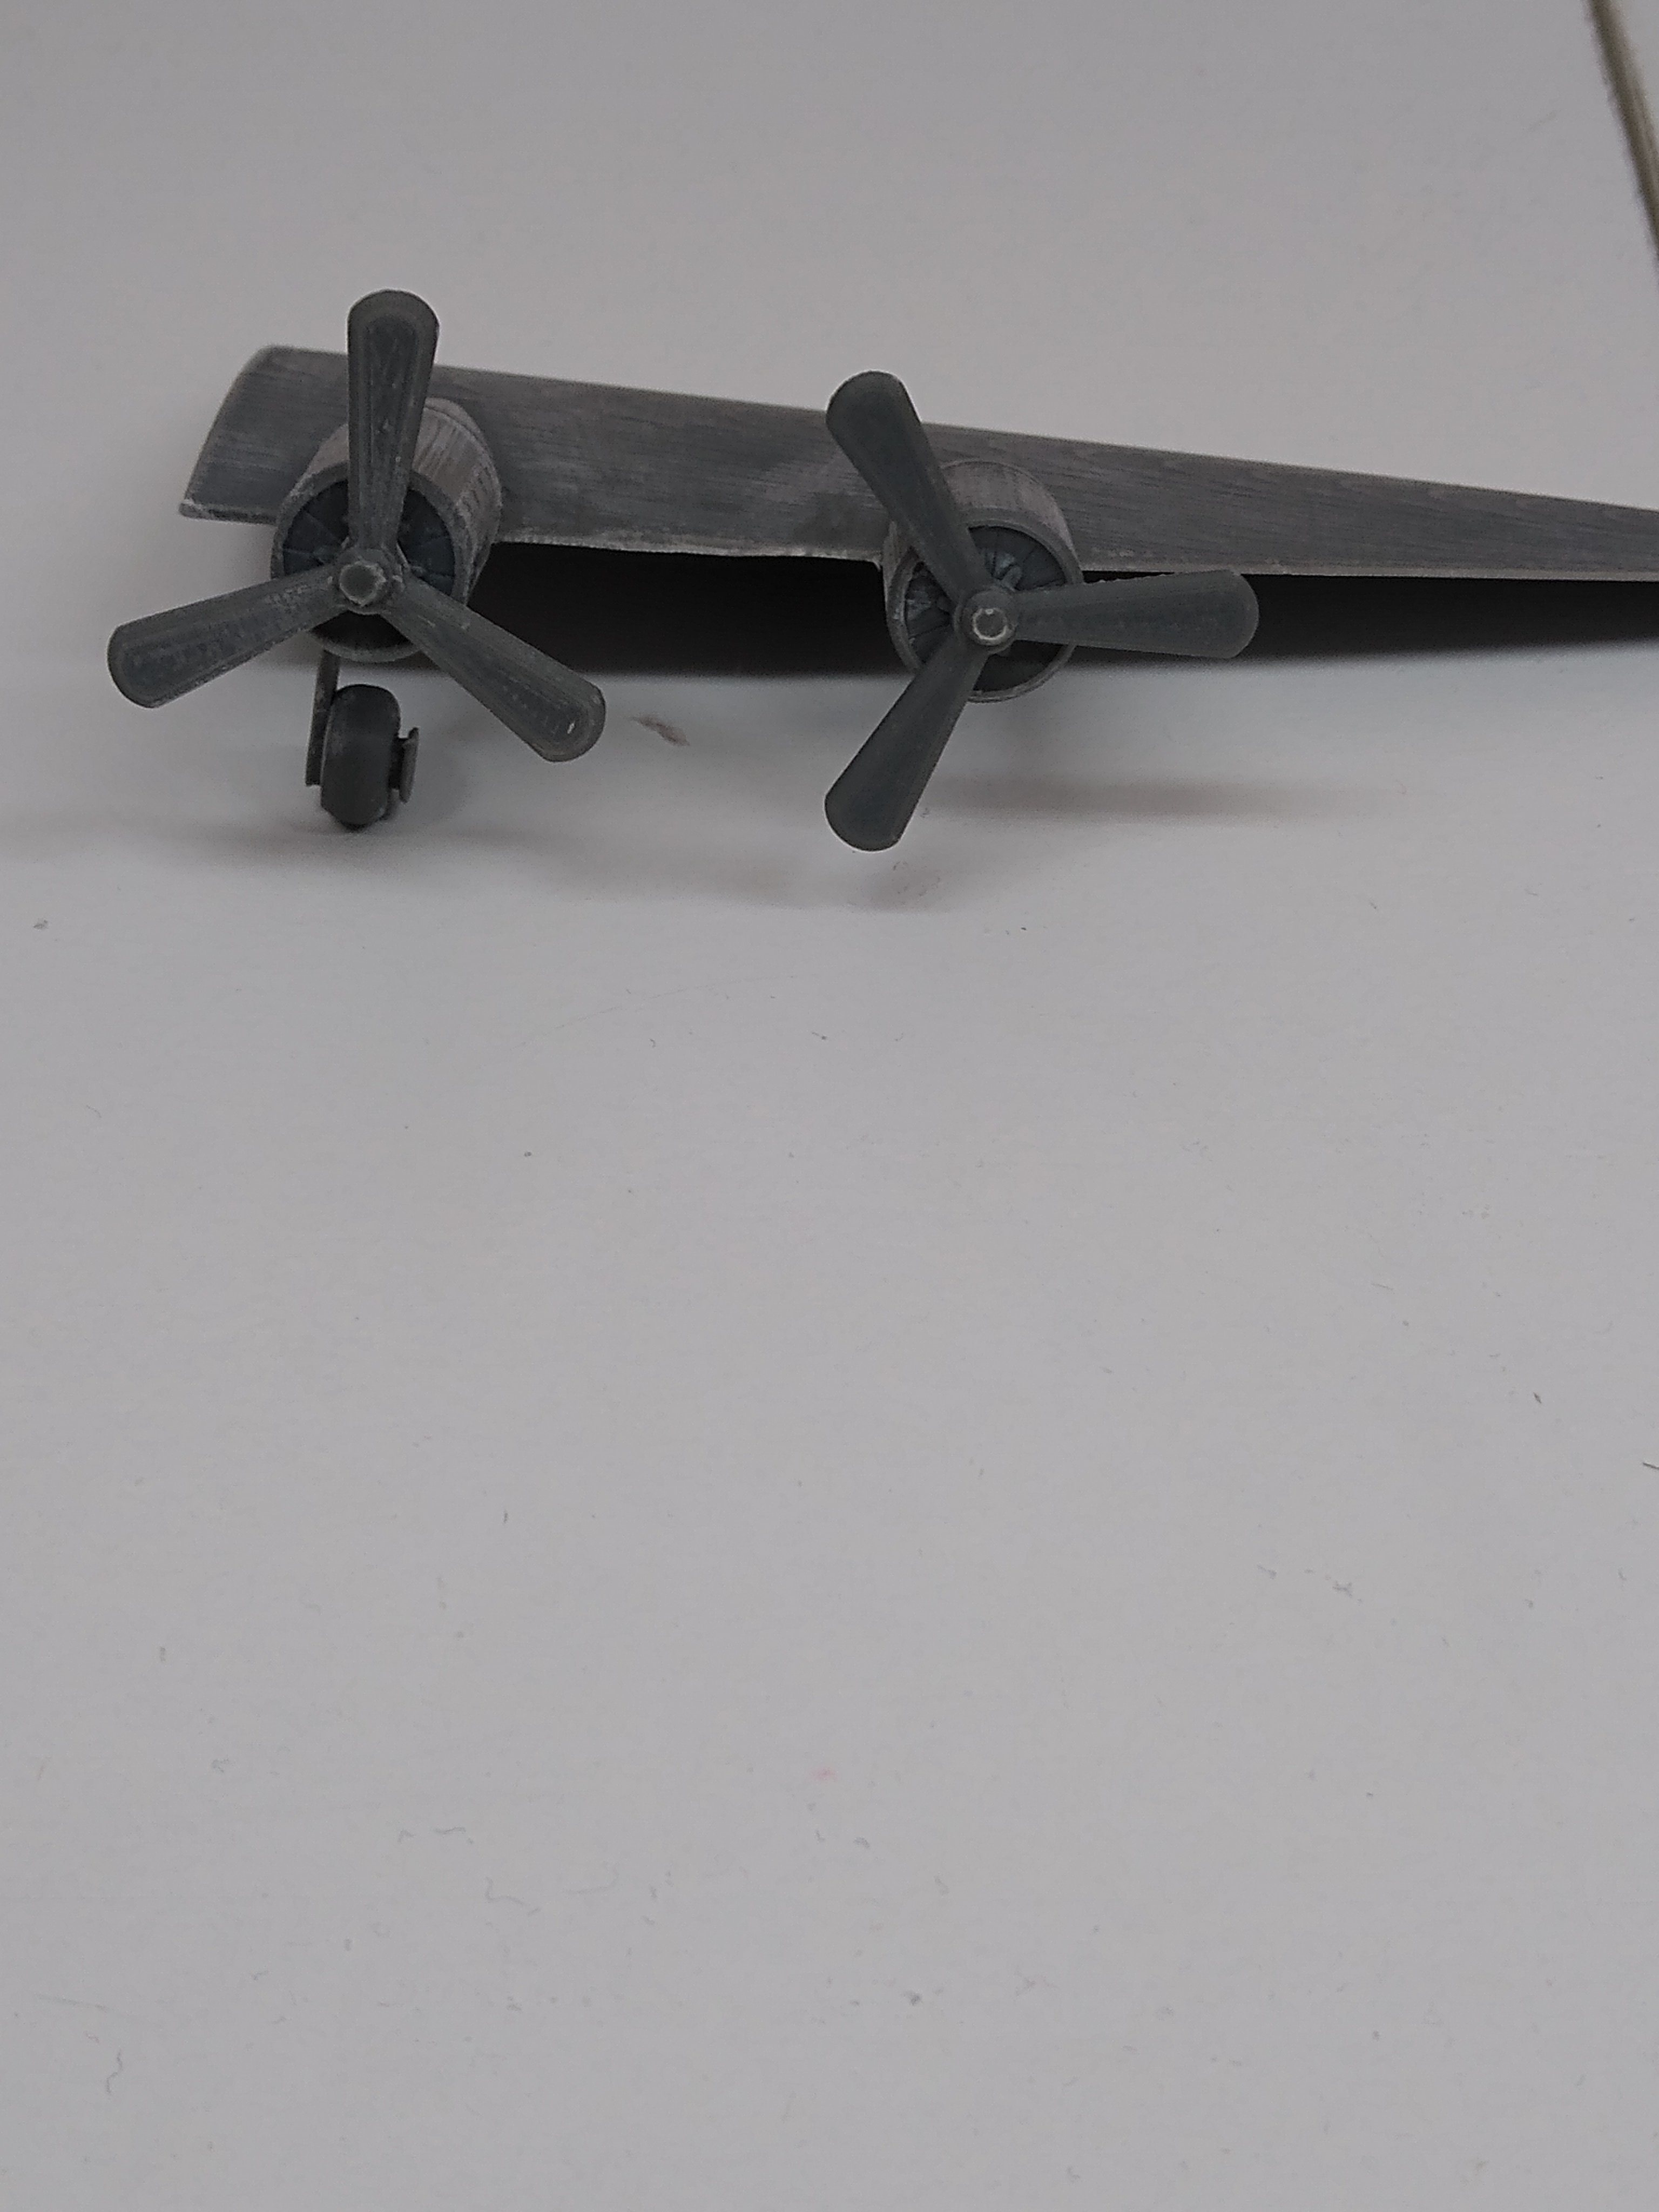
3. Put the assembled landing gear onto the engine piece as depicted in the first picture. Do not glue in place. You may need to use a small flat object to push it into place. 4. Align the other half of the engine with the first half and glue them together. 5. Put the Propeller on the Engine Propeller plug. 6. Glue the plug into the hole in the front of the engine. 7. Repeat for the engine on the other side.

Outer Engine Assembly
8. Put the Propeller on the Engine Propeller plug. 9. Glue the plug into the hole in the front of the engine. 10. Repeat for the engine on the other side.
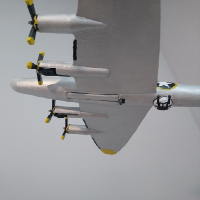
Attaching the Engines to the wings.
11. Glue the Outer Engine onto the circle closest to the tip of the wing. 12. Glue the Respective Inner Engine on the circle furthest to the tip of the wing. The wheel on the landing gear should face toward the wing tip.
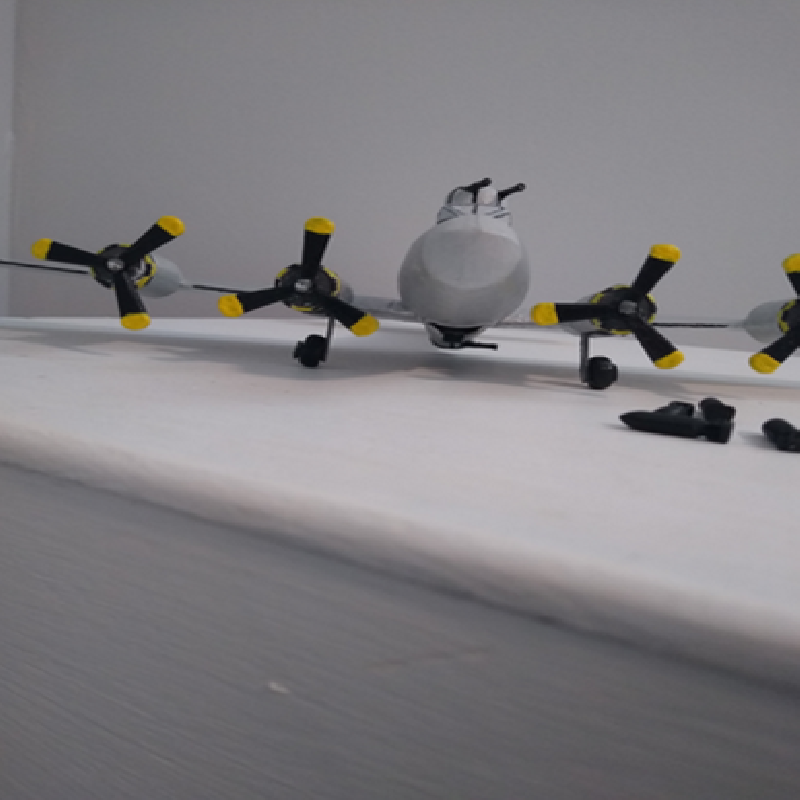
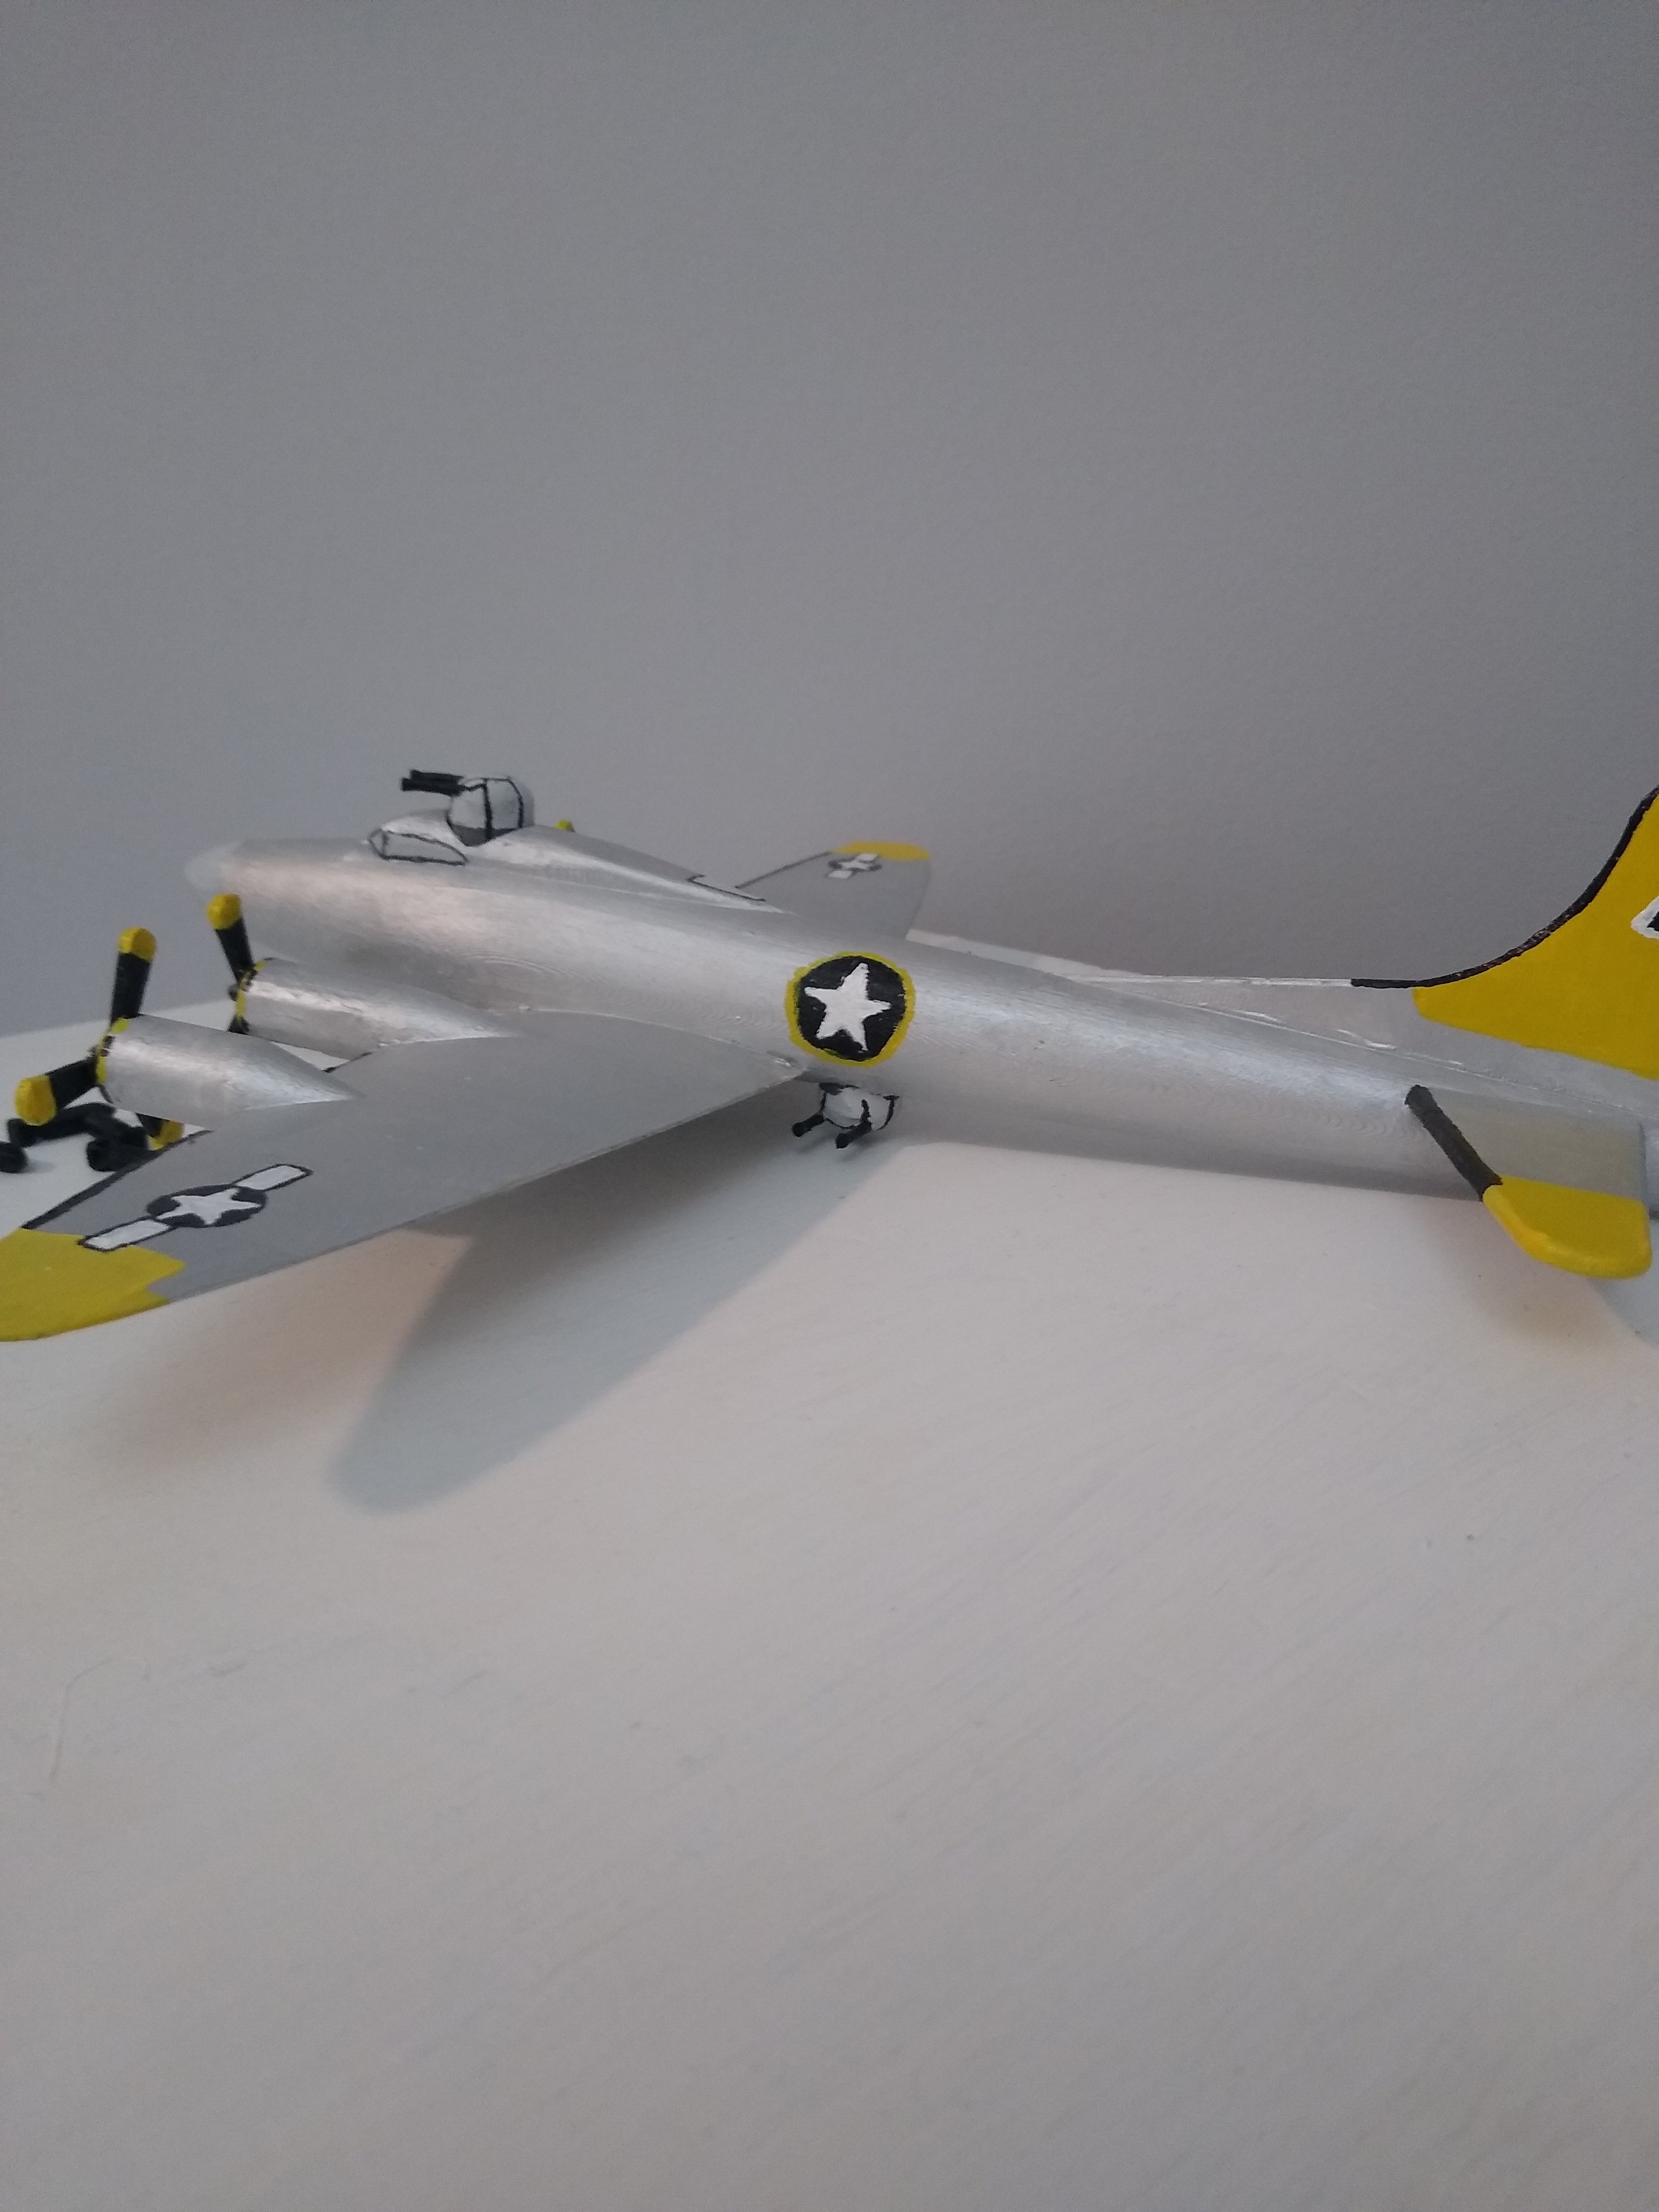
Body Assembly
13. Place the turrets in the slots one one half of the body. 14. Line up the other half of the body and try to rotate the turrets. If they don't turn, sand the turret sides and bottom down a bit. Fit test until the turrets fit how you want. 15. Glue the halves together. 16. Glue the Tail Wings onto the Tail spots on the back of the plane. 17. Glue the Main Wings to the plane on their respective side,
Bomb Bay Assembly
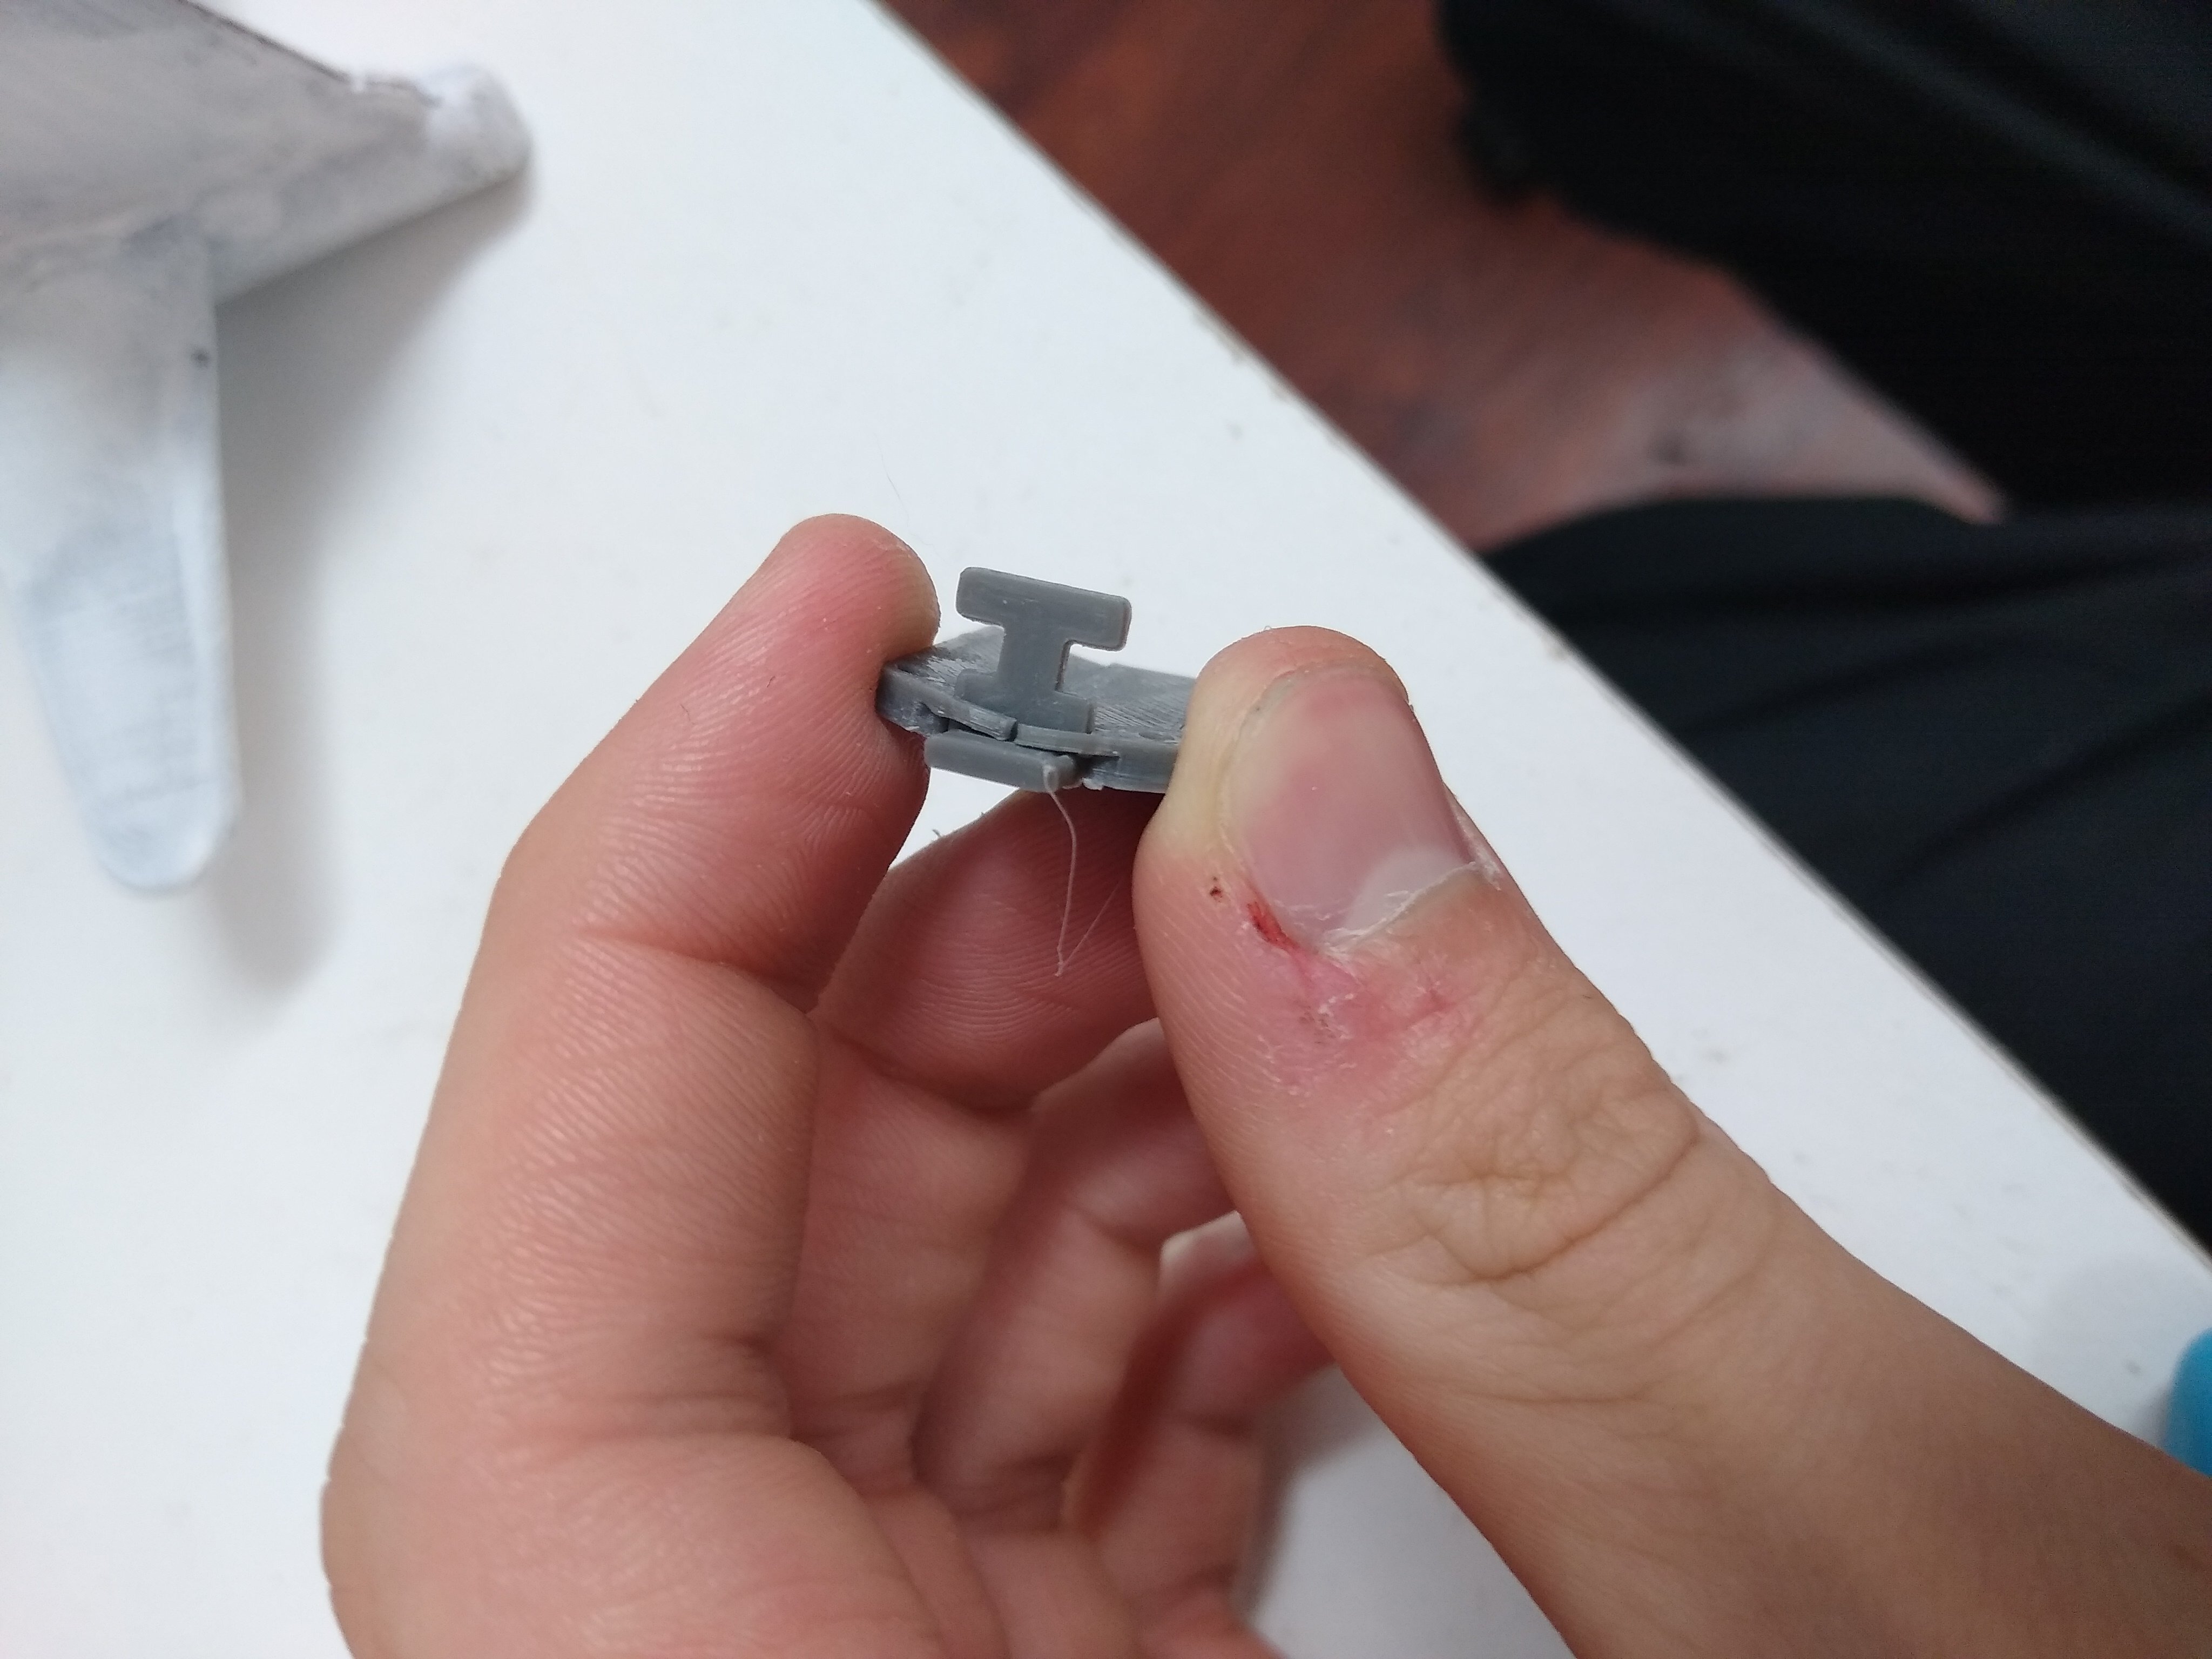
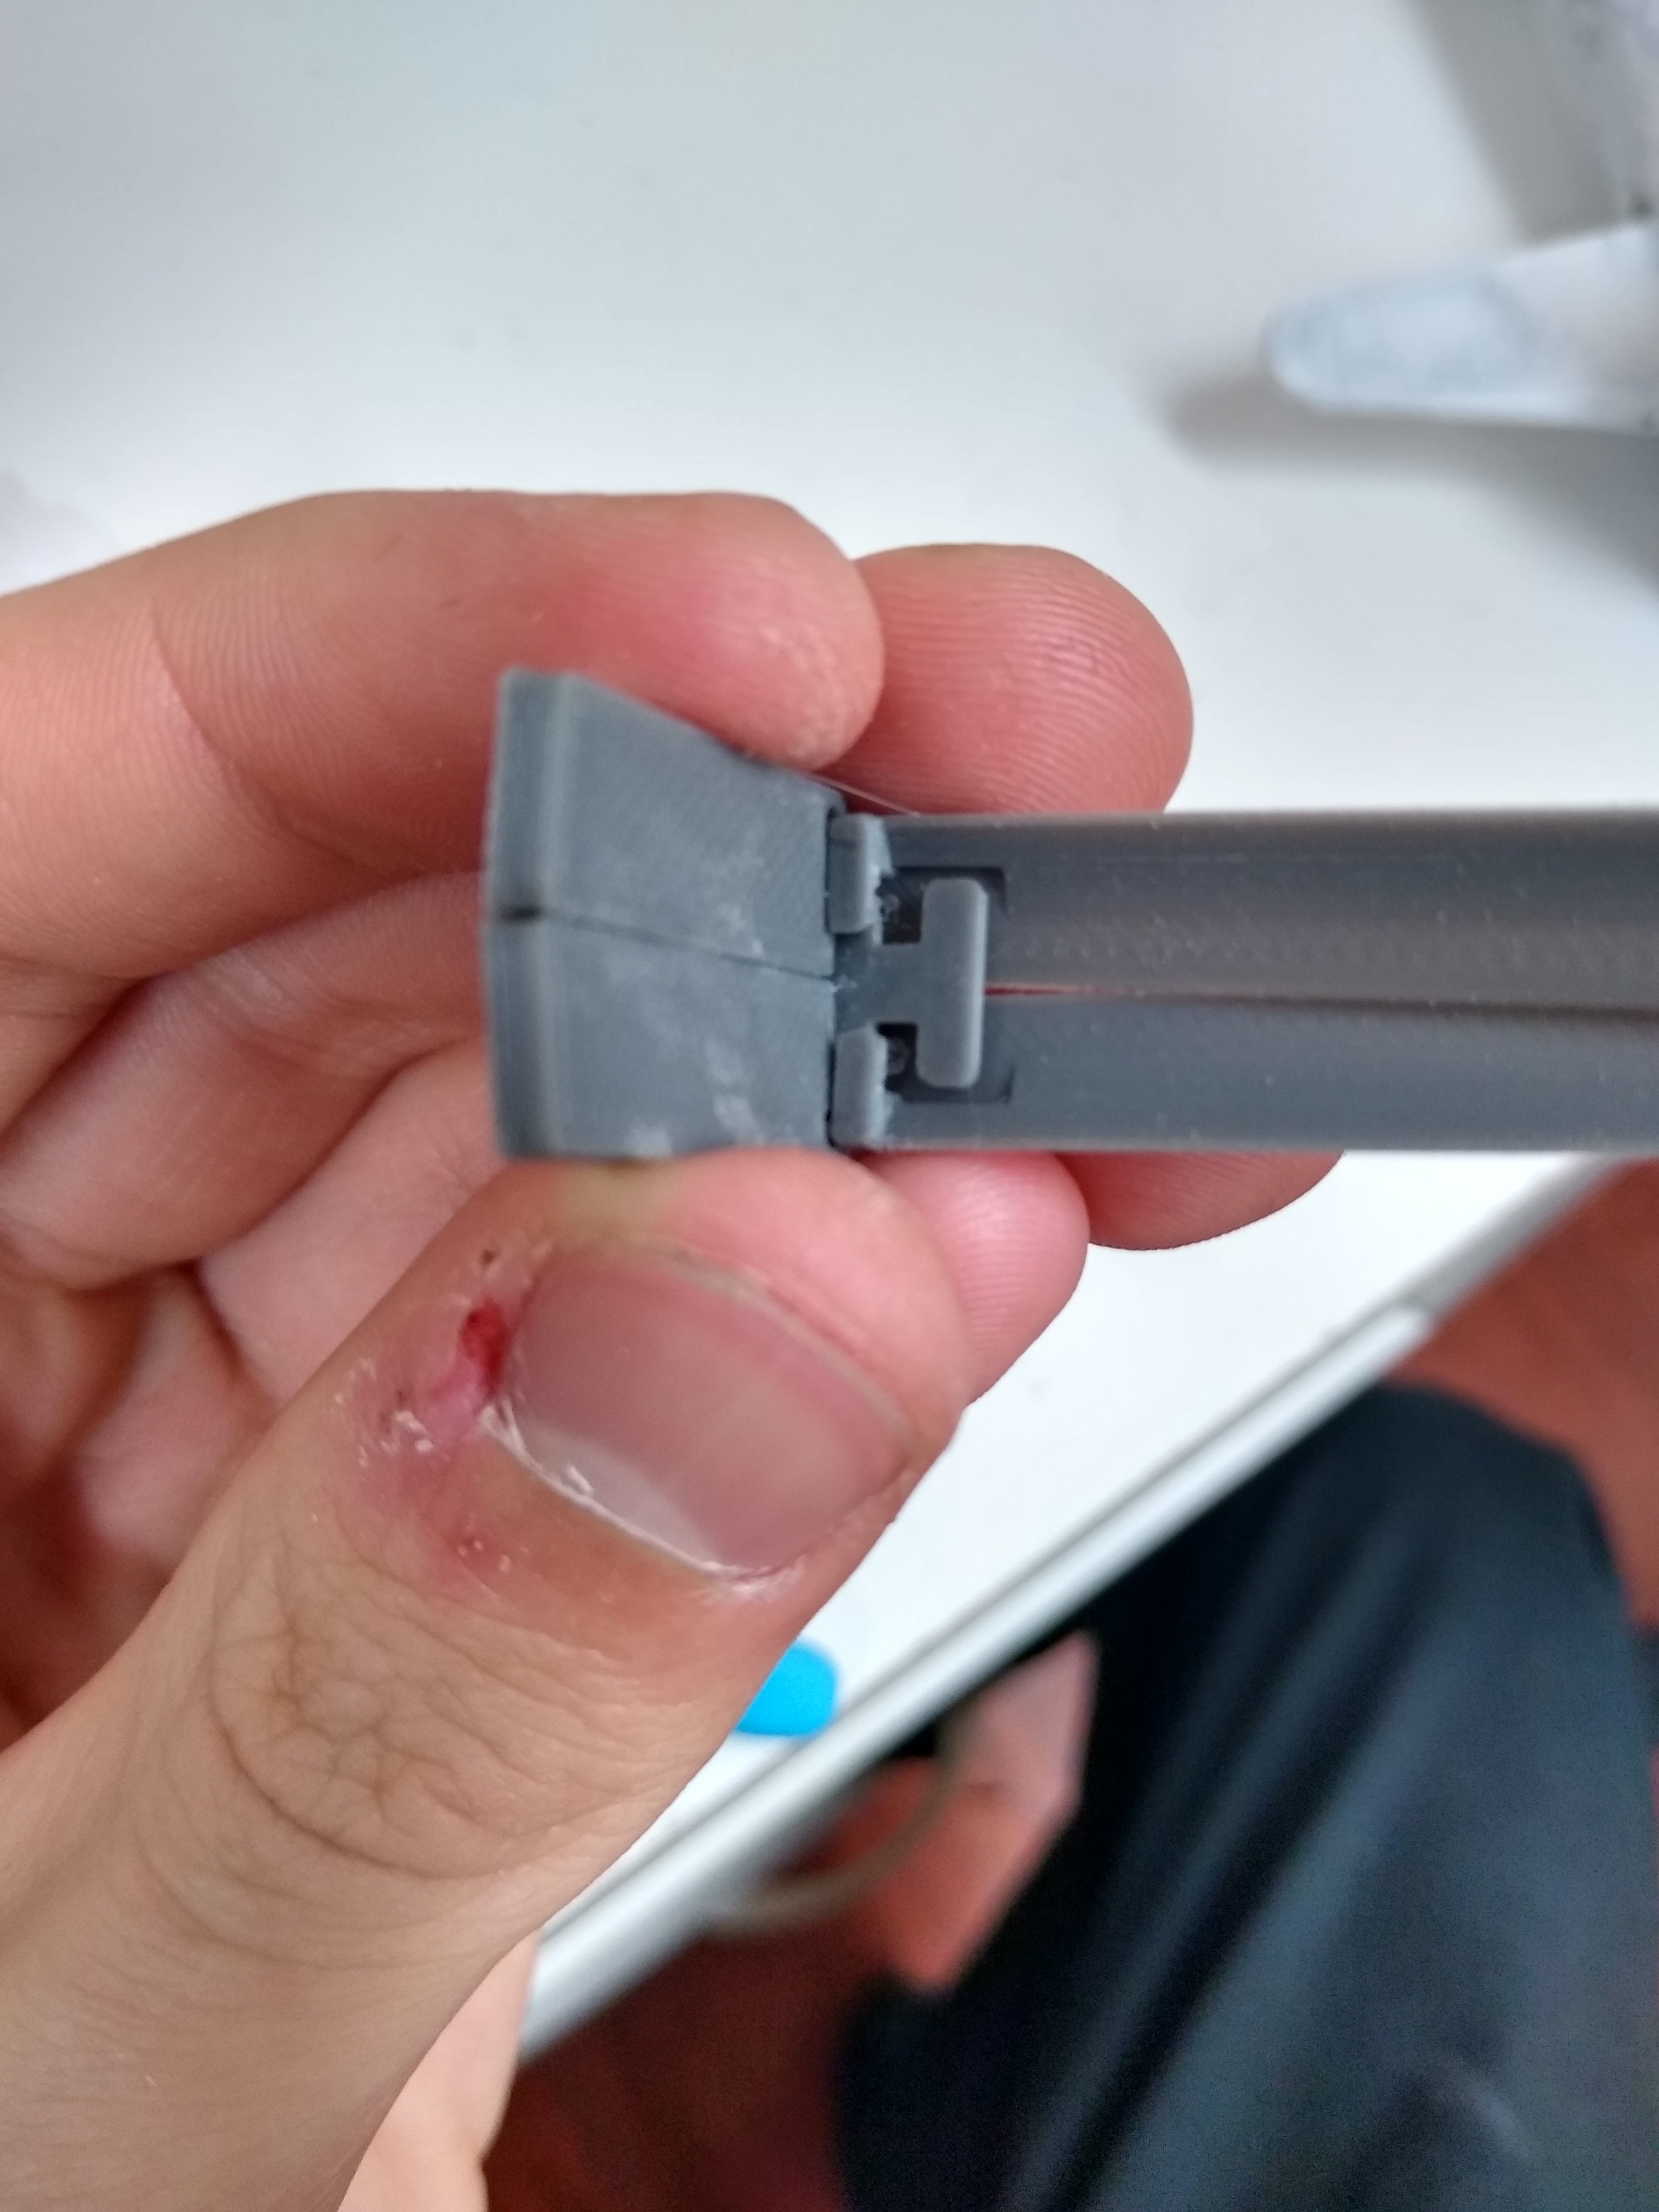
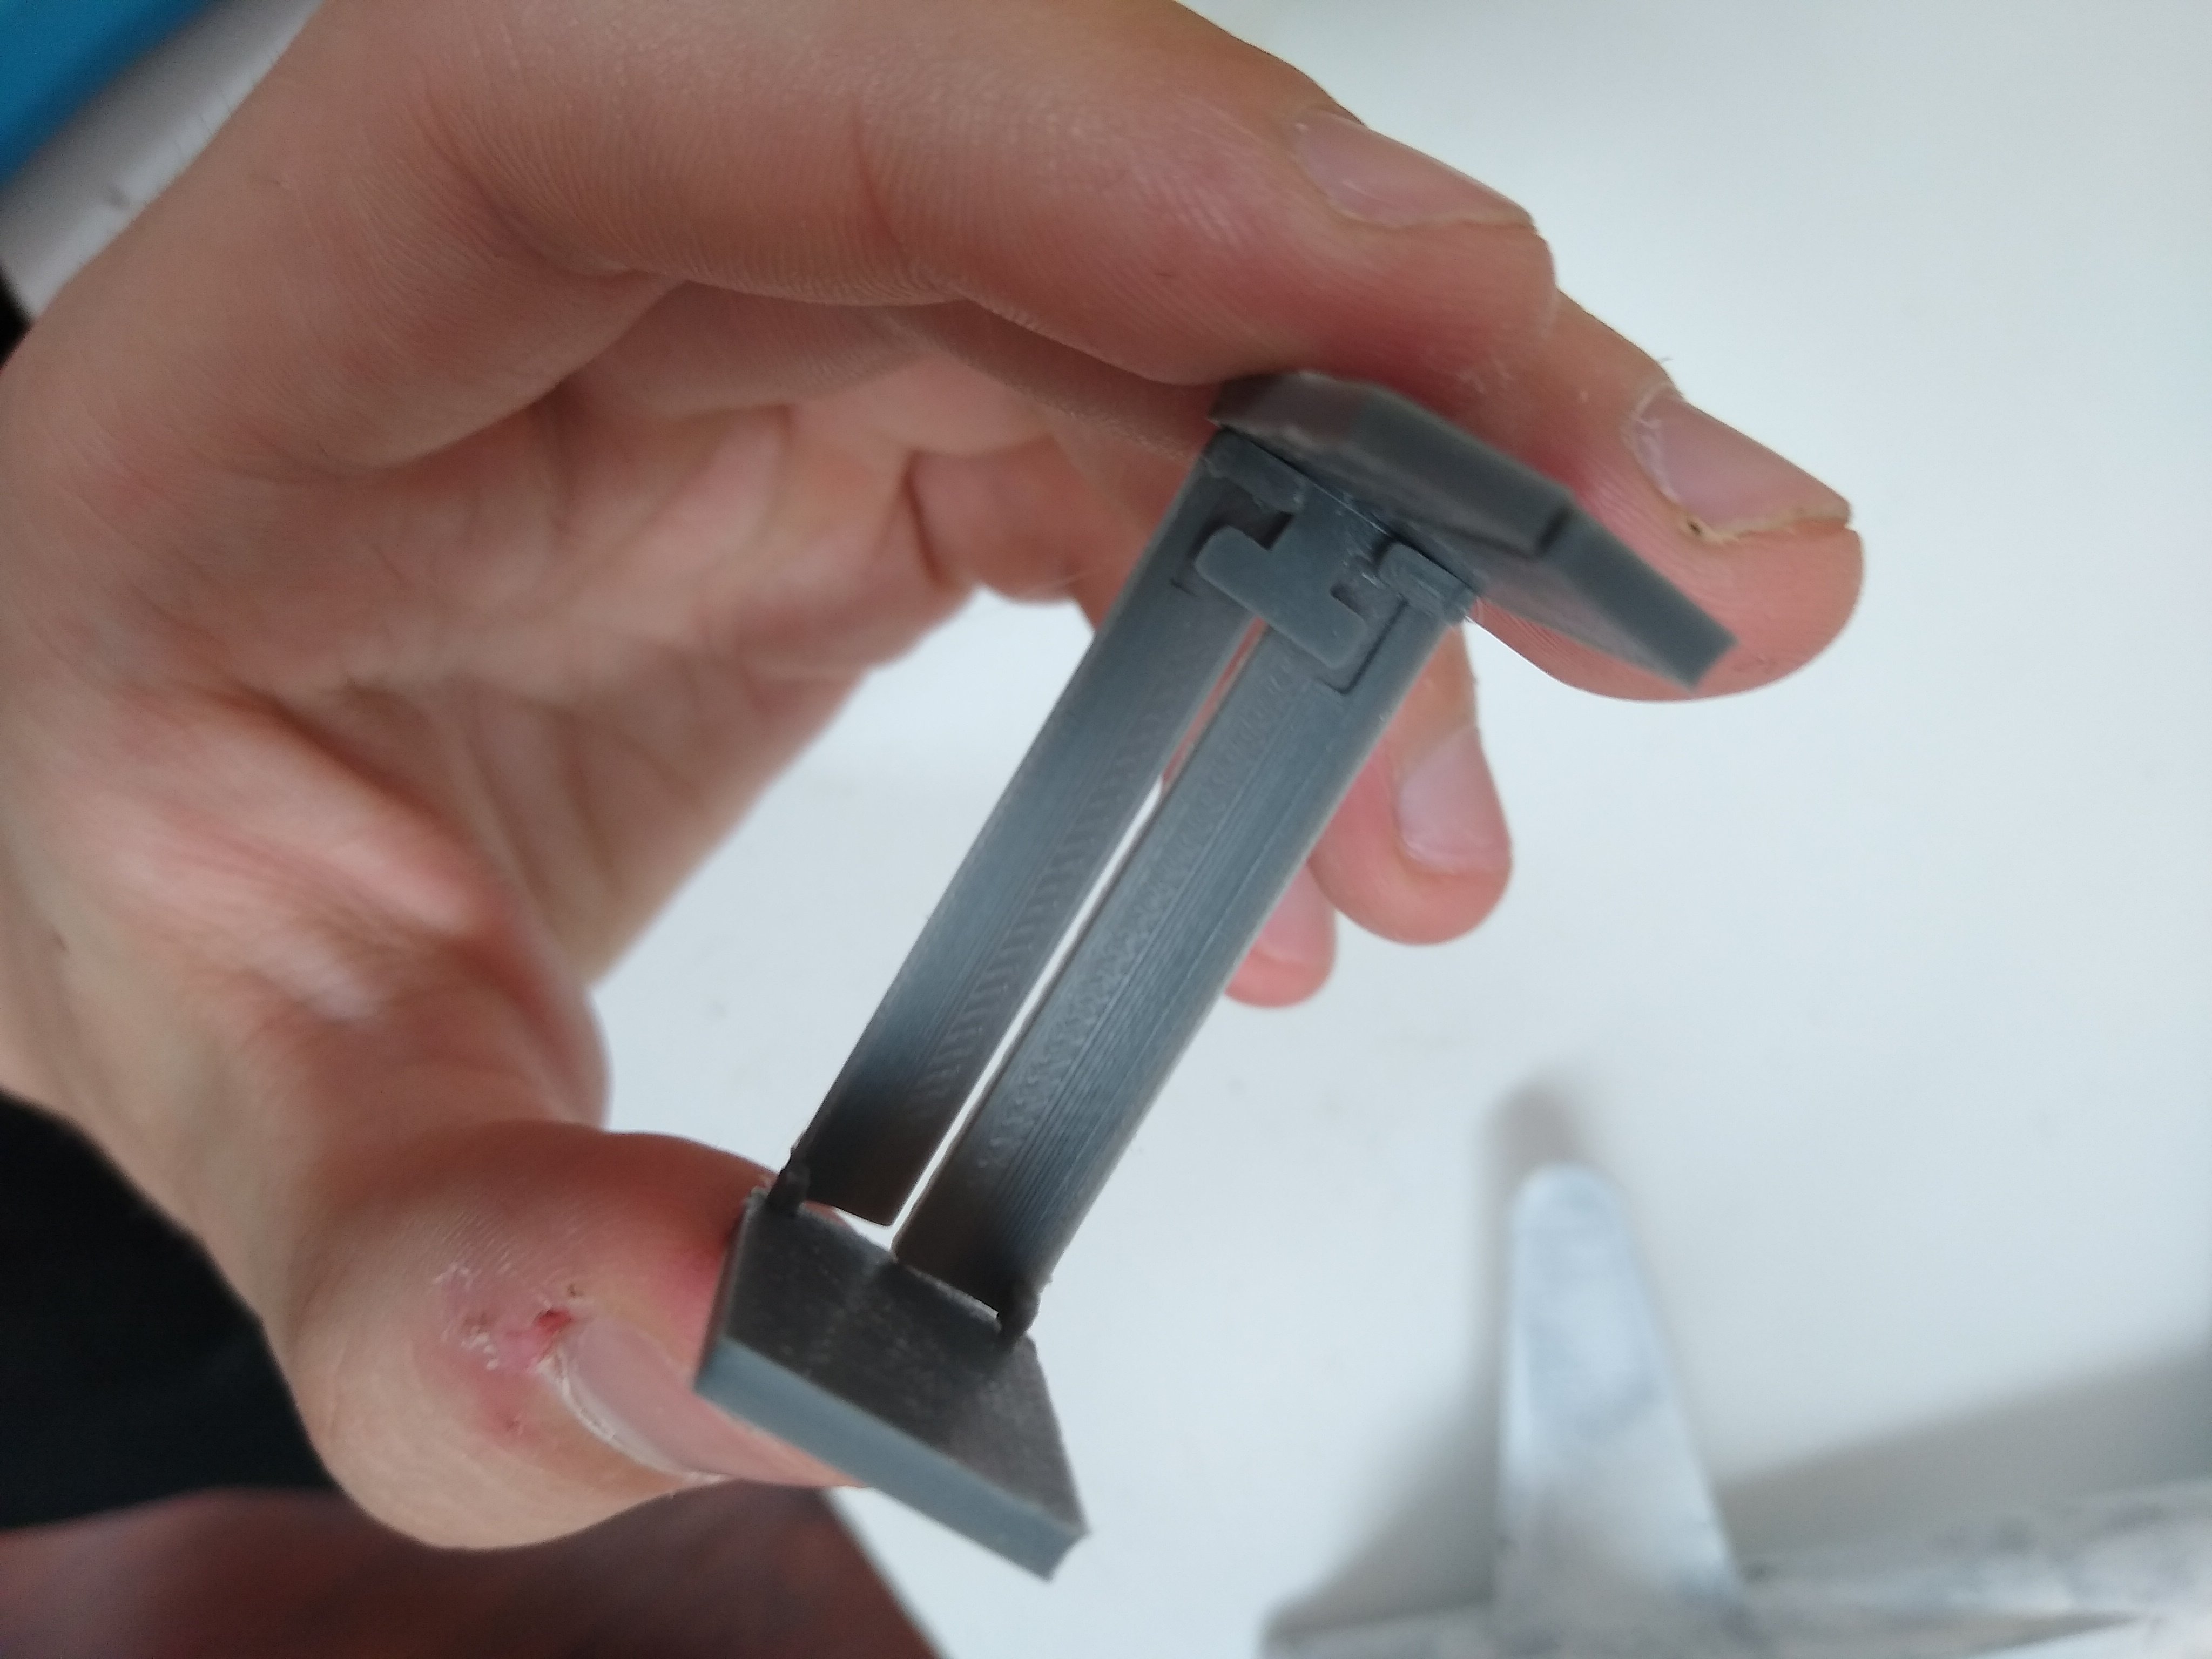
18. Place the Bay Pin part in the slot of the Back Bay Lining pieces as depicted in the first picture. 19. Glue the lining pieces together without gluing the pin in place. 20. Insert the Bay door pieces into the small holes in the Back Bay Lining Pieces. Use the second picture to make sure the parts are facing the right way. 21. Line up the Front Bay Lining pieces with the front of the Bay Doors. 22. Carefully put the Bay assembly in the slot in the body of the plane. You may need to dissasemble parts to ensure that everything fits. Check to make sure the pin can slde back and forth, and that the doors can fall open. 23. Once everything is ready, glue the assembly into the slot by putting some glue on the outside of the lining pieces and insert the assembly. Make sure the pin is on the back side of the slot.
Finishing (Optional)
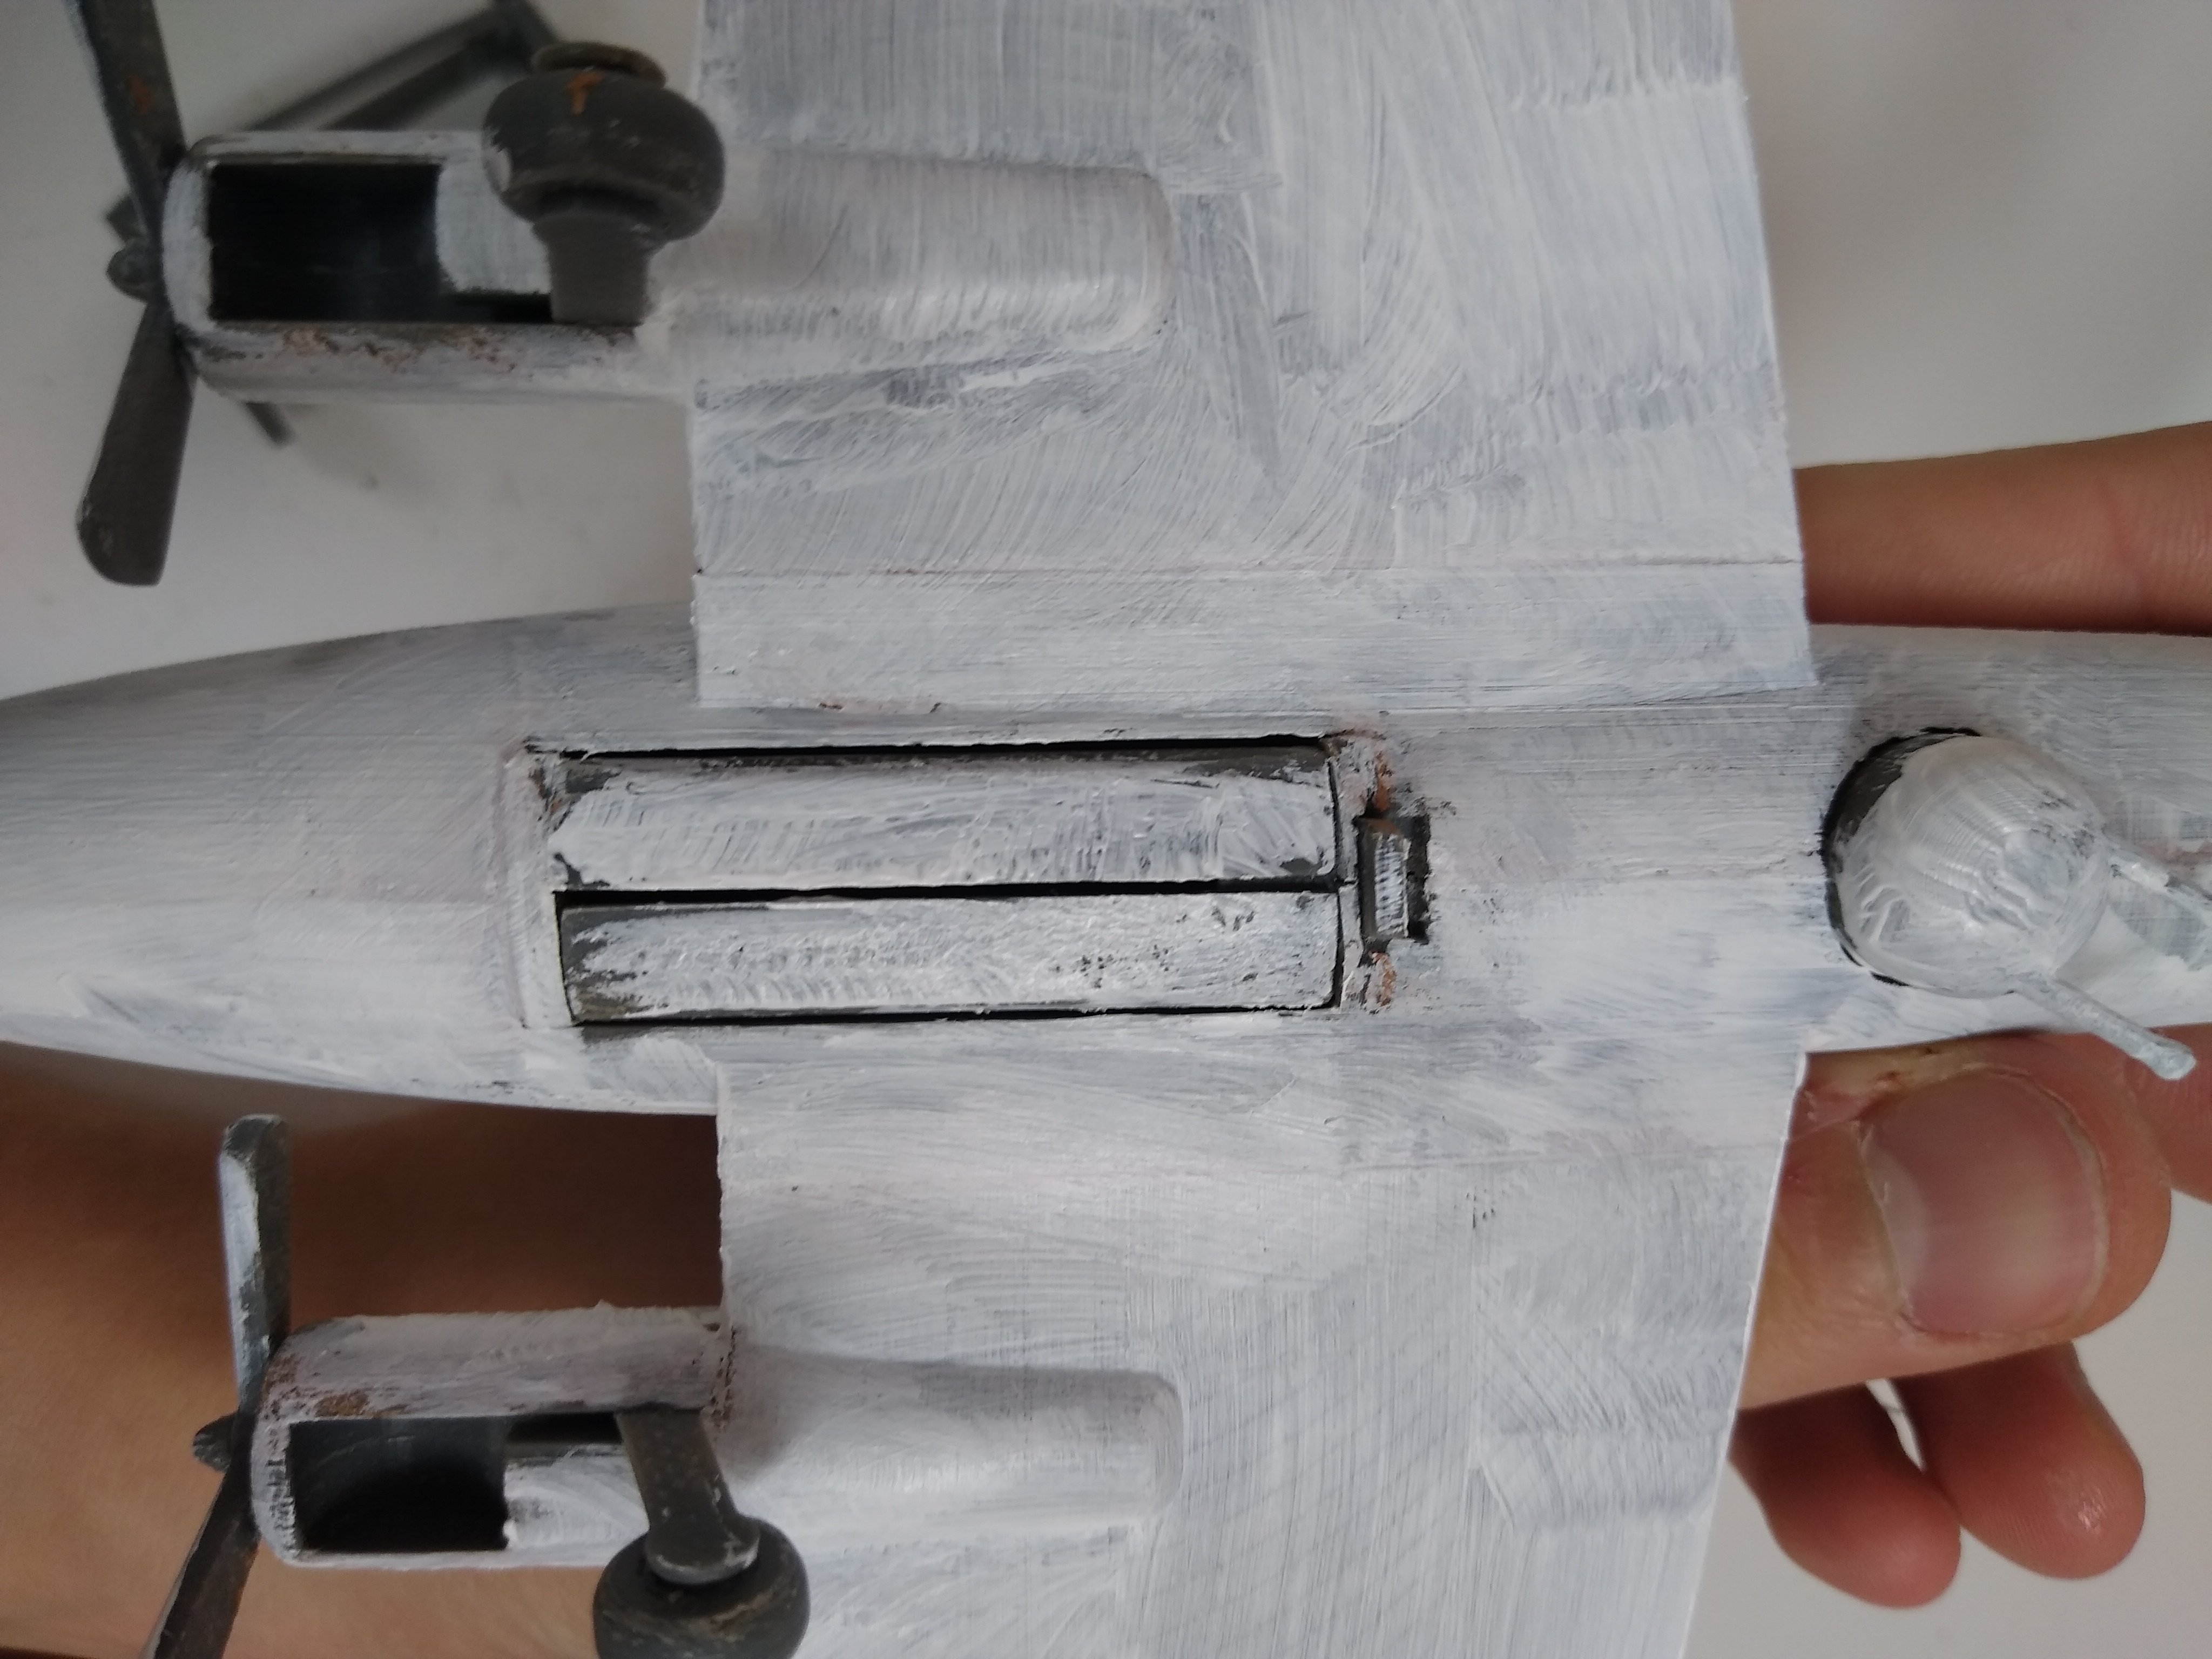
I used Wood Fill to fill in the seams and cracks. I sanded everything down and put some white paint over everything, while avoiding to paint too much of the moving parts. Then I put the rest of the paint on.
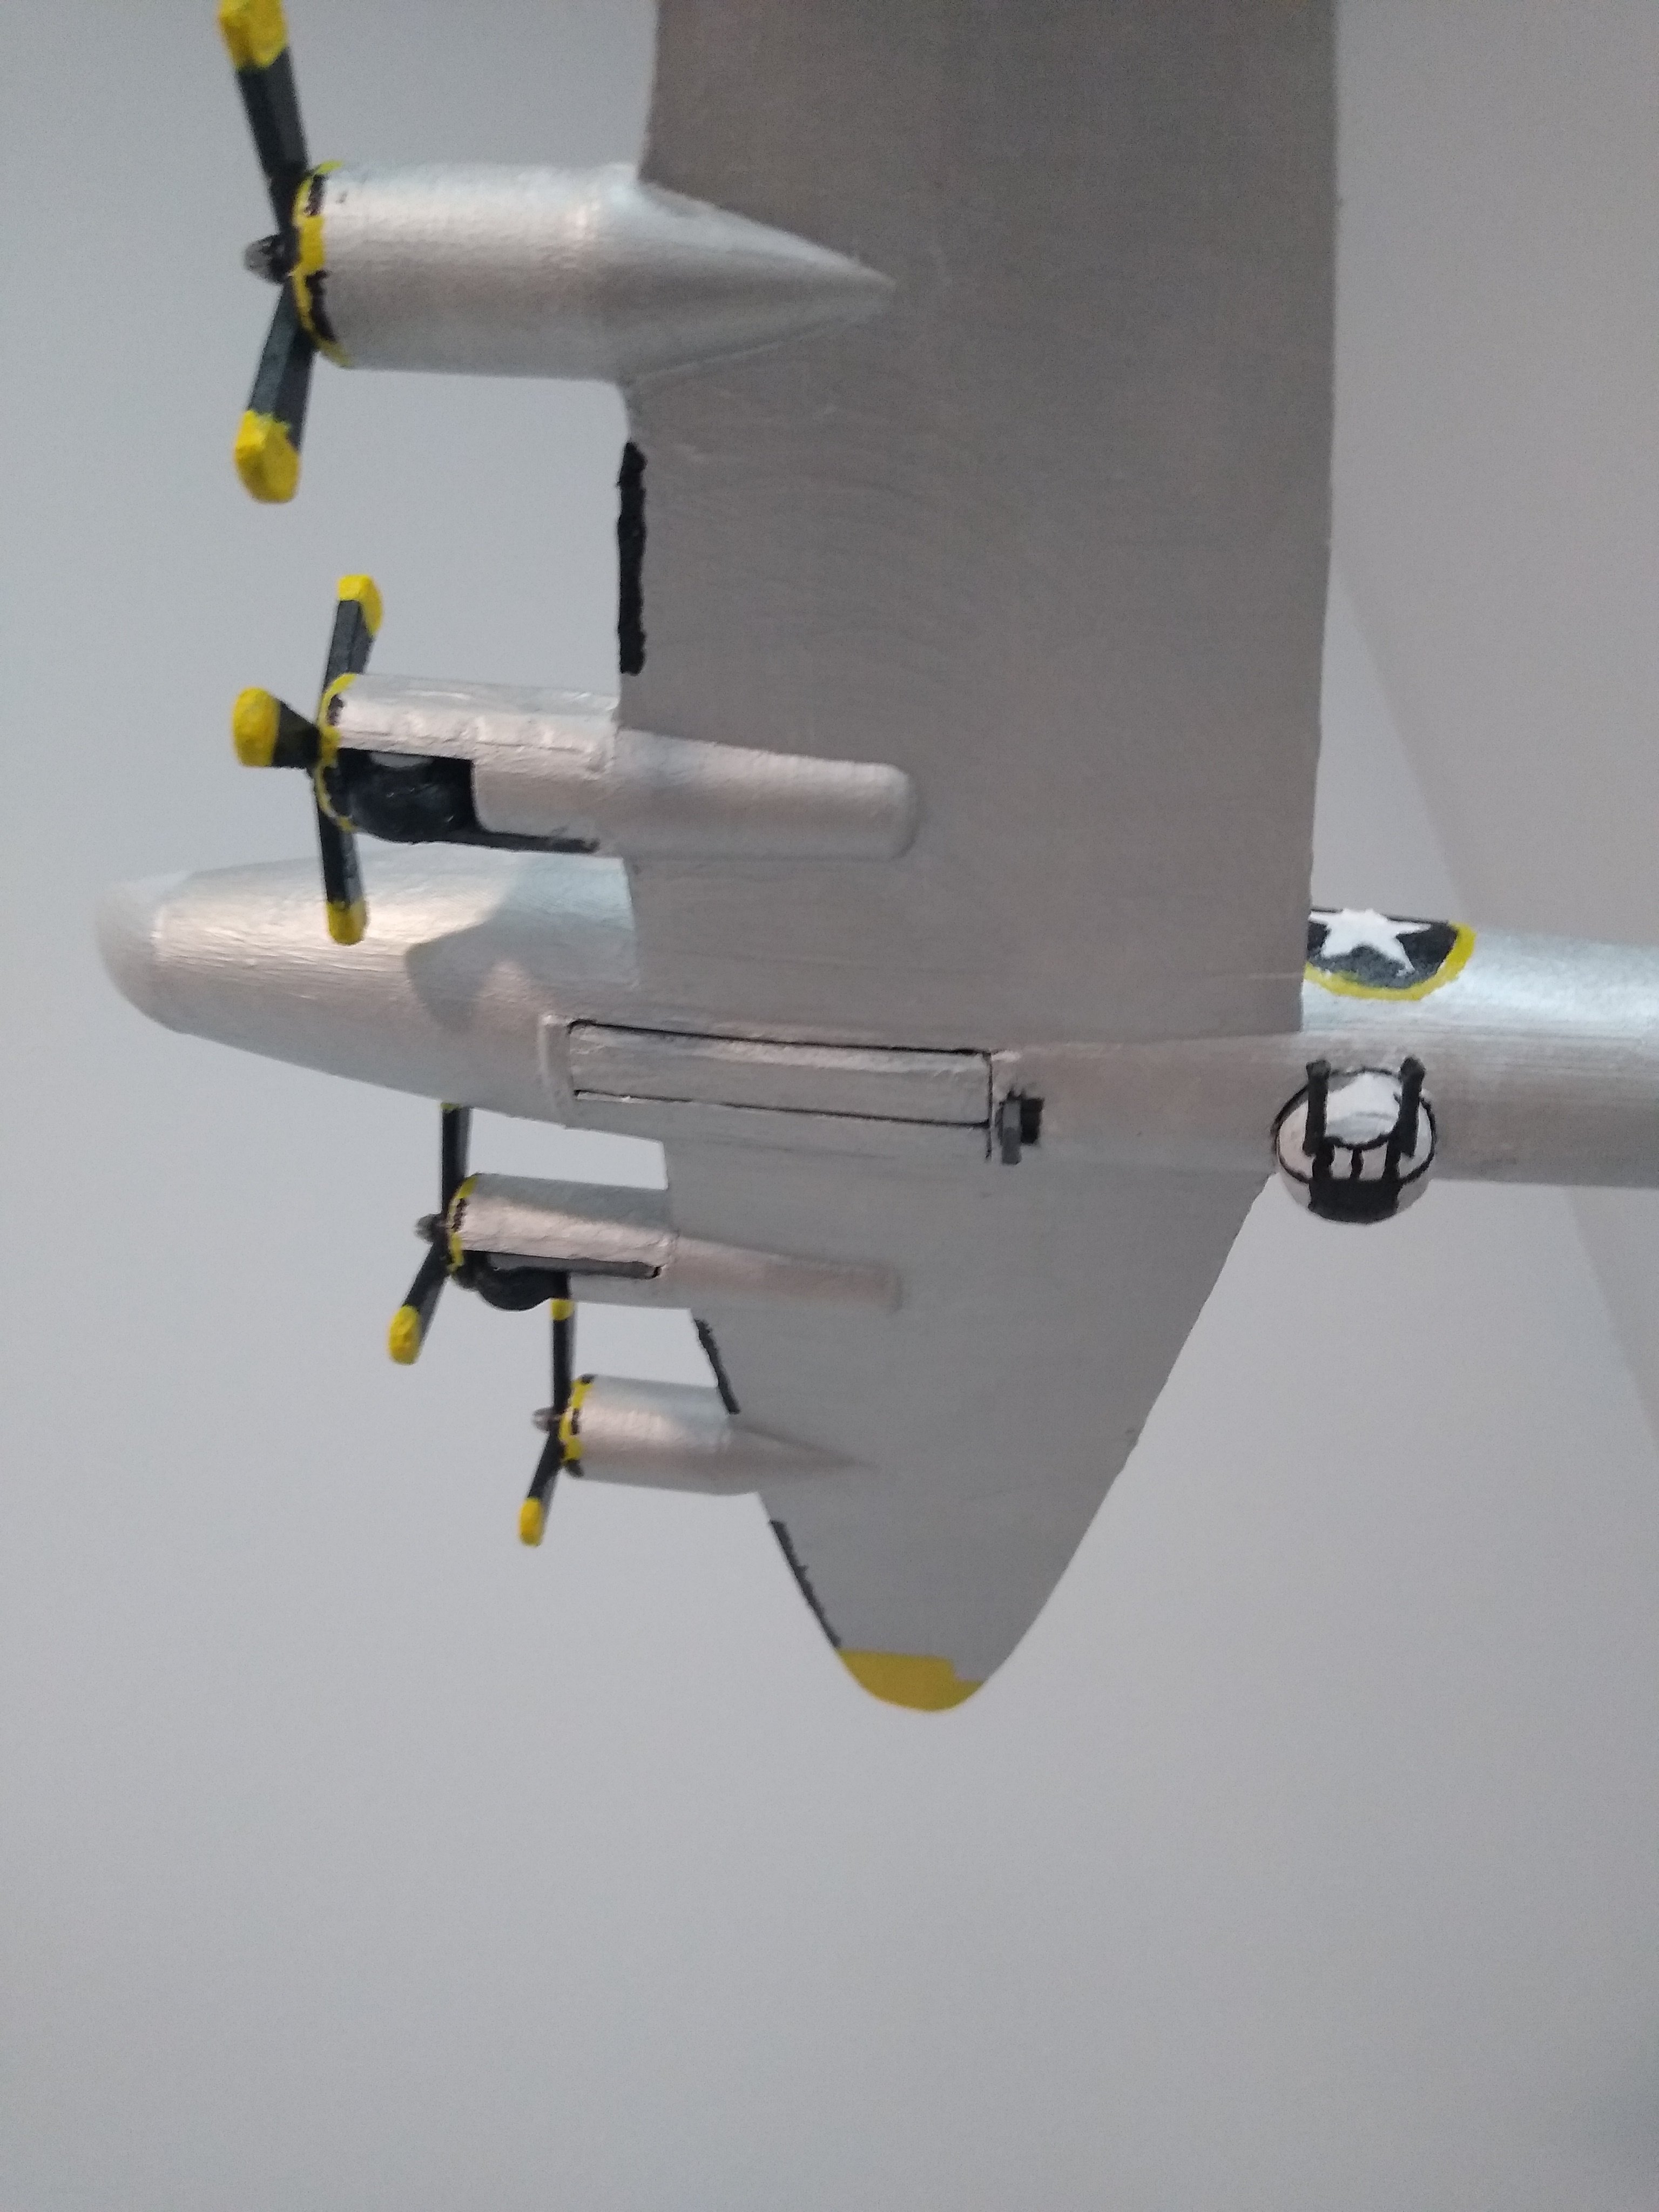
How to Use the Bomb Bay Doors
Push the pin back and open the doors. Put the bombs in, close the doors and push pin in. Pull the pin back to drop the bombs.