by Minigeek55
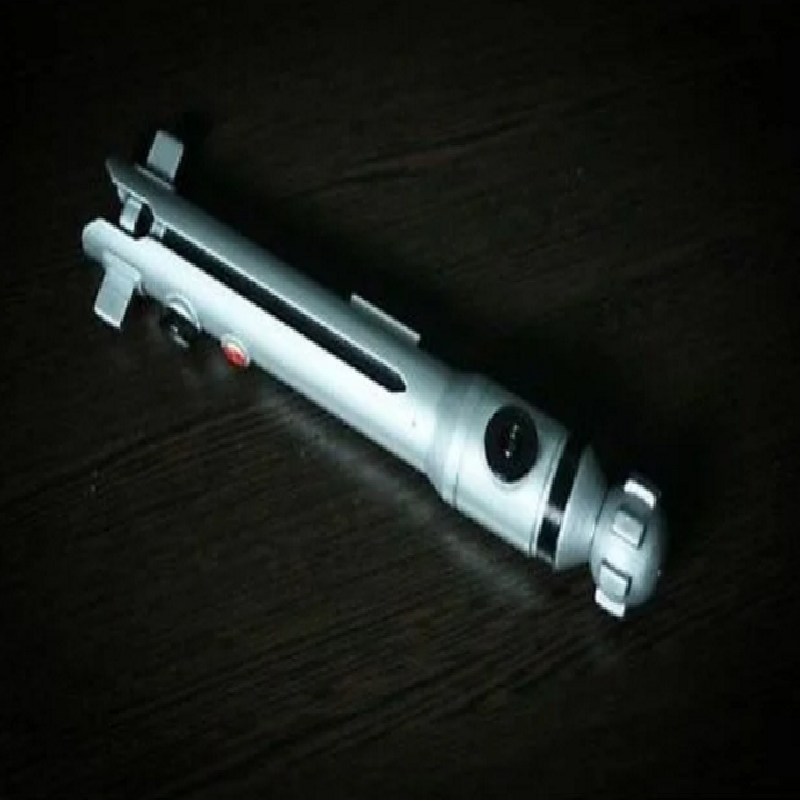
this is a working ahsoka tano lightsaber with working chassis. this lightsaber is able to hold a blade and electronics. you will need these parts.
9v battery
circut board
https://www.etsy.com/listing/575856594/lightsaber-soundboard-module-sabercore?ref=yr_purchases
ultrasabers led
https://ultrasabers.com/product/led-module/
celophane.
8/32 tap and set screw
100Mohm resistor
I would get some xtc3d and do a coat around the body to hold it together if you want to duel with it
INSTRUCTIONS:
FIRST things first is to tap the holes on the tap of the chassis, the blade holder, blade, and the smallest hole on the body(this will hold almost everything together.
NEXT put the circuit board on the smallest flat side of the chassis and use electric tape to tape it around the chassis but do not connect the ports until at the end.
NEXT connect the battery to the connector and solder the ground to the board and the positive to one of the ends of the slide switch and the middle leg to the positive on the board. Connect 2 100Mohmresistor to the positive lead on the board The resistors goes in the hole above the battery in the tiny hole. Then glue switch on the chassis above the battery.
NEXT the button. the leads don't matter on the board as long as one goes to one end on the button. solder wires to the button first and then feed them through the square hole on the top and bottom which feed through the entire system.
NEXT the speaker. The speaker is designed to fit in the pommel and the pommel is able to cum off the bottom to insert the speaker. feed the wires through the hole in the middle of the pommel and middle body and connect to the board. Make sure to leave enough wire to change the battery.
LAST insert the led unit in the chassis and feed it through and connect it to the led leads on the board. then insert the blade holder then blade and then the set screw. and everything should work at the end then insert cellophane in the blade and the you can add the outer parts.
To change the the battery just take out middle body and take out the set screw then pull the chassis out and change it.
Print Settings
Printer brand:
XYZprinting
Printer:
da Vinci 1.0 Pro 3in1
Rafts:
Doesn't Matter
Supports:
Yes
Infill:
50