by JorgePeralta
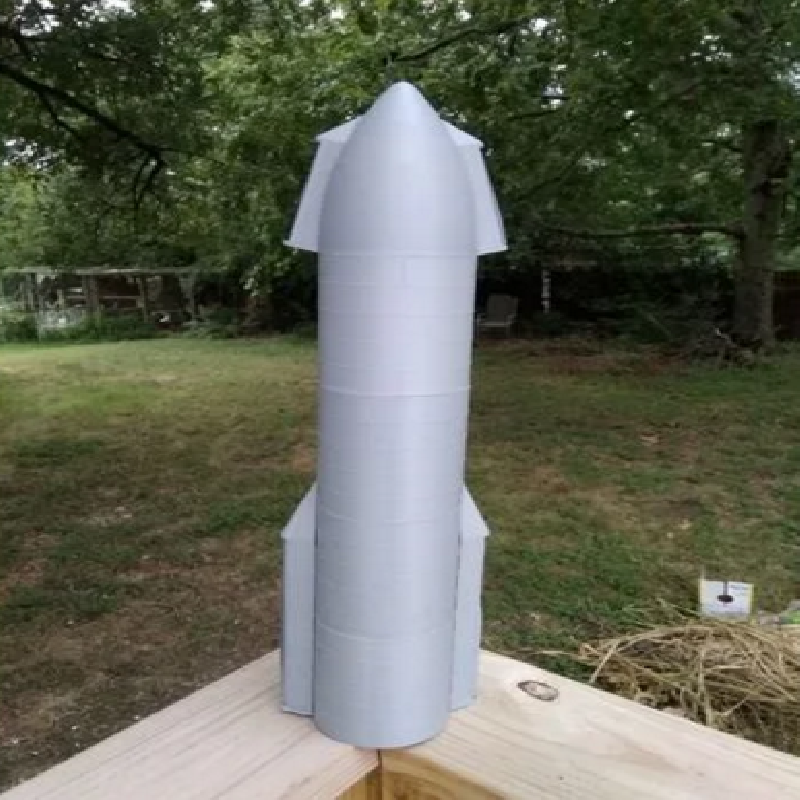
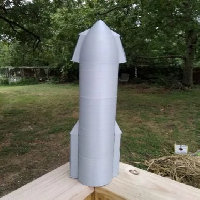
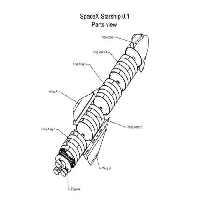
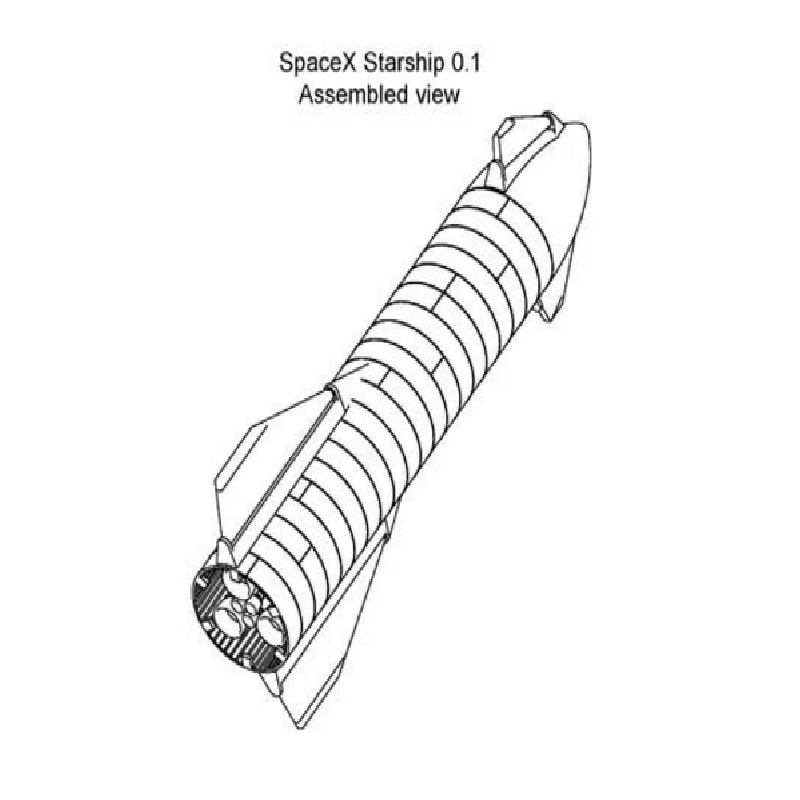
SpaceX Starship model
1:100 scale, 21 inches / 53 cm tall.
All 4 "wings" can move.
Snap together, no glue or screws needed to assemble.
This is a big print, and it takes a long time to print. I don't recommend scaling it down because the wings may no longer move
Recommended print settings:
PLA
0.2 height
3 shells at minimum to ensure the strength of the assembly tabs.
Supports and brims as needed on individual parts. Please see printing instructions for each part.
The real SpaceX "Starship" is in it's very early design stages, with changes happening with every iteration, and no defined final design at this time. Due to this, this model is a 'best guess' of what the starship will look like during it's first 20 km flight.
As the real Starship evolves, this model will be updated to reflect the current state of the craft. Due to the modular nature of the design, only specific sections may need to be reprinted to bring the model up to date.
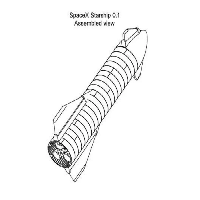
Assembly instructions:
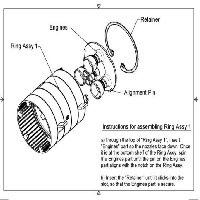
When putting together the ring assemblies, there are three small bumps that fit in the tabs, To put the ring segments together, join the rings close to their final position, and with a gentle but firm twisting motion, get them to snap together.
Please follow this order:
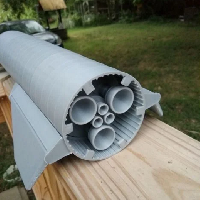
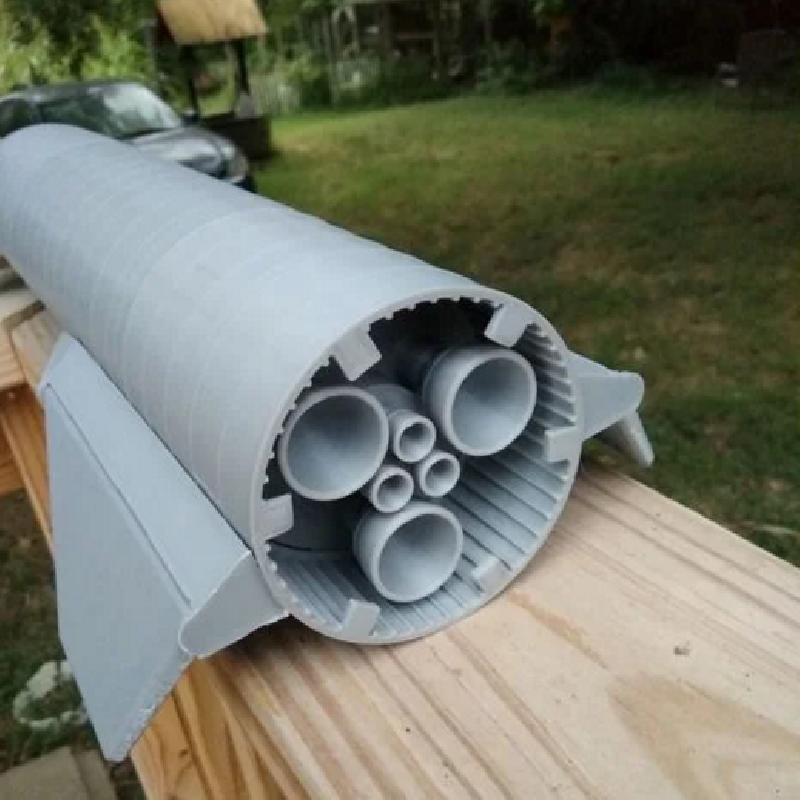
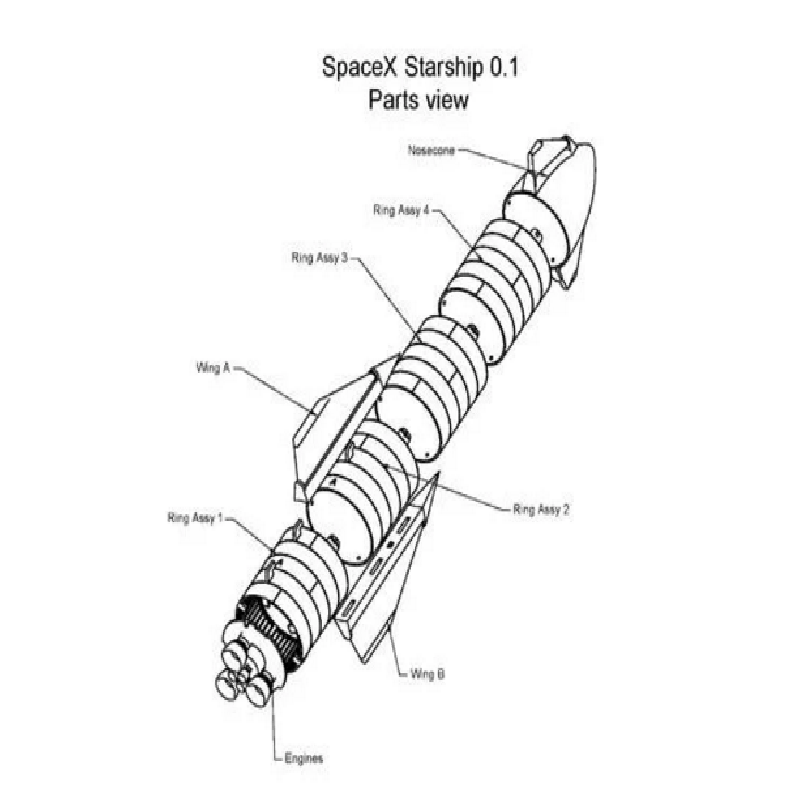
1) Print "Ring Assy 1", "Engines" and "Retainer" parts.
2) Insert "Engines" in "Ring Assy 1" and secure with "Retainer". See included diagram.
3) Print and attach "Ring Assy 2". Make sure that the letter A and B printed on the outside of each ring assembly matches so that they are on the same side.
4) Print and attach "Ring Assy 3". The number '3' on one of the the assembly tabs should be inline with the number '2' on the ring assembly below it.
5) Print and attach "Ring Assy 4". Keep the numbers on the tabs inline.
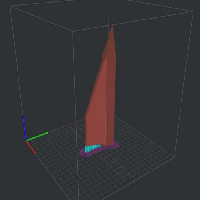
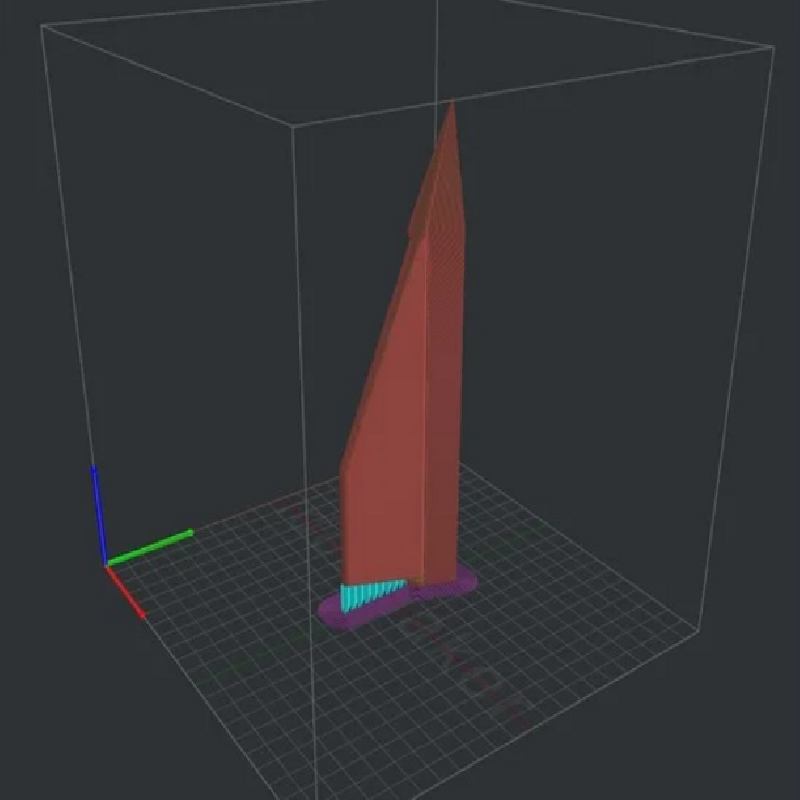
6) Print the two wings, Please see picture of printing layout for orientation and support information. Use a wide 'brim' (25 turns?) to provide adhesion to the tall and narrow wing assembly. Try to orient the print so it moves 'the long way' when your printer table moves, to avoid knocking the print over. When finished, "crack" the wing by gently twisting it so it can move.
7) Matching 'A' to 'A', and 'B' to 'B', attach the wings by carefully and gently sliding the tabs into the corresponding holes. DO NOT FORCE. It is best to install and remove the wing several times to work in the fit than trying to force the wing on and risk breaking off the mounting tabs.
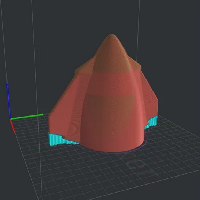
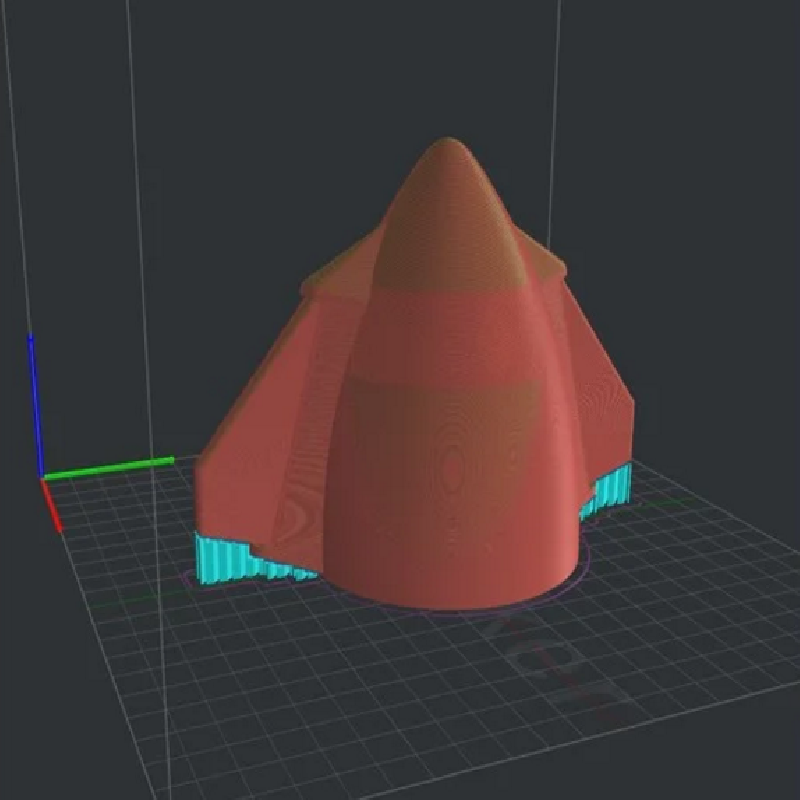
8) Print the "Nosecone". Install the "Nosecone" so that the small wings are inline with the large wings.
Print Settings
Printer brand:
Creality
Printer:
Ender 3
Supports:
Yes
Resolution:
0.2
Infill:
30%
Notes:
'Wing A' and 'Wing B' require a Brim and Supports for stability during printing. 'Nosecone' requires Support during printing. Please see screen captures above.