I’ve been fascinated with the idea of using a single-color printer to produce multi-color models for awhile now. I read how people were able to pause their prints and switch out filaments mid-print in order to create some interesting effects. I began to experiment and found out it was not that hard. Some models are more suited for this treatment that others. For example, anything with distinct ‘layers’, like a plaque with raised letters, can look fantastic in multiple colors. So, I decided to get more ambitious and design a model specifically for multi-color printing.
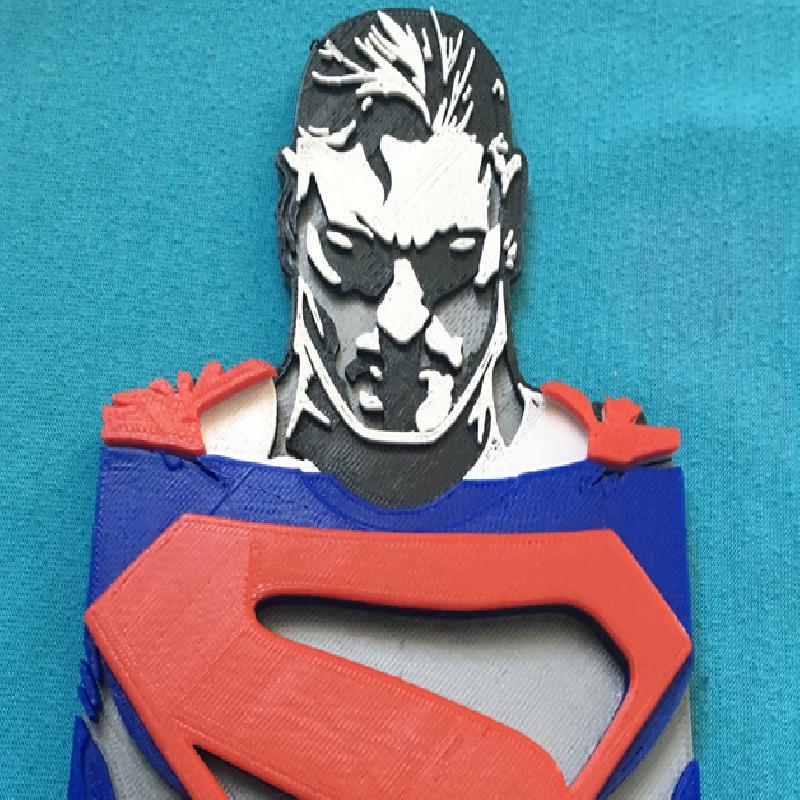
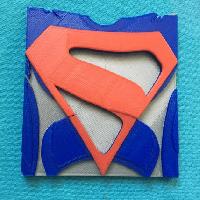
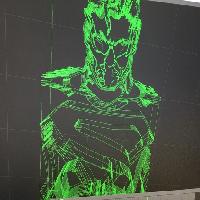
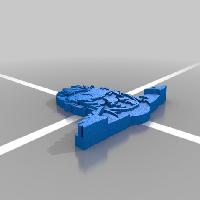
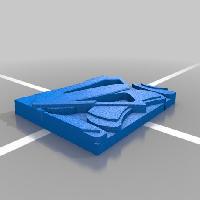
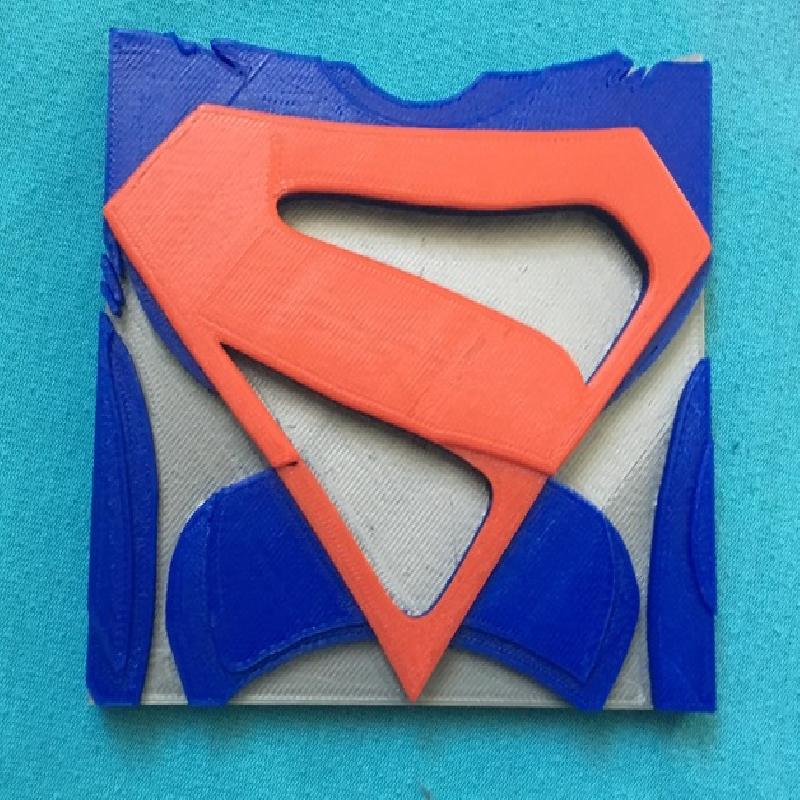
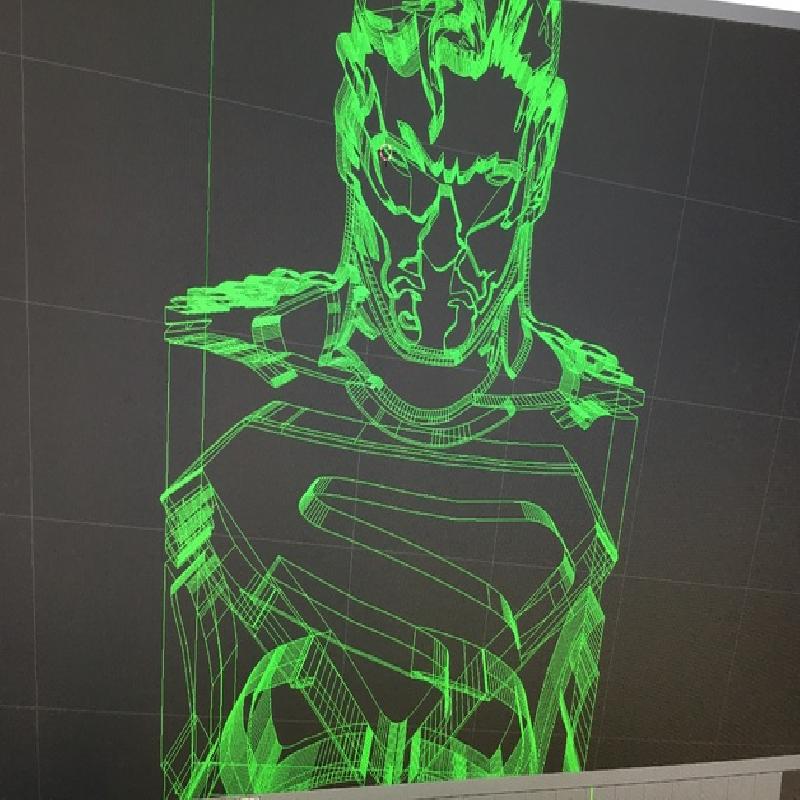
The model I created to try out this idea was inspired by an Alex Ross’ painting of Superman in Kingdom Come, a miniseries set in the future of an alternate DC universe. Alex Ross’ work is unbelievably gorgeous (google Kingdom Come if you haven’t seen it). First, I needed to translate the richly detailed, full color rendering into something printable, using layers and colors to simulate depth and complexity. I created an image with only 5 colors: white, black, silver, red, and blue. I then converted the image to a vector-based SVG file, and imported it into Blender so that I could make it 3D. I carefully extruded (pushed out) each individual ‘piece’ so that various components of the model would be printed in specific colors. I taught myself to use Blender just well enough to make this, so I’m sure the model could be improved, but it is manifold and prints well.
If you decide to print this, please post your Makes! I’d love to see them. Also, let me know if you’ve played around with this kind of multi-color printing.
Printer Brand: Printrbot
Printer: Simple Black
Rafts: No
Supports: No
Resolution: .2mm
Infill: 15%
I printed using .2mm layer height and 15% fill, but adjust as you want.
Decide on your color palette. Sample colors are, in order: head (silver, black, white, red), torso (silver, blue, red).
Wait until you see a ‘layer’ finishing. This happens after the printer prints 100% fill for an external border. It will be obvious when a colored section is done and the printer is outlining around the colored section and no longer printing over it. Use the print preview to see when this will happen. There is plenty of time between layers to switch colors.
When you are ready for a new color, pause the printer and move your print head to ‘Home X’ and “Home Y’ (so the filament doesn’t drip on the print).
Carefully loosen the drive gear and pull out the filament.
Change spools to the next color and rethread the filament. Push it down gently until it feels stuck.
Use pliers to pull off excess filament from the hot end.
Resume the print.
Print both head and torso and superglue together.
This approach works consistently for me using a Printrbot Simple Metal and Simplify3D. I haven't tried using anything else.