by FuzzBot
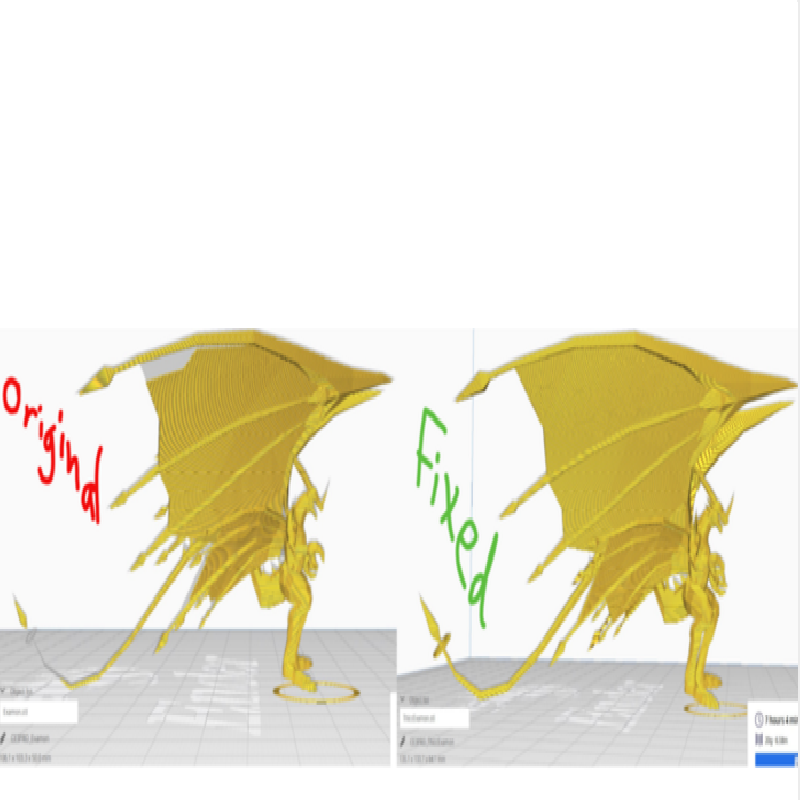
This is a page for fixing some digimon models for printability as requested by shadowforcelaws. Third up, Examon!
This one wasn't so bad. It stands head height at 46mm. The wings add 18.1mm though for a total of 64.1mm tall.
Most of the parts only needed slight thickening. The teeth had to be completely replaced. Also the tail ring had some struts added so that the ring was not floating unattached in space.
It was a little annoying that all the wings, arms, and legs were not perfectly symmetrical, so I couldn't just mirror the left side of the body onto the right.
Print Settings
Printer brand:
Creality
Printer:
Ender 3 Pro
Rafts:
Yes
Supports:
Yes
Resolution:
0.1mm
Filament_brand:
Makerbot
Filament_material:
PLA
Notes:
I highly recommend chopping off and printing the wings and/or tail separately in a more optimal orientation, then gluing back on later! Particular care should be taken around the horn earrings and tail ring as there is not much plastic connecting them to the rest of the print! You will probably have trouble printing if you go smaller than 64.1mm. This model must be printed with supports and higher the resolution the better. I recommend tweezers or thin wire cutters for careful support removal, and/or dissolvable supports if you have a dual extruding printer. All the parts will print in the Cura slicer, but if you have a flaky printer it might have trouble on the pointy bits with all the nozzle retractions that are inevitably necessary.
How I Designed This
Blender has a few plugins useful for checking printability and thickness. I then manually went in to the vertices and thickened certain parts, and lightly sculpted other parts like the teeth to ensure the important details would come out in the print at their desired scale. Once all the parts were in a good state according to the Cura slice preview, I boolean unioned the parts to fuse them together. Tossing it into the free trial version of netfabb to quickly repair any missed non-manifold, and meshmixer to easily separate and delete floating shells. Finally checked how Cura would slice it to ensure the final print would be ok.