by MakerSteve81
Like most young families, we're currently saving hard to enjoy the dream of one day owning our own home. If you've downloaded and enjoyed this model, consider leaving a small tip to help us realise that dream.
Follow me on Instagram:https://www.instagram.com/makersteve81/
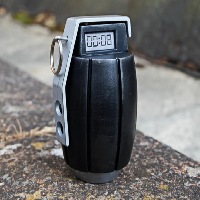
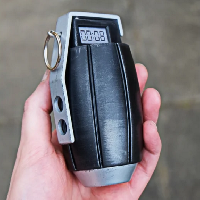
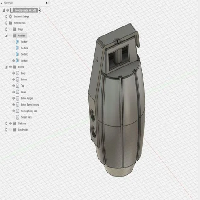
Welcome to my first fully CAD designed 3D printable movie prop project - the grenade from the infamous scene in Robocop (1987) as used by Clarence Boddicker. If you have the capacity to do so, I recommend printing all parts in ABS as it makes post-processing a whole lot easier. If you can only print in PLA and don't wish to post process, print all parts in black PLA aside from the end cap and spoon handle - print in silver :)
If you have any questions at all about the build, feel free to comment and I will do my best to reply in a timely manner.
THIS IS NOT A SIMPLE CLICK TOGETHER MODEL. You will need some skill and patience to assemble it.
Print Settings
Printer:
TwoTrees Sapphire S
Rafts:
No
Supports:
Yes
Resolution:
0.15mm
Infill:
10-20%
Filament_brand:
ABS (if possible)
Filament_color:
Black / Silver / Grey
Filament_material:
ABS
Notes:
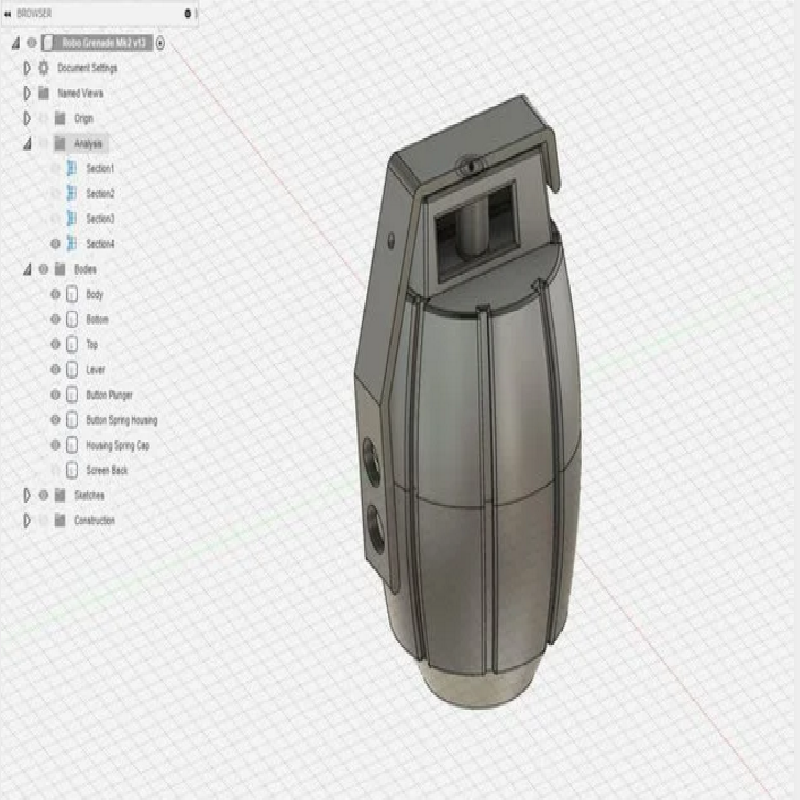
Print all parts in the orientation saved within the STL files (except the screen back, lay that flat on the build plate). You will need supports for the top fuse housing and spoon handle, the rest prints without supports. Recommend ABS if you can, for least effort in sanding and post-processing. RECOMMEND PRINTING WITH 3 PERIMETERS
Post-Printing
Additional Hardware Required:
You will need: * 1 x 3.2mm x 25mm Split Pin (or 3.2 x 20mm will do) * 1 x 25mm Ring Pull (you can get from an old key-ring) * 1 x M3 Washer (goes inside plunger assembly in-between plunger and spring to prevent binding) * 2 x 6mm compression springs, 20-25mm in length, 0.4 - 0.6mm wire diameter. One spring goes inside the plunger assembly, the other goes in the recess on top of the fuse housing. You may need to slightly bend the initial coil with some pliers to make it fit snuggly in the recess. * Superglue / paint / primer / sandpaper * Acetate sheet for LCD display * Inkjet or Laser print to print LCD display output
LCD Display:
Print out the LCD display image included. Affix to the screen backplate using spray adhesive and then attach a piece of acetate sheet to the front of the LCD screen (also use spray adhesive) and then trim any excess material around the edge. Download the screen.zip file to make sure you're downloading the LCD display in the original size intended for printing.
General Assembly Notes:
The main body is designed to be hollow, you can fill this with some ballast (sand etc) if you wish to add a realistic weight before gluing the end-cap on. Spray all of the parts and seal with appropiate varnish spray before gluing everything together.