by PiXeL_ArC
Hey guys, I'm just sharing these files and the story of me making them printable here.
But first, some disclaimers and quick information
You will likely need Cura to have any chance at printing this mess of a thing. You need to enable the settings "Union Overlapping Volumes","Remove all holes","Extensive Stitching" and "Keep Disconnected Faces" in the mesh fixes option, if you don't it will likely not work
I have struggled A LOT with getting things to print at all. There are some imperfections and problems with the mesh still
Cura will prompt you with a lot of warnings and not like the file. Just slice it with the settings above enabled, hope it works for you. I used Cura 6.1 for reference
Scale the files to 23600% to get a result that's about 1m long if all parts are assembled
the parts are numbered from top to bottom (the file names) and have to be assembled in that order, of course. Number them immediately after printing, if you don't you'll be in for a not so fun puzzle
the project requires about 1.5kg of filament at real life scale
So, here is the story and everything else:
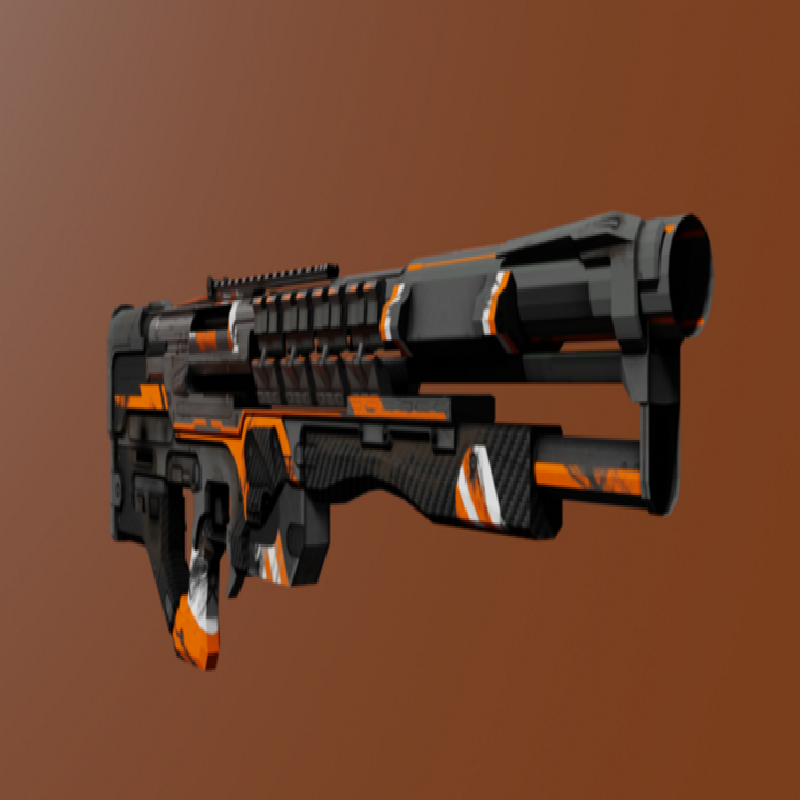
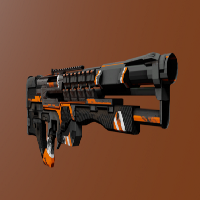
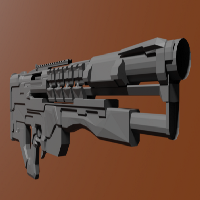
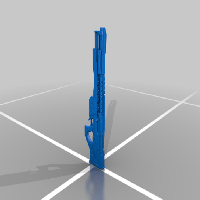
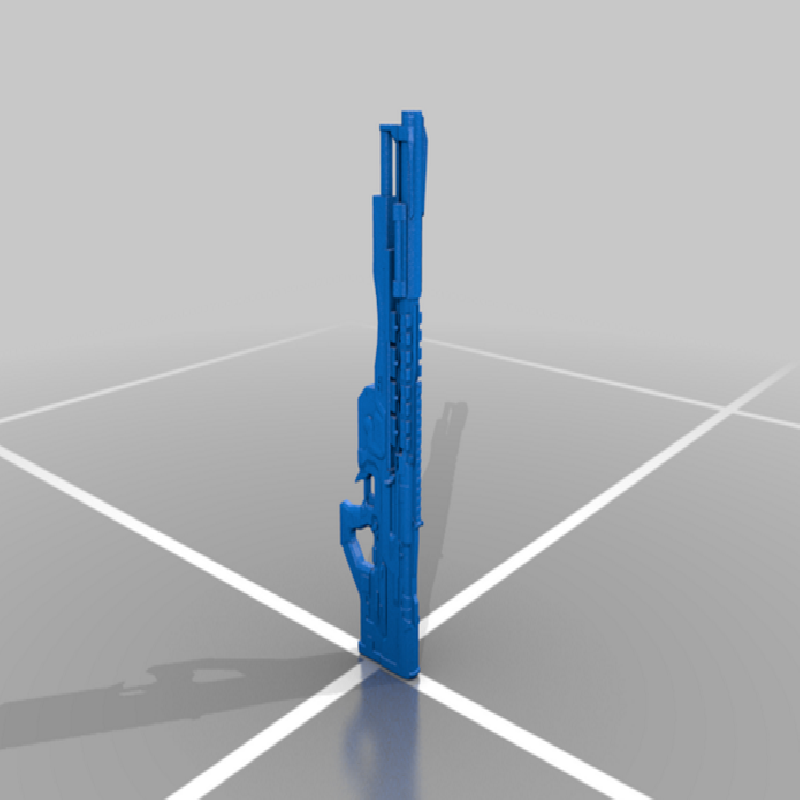
I'm a huge Crysis fanboy and wanted to make one of the guns as a prop for my room. So, I looked for a cool file somebody has ripped out of the game files and quickly found this one. But, as some of you may know, for a game it doesn't really matter if the thing has holes or not. So naturally, it has and oh boy does it ever have a lot of them (picture 2). So I fixed all the holes and modified the mesh to even begin to be printable (picture 3), this included some things I don't like to do, like covering the bolt assembly because it was way to weird to print.
But that was just the beginning. Some of the sliced up parts still looked absolutely awful once imported into Cura. So, more mesh fixing in Blender. It takes a while... I spent about 3 hours only on part 7, that was the hardest one to get working, that's why I split it up into a 7.1 and 7.2, just didn't call them 7 and 8 because that would have confused me later on.
Right now, not all the files are uploaded here. 9 and 10 are missing, I haven't fixed and printed them, I will upload them as soon as i have done that. Pictures of the final result and some other ones may follow, this is kind of a blog to be honest.
Also, the parts are not just the "GAUSS fixed" file sliced up, as mentioned above. I am just including that one for reference and for you to have a look at. The unfixed file is included too.
The parts are sized to fit on an Ender 3 bed, I think that's 225x225mm if I remember correctly. If you want me to slice you a part again or have some troubles, feel free to leave a comment, I might be able to help, though I'm not a professional. It might take some time for me to answer since I'm not very active on Thingiverse.
And finally, I have one more thing: Please no comments like "Just use Meshmixer", believe me, I tried. I'm not very good with that program, but it went something like this:
Me: Hey, this mesh has some problems
Meshmixer: Oh, I see, that's a lot of holes
Me: Well, can you fix that?
Meshmixer: Of course
proceeds to delete half of the mesh
Meshmixer: Done
Me: Excuse me, wtf!?
Maybe I just have no idea about the program (I don't) and there is an easy way, if so: Well... Wasted I guess...
So then, thanks for reading I guess, hopefully there is a person out there who is just as big of a Crysis fan as I am and can make use of these files.
Feel free to leave a comment or ask questions.
Post-Printing
Lots of glue required