by SparkBibo
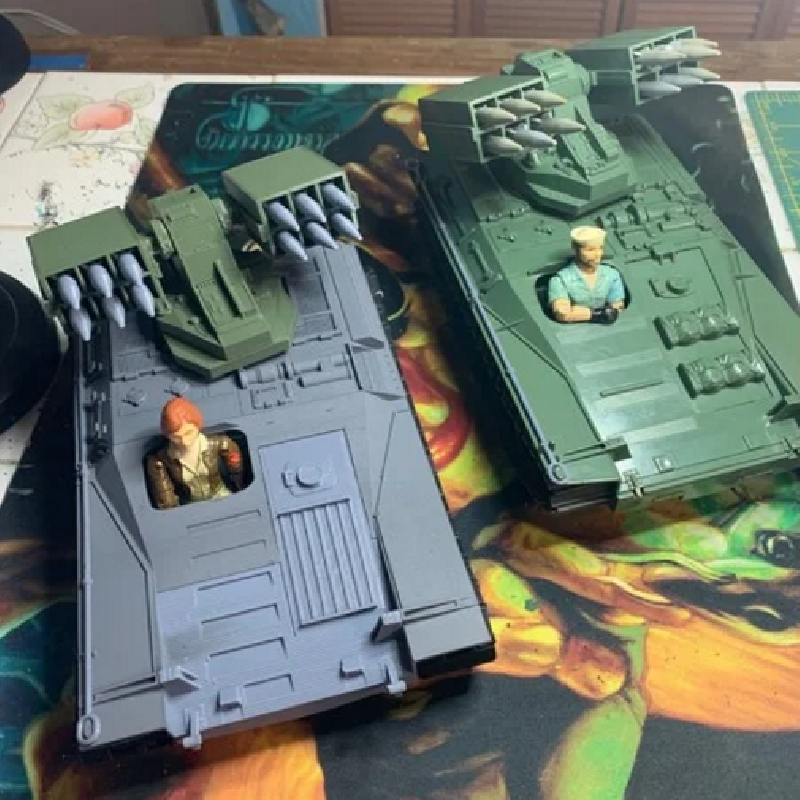
I have printed almost all of Jabberwock's GI Joe models and I have a nice display down in my work room. He always says in his info that he modeled them at 100% toy size, but that we should print them at 25% for best results. This is all fine and good, except I want full size! I have a printer and what the hell, might as well. This is my second full-size vehicle. Check out my HISS also!
FIRST THINGS FIRST
This is a bit of a technical print. I would place it in the Upper Advanced, Lower Expert range of difficulty. You really have to know your printer, have it calibrated, and be able to adjust on the fly. The treads, like the HISS, actually work. The parts are small and difficult to print. BE WARNED.
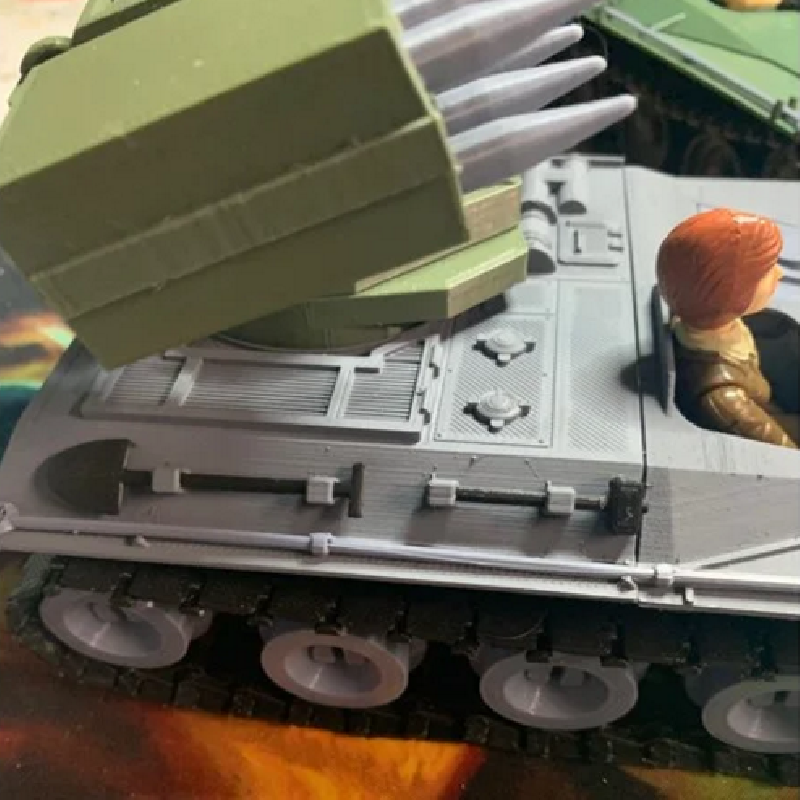
Notes: I have been working on these while on lock down during Covid19. I ran out of Olive Drab eSun filament and getting more may never happen, lol... So it is printed in 3 different colors. Olive Drab, Black, and Gray. The two top pieces of the chassis were printed in black but I had some gray spray paint primer so I painted them to match the bottom chassis. So I apologize for the unfinished look. Normally, I would have printed my final parts in olive drab for the chassis and rocket rack, gray for the rockets, wheels, and axles, and black for the tracks. Also, I did not make the engine compartment as the original had. First, The engine would not be in that spot on the vehicle, so it was ridiculous to begin with. Also, the original had some cloth bundles on the cover. I suck at making rounded, natural things, so I just put a carrying rack in it's place.
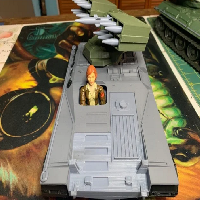
CHASSIS
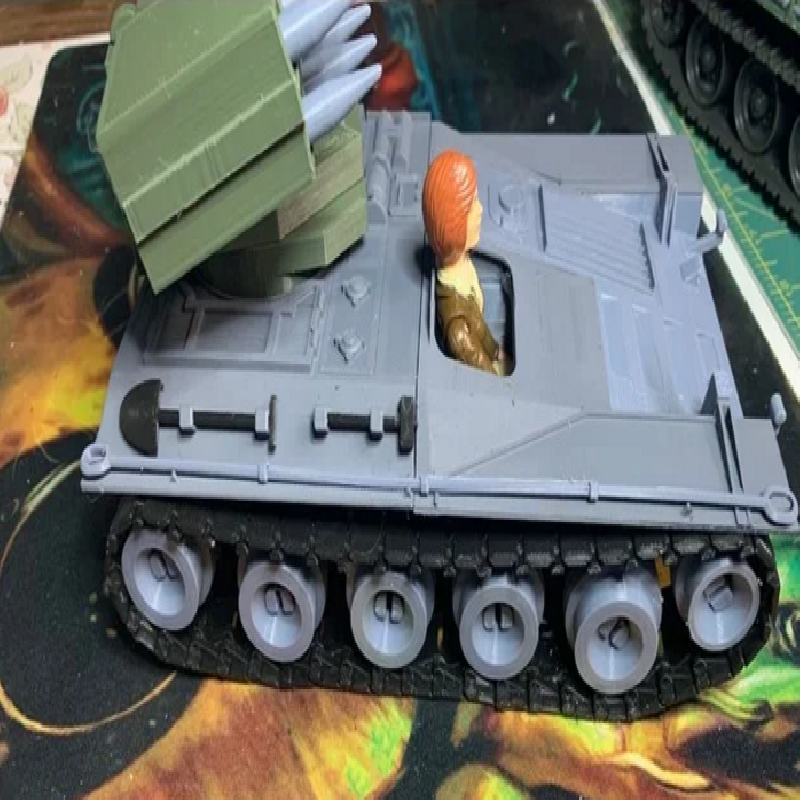
The chassis prints in 4 parts because it's too large for my Ender3 print bed.
These print pretty straight forward.
Supports: YES, Touching Buildplate Only.
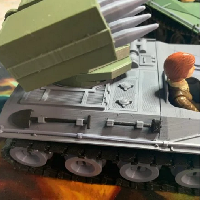
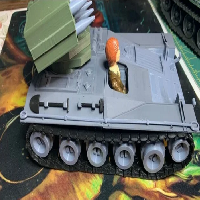
WHEELS
The two front most wheels are slightly smaller than the rest. You'll need 10 large wheels and 2 front wheels. They are halved, so print 2 sides for each and then glue them together.
The Axles are the same for all 12 wheels. Print 12. You may have to shave the bottoms (part that touches buildplate). You may also have to clean up the holes on the chassis. Mine came out fine though. You want a nice tight fit. Also, you want the split in the wheel end should be aligned vertically (see pictures) for maximum strength.
TREADS/TRACK
The Tread N Pegs file has one tread and 2 pegs in the STL. There is an additional Peg file if you just need some extra pegs. It takes 42 treads to make one full track (per side). This is the most challenging part of this print. I printed at 0.16 (Dynamic Preset) And they came out pretty good. It's the pegs that cause issues, mainly because they are so tiny. The holes on the treads are sized to make this work without glue. The outer holes are smaller and the peg should fit tight. The inner holes are larger and should fit loosely. This allows the track to move freely. If the peg fits TOO TIGHTLY in the outer holes, it will break the ring on the tread. If it fits too loosely on the outer hole, the peg will just fall out and not hold. The completed track will be a tad loose around the wheels. I tested tighter, but they did not roll as well. Despite the looseness, they should stay on.
ROCKET RACK
The TREE, TOP, and the ROCKETS need supports, the other parts do not. The TOP fits over the TREE axis and snaps into place. If it's too tight, file the back edge (under the round thingee) just a little, until you can get it to snap into place. If it just will not snap, check the tree and the holes and make sure it's not all too tight. You want it snug, but not too tight. Otherwise, your rack will just hang limply pointed down.
OTHER PARTS
TOOLS: I decided to make these usable so they can be removed and played with. Print the hammer with supports for the handle.
TOW CABLE: No supports, but you might have to adjust it's length in your slicer to get it to fit snugly on the pins that hold it to the chassis. Print one, see how it fits, +/- a % to the length and print again.