by kirouac
English:
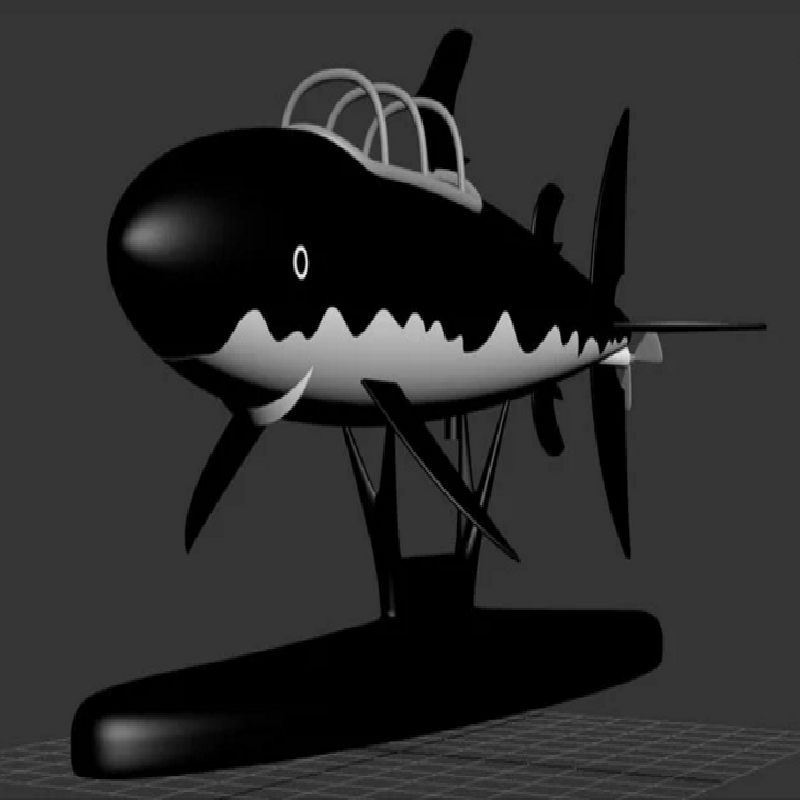
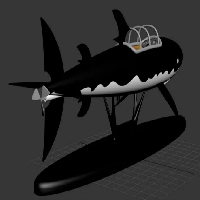
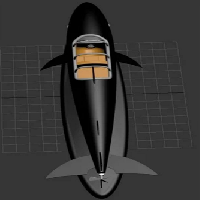
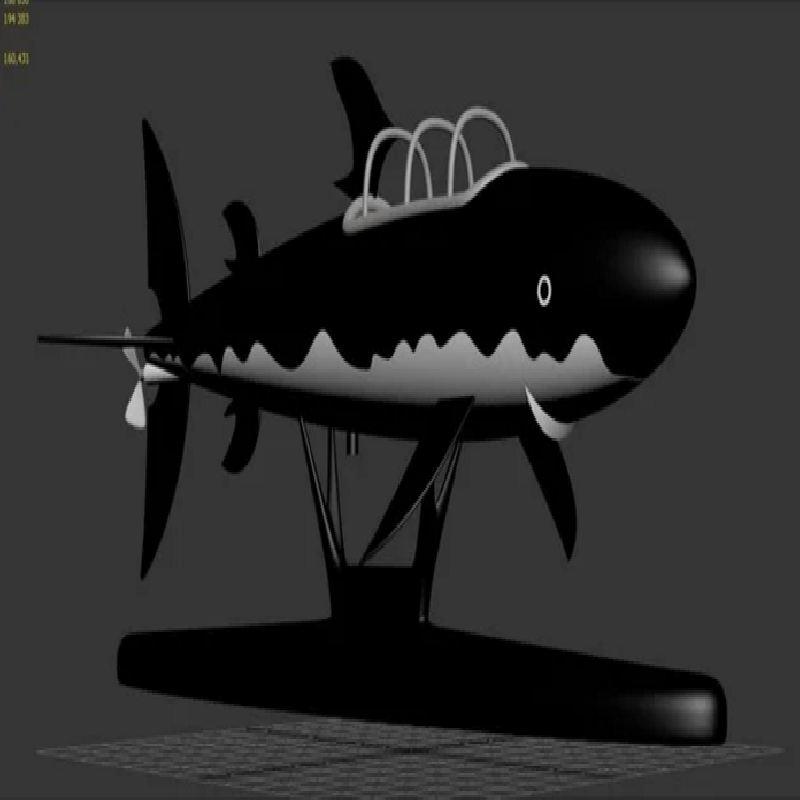
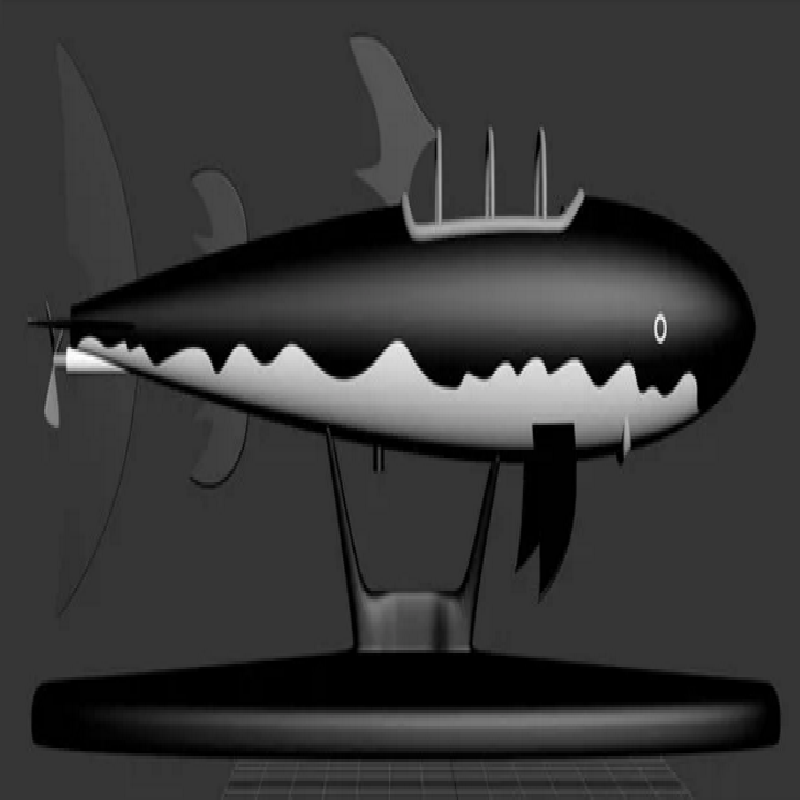
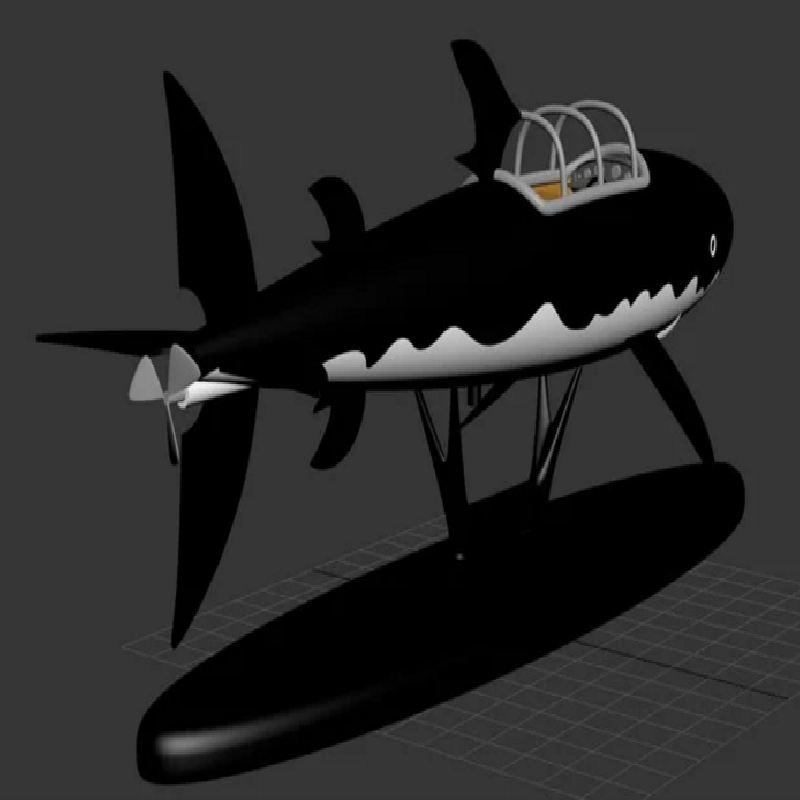
Here is a collector's item. Hergé’s famous shark submarine. This project is not for beginners and to achieve it, you will need to have a properly adjusted printer, patience, be meticulous and persevering. It is complex and requires know-how during assembly. It is a rare project and it is difficult for me to say how long my files will be available. IF ever, for some mysterious reason ;) this project is NO LONGER AVAILABLE ON MY PART, I authorize all those who have download it to share it on the platform of their choice ... However, it was really very difficult to realize and I would appreciate that we recognize my effort to share this piece for free! :) I realized this project with the aim of learning 3ds max. I had to do it at least 50 times! I learned a lot from this. I wanted to wait until I had completely finished assembling and finishing before sharing it, but thought that given the current world situation and the free time we all have, it would be a good time to share with you now this project which I am proud! I show you for the moment the pictures of my pre-assembly. As soon as it is finished I will upload the pictures of my finished project.
I recommend printing it at 120% for better definition. Look at "Print Settings" section for more details...
It is certainly a laborious project, but very captivating!! I hope you’ll enjoy it and have a lot of fun doing it. I also strongly invite you to share your thoughts and photos of your achievements.
Have fun, keep calm and be patient during these troubled times for everyone. :)
Français:
Voici une pièce de collection. Le fameux requin sous-marin d’Hergé. Ce projet n’est pas pour un débutant et pour le réaliser, vous devrez avoir une imprimante bien ajustée, de la patience, être minutieux et persévérant. Il est complexe et demande du savoir faire lors de l’assemblage. C’est un projet rare et il m’est difficile de dire combien de temps mes fichiers seront disponible. SI jamais, pour une raison mystérieuse;) ce projet N'EST PLUS DISPONIBLE DE MA PART, j’autorise tout ceux qui l’on téléchargé à le partager sur la plateforme de leurs choix... Toutefois, cela a été vraiment très laborieux à réaliser et j’aimerais bien qu’on reconnaisse mon effort pour vous partager gratuitement cette pièce introuvable! :) J’ai réalisé ce projet dans le but d’apprendre 3ds max. J’ai due le refaire au moins 50 fois! J’ai appris beaucoup grâce à cela. Je voulais attendre d’avoir complètement achevé mon assemblage et la finition avant de le partager, mais me suis dit que vue la situation mondial actuel et le temps libre que nous avons tous, ce serait le bon moment pour vous partager maintenant ce projet dont je suis fier! :) Je partage pour l'instant les photos de mon pré-assemblage. Dès qu'il sera fini je téléchargerai les photos de mon projet fini.
Je recommande de l'imprimer à 120% pour une meilleure définition. Consultez la section "Print Settings" pour plus de détails...
C’est certainement un projet laborieux, mais très captivant !! J’espère que vous apprécierez et aurez beaucoup de plaisir à le réaliser. Je vous invite aussi fortement à partager vos réflexions et les photos de vos réalisations.
Amusez vous, gardez votre calme et votre patience en ces temps trouble pour tous. :)
Print Settings
Printer brand:
Creality
Printer:
Ender 3
Notes:
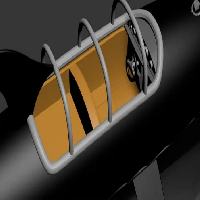
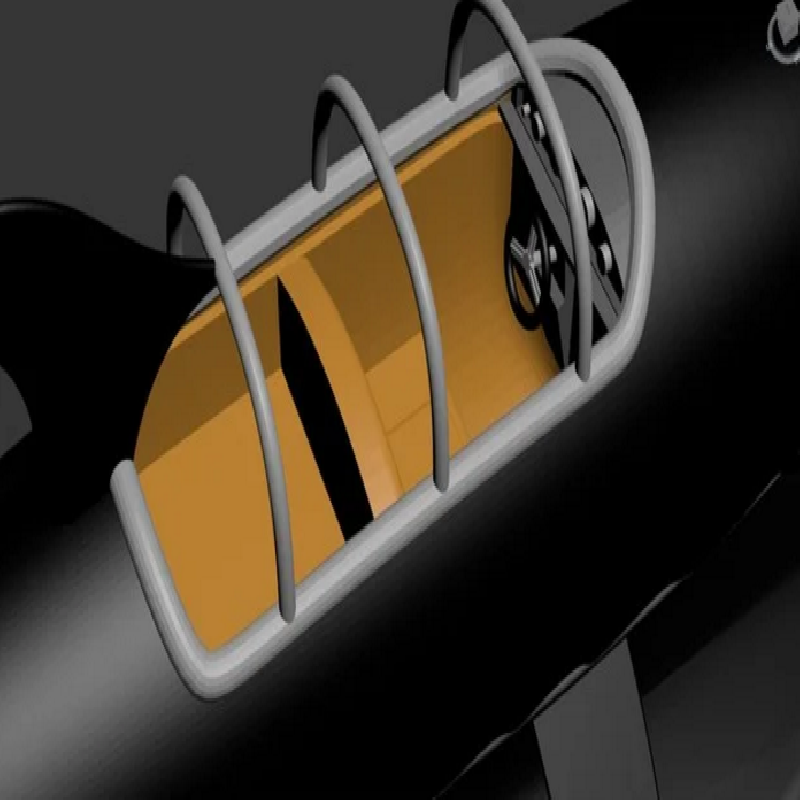
English: On the technical side, I have already oriented parts in the best possible way for printing. But that said, everyone should look to it according to their printer and their intentions. Some parts will require some type of support or another and other parts will require no support at all, depending of your printer. Also, I offer the files for the top and bottom section either complete or in 2 parts, it's up to you to see what you prefer for printing. I personally printed mine at 120% and if your printer has a limited print resolution, I invite you to do the same. You will need for assembly some glue according to your type of filament, putty epoxy, sandpaper and perhaps, depending on your skill and habits, a soldering iron. Several adjustments will certainly be necessary, including sanding the part of the fins that fits into the shark. Depending on your printer, it may be a little tight. Do not force anything, sand and adjust so that all the parts fit securely into each other. The assembly is meticulous work. I also offer in my files, a mold for the glass. This is a bit complex but very achievable. I will make a video shortly to show how. You have to be two and have a heat gun and a transparent piece of plastic, like a 2L of soft drink or a plastic packaging large enough to wrap the mold. One of you has to hold the plastic at the ends securely with both hands. The other must hold the mold with pliers with one hand and with the other hand heat the plastic. When the plastic is soft enough, you have to push the mold into the film and makes sure it is pushed well so that the mold is coated evenly and everywhere without creases. ..Several tests will probably be necessary, but you will be OK!! ;) ====================================================================== Français: Coté technique, j’ai déjà orienté les pièces de la meilleurs façon possible pour l’impression. Mais cela dit, chacun devra y voir selon son imprimante et ses intentions. Certaines pièces auront besoin d’un type de support ou d’un autre et d’autre pièce aucun support, à vous de voir selon votre imprimante. Aussi, j’offre les fichiers de la section du haut et du bas soit complet, soit en 2 parties, à vous de voir ce que vous préférez pour l’impression. J’ai personnellement imprimé le mien à 120% et si votre imprimante à une résolution d’impression limité, je vous invite à faire pareille. Idéalement, vous aurez besoin pour votre assemblage de colle selon votre type de filament, de putty époxy, de papier sablé et peut-être, selon votre dextérité et habitudes, d’un fer à souder. Plusieurs ajustement seront certainement nécessaire, entre autre le sablage de la partie des nageoires qui s’insert dans le requin. Selon votre imprimante il est possible que ce soit un peu serré. Ne forcez rien, sablez et ajustez pour que toutes les pièces entre solidement les uns dans les autres. L’assemblage est un travaille minutieux. J’offre aussi dans mes fichiers, un moule pour la vitre. Cela est un peu complexe mais très réalisable. Je ferai sous peu un vidéo pour montrer comment. Il faut être deux et avoir sous la main un pistolet thermique et un morceau de plastique transparent, comme un 2L de boisson gazeuse ou un plastique d’emballage assez grand pour envelopper le moule. Il faut que l’un d’entre vous tienne le plastique aux extrémités solidement avec ses deux mains. L’autre doit tenir le moule avec des pinces d’une main et de l’autre main chauffer le plastique. Quand le plastique est assez ramollie, il enfonce le moule dans la pellicule et s’assure de bien poussé pour que le moule soit enrobé également et partout sans avoir de plis. ..Plusieurs essais seront probablement nécessaires, mais vous serai capable !! ;) 120%: 120mm X 70mm X 218mm