by DeSteiner
Hi there!
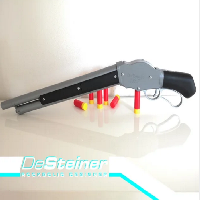
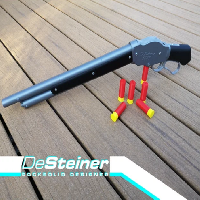
Do you love the aesthetics of the classy Winchester Model 1887? Me too! Being featured in Terminator 2, CoD, FarCry, Battlefield and other widespread media, you can finally experience it live in your living roomat minimal cost!
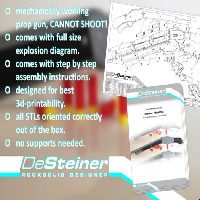
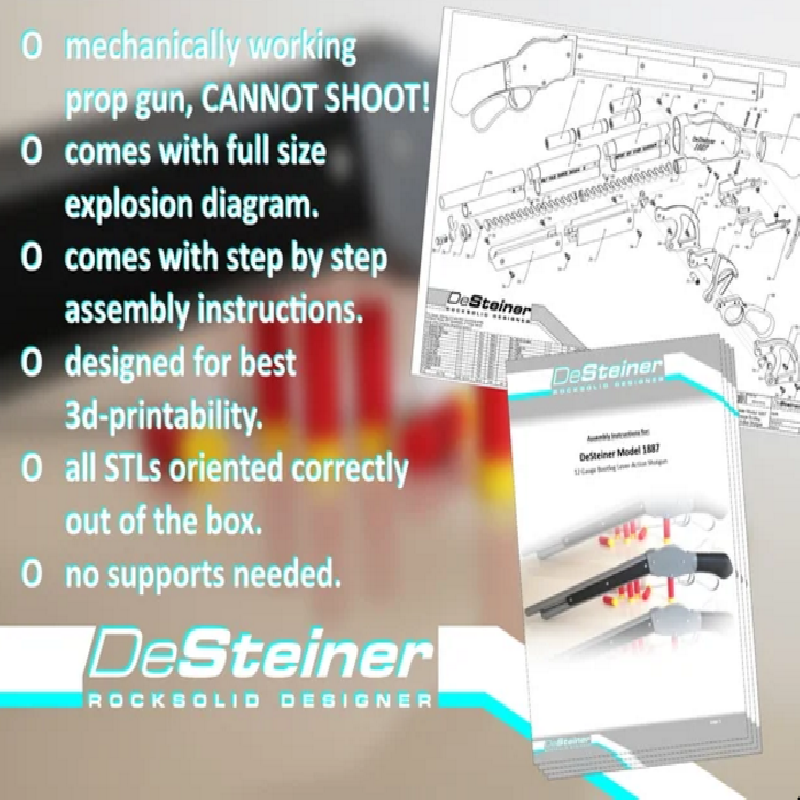
Works great as a Cosplay accessory too! The working mechanism is definately an eye catcher! But fear not, IT CANNOT SHOOT! May not be wise to carry it in public though, it looks quite realistic.
This project took a lot of time and effort.
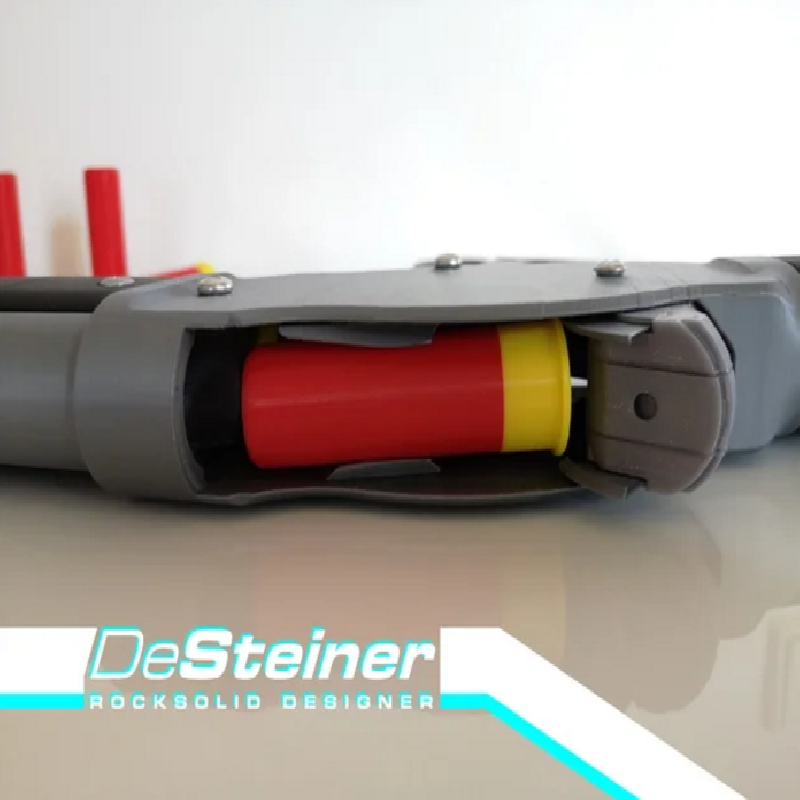
I did not have the real gun to disassemble or any 3D-models of some kind. I had to study the original US-patent files (available on Google Docs, fun fact) full of cross sections to figure out how the mechanism works. Next up I had to turn my acquired understanding into CAD models of the internals. While 3d-printing does not have a lot of limitations, I love models which are easy to print with large flat bottom surfaces, no need for supports, proper connection solutions without the need for glue, simply overall easy to print. Following my own Rules that come with the DeSteiner brand does not make the design process easier, but results in a much more satisfying printing process. All the dimensions of the gun in general were taken from a sideways image and the info, that the gun is 70cm long. Combining both by counting and converting pixels I acquired the basic outside dimensions. Surprisingly, the first prototype worked quite well. Some troubleshooting, tweaking and polishing followed.
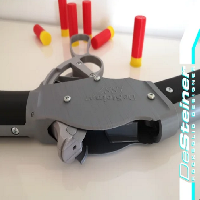
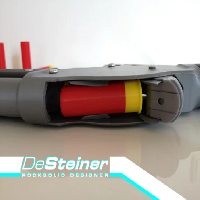
And here it is. The DeSteiner Model 1887, working like a charm.
I hope you enjoy it as much as I do!
And you get all of it for free!
If you value my work, I would highly appreciate it if you sent me a tip!
Don't forget to share your makes, too!
Yours,
Tobias ~DeSteiner
Check out the Youtube Video to the Project!
https://youtu.be/Cz3nReCI69Q
Print Settings
Printer brand:
Prusa
Printer:
i3 MK2S
Rafts:
No
Supports:
No
Resolution:
0,15mm
Infill:
8-10%
Filament_brand:
Prusa / Prusament / Hatchbox / IceFilaments
Filament_color:
gray / light gray / red & yellow / black & white
Filament_material:
PLA; ABS
Notes:
print slowly! -- I have designed the tolerances when two parts are meeting to be rather tight to minimize wobble. I used speeds around 25mm/s. What you save in print time, you may have to invest in additional afterwork if the parts dont fit together... -- Some parts have the addition "brimmed" in their part name. That mostly means that I added a 1 layer high surface directly into the model either to improve brim generation (no brim in useless spots), put additional first layer strength to critical part areas, remove the standard brim entirely, or custom supports. There is always a non-brimmed version too, if you feel like you dont need it.