by sokutaban
Hi. I did a complete redesign of:
Driftgirl's 3D Printable Ball Jointed Doll posted by sarf2k4.I also used arms from 7Fish's dollglasses from ViFlexGlassesand hairfrom 7Fish's other doll.
I did this redesign starting in late 2018 and finished some time in 2019 but never got around to posting it. Personally I think kasca's "Kasca-style 52cm 1/3 magnet joint doll" may be better, but at the time I did this redesign, it had not been posted yet.
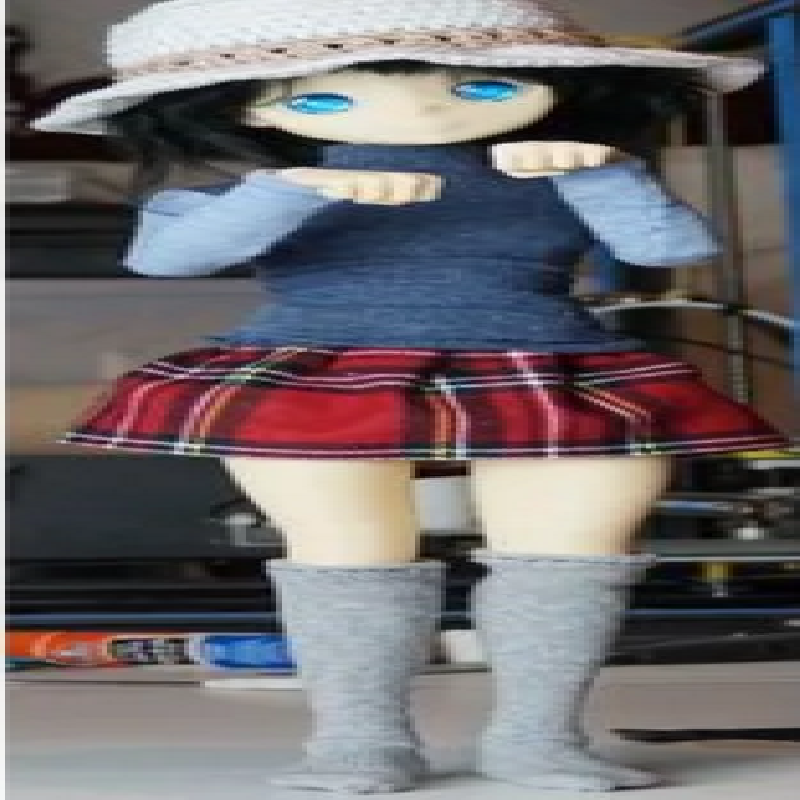
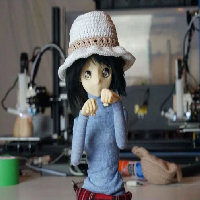
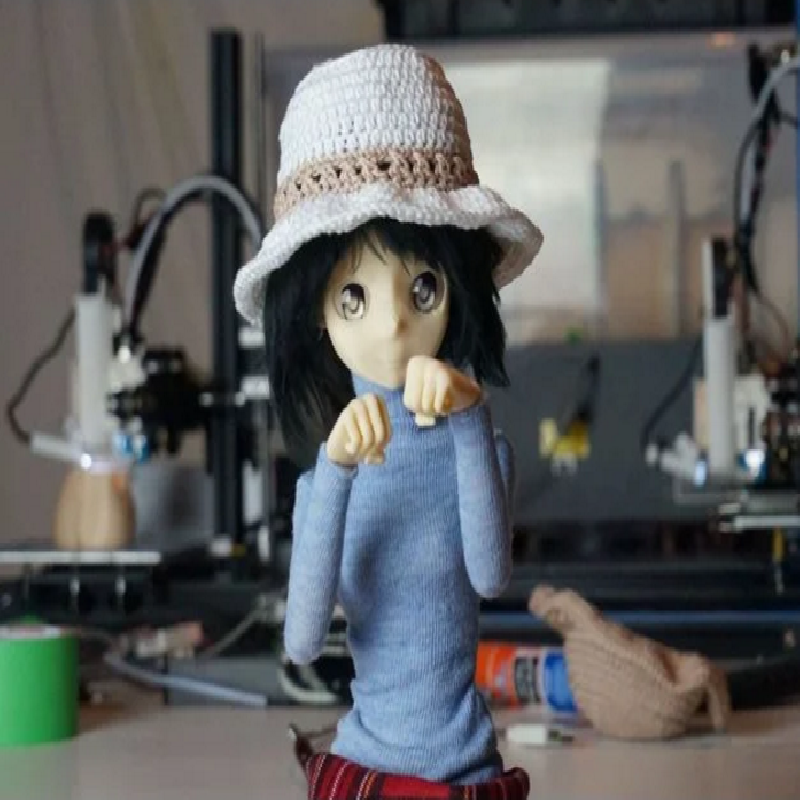
I did this redesign because some time ago I sawthe most adorable looking doll by Dolchu on Flickr.I tried to recreate it using my limited artistic skills, and Driftgirl's doll as a base. It didn't really turn out as I had hoped, but oh well. I later added an option for 22mm eyes, found on the Volks store or elsewhere, as well as an option to add 3D printed hair and glasses if you don't feel like making a wig. The hair may need to be glued in place, as I didn't put too much effort into it.
I tried to put each file in its best orientation for printing, although the glasses may take some fiddling should you choose to print them.
In order to assemble the doll properly you are going to need some elastics and some thick wire (garden wire). These are used to keep the torso and head attached to each other and upright, as well as keep the arms together, and in position. I suggest using 3-4 wires together to keep as firm a position as possible, or generally as many as you can fit. Some of the joint connections are a loose fit. Use sellotape to adjust the fit to your liking.
The last few files are stamps I experimented with to do the eyebrows of the face-up. Sadly my 3D printer was not accurate enough to capture the details needed, but I imagine if you have a resin printer, you may be able to use it.
The clothes seen in the pictures were mostly made out of socks. The hat (crochet) and skirt were made by my mother. The hair was made by me using acrylic yarn, brushing them and using an hot iron to keep them strait. You can probably get wig tresses and make a wig that way if you are able to get some cheap enough, attaching them to a sock with glue or sewing them in place.
You can chose to use the "printed eyes" set or the 22mm set for the head. For the "printed eyes" set, you will probably have to draw on the eyes, or print some off and glue them on. These were made before I got some 22mm eyes, so it may take some work to get them to look good.
I made a spreadsheet of the list of changes I made to the doll to get it to this point.It can be seen here.
I also made a spreadsheet of the print times for some of the parts so you can get an idea of how long it could take using the same settings I used.It can be found here.
If you like the doll, please consider tipping me, donating atpaypal.me/ShrinkRaymeor tipping one of the creators of the original files. Thanks!
Print Settings
Printer brand:
Creality
Printer:
Ender 2
Rafts:
No
Supports:
Yes
Resolution:
0.08
Infill:
15/70 depending on part
Filament_brand:
BotFeeder
Filament_color:
Value PLA Light Tan (Skin)
Filament_material:
PLA
Notes:
Although I printed this with BotFeeder PLA Light Tan (Skin), I have recently found out that all my printing troubles were actually just BotFeeder's terrible fillament and not my printer, so there is that... See this spreadsheet for per file instructions - under settings on the right: https://docs.google.com/spreadsheets/d/1nUejvjP1LrvajX2yv88NzriqE0CDQ-pqTu1X7VXsfSw/edit#gid=0