by reddadsteve
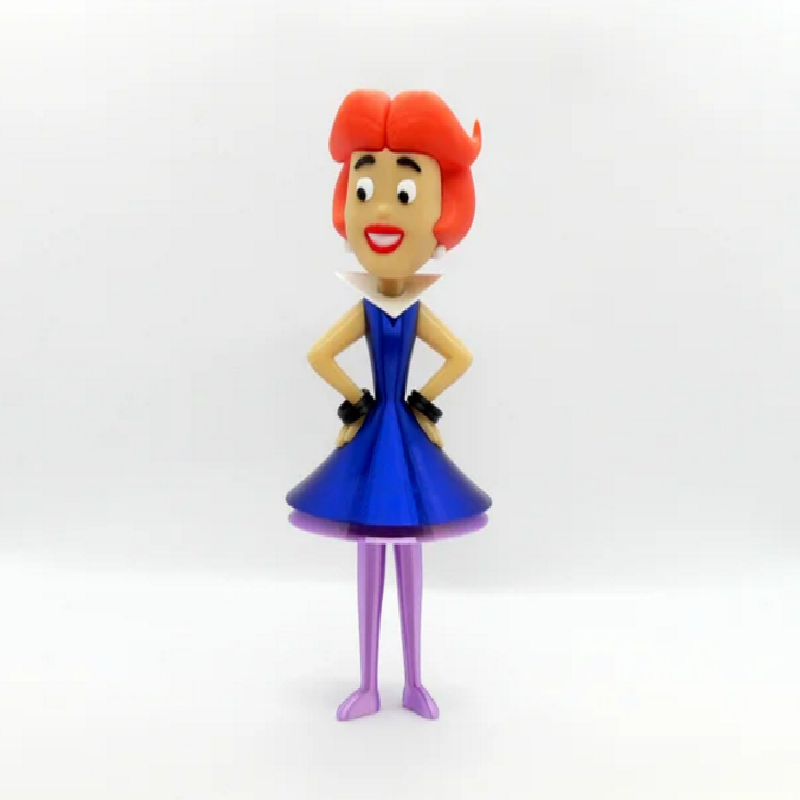
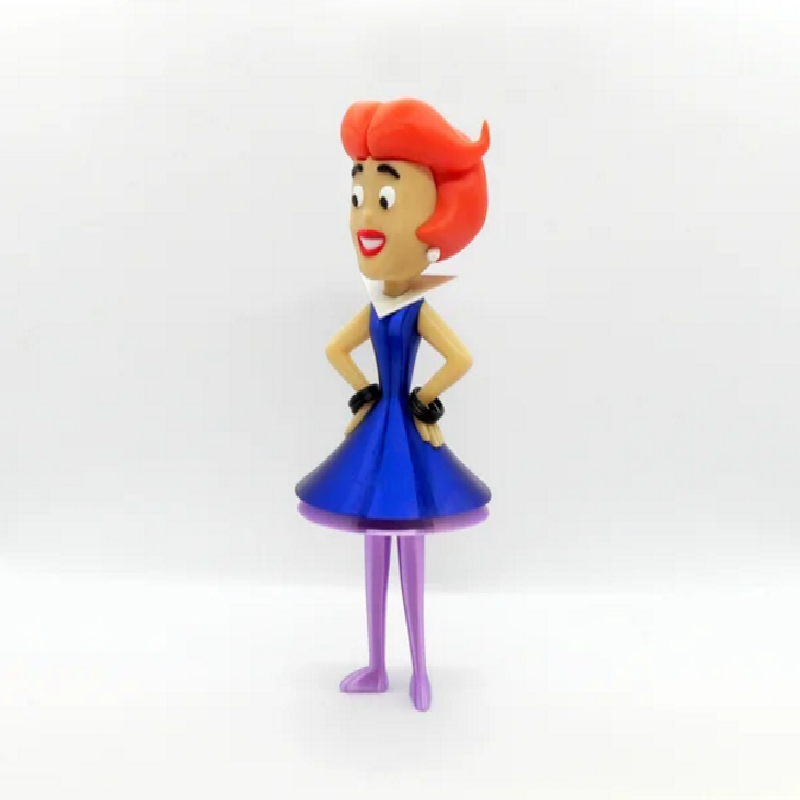
Jane Jetson, from the comic strip The Jetsons, by Hanna-Barbera.
Jane Jetson is George's wife, mother of their two children, and a homemaker. Jane is obsessed with fashion and new gadgetry. She is a dutiful wife who always tries to make life as pleasant as possible for her family. Outside of the home, she is a member of the Galaxy Women Historical Society and is a fan of Leonardo de Venus and Picasso Pia.
No supports are required. If you have the proper filament colors, no painting is needed.
Enjoy!
Print Settings
Printer brand:
Prusa
Printer:
I3 MK3S
Rafts:
No
Supports:
No
Resolution:
.2mm
Infill:
10%
Filament_brand:
various
Filament_color:
various
Filament_material:
PLA
Notes:
*Notes: See below for helpful print and assembly notes
Building the Model
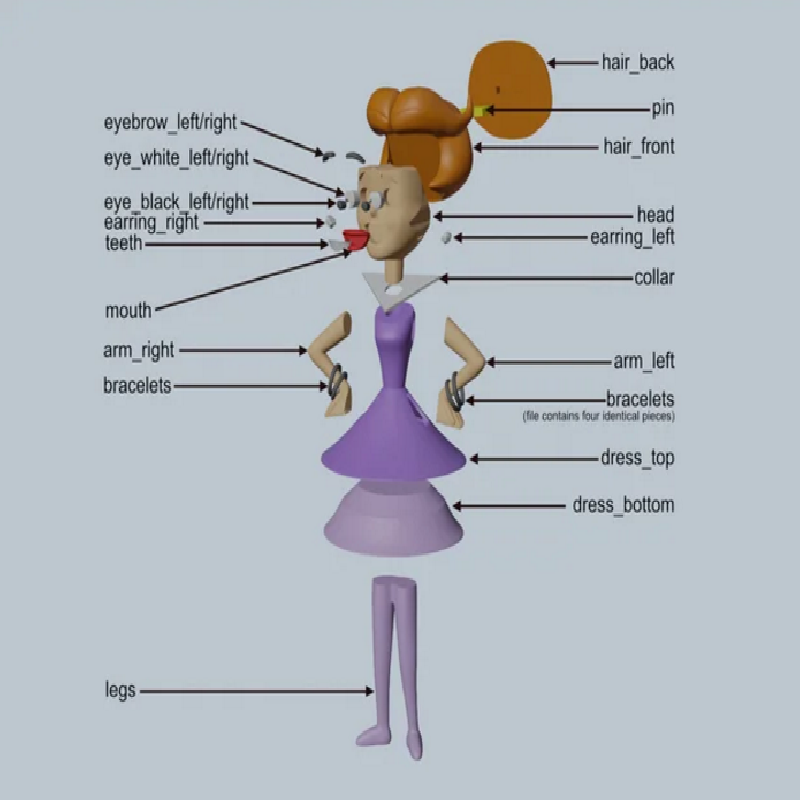
Colors
Skin: (Paramount3D PLA - Universal Beige) arm_right arm_left head .. Black: (Paramount3D PLA - Black) eyebrow_left eyebrow_right eye_black_left eye_black_right bracelets (contains four identical pieces) .. White: (Paramount3D PLA - White) eye_white_right eye_white_left earring_left earring_right teeth .. Red: (Hatchbox PLA - Red) mouth .. Orange: (Paramount3d PLA - Caribbean Coral) hair_front hair_back .. Blue: (Polyalchemy elixer - Nightshade) dress_top .. Light Purple: (Polyalchemy elixer - Purple Rain) legs dress_bottom .. Natural: (Polyalchemy elixer - Natural) collar .. Any color (hidden piece) pin
Printing and assembly tips
Printing tips 1-No supports are required 2-Use your judgement for brims or rafts. Personally, I used a raft for the eyebrows and eye_blacks. These are small pieces and not only do they print easier with a raft, they are far easier to handle and don't get lost if you leave them on the raft until you need them. 3-The parts should fit nicely when printed cleanly or with a slight first layer squish. 4-I did not have two different shades of purple, so I went with the blue/purple extra shiny futuristic combination. Use your own preferences for clothing colors. .. Assembly tips: 1-I used E6000 sticky craft glue glue to put this model together. The sticky glue allows more time to position the parts than a fast drying superglue. 2-The head is not facing straight forward, just go with the angle of the insert. 3-The left/right eye_blacks and eye_whites are a bit different. for the best look, be sure to test fit them before gluing to ensure you have the pieces in the right places. 4-I made the bracelets as small as I could and still be able to slide over the arms. I put two bracelets on each arm, but my wife prefers only one per arm since they are a bit large. Your choice. 5-Refer to the assembly diagram in the pictures section as well as the uploaded pictures for putting the model together. The model is meant to be glued. Do not hesitate to ask questions, feedback is essential to making better models.