by epompella
After a while I had the time to bring this project to a decent stage and I decided to publish it.
The object is made up of 42 stl files, but:
2 of them are not part of the model itself, the "windscreen template" and the "rear indow template" should only be printed to be used as templates to help cutting in exact shape some transparent acetate or similar to be used as "glass" for the windscreen and the rear window
the "half internal wheel" and the "half external wheel" have to be printed five times each,
the "handle" has to be printed three times,
the "internal handle" has to be printed two times.
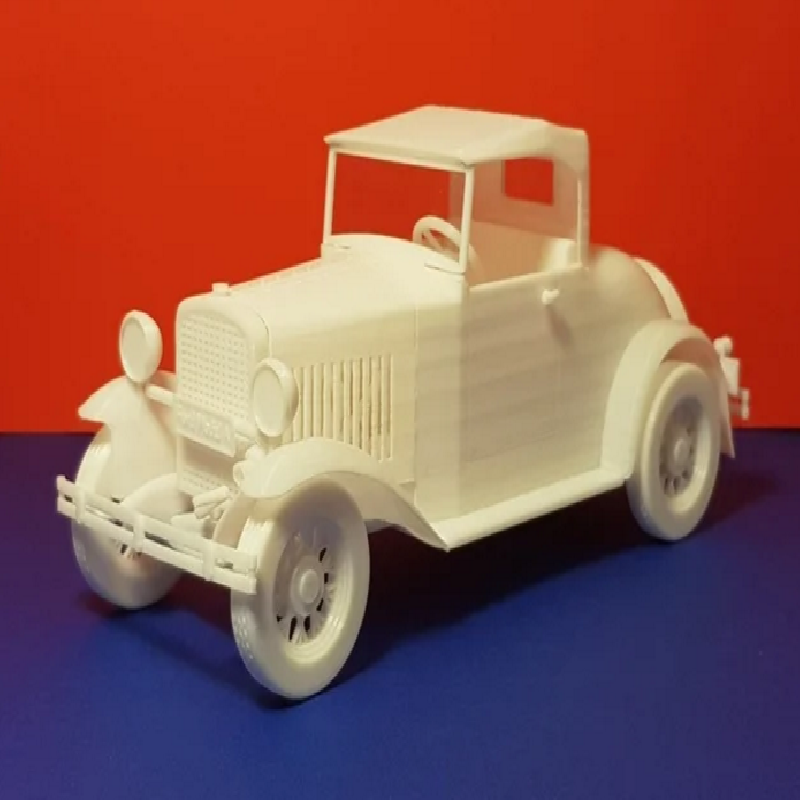
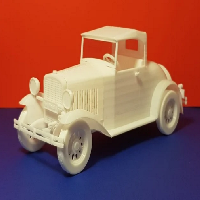
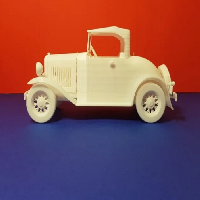
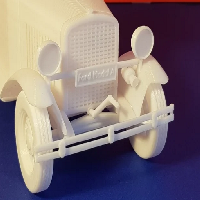
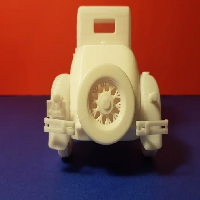
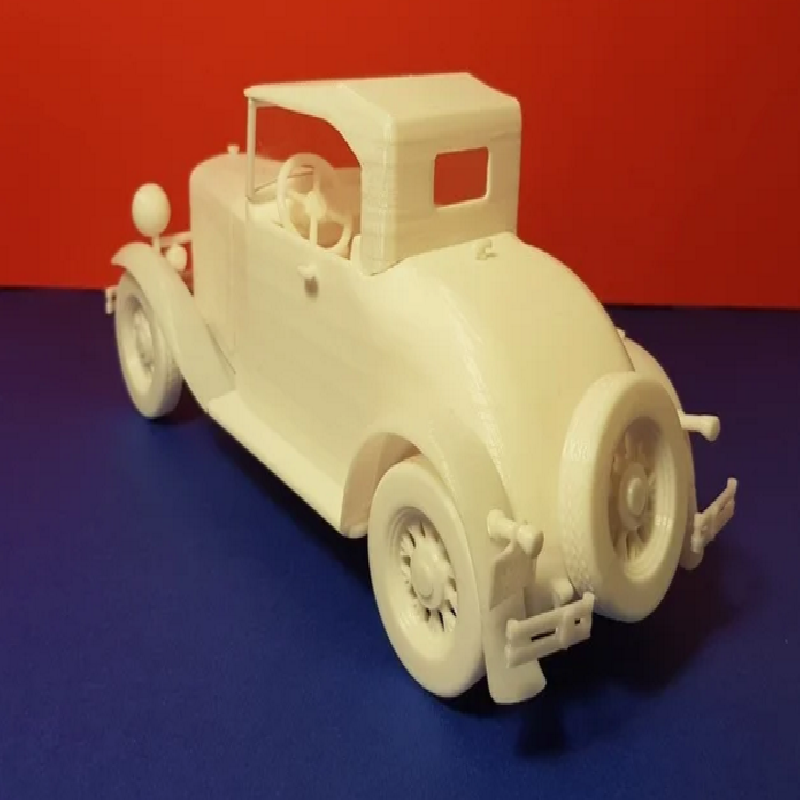
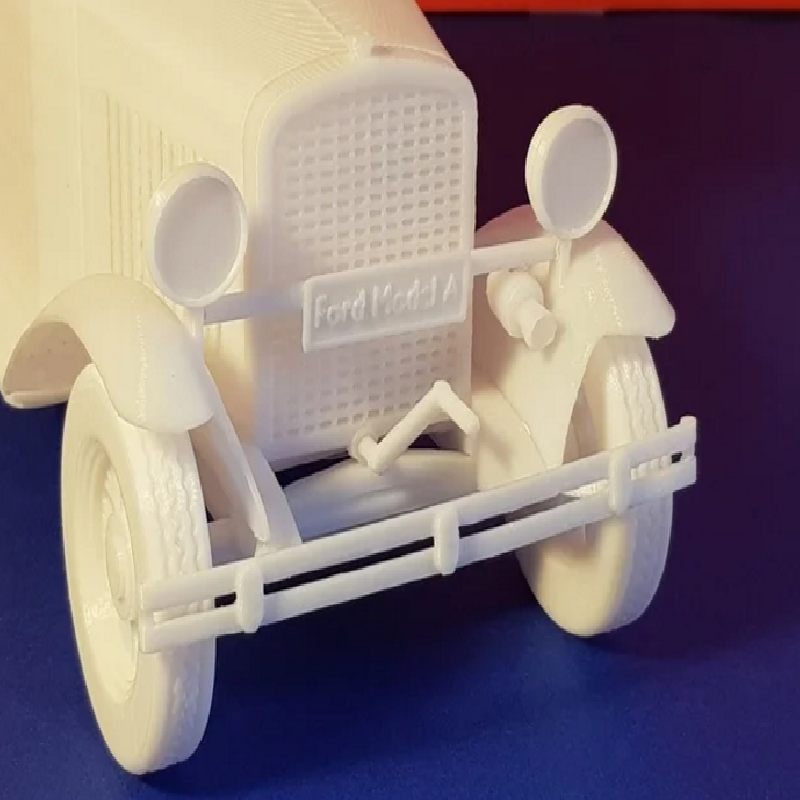
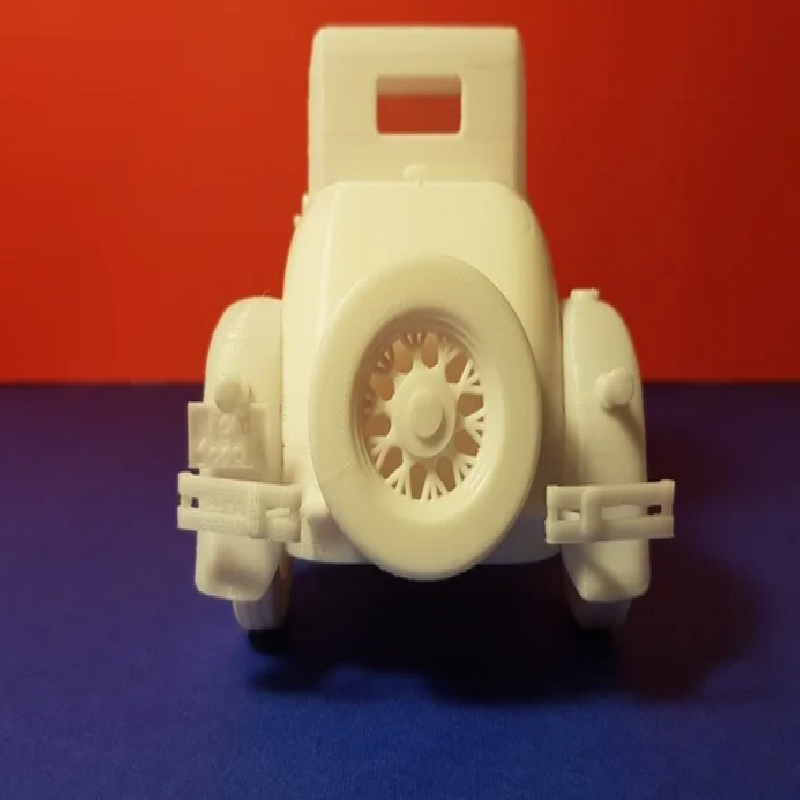
Please notice that the model was designed to resemble the 1931 Ford Model A Roadster, but several details are missing or different from the original. I beg you pardon but I made a compromise between design time, decentness of result and printability. E.g. the starter handle ("cranck") was indeed not present in the original that was already with electric starter.
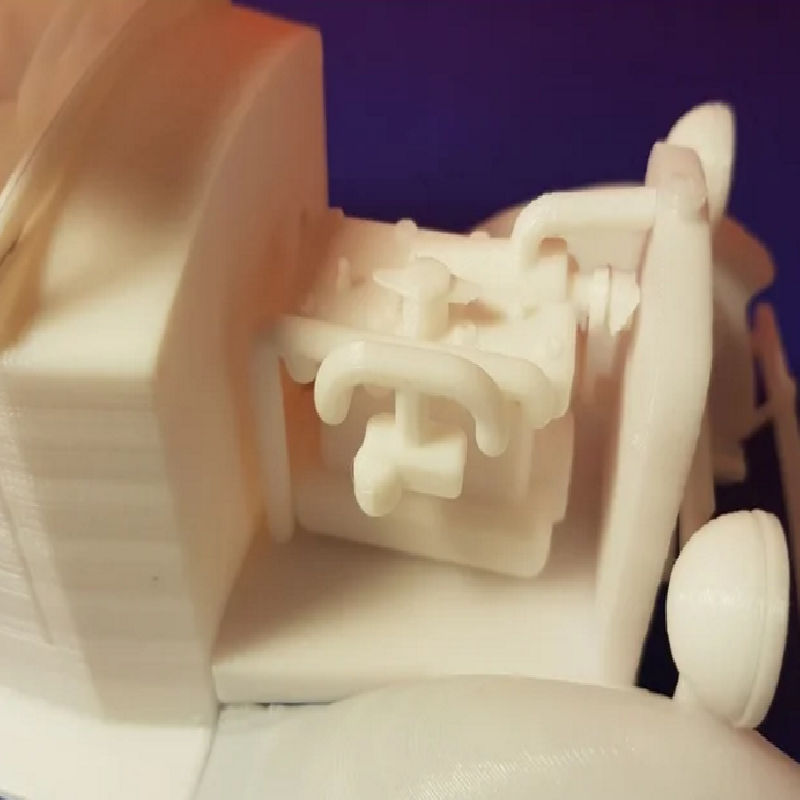
The engine parts are coarse, and the entire lower part is flat with no detail (ugly but it helps a lot when printing the "main body").
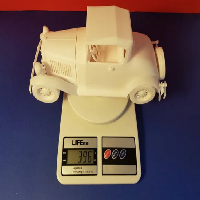
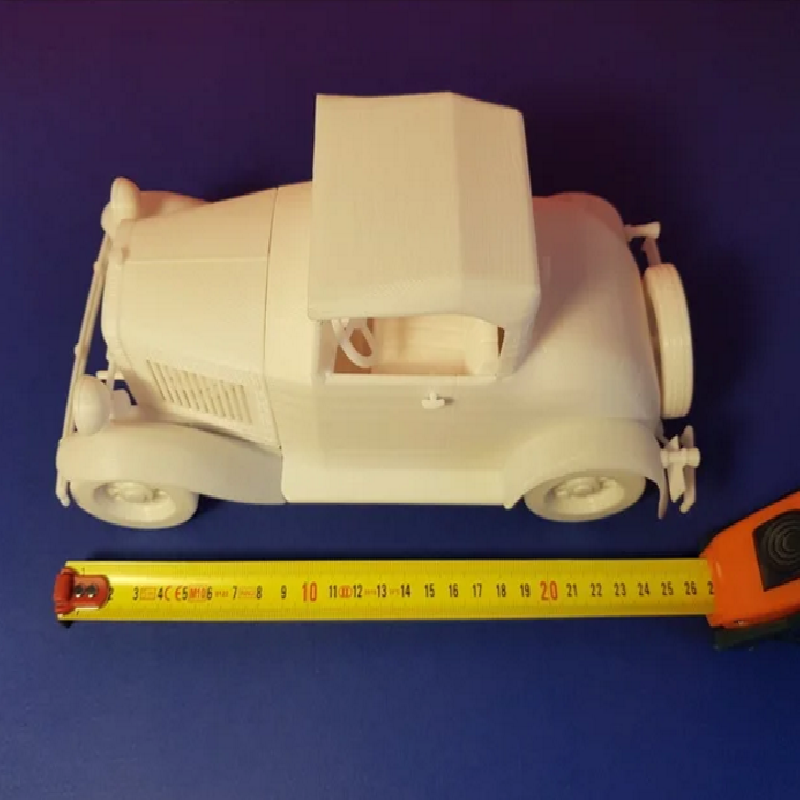
Scale is approximately 1:15. The complete model is 26 cm long, i.e. 10" 1/5
Print Settings
Printer:
Anycubic I3 Ultrabase
Resolution:
0.2 mm
Infill:
25%
Filament_brand:
Anycubic
Filament_color:
white
Filament_material:
PLA
Notes:
Fenders, canopy and bonnet thickness is about 1 mm: must be printed with brim or raft and supports but be very careful when removing them. Main body, half wheels, bumpers can be printed without brim or raft but they need supports too. For tiny parts as handles brim is a must. License plates must be printed face up and parallel to the printer bed, if you want to read the writing on them.
Post-Printing
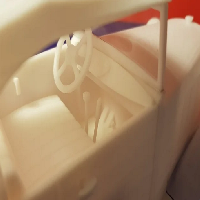
Carefully remove supports, refine pieces sanding them and glue with cyanoacrilate. The model is fully static, sorry no moving part. When coupling the wheel halves rotate the external one until both the spikes AND the tread sculpture matches. As an alternative you could decide to merge the halves and print each wheel at once. The "brake master cylinder" and the "steering rod" don't have a groove or notch to be positioned in: look at the pictures for best positioning. The windscreen frame must be glued slightly inclined bacward: for best positioning use the canopy as a reference. Note: the model in the pictures was not glued with cyanoacrilate but all the parts were put together using UHU Patafix: my intention is to airbrush paint it and it is much better if you paint the parts separately. Maybe I'll post some pictures of the model once colored later on (if decorous enough!)
How I Designed This
I designed most of the parts in FreeCAD 0.18, but for the curved and complex shapes (fenders, bonnet, canopy) I used Blender. Once modeled in Blender, parts were imported back in FreeCAD, transformed in shapes, solidified and refined adding construcion pins and holes