by bertmern
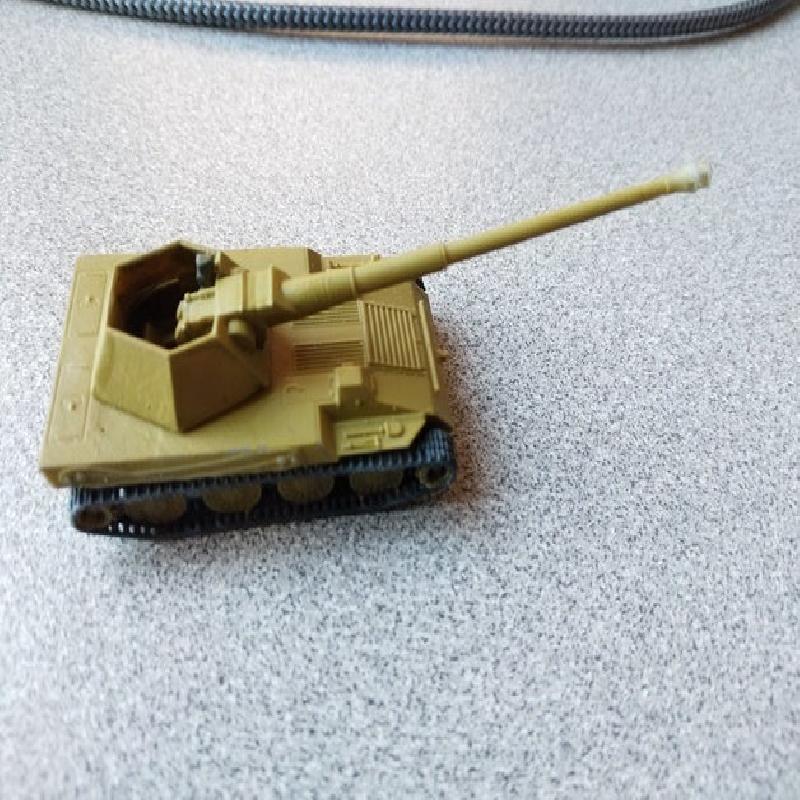
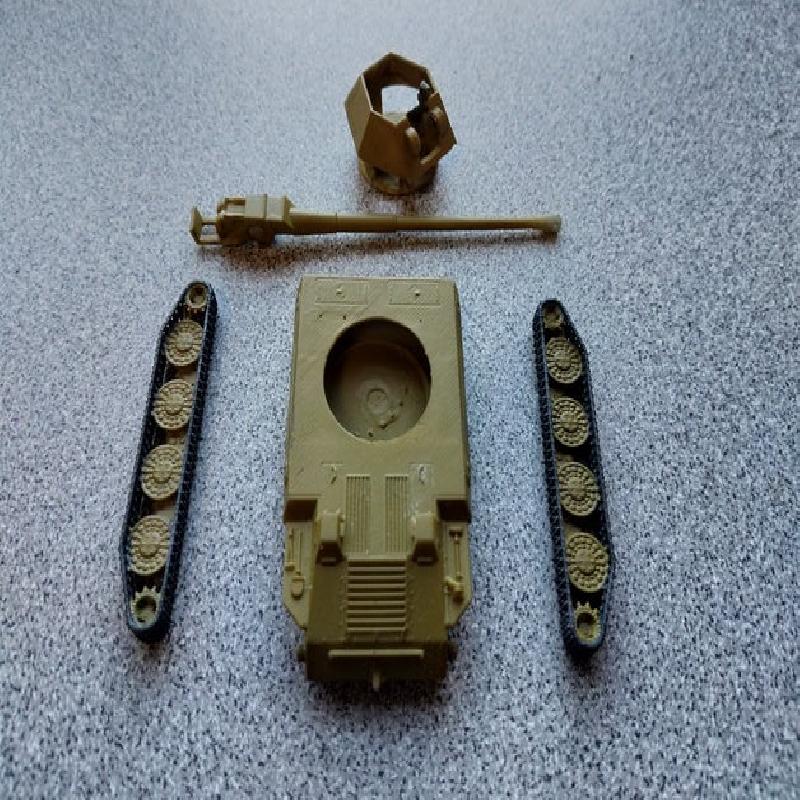
Waffentrager, 1:100 scale (roughly), 15mm but not really
I started playing War Thunder again a little more than a year ago and was instantly wiped off the map by this little terror that had come out in my absence. Now it's my favorite thing to roll in up to 8.0 because of the meme capabilities. Couldn't find any solid models of it so this is my best attempt at a printable functional model of it that can be used for 1:100 tabletop gaming. Props to TigerAce1945 and m_bergman for their models, I print a lot of those and used several for scale comparison in testing this model.
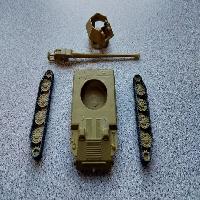
Barrel is affixed to the turret using a total of 4x 3x1mm cylinder magnets. I use a dot of superglue to fit them because this is scaled up around 15% from my original design in testing so the magnets might not fit snug any more. Turret is fixed to the body in the same way. You may have to drill out the holes in the sprockets on the tracks to fit with the bosses on the body, I didn't put much time into getting the tolerance there correct for easy assembly.
I know the gun is within +-2% of correct because I can compare it to existing 1:100 injection molded models by zvezda and other companies and the barrel steps and brake are as close as I can tell to correct. The rest of this was designed completely off of some random drawings, front side and top views I found in a google image search. If you think the scale is off, please let me know and I'd be happy to scale it differently and re-upload it. I can't find really any actual dimensions on this thing so it's made mostly by going in the War Thunder menu and comparing it to other tanks visually.
Let me know if there's anything I can do to this model to make it more correct or overall better, I'm open to suggestions and this is my first complete model so I'm still learning.
Enjoy!
Printer:
Elegoo Mars
Rafts:
Doesn't Matter
Supports:
Yes
Resolution:
0.03mm layer height, can go finer
Infill:
2mm thick walls, 1.5mm drain holes
Notes:
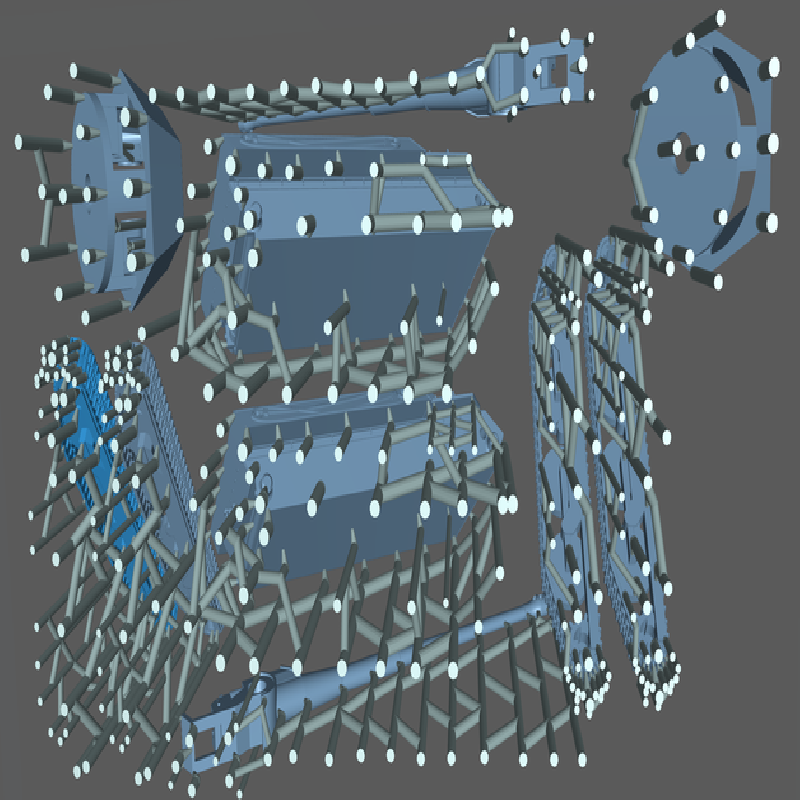
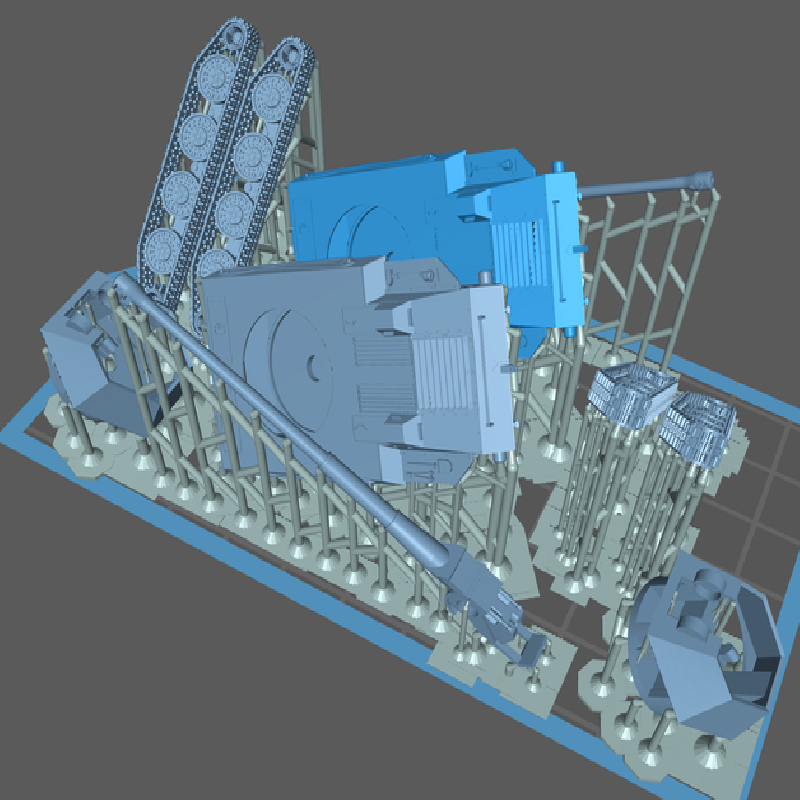
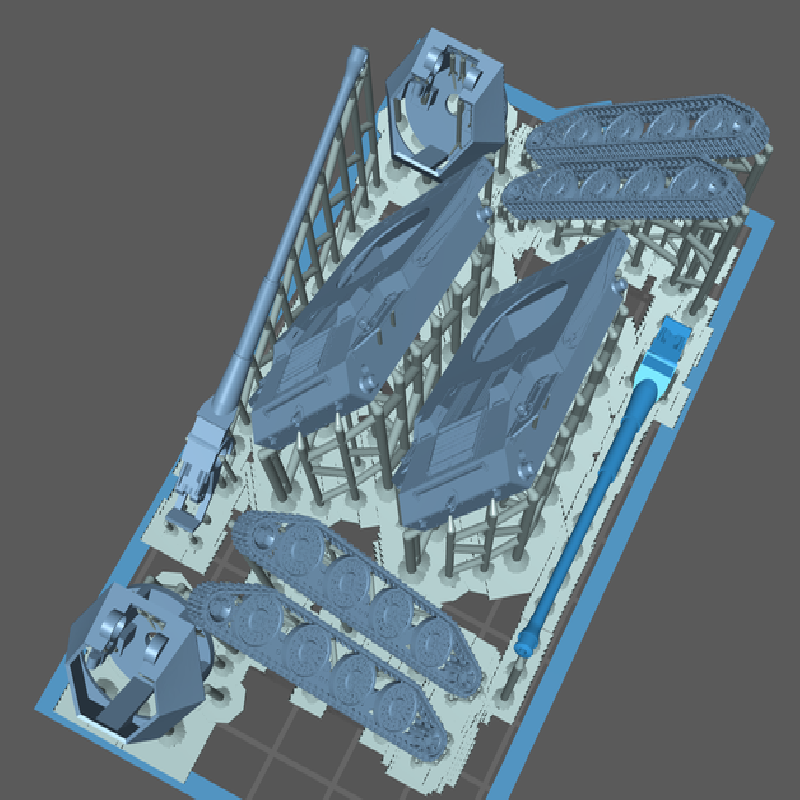
I personally print the body and turret at an oblique with the right rear corner 4mm above the build plate, 45deg rotation about x and y. Gun at 35deg from flat, lots of supports (8+ medium along the barrel) and tracks at 45deg from lying flat on the glue surface. Top surface prints top. 8sec exposure, 4 second max. light off time, lift height of 8mm, Total print time ~7hrs
My steps for post printing Resin prints (subject to change as I learn more)
Remove supports BEFORE cleaning or curing when they are softest
Rinse parts in 95% Isopropyl Alcohol for ~5min
Rinse parts in warm-hot water
Place in ultrasonic cleaner full of 95% IPA for 10min
Rinse in warm-hot water
Cure parts under 405nm 6w LED array in a box lined with tin foil on a solar powered jewelry rotator thingy for 5+ hours or until the next print gets done and needs to cure. The only thing here that needs to cure more than 2 hours in my setup is the body.
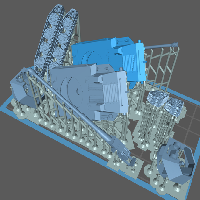
CAD stuff
SolidWorks 2019 is fun. Just screenshot profiles from an old print, scale it to fit against a model of a Steyr RSO (the best info I could find on what frame was under this thing). Make a skeleton model to line up the views, and 5 minutes of design time later and absolutely zero printer tuning or scaling issues of the model (because I had zero actual dimensions on the Waffentrager), you have this perfectly polished beauty of engineering that never worked in the first place.
If you would like parasolid or Solidworks files just PM me. The CAD is dirty but functional.