by broodrooster
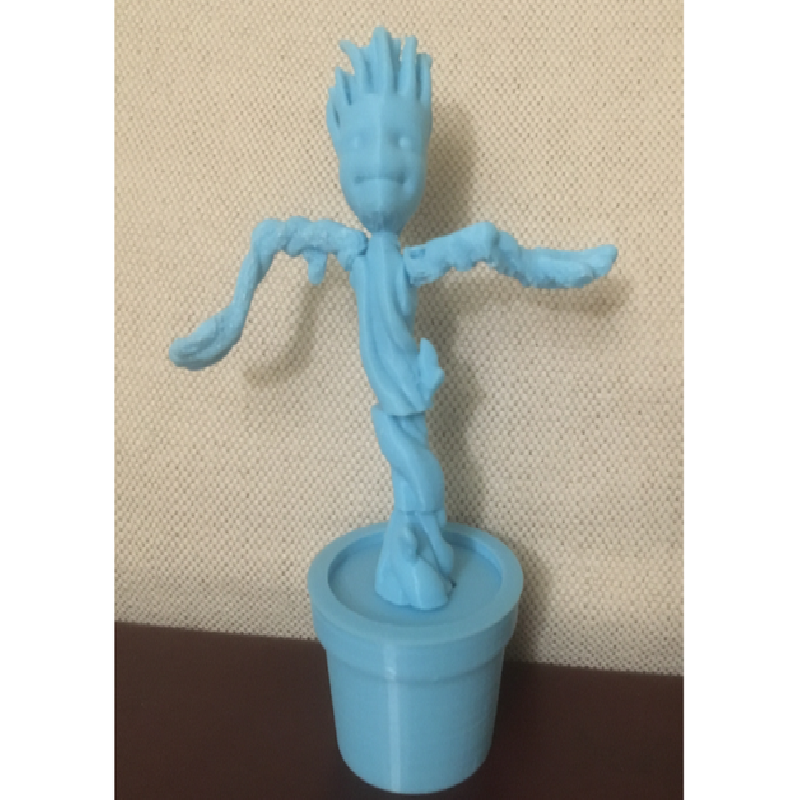
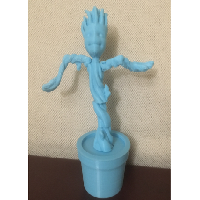
This is a remix of the Dancing Groot model into a push puppet. For the most part it works pretty well, though the trunk sections can get locked in a state where they won't restack themselves. Usually you can just give the model a shake and it will resolve itself.
Because the arms and neck are so slender at their attachment points, I ended up routing the string directly through their ends. I think the holes aren't too distracting.
Rafts:
No
Infill:
20%
Notes:
Due to the fragility of the structures on the top of the head, I recommend printing the head with 100% infill and very slowly, I set an outer perimeter speed of 20mm/s. Everything else can be printed with a modest 20% infill.
The arms should be oriented lying down along the print bed and with full supports.
Assembly instructions
The basic steps are similar to that of the Generic Push Puppet and I recommend reviewing those first.
You'll need one of each printed part, and a spring. I tested this with a spring that measured about 11mm outer diameter and 30mm long, and maybe about 7 lbs of force when fully compressed. For this model I think any force between 5 and 9 lbs should be okay. You will also want to have two toothpicks to help with tensioning the string (described later).
As with the generic push puppet, I used a double strand of polyester thread and a needle to string the puppet. You may have better results with light fishing line.
Start by assembling the flowerpot and rim. The rim fits very tightly onto the top. Make sure it is fully seated because it probably won't be easy to adjust once Groot is in place.
Begin stringing at the pushbutton, then pass the string through the bottom of the flowerpot and out one of the holes on top. It doesn't matter which hole you choose, but later you will return the string through the other hole.
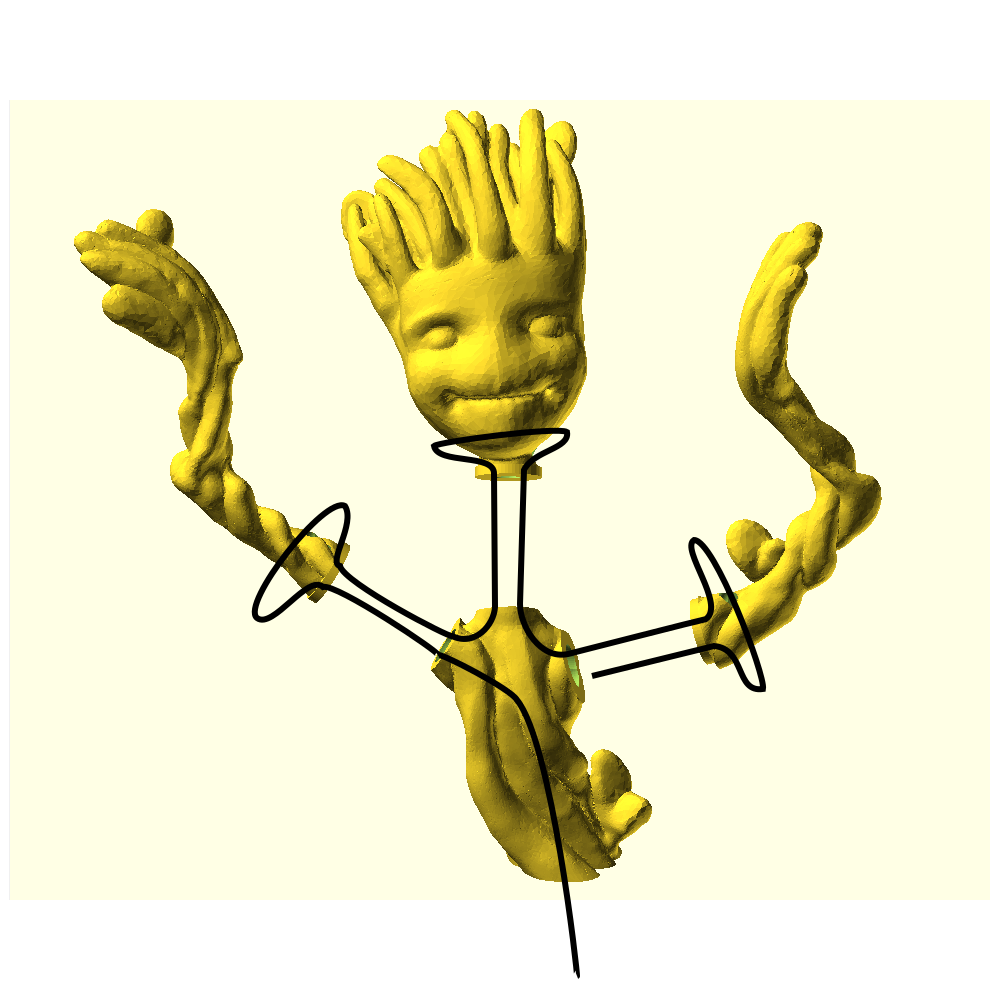
Then you're going to pass the string through the trunk sections (files torso1a, torso1b, and torso2) as shown in the following diagram:
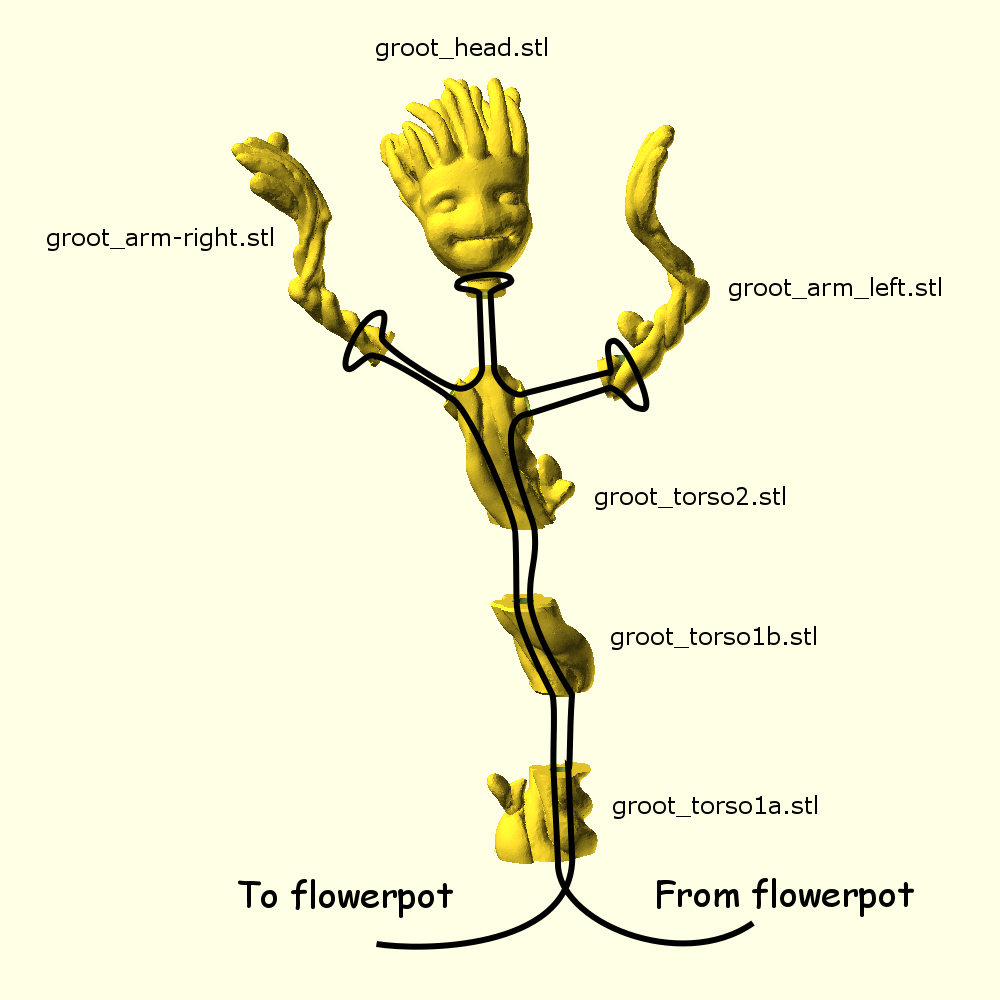
General path of string from pushbutton and flowerpot through Groot model
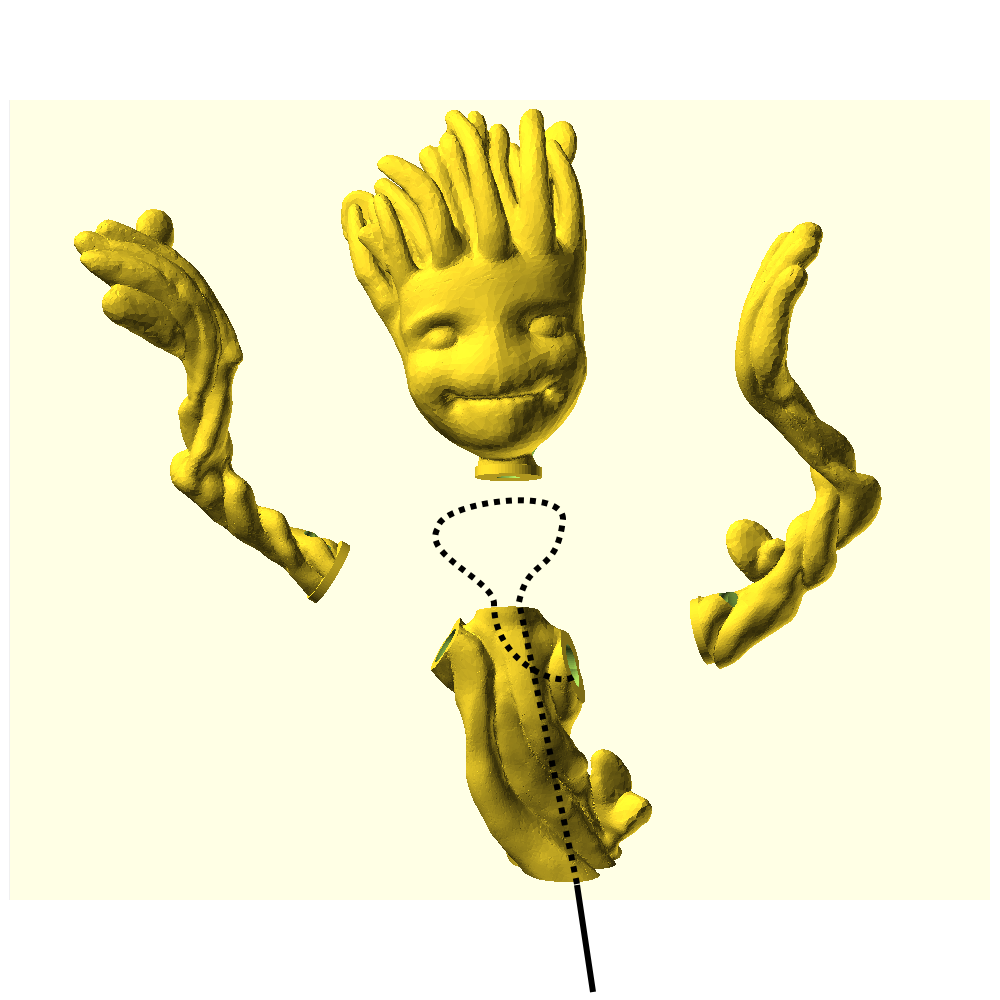
The path through the uppermost torso section (with the holes for the neck and arms) only has a straight path from the bottom to the neck, and then from the neck to either of the two arms. Therefore when you first need to get to the right arm (on the left of the diagram), you first need to pass your thread out of the neck hole, and then go back through the neck to the arm hole, as shown below:
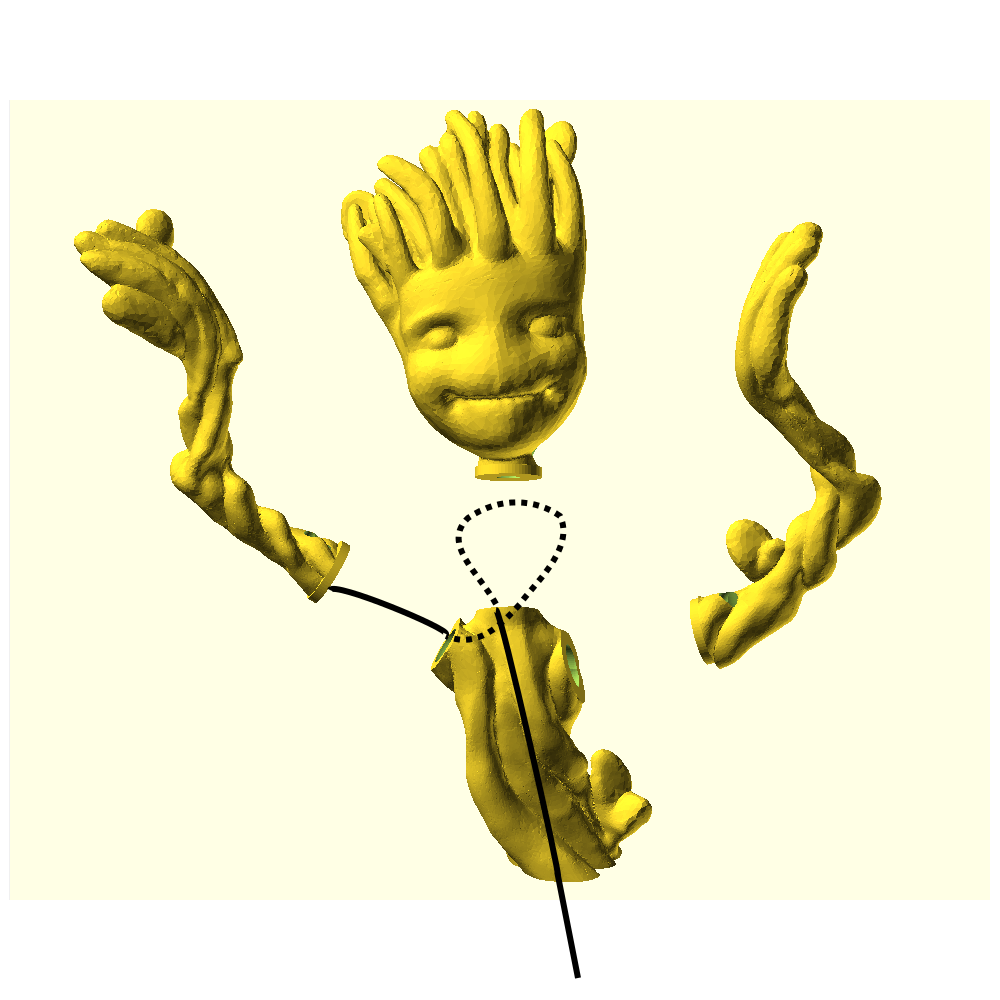
Detail of string path from lower torso to right arm
You can then proceed to thread the string through the arms and head as shown below. Note that each of these has an entry/exit hole at the bottom, and a pair of holes on the sides. Your string will take a triangular path through each of these holes and out the bottom, back into the torso. Leave the head slack after you finish threading it, because you're going to need to access that neck hole one last time after you finish the left arm.
Continued path of string through head and left arm
After the left arm is done, pass the string back through the neck hole and then down through the trunk, through the other trunk sections and the flowerpot and pushbutton. Make sure to use the other hole on the top of the flowerpot this time.
Detail of string path from left arm back down trunk
Once you have finished threading the string through the pushbutton again, you can install your spring and pushbutton, and start tightening everything.
In addition to tightening the head and arms, try to center the bottom trunk section in the flowerpot. I find that it tends to get pulled to one side or the other during the stringing process, and sometimes the string gets bunched up with it.
Once the lines are moderately taut, push the pushbutton all the way into the pot and insert two toothpicks through the holes in the side of the flowerpot. Each toothpick should go through the wall, pass under the pushbutton, and lodge in one of the two holes inside the pushbutton cavity, holding the compressed button in place. Now you can draw the string completely taut and tie it off with a surgeon's knot.
Remove the toothpicks and you should be done.