by Ratbite
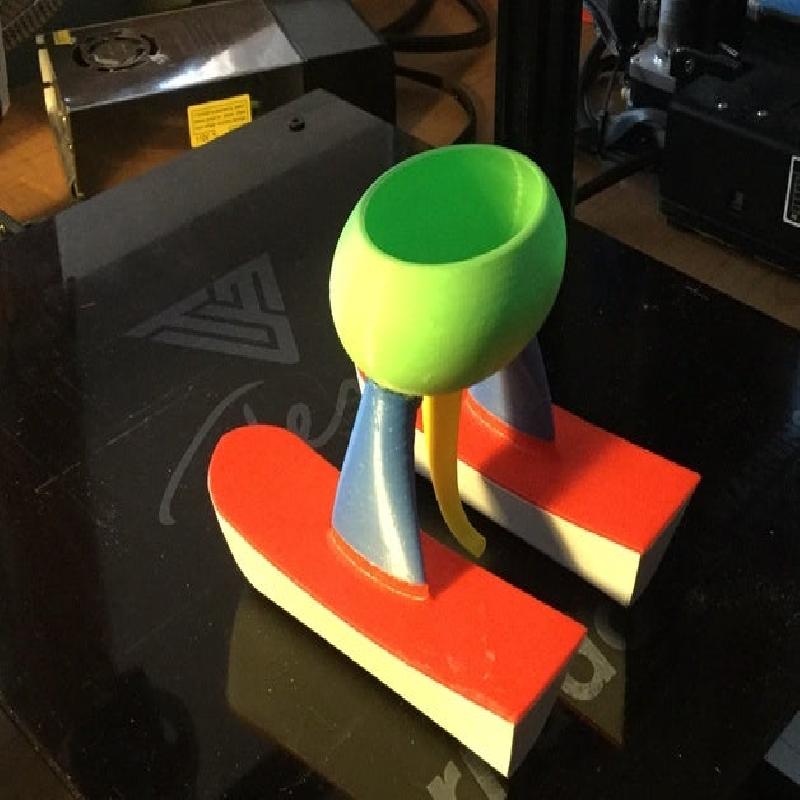
Pour water in the bowl to make it go.
This toy was originally drawn to be printed on a Statasys machine. It had a dual extrusion head and always printed a raft and support structure with soluble material. I had never used anything else and ease of printing wasn't much of a concern. It had some virtues. It was very accurate, probably because of the heated chamber. And it was easy to use. There was only one setting - hollow fill or solid. On the down side it weighted 300 lbs and could only use ABS that was $250 a roll. Once I was worried I had damaged the nozzle. But not to worry, the factory said I could replace it for $1200.
I mention this because these days I would draw it with the need for support material in mind and would provide a little more tolerance for things that fit together. Everything does fit together, but unless your machine works alot better than mine you will do a little sanding and fitting before glueing pieces together. It could have been drawn with fewer parts but I like having the parts be different colors and that was the best looking way to do it. I have printed most of the parts in different positions and have some recomendations.
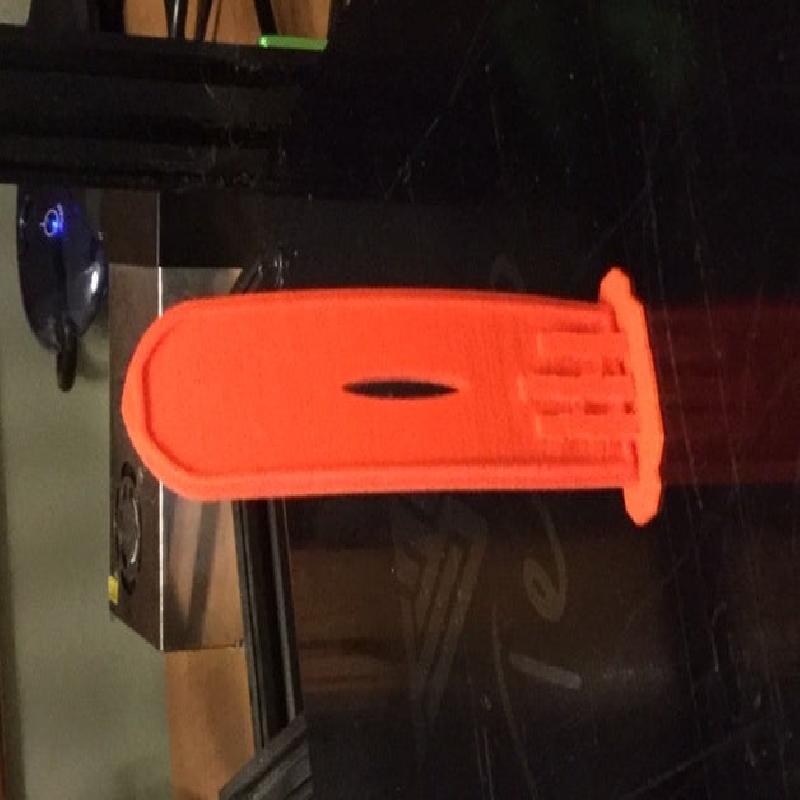
The deck prints best if done vertically as in the screenshot. Use a raft and a few support columns. It provides a nice smooth surface this way as well. Of course any attitude will work, but I was happiest with this.
The hull should be printed with its transom on the build plate, so bow poking up in the air. I didn't need any support material. Probably don't need a raft, just depends on how well things are sticking for you at the moment.
There are left and right struts that support the water tank and they are slightly different. They are shorter on the front side. Look closely.
The Exhaust Pipe and Struts have flat surfaces that can face the build plate. I printed the tank rightside up but supports makes a mess of the bottom and its hole for the exhaust pipe. Either way the support material is troublesome.
I would glue the deck to the hull first. Make sure there are no gaps for water to leak in. You might have to sand the inside top front of the bow a little. Then glue the struts to the decks. Don't get them backwards.
You will probably have to open up the holes in the tank a little to accepts the struts.
Set the parts in place and make sure everything is level and then glue both struts on to the tank at the same time. Clean up the hole for the exhaust pipe and glue it in. Done deal.
The original was printed in ABS which is a little lighter. I printed with .2 mm layers and 30% infill. Lighter is better. When done it should be coated with a clear paint to make it water proof.