by Nick_Groot
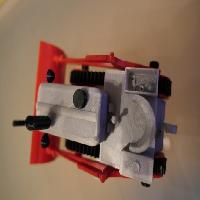
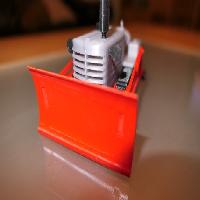
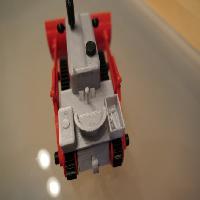
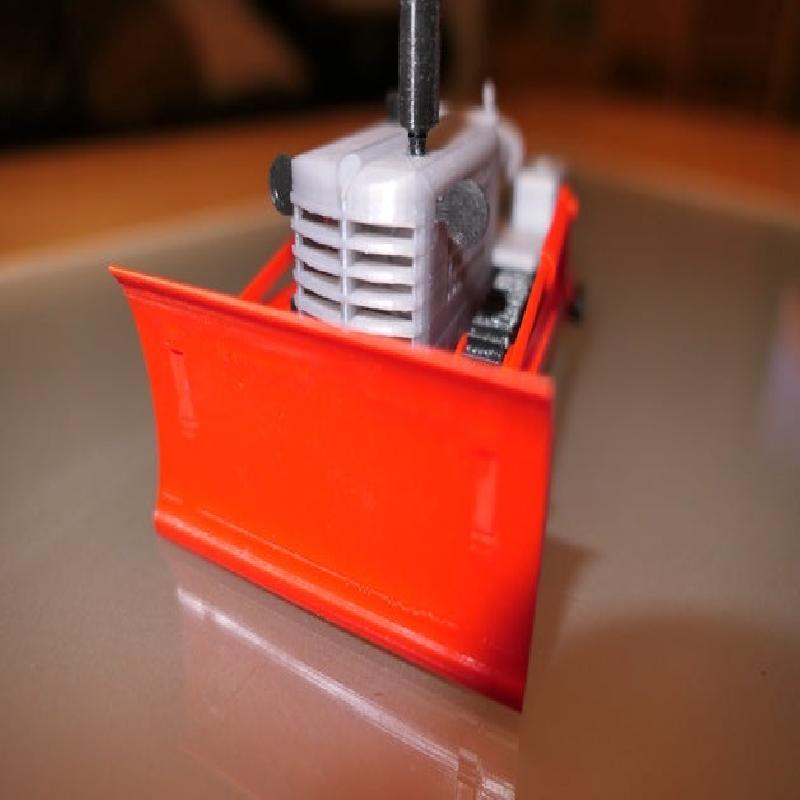
Finally I remixed my own bulldozer to be less toyish and more realistic.
Modifications:
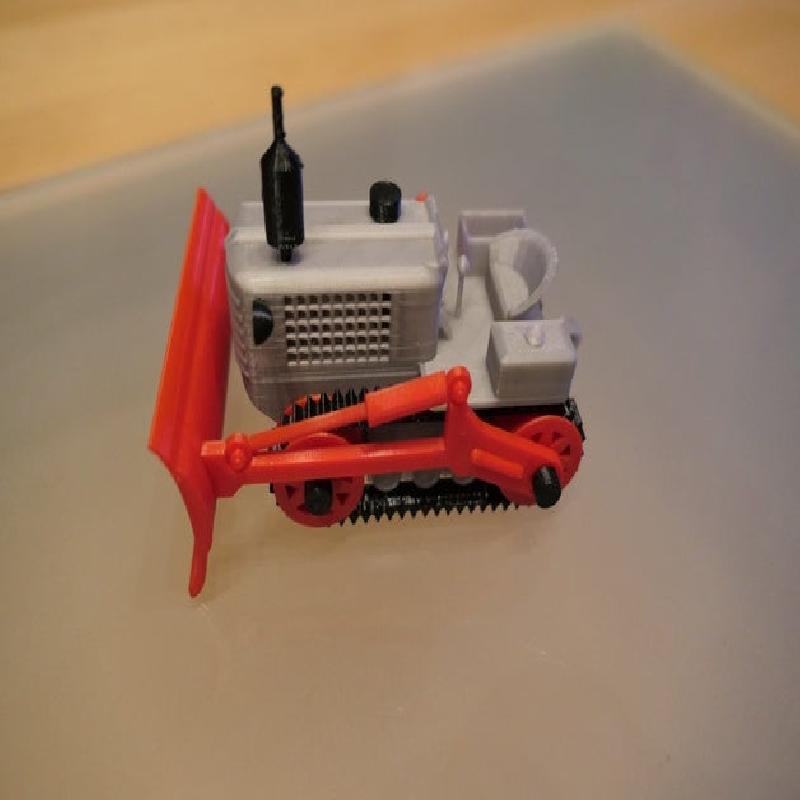
detailed side arms
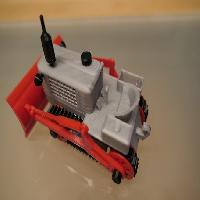
detailed engine, hardly to see through engine cowlings, but it is there, including cooler, 4 cylinders and pipes to exhaust and air filter
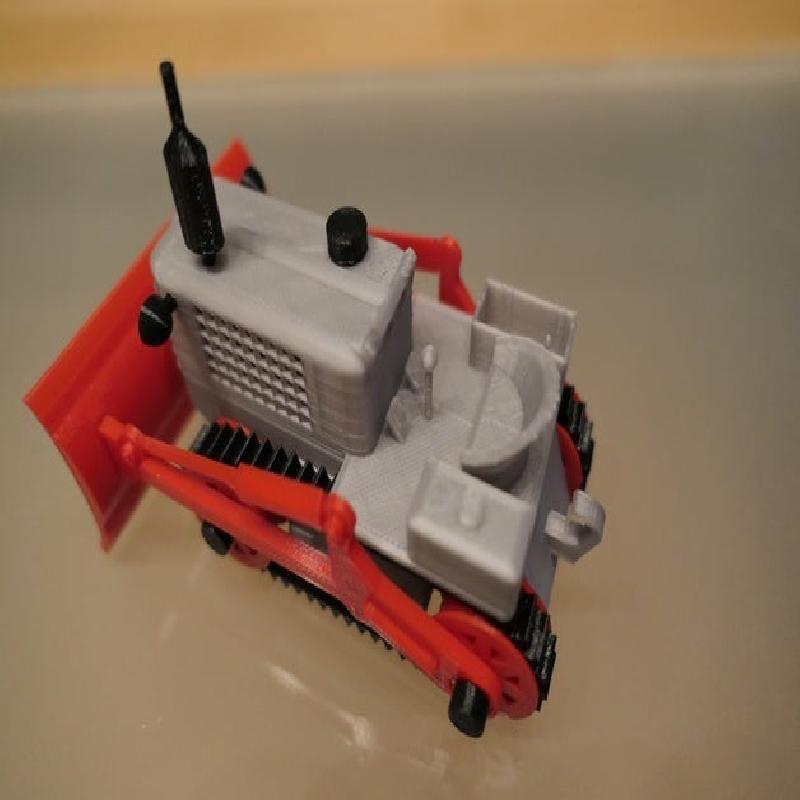
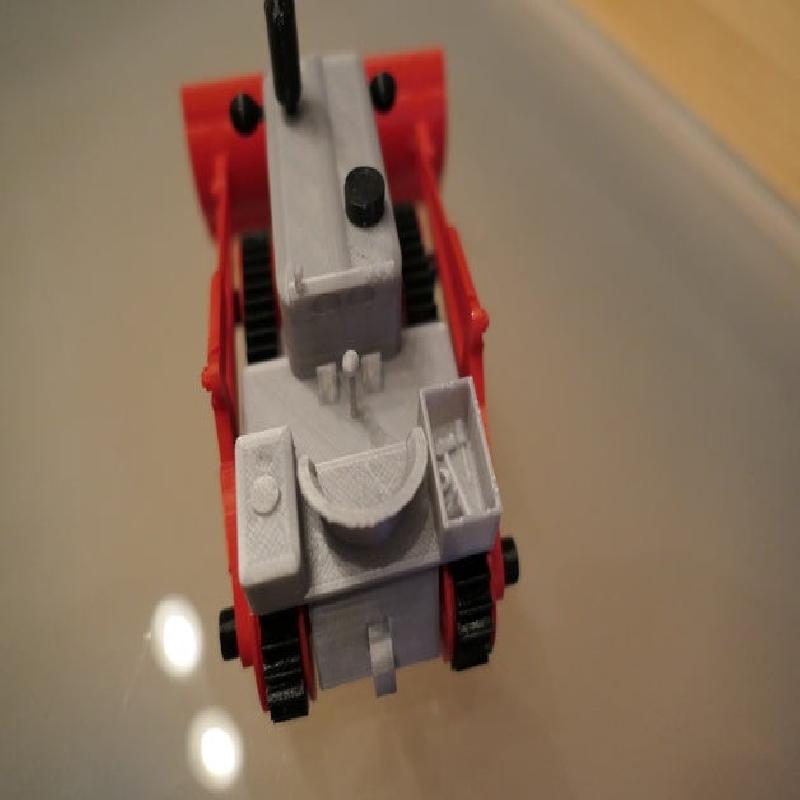
tool box with some tools (hammer, grease gun, nut and oil bottle) on right fender,
fuel tank on left fender
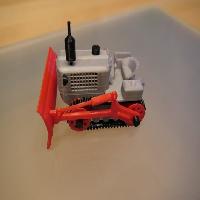
undercarriage with 3 (fake) support rollers on each side
As before, the design is related to small vintage bulldozers like the Caterpillar model 2, the case 310 bulldozers or the Oliver cletrac oc3 and some toy bulldozers inspired from these good old machines) For source pls. see: http://www.2tontractor.net/ or http://cletrac.org/pages/model/pic-HG.html
Wheelbase is 60mm. Maybe it can be scaled, but I did not try myself.
This was designed from scratch with tinkercad.
Can be printed without supports. Try it, it'll work!
You need glue (superglue) and some 3mm diameter rod, e.g. wooden or carbon or whatsoever. Front axle is 55mm, rear axle 62mm long.
Print all parts in the desired colors, assembly is easy (see post printing instructions).
Print in PLA except of course the tracks and -for easy assembly- the axle end-caps, which have to be printed in TPU (the rubber-like material).
Printer:
Ender 2
Rafts:
No
Supports:
No
Resolution:
0.1 for best details, 0.2 for quick prints
Infill:
10%
Filament: Various PLA, TPU for tracks and axle caps
Assembly
Assembly
1) Glue upper part to lower part, (the initial side of the lower part facing down, the rounded side facing front)
Be sure to align the parts properly!
2) Make 4 wheels, each wheel consisting of two halves (the halves are different and should snap together, if not, glue them)
3) Cut 2 axles/shafts from your 3mm round material, front 55mm long, rear axle 62mm long
4) Insert the axles in the holes, put a spacer (part of the wheelset) on each end, then the wheels
5) Stick endcaps on both ends of the front axle (glue them if they are not sitting tight!)
Check if wheels turn free and easy
6) Put a spacer on the rear axle wheels, then both side arms and the endcaps
7) Put the (rubber) tracks on the carriage, check for easy moving/turning
8) Stick/glue the shield to the front ends of the arms. Aling it properly parallel!
9) Insert the two headlights, the airfilter and the muffler to the body
10) Enjoy your toy!
Designed from scratch with Tinkercad.
It was a challenge for me, but brought lots of fun and was a good practice!