by lmbcruz
This sword was design by DETHU Guillaume. Yes, i have the author autorization for making these modifications and for this share with the community. So many thanks to DETHU Guillaume.
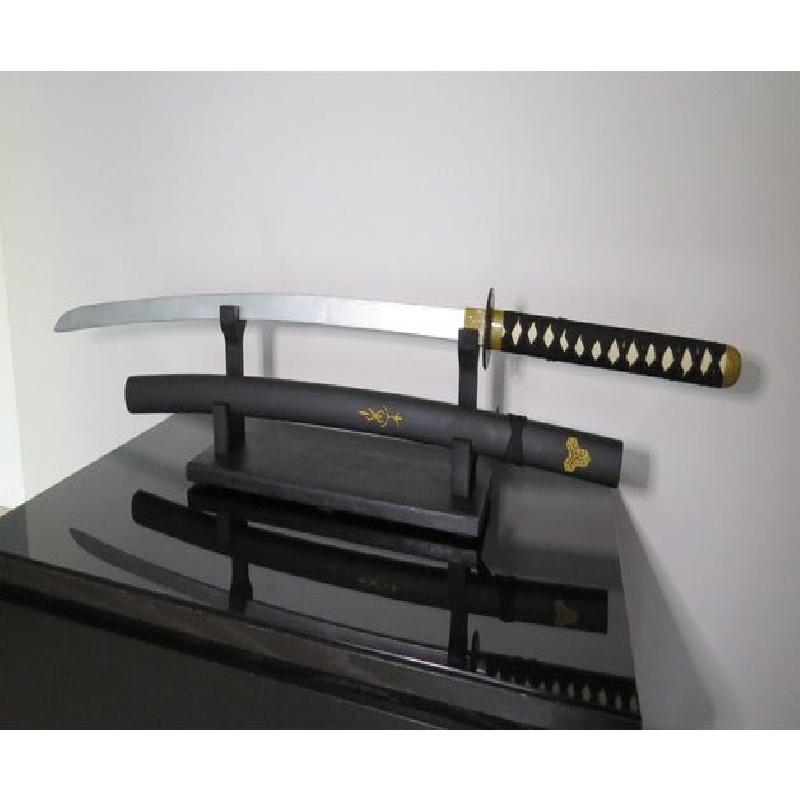
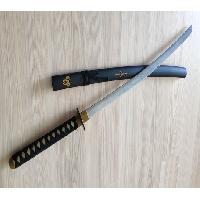
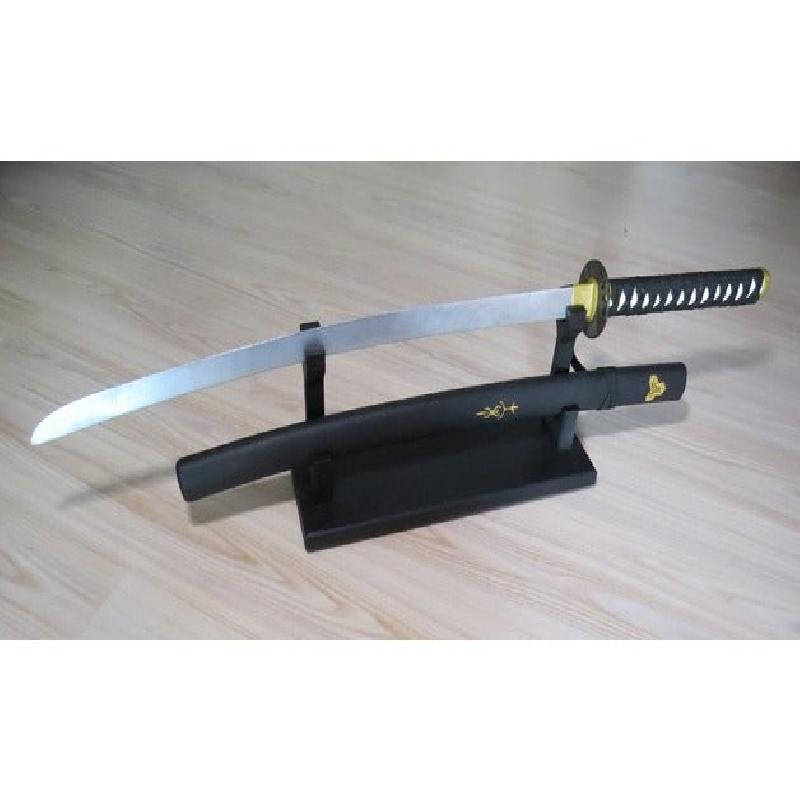
This sword design was inspired in the Bride's katana from Kill Bill movies.
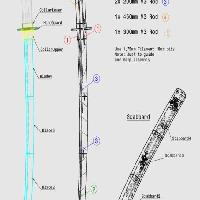
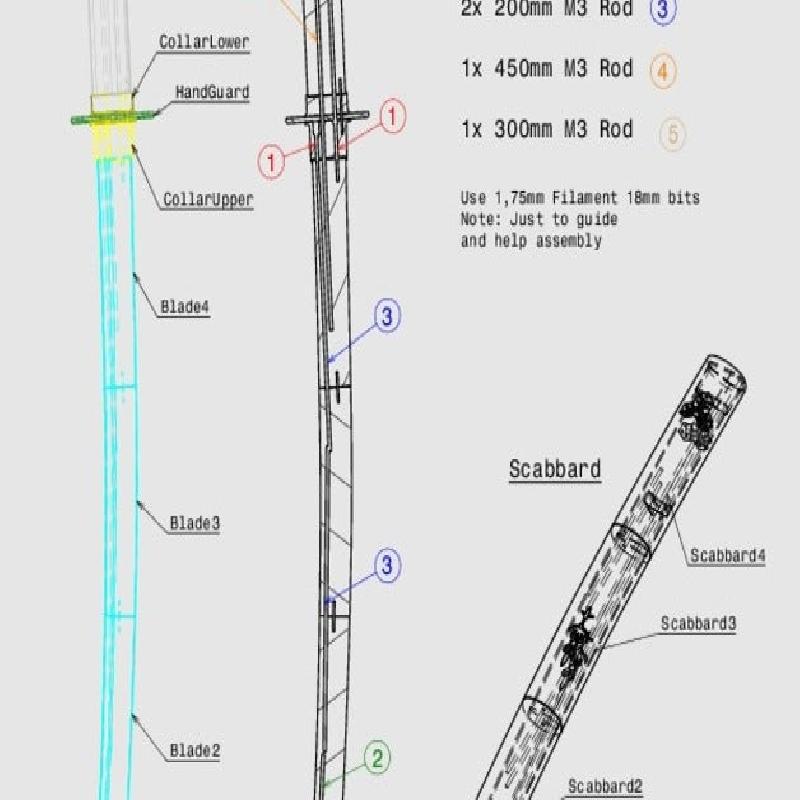
I originally started this project has a gift for a great friend who loves these things. To make it more 3D printable i made some changes on the original CAD files. Reinforced some weak points and created an internal reinforcement system with M3 Rods to be able to handle the sword.
In attachment with the STL files there is a PDF file with the part list and the instrucitons to assembly.
You will need 1,5meter of M3 rods, 2x M3x35mm FlatHead screws, a good quality plastic glue, at least 2-3 sandpapers with different grain, some cans of spray paint to your liking and most importantly alot of time and patience.
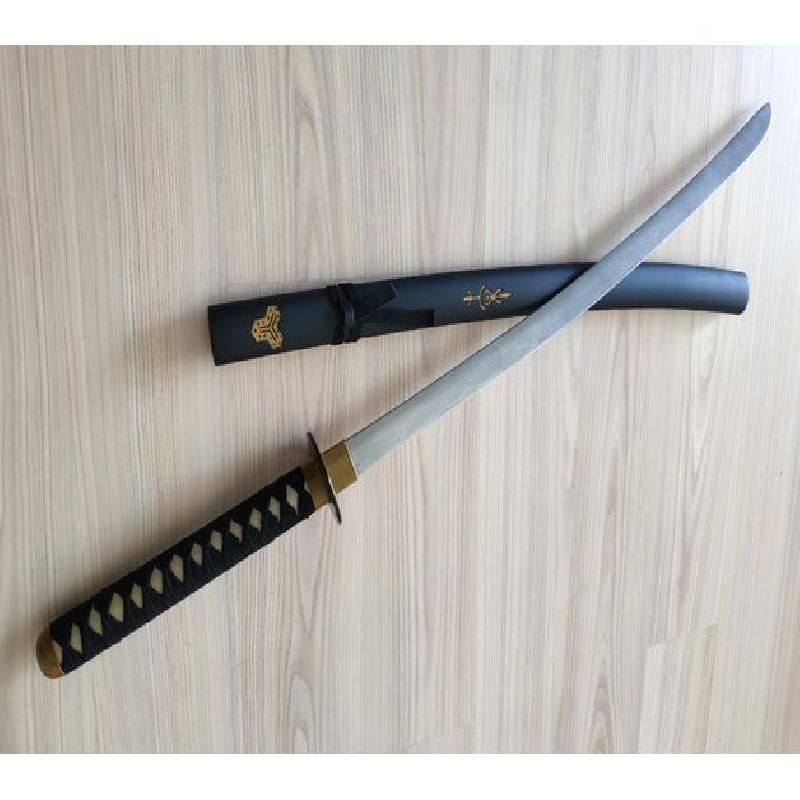
Print the blade and scabard in ABS or ASA to be able to sand it. Assemble it first and sand it several times to remove any imperfections or glue spots and marks. Use epoxy resin or repair putty if you need in any major imperfections, repeat the sanding. Only paint those two parts when your happy with the smoothness of all the length.
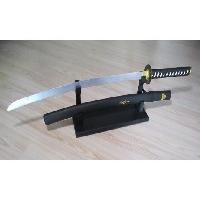
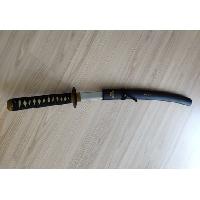
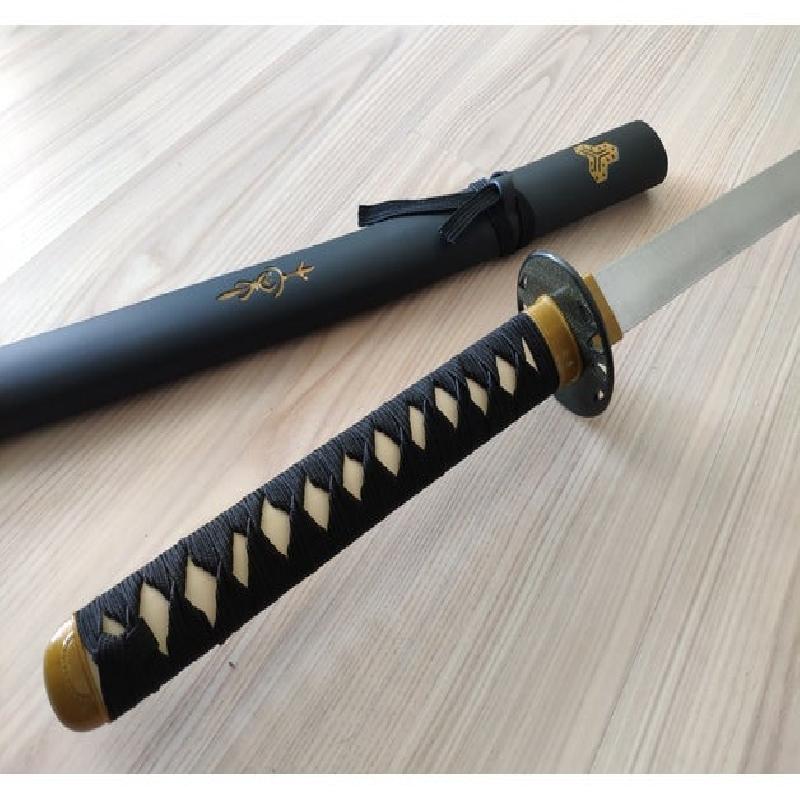
I printed the blade and scabard in Fillamentum ASA. The remaining parts whre printed in PLA from Fillamentum. Ivory for the Handle, Collars and Pommel in Gold Happens and the guard in Vertigo Grey.
For the handle i used some cord i bought on aliexpress (search for "Ito Rope") mine had 1cm width and 420cm of lenght. For the wraping go to youtube and search for "ito wrapping tutorial" fill yourself with patience and wrap away... (i used cheats and holded the wraping with sewing pins to help). But you can do this part differently and with other materials.
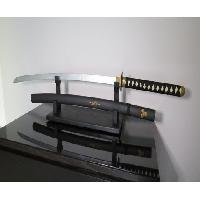
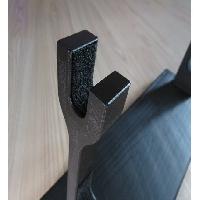
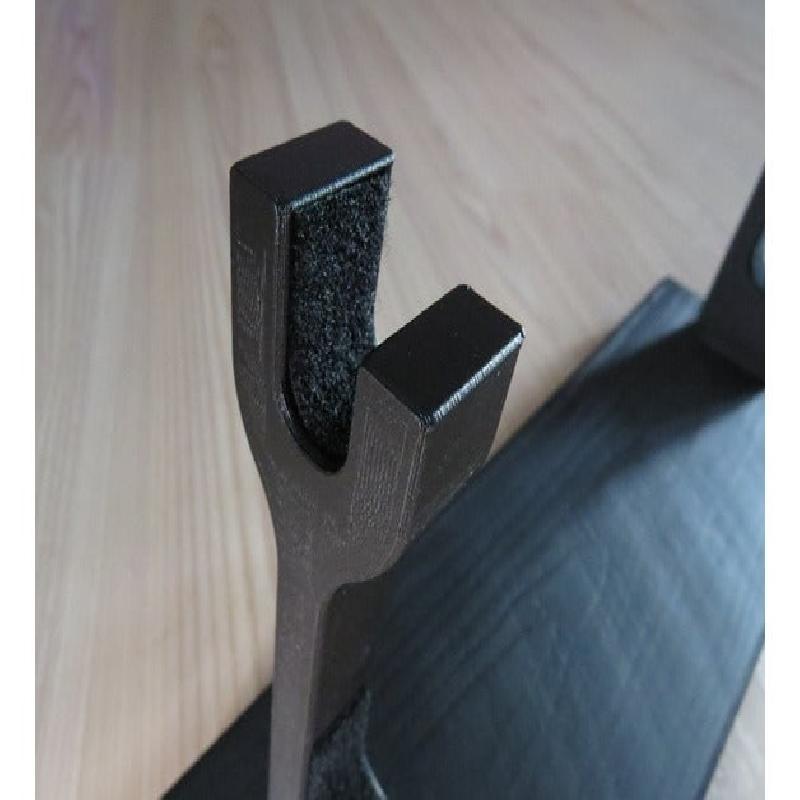
For the sword rack i used a simple wooden board and two supports i designed. I used 450x130mm but you can go bigger if you like. Paint the board or protect with some varnish to your liking. Print the 2x sword rack thingys, be sure to try out the best position to hold the sword before screwing the thingys to the board. I used some velcro tape (soft/loop side) to protect the sword from any scratches.
Warning: Tell your friends SEVERAL TIMES that this is not a real sword to swing around violently. (even if they secretly had ninja training or something) ;)
The internal reinforcements help alot on the general resistence and handling but they don't do miracles. Its a prop sword it will surelly break if you use it for showmanship of sword skills.
Sigh..... Yeah you probably guessed it, the sword i made got broken in a more enthusiastic display of the ninja skills from the person who received it. Glue again, alot of sanding repaint and its now fixed! ;)
Printer Brand:
Prusa
Printer:
i3 MK3 MMU 2
Supports:
Yes
Resolution:
0,2mm
Infill:
40%
Filament: Fillamentum PLA and ASA
Notes:
I used at least 3 perimeters and >40%infill on all the parts but i advice alot more attention on the blade parts at least.