by reddadsteve
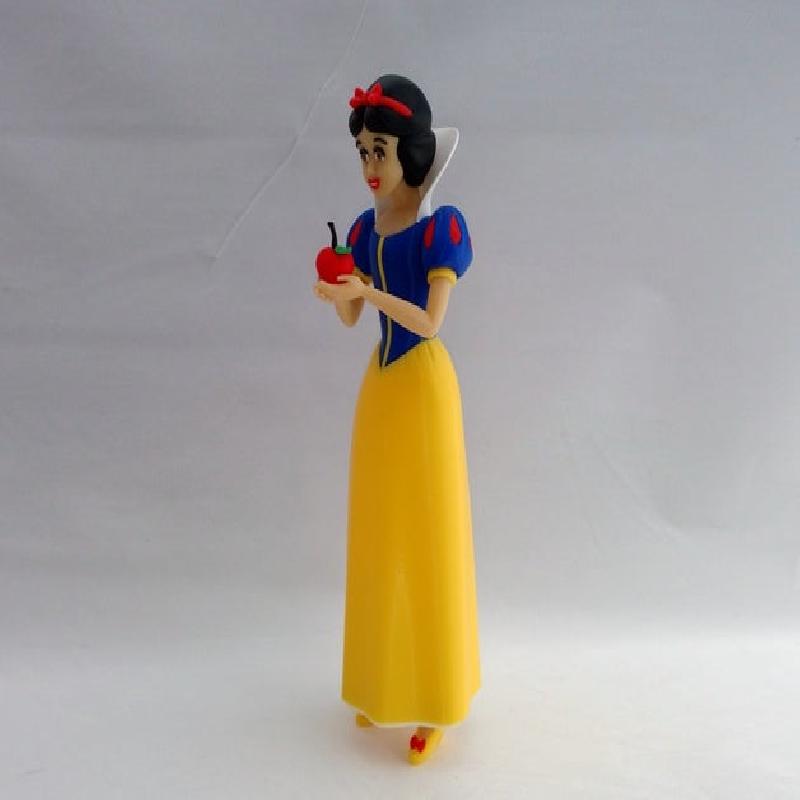
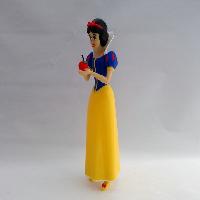
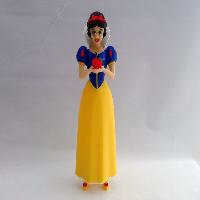
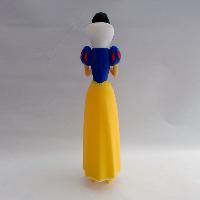
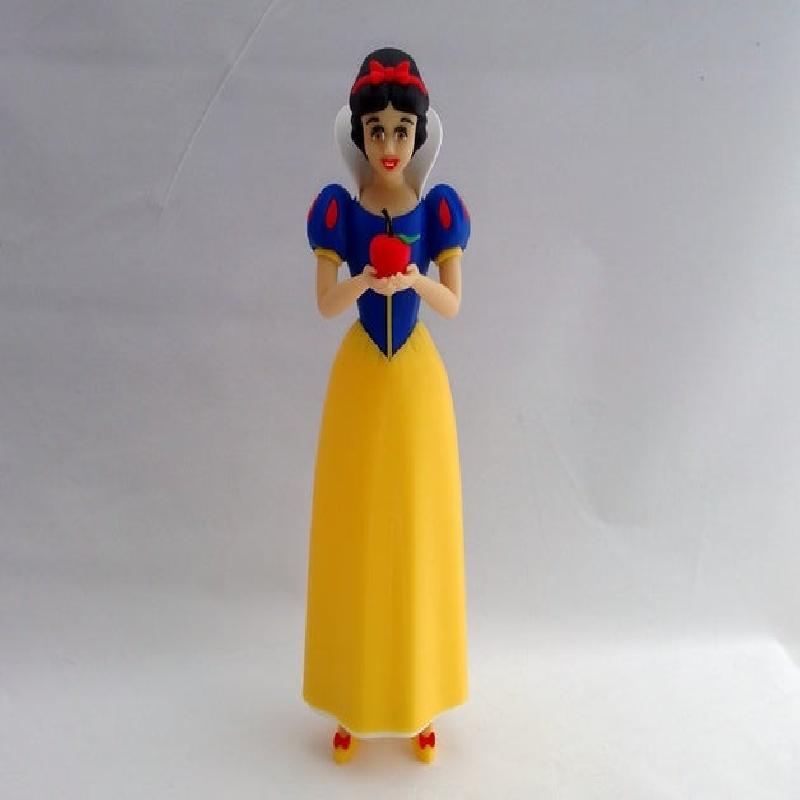
Snow White, the lead character from a 19th-century German fairy tale "Snow White".
The fairy tale features such elements as the magic mirror, the poisoned apple, the glass coffin, and the characters of the Evil Queen and the Seven Dwarfs.
No supports are required (three pieces have built-in supports, or you can supply your own). If you have the proper filament colors, no painting is needed.
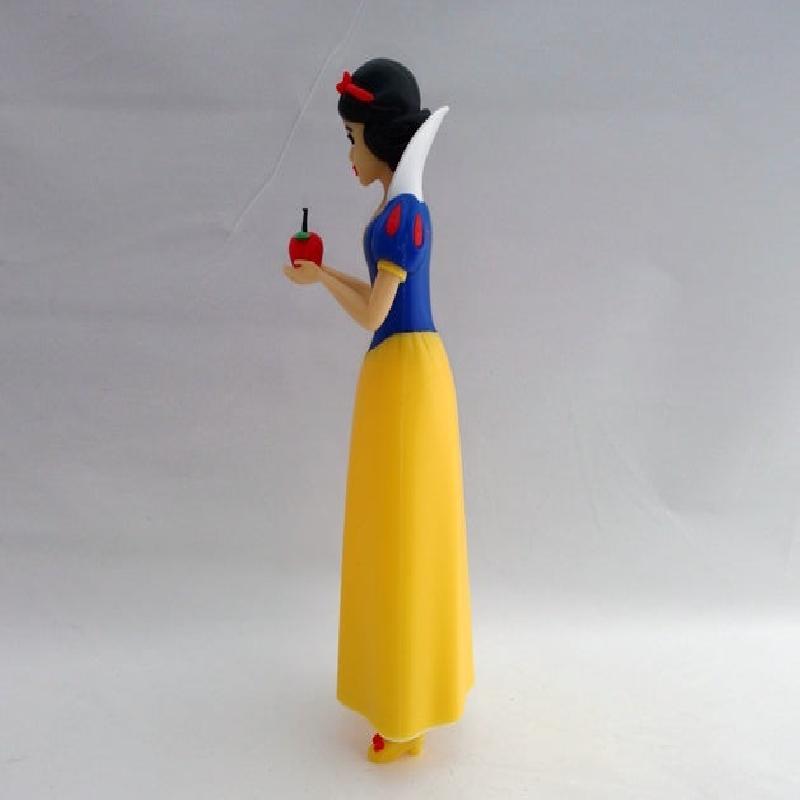
The assembled model is 280 mm tall.
Enjoy, but do not be tempted to eat the poisoned apple!
Don't forget to post your makes. The more makes I see, the more models I create.
(Do not let the abundance of notes scare you away from building this model. I just like to cover all bases due to the different skill sets of makers)
I had problems uploading this model to Thingiverse and was only able to get around it by putting all the STL files in a zip. Thingiverse will not let me post a model with just a zip file of the stl's so I included a dummy stl file to get through this limitation. All the model files are included in the zip, just ignore the dummy stl file
Printer Brand:
Prusa
Printer:
Supports:
No
Resolution:
.2mm
Infill:
10%
Filament: various PLA various
Notes:
Refer to the notes below for helpful printing and assembly instructions.
*Three pieces have minor built-in supports. Those parts are also supplied without supports if you would rather use your slicers supports.
Colors
Skin: (Paramount3D PLA - Universal Beige)
arm_right
arm_left
leg_right
leg_left
head OR head_with_supports
..
Yellow: (Paramount3D PLA - Simpson Yellow)
dress_bottom
sleeve_right
sleeve_left
shoe_right
shoe_left
zipper
..
Blue: (Paramount3D PLA - Autobot Blue)
dress_top (*note: you have another blue the shoulders can be a lighter blue)
shoulder_blue_right OR shoulder_blue_right_with_supports
shoulder_blue_left OR shoulder_blue_left_with_supports
..
Red: (Hatchbox PLA - True Red)
shoe_bow_right
shoe_bow_left
apple
lips
hairband
hairband_bow
shoulder_red_right (contains four unique pieces)
shoulder_red_left (contains four unique pieces)
..
Brown: (Paramount3D PLA - Military MBT Brown)
eye_brown_right
eye_brown_left
..
White: (Hatchbox PLA- True White)
cowl
teeth
petticoat
eye_white_right
eye_white_left
..
Black: (Paramount3D PLA - Black)
hair_top
hair_bottom
eyelash_right
eyelash_left
eyebrow_right
eyebrow_left
eye_blacks (contains two pieces)
apple_stem
..
Green: (Amazon Basics PLA - Green)
leaf
base (optional part, the figure stands nicely without it)
Printing and assembly tips
Printing tips
1-No supports are required unless you want to use your own supports for the pieces that have minor built-in supports (head, shoulder_blue_right/left). Those parts are supplied with and without supports.
2-The supports for the shoulder_blue_right/left have tabs on them for east removal. Each part has two tabs. Feedback on creating built-in supports like this would be appreciated.
3-Use your judgement for brims/rafts. Personally, I used rafts for all the small parts. Tolerance for the small parts is tight and using a raft ensures an easier fit.
4-Beware of many small parts for the face. For this model, I printed all the small parts with rafts and printed triplicates. I also kept the left and right parts clearly separated so they were on separate rafts for easier identification. The print is fast for these parts and it is so easy to lose a part or remove it from the raft incorrectly or simply mix up the left and right. So having a number of spares grouped as left/right makes it that much easier to deal with.
5-Snow White is typically depicted with a lighter color blue for the shoulders and a slightly darker blue for the dress top. I did not have a good enough set of blues so I printed both parts the same color.
..
Assembly tips:
1-I used both E6000 sticky craft glue and thick superglue to put this model together. Each glue has it's advantages. Sticky glue helps significantly with handling and placing small parts, as well as it gives you plenty of wiggle room to get them in the correct position.
2-As a modeler, I believe that Snow Whites eyes are very important but being small there is little room for error. I changed the way I modeled the eyes to make them reasonably easy to insert. Push/glue the eyelashes in first. Be sure to use a small tool to ensure that all of the base of the eyelash is fully inserted. The eye_whites should be placed next. The eye_whites are more rounded at the top and more straight on the bottom. As with the eyelashes, be sure to use a tool to ensure the part is fully seated. The eye_brown is next and should slot in easily. I put enough glue under the eye_brown so that when the eye_black was inserted it simply held in with the leftover glue from the eye_brown. No need to remind me how small the eye_black is, but it does work and fits great.
3-I've included a picture from my slicer for the layout of the eye parts, see below.
4-When inserting the dress_top into the dress_bottom, just place it in and do not force it through.
5-The base is fully optional since the model stands quite nicely by itself. I included it simply for completeness.
6-The shoulder red pieces are very similar but each one is unique. Keep the left/right parts separate and do not mix them up, keep them on a raft until ready to insert. All four parts of each red section are in the same file. The parts are lined up so that the first one on the left of the printed group goes into the front slot of the shoulder blue. The rest of the red parts then go around the shoulder in order.
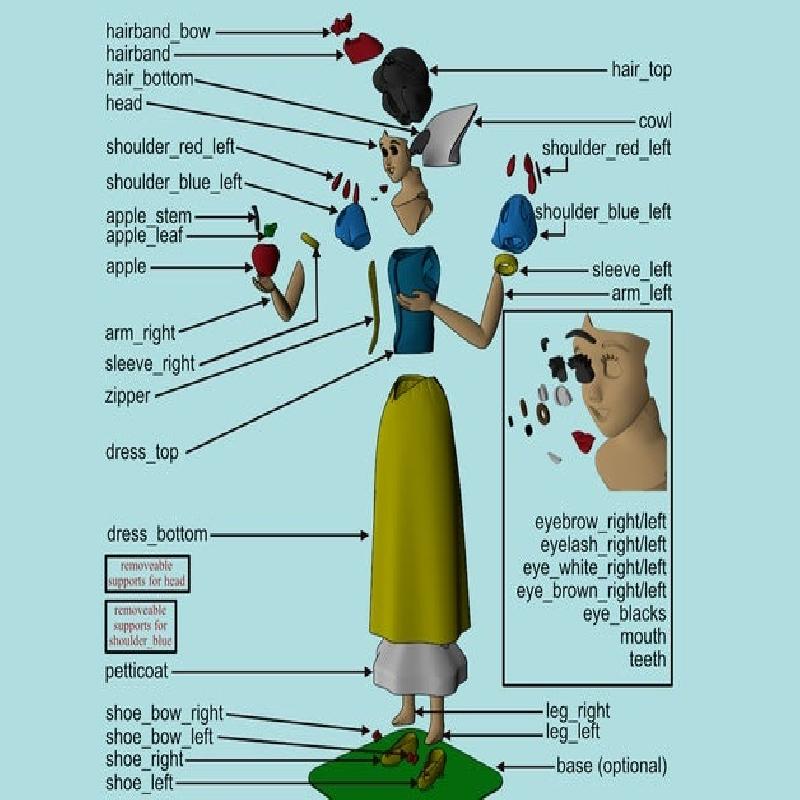
7-Refer to the assembly diagram as well as the uploaded pictures for putting the model together. The model is meant to be glued.
Do not hesitate to ask questions, feedback is essential to making better models.
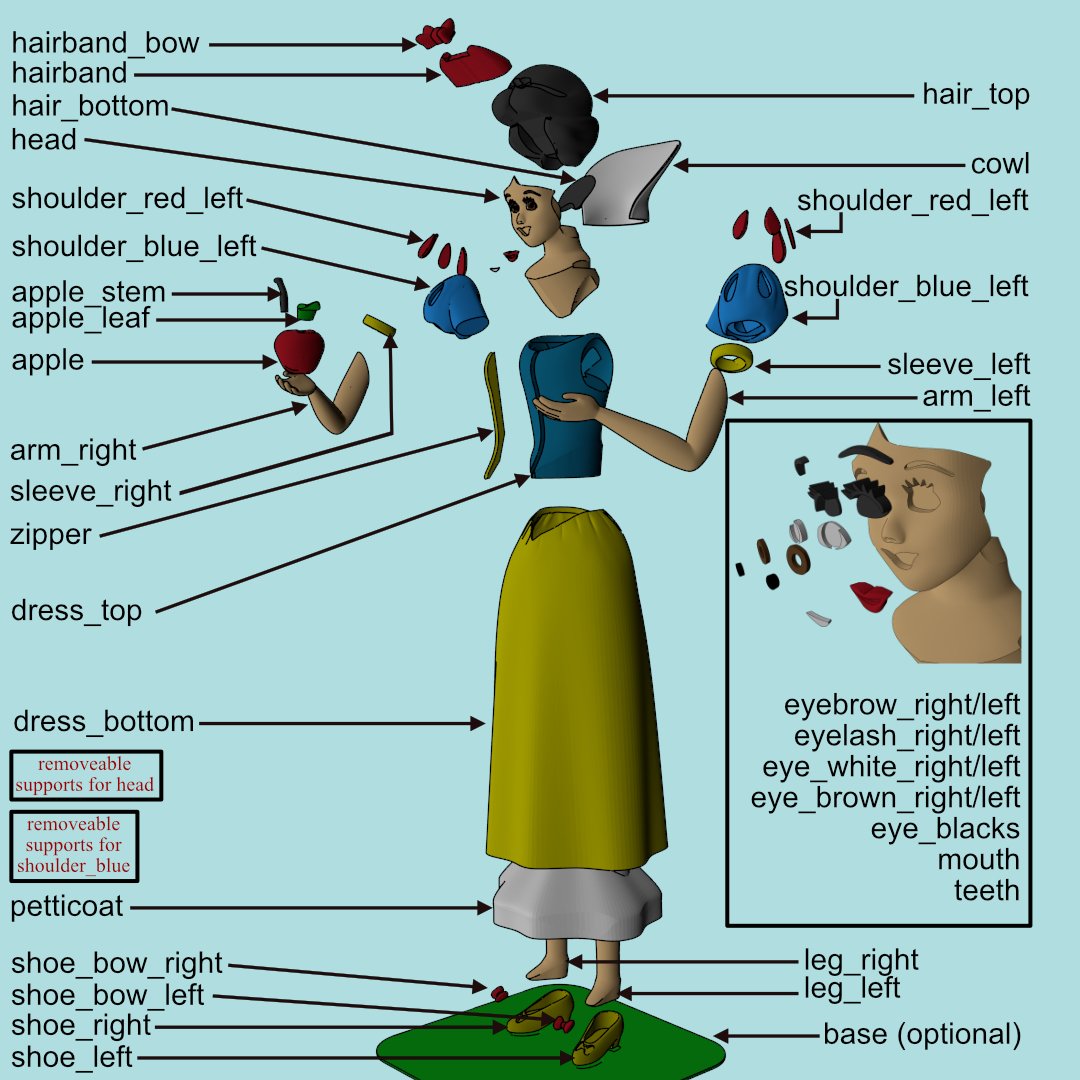
Snow White assembly diagram
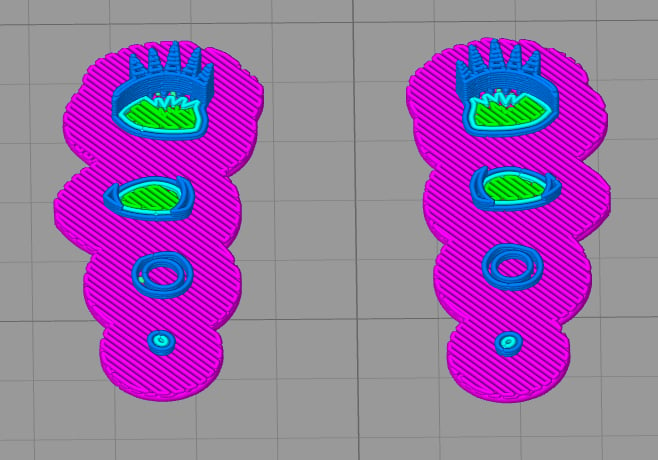
eye part layout shown here in one print but will be printed separately as per color