This project began because I previously owned and crashed a remote control airplane. Having all the equipment necessary for radio control, it was time to make something less stressful to pilot and more likely to last!
Equipment recycled from the airplane includes:
Receiver (the chip that captures the radio signals and turns them into electricity)
ESC (or electronic speed controller, which connects the receiver to the motor)
Servomotor (controls the rudder)
Battery (11.1 volt LiPo)
Radio controller
Other equipment gotten from Amazon includes:
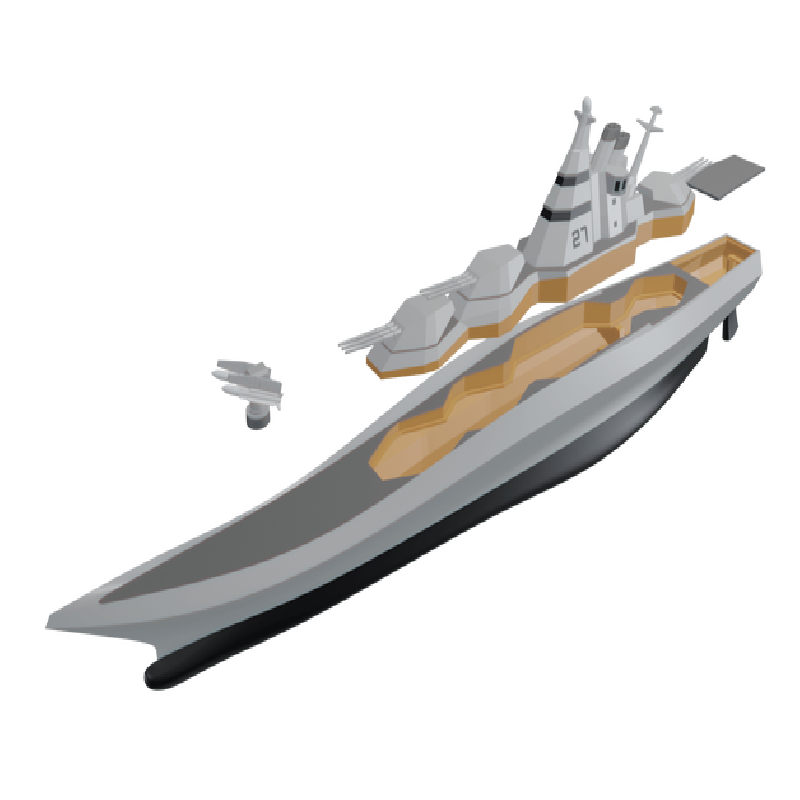
Drive shaft with 9.5mm sleeve (with the propeller and universal joint to connect to the motor)
Motor (D2030 brushless model)
1/4oz motor vehicle weights (to balance the boat)
Supplies, gotten from Walmart, include:
Rapid Fuse glue (to connect the parts)
Spray paint (the $1 one)
Household items like tape, knife, hanger wire, etc.
The print was made on the Monoprice Mini printer with PLA filament. The printer having a bed size of about 120mm wide by slightly more breadth, each part was cut to fit within those confines. With the printer wall line count being set at 2 and a 0.4mm thickness, each hull part took from 10 to 40 hours to print.
One thing learned from printing experience is that parts are best printed individually, instead of collectively. When the head must travel between parts at each layer, unwanted pieces of plastic get wasted on the edges, and the printer spends significant time traveling between parts instead of printing.
Another thing learned is that a minimum of 10% infill is required in order for the fill to hold together correctly. Looking back, it may be possible to print the hull without infill, increasing the rigidity of the outer wall instead; this could reduce the amount of time the printer zig-zags while increasing impermeability. However, my current model has the benefit of being stiff.
On small parts, like the tiller, I used 50% infill. This is absolutely necessary to keep the rod solidly attached to the control horn.
The Rapid Fuse glue works very well, binding strongly within 30 seconds. In fact, it may work a little too well, sticking the parts together before there is time to adjust them carefully. For future projects, cement glue, though a little more expensive, may be better, because it allows time for adjustments while fusing both pieces of plastic into one -- preventing possible leaks.
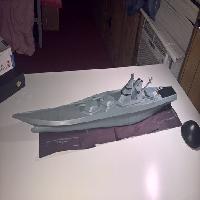
The ship took about three weeks of ongoing printing to complete. Some parts had to be re-printed because a setting caused them to print poorly. At any rate, as soon as the hull was finished, I painted it.
The design has worked well. My favourite feature is the fact that the propeller is protected from the ground while spinning, preventing it from breaking in the case of an accidental throttle test.
Some parts of the design could be improved. The back turret, for example, requires a ring underneath it to tighten it to the deck, because it is not otherwise balanced. Some hull sections are not quite glued straight, which leaves seem marks. One way to alleviate this in the future is to print facing holes in each hull section, so that PLA "pegs" can be inserted between two parts, keeping them aligned. The hull floats very well, but the weights are not sufficient to hold it down. This tends to keep the propeller above water, making it very inefficient at any speed above the minimum; one or two weights will easily solve this problem. Another issue is the silicon. Because of its rubbery texture, it cannot be sanded without rubbing off. I should have used epoxy instead, but didn't want to bother with the mixing, as this was an experimental build. The grey paint I used, being acryling, has acted a little tacky overall, refusing to dry, and leaking a little in the water; in the future, an oil-based paint would be preferable.
Overall, this being my first 3D print ever, and therefore a prototype, I consider this a huge success. The electronics work well, the hull is solid and good looking, and the boat is zippy in the water. A fun project!