by bwaslo
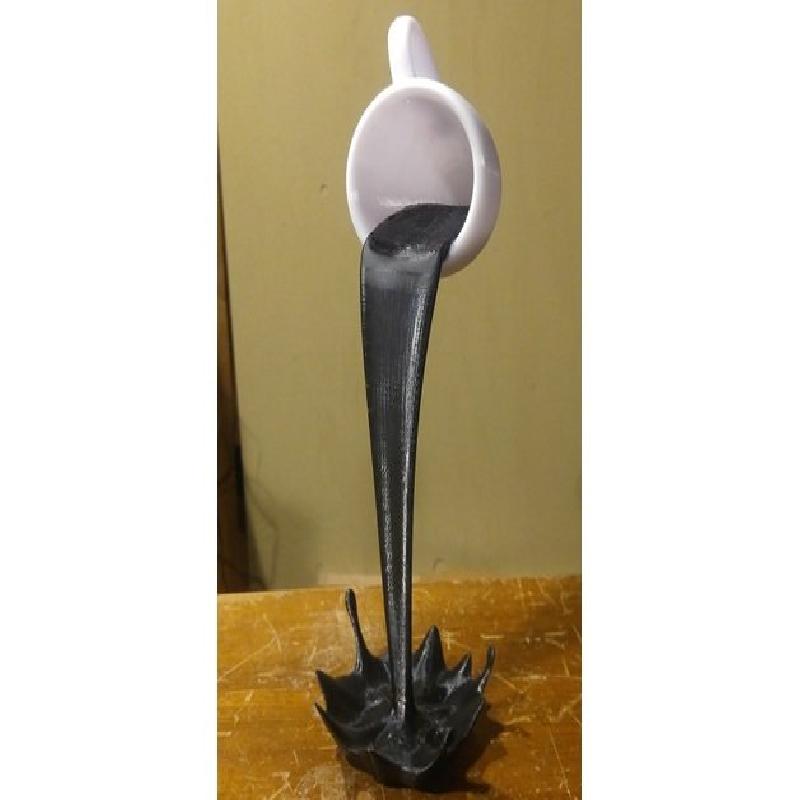
This is a remix of HappyMoon's "Floating Cup Sculpture" which I imagine about everyone has seen before. I didn't want to try to print the spilling liquid of the "full water" STL using supports that would mess up the surface appearance of the spilling liquid. And I wasn't able to cleanly assemble the three separate pieces that were given as alternate STLs by HappyMoon as I couldn't easily position the pieces to hold them in place while glue set nor position them precisely enough to use an instant-hold type glue. My first attempt to assemble the three parts turned out to be a mess, and I ended up just welding the "Inside Mug" part to the "Stream" part with a soldering gun and that didn't look very good.
So this remix takes HappyMoon's :"full water" file and re-cuts the "splash" part from the "stream" + the "Inner Mug" parts, with places to insert alignment pins for precision and to hold the "water" together while adhesive sets. There is also an STL for the pins to use (two of them needed). I used 2-part slow-set epoxy to hold it together
The splash pinned and glued to the stream without much difficulty -- I leaned the "inside cup" part of the stream piece against a wall to hold it steady and to push the stream slightly forward while the epoxy gluing to the "splash" hardened. The last photo shows how I used a small C-clamp to hold the "inside" to the cup while that part hardened in a later step -- you can probably use a binder clip or similar to do it as well. Don't use too much glue there, you don't want it to squeeze out to where it might be visible.
(I also tried to use pins at an interface between "Inside Mug" and "Stream", but couldn't get long enough pins placed near there to hold the needed angle between them. So I ended up printing those two parts as one piece, upside down, with short supports below the "inside the cup" area. )
Printer:
FolgerTech FT-5
Rafts:
No
Supports:
Yes
Resolution:
0.24mm with 0.4mm nozzle
Infill:
10% and 80%, see notes
Notes:
Supports are only needed for the "Inside and Stream Together" file. The "Splash" doesn't need supports. The cup could use supports but I didn't use any (because I wanted the lower surface of the mug to be neat). The top surface of the "Inside" liquid will show some surface effects from the supports, but in mine at least the effects actually helped the appearance.
Print the cup and the "Inside and Stream Together" with 10% infill to minimize weight of those parts, and the "Splash" with 80% infill to make it heavy enough so the finished sculpture will balance.
When assembling, make sure that the "Splash" and "Inside and Stream Together" parts are arranged so that the stream leans slightly forward away from the "Inside" where the mug will glue. If you get them reversed, it would lean back and the sculpture won't balance.
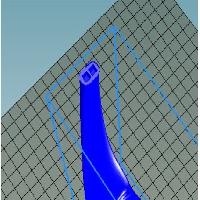
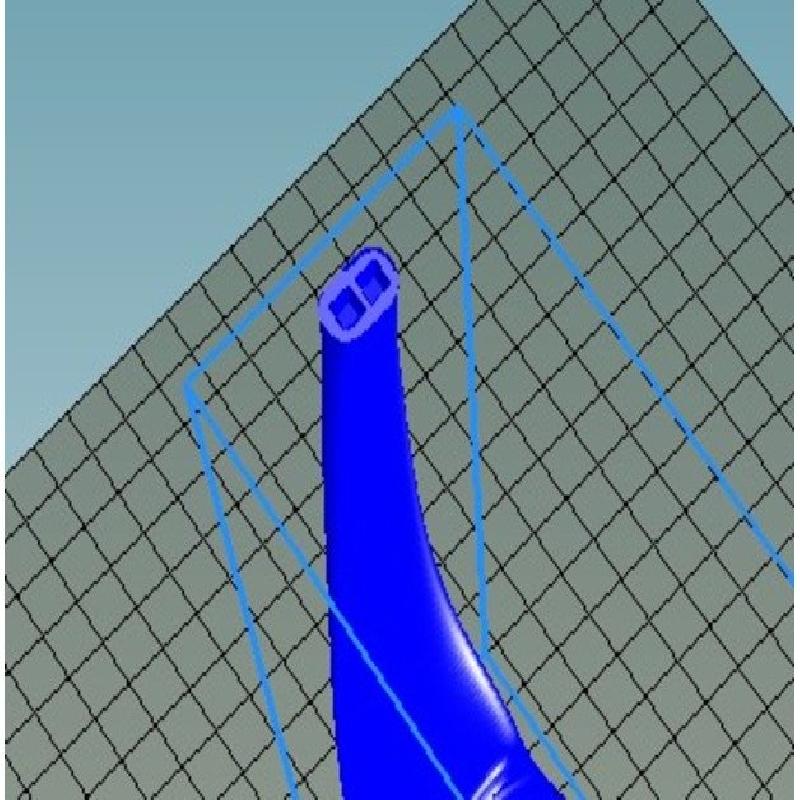
Print all parts as oriented on the bed in the STLs. The pins are printed lying down to give them maximum strength.