by tomastnt_cz
Another thing to print.
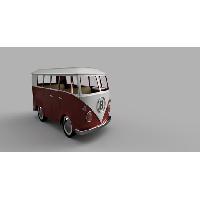
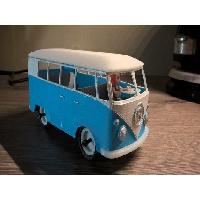
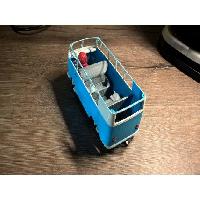
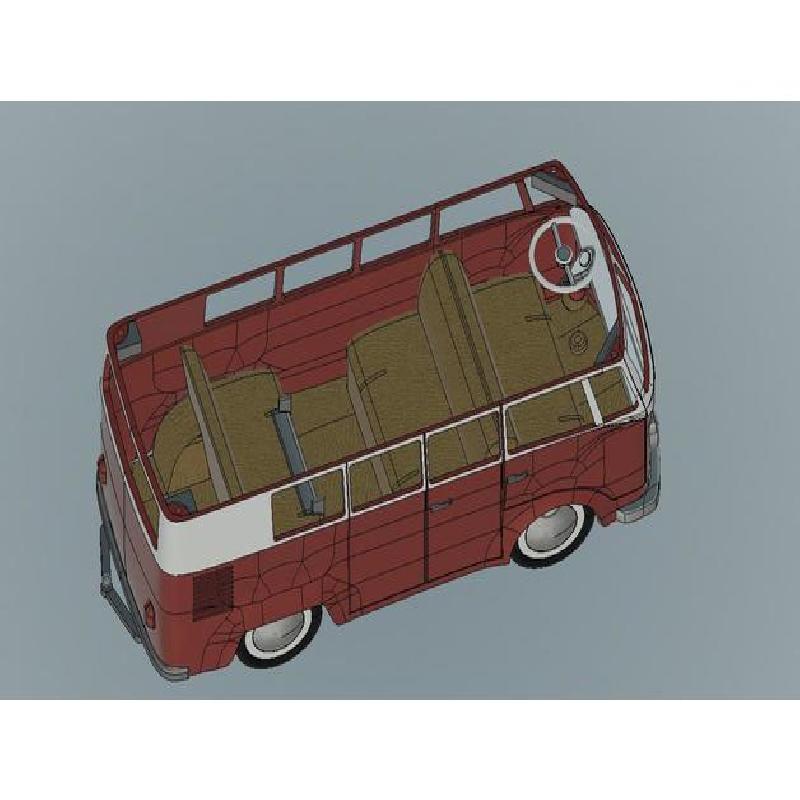
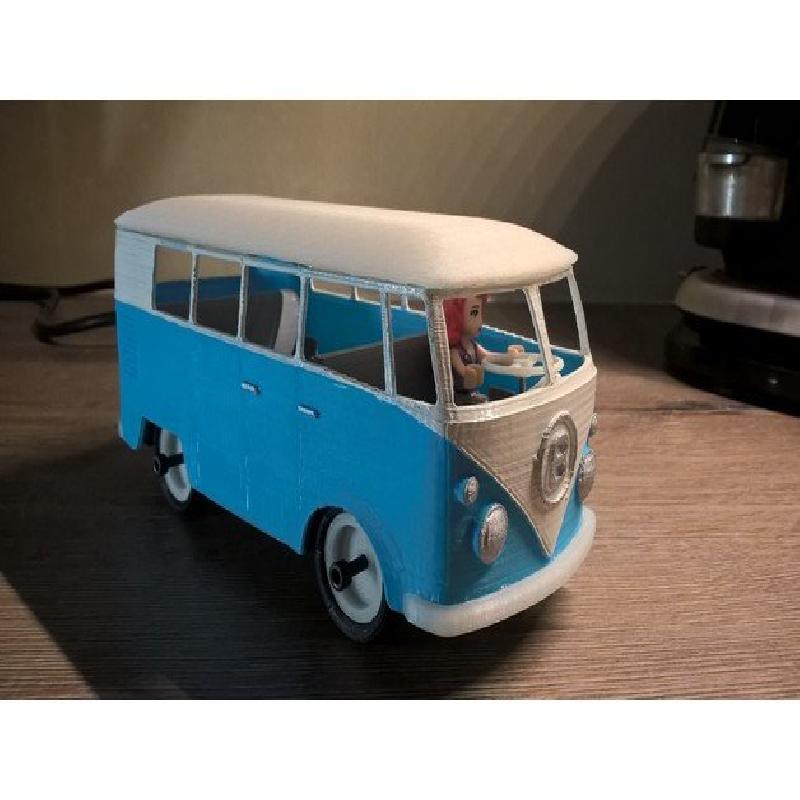
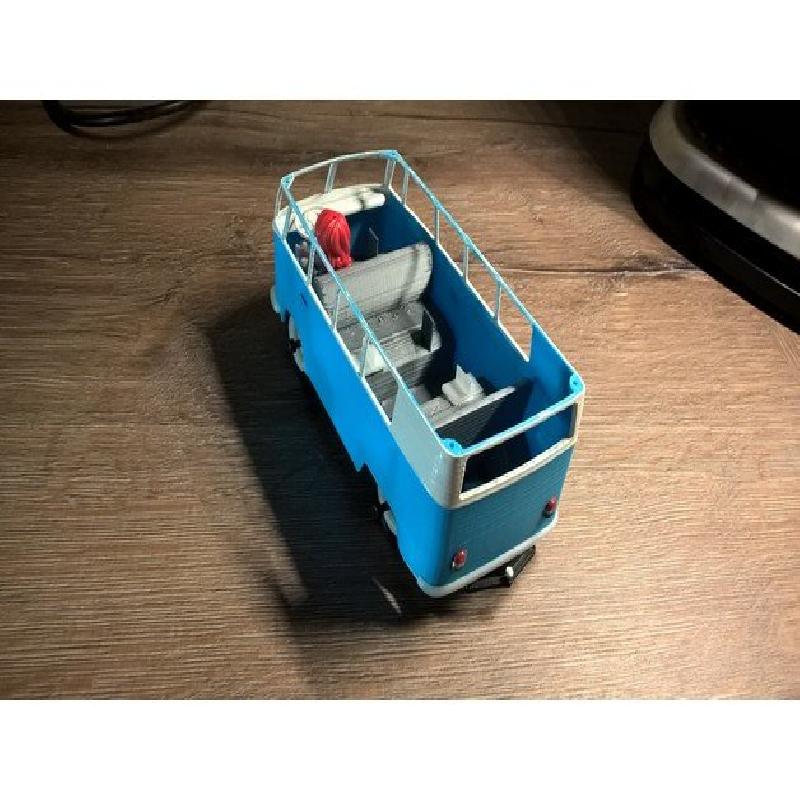
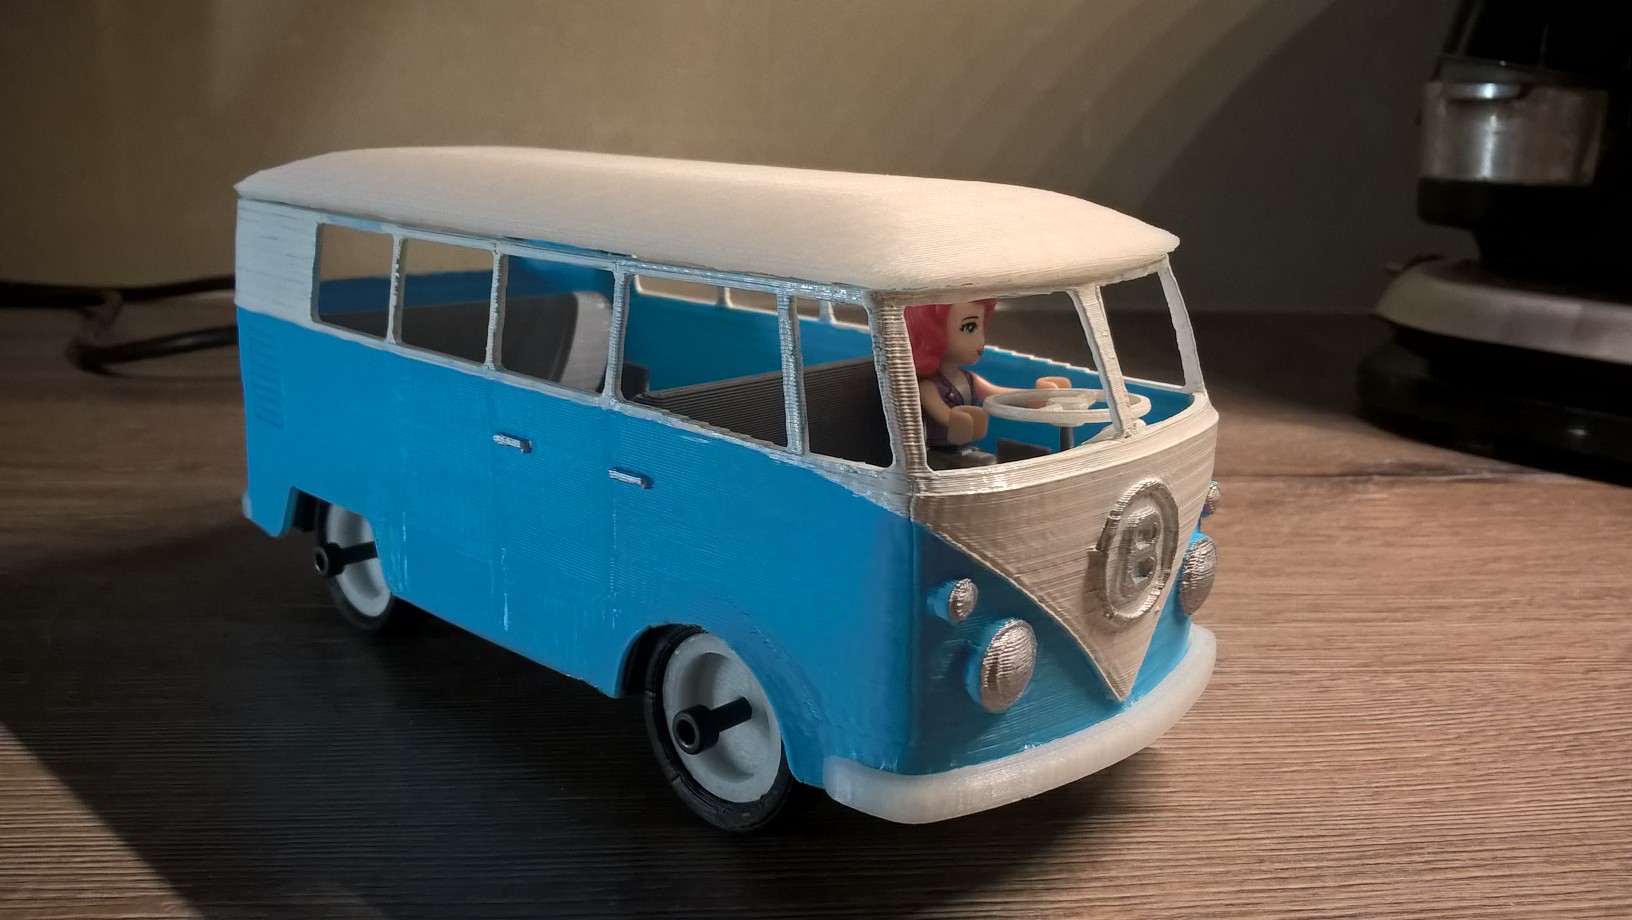
My own design of VW caravan_inspired car with removable roof and detailed interior. Seats are suitable for six Lego friends characters.
Wheels are three-part design. First you will put tires on rims, than you will screw it to chassis (use 3mm screw). Last thing is to put chrome covers on rims (to cover head of the screw).
Bodykit is positioned in four points to sit precisely on chassis.
Roof have four mounting points. Use four pieces of 1.75mm filament, glue inside holes in roof. You will get four pins to sit roof on bodykit. Or you can print parts 11-14 and glue it to roof.
Use another piece of filament to make steering axis. Glue it to steering wheel, insert axis trough hole in cocpit and secure it to the floor.
Not sure about mounting points of the wheels. Maybe the floor mounting point is too thin. Will find out after mounting wheels. Its OK.
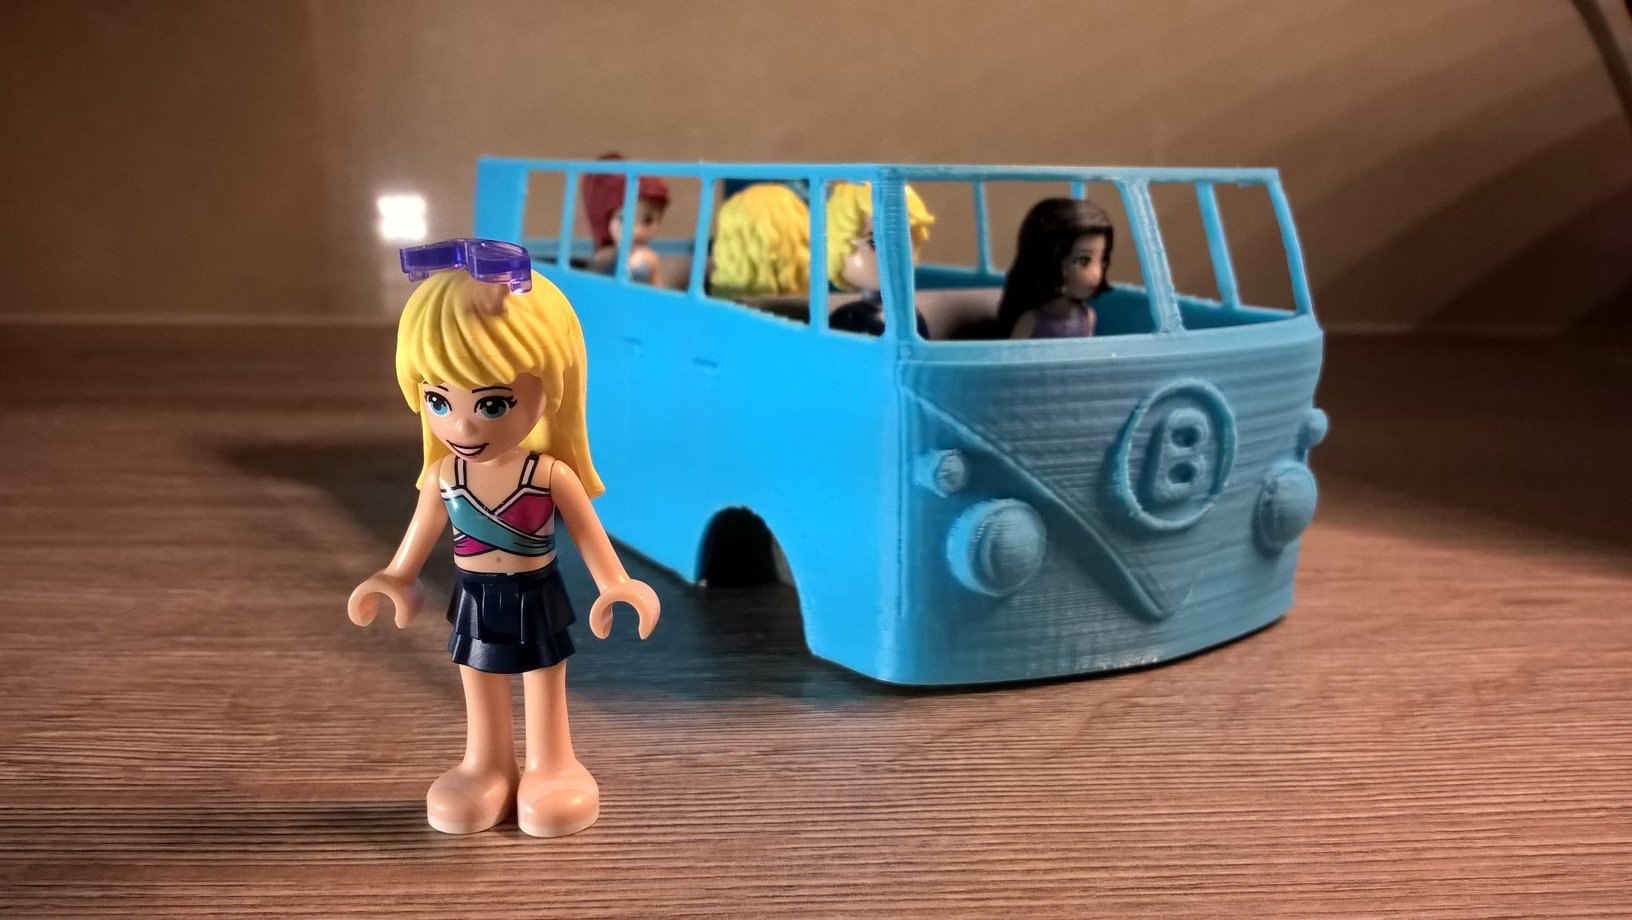
"B" is for Barbora. The girl who plays with Lego friends :o)
28.3.
Printed chassis yesterday. PLA, 0.3mm step.
Inserted stl for chassis, wheels, cocpis, steering wheel. Rest of the files, after I print whole model. So, work in progress
29.3.
Printed bodykit PLA, 0.2mm step (4hours print). Real challenge for my bowden-extruder printer, but came out in decent quality. I printed it with supports, but I think there are not necesary.
Printed wheels also. Few changes should be done:
Scale down wheels a little (0.95). There should be more room for tires in bodykit - update. No need to do that. Wheels are redesigned, so print as they are.
Remake design of the wheels (its hard to put tires on rims and to put rims cover on)
Positioning pins on seats should be lower and thinner. Im not sure about durability of the thinner pins, they will break easily. A little of experimenting is required. I will remove actual version of the pins from the seats, will print new pins platform separately (0.1mm step) and test them. You will get another stl file of the pin with platform, so you can choose which version is better for you.
4.4.
Few modifications made:
Modified chassis (rebuilt wheel aligment, seats). Inserted new stl file (01_podvozek_v2)
Modified wheels. It should be easier to assemble them.
Made new version of positioning seats pins (now printed separately, glue it to seats in post-processing or design your own) (15_sedak.stl)
Scaled down wheel covers, but cannot finish this part because of too long screws.
Made new roof aligment system. 4 pieces that fit in corners of the roof. Glue them, when you align position of the roof (11-14_zarazka)
Added towing equipment, so you can connect another accessories (there will be something to connect in the future) (08_tazne)
Addes front (09) and rear (10) bumpers
Now, you can print whole thing.
Enjoy, and let me know
The trailer is here
http://www.semaker.com/productdetail/23591
First print. Chassis with 0.3mm step. Bodykit with 0.2mm step. Total 6hours of printing (fast settings).
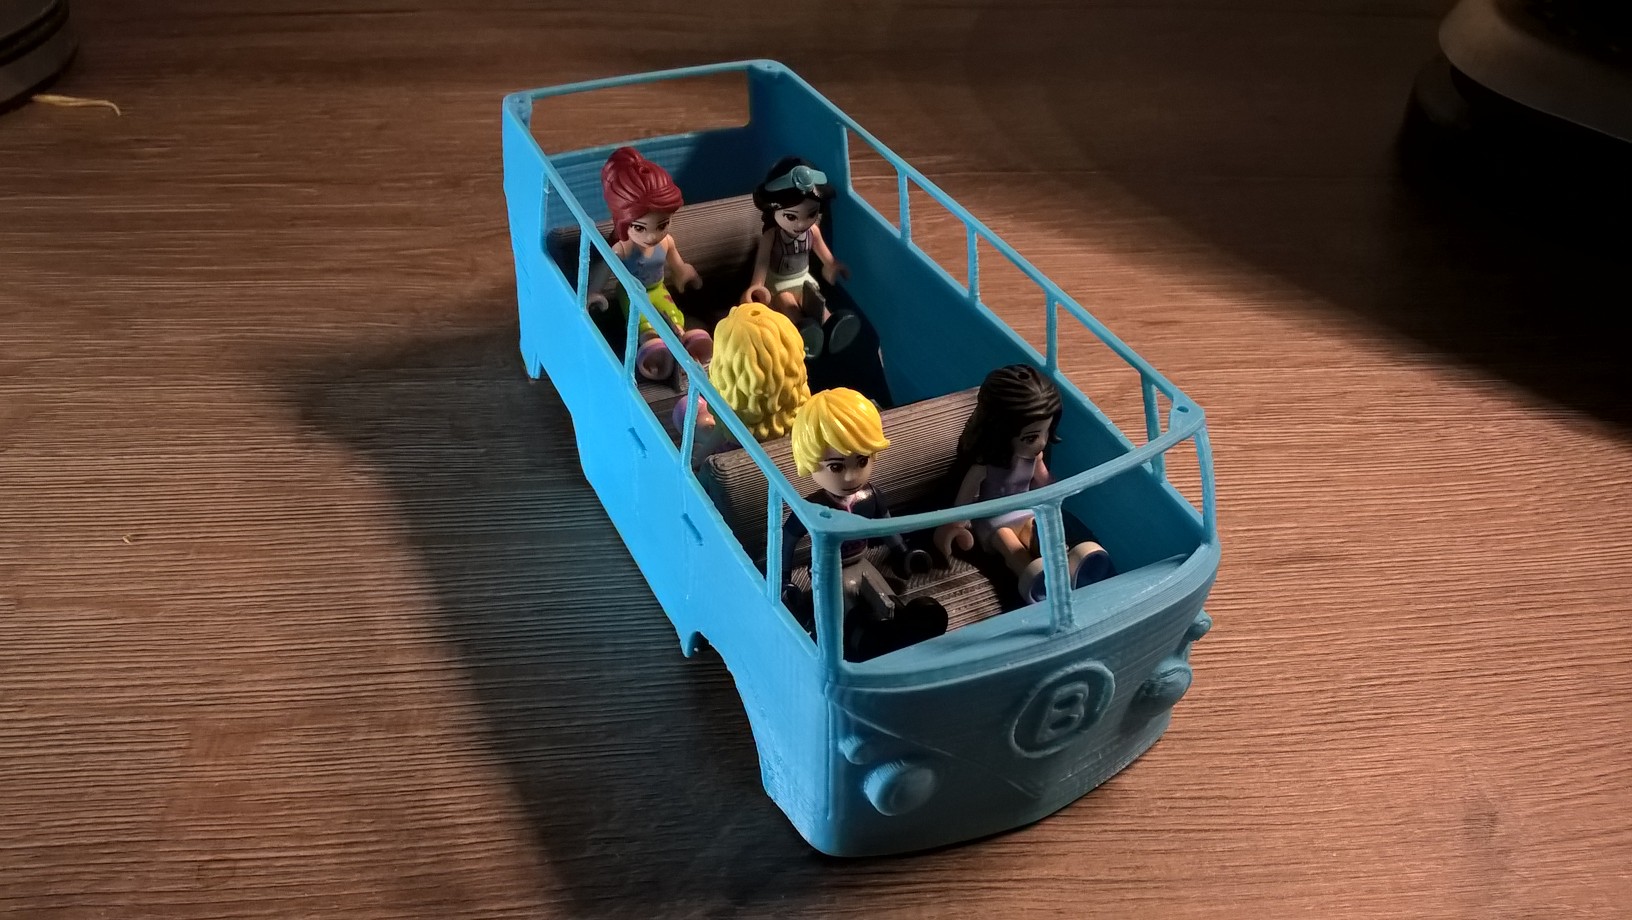
Problems? Yes, of course. Pins for postioning Lego characters are to high and wide. It take some force to put Lego character on seat. My daughter broke one pin while trying to remove one character. Solution is to print postion pins separately with 0.1mm step (little lower and thinner) and glue it to seats).
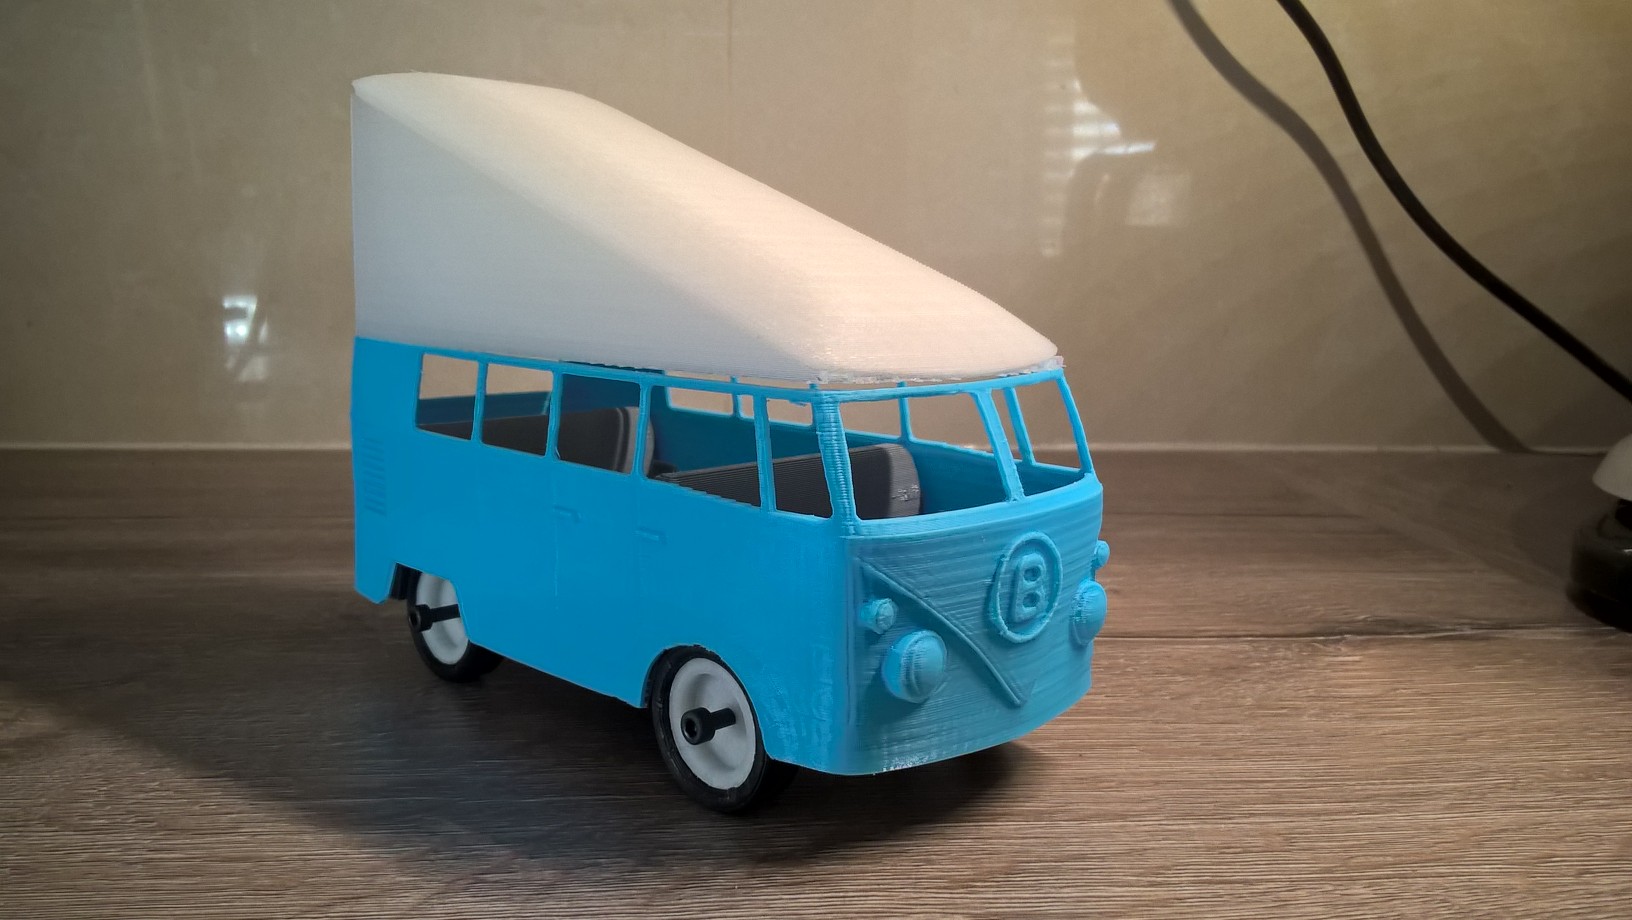
Printing roof in 40percent tilt angle. So a lot of support :o)
Almost finished. Just need to find shorter 3mm screws.
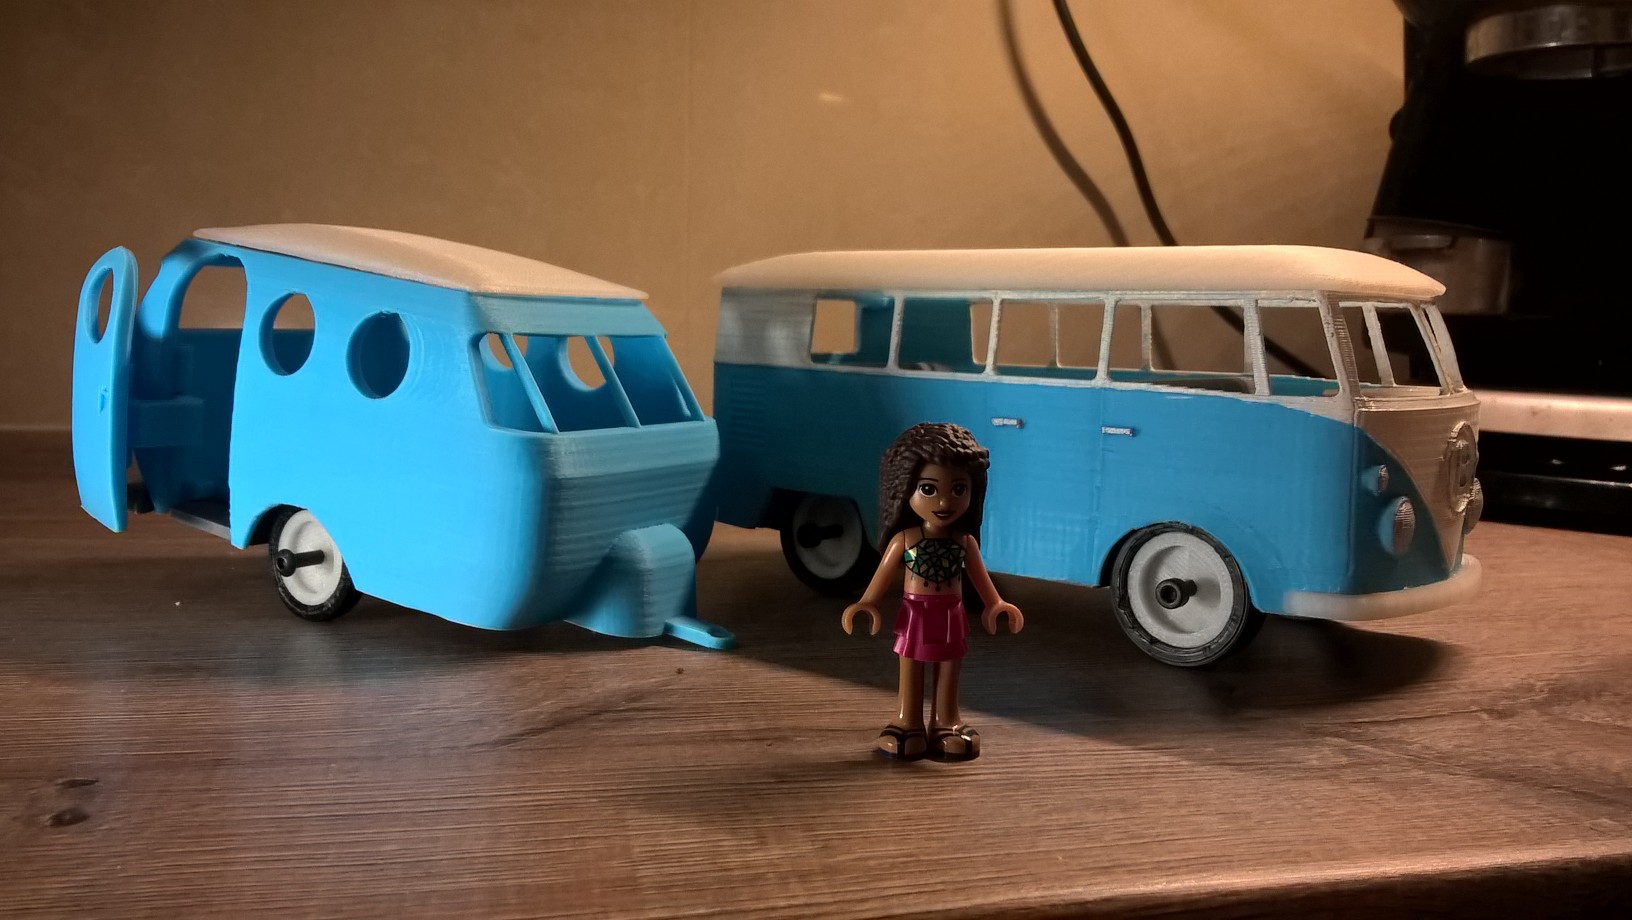
Yes, a trailer. And another things for vacation will follow