by danikjohnson
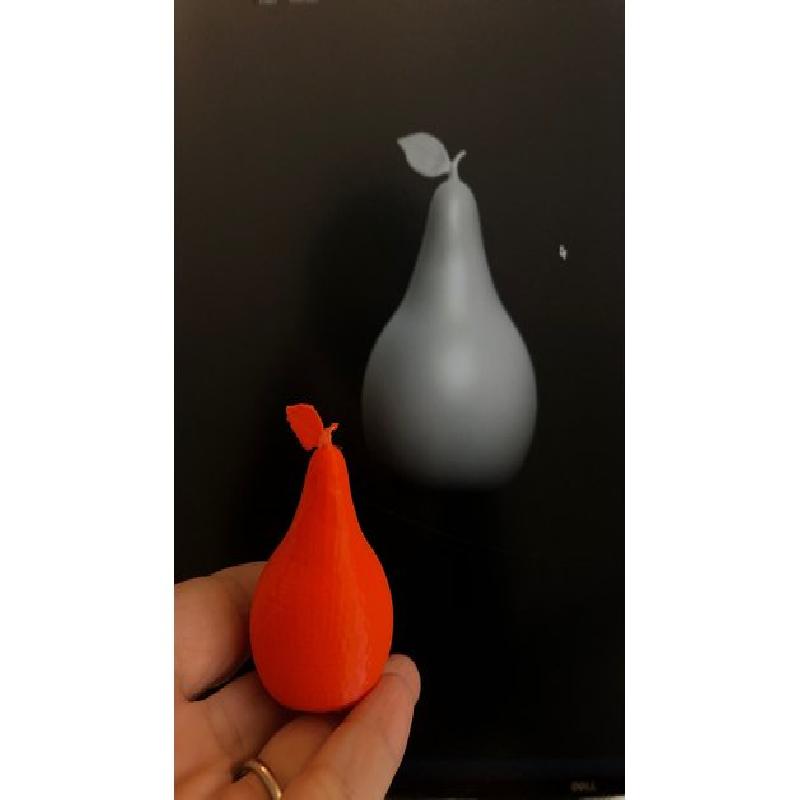
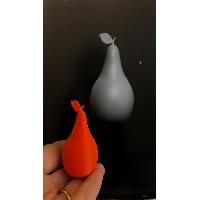
This exercise is meant to introduce new students to the concept of creating a 3D model using a digital clay-like modeling software called Sculptris, by guiding them through various tools to make a familiar shape.
Printer Brand:
MakerBot
Printer:
Rafts:
Yes
Supports:
Yes
Resolution:
.1mm
Infill:
10%
1. Learning Outcomes
What students will know and be able to do
-Use a software called Sculptris to mold a 3D pear model
-Create a new project in Sculptris
-Be introduced to the following tools in Sculptris: Draw, Reduce, Grab, Inflate, Smooth, Pinch
-Be familiar with fine tuning the above tools for different effects
-Export an *.obj file
1. Open Sculptris
The software will probably load with a starting sphere to work with. If not, click on the “New Sphere” button. (Note: you may need to mouse over the buttons to find out what they are.) You can change the sphere colour by clicking on the Material button and choosing one. You may find that the default grey is the easiest to work with. The shiny material can cause some confusion when learning to shape your model.
Make sure the Symmetry icon is on (coloured). Symmetry mirrors every change across the two halves of the sphere. You will see a line through the middle of the sphere when Symmetry is on.


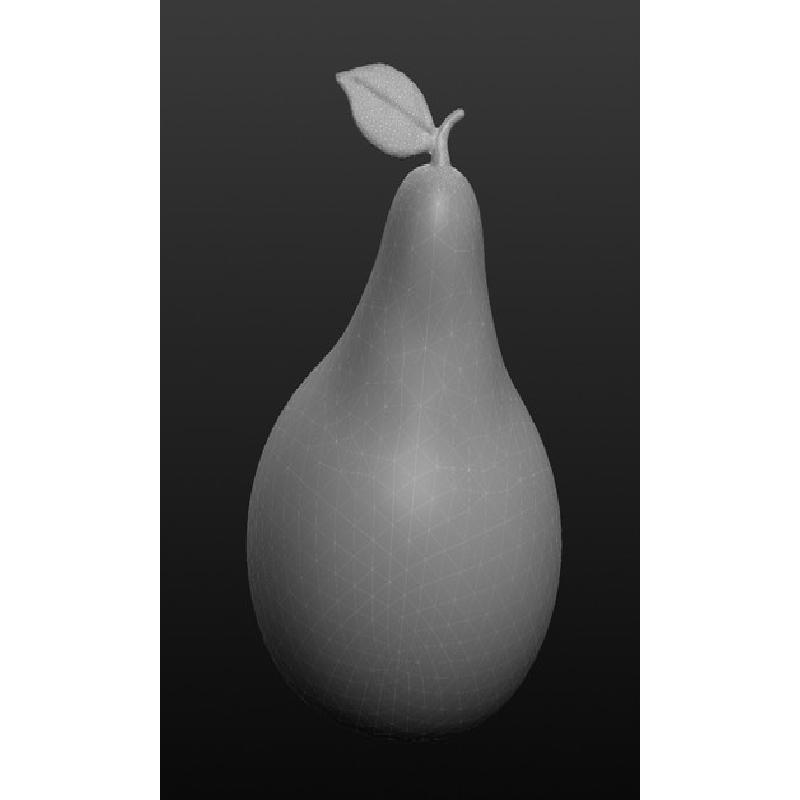
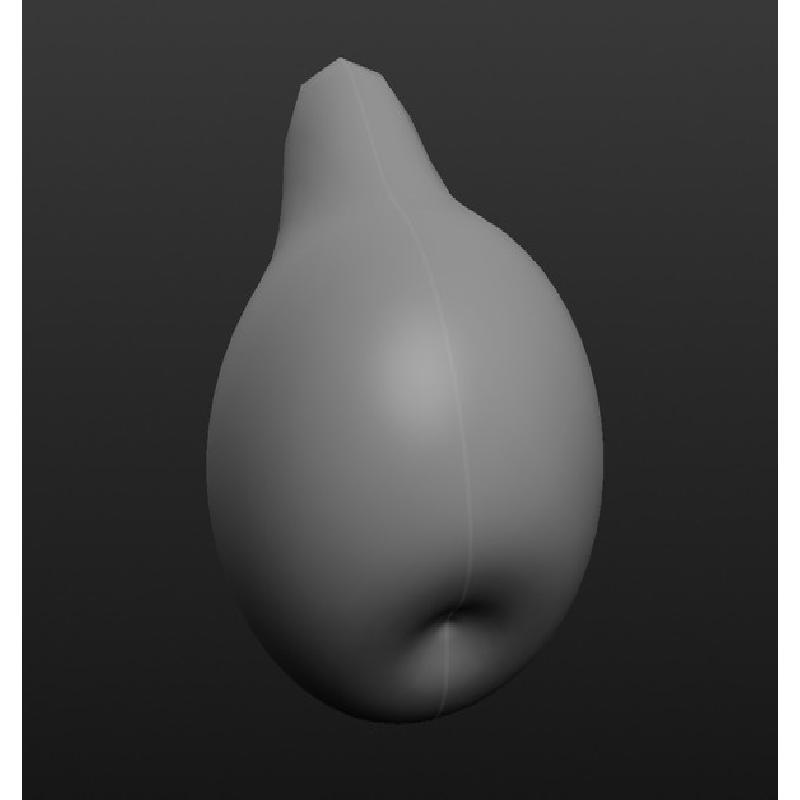
1. Creating the Pear
a. Click on the Draw icon. Make sure the radio button next to Invert is deselected. Clay should be deselected. Move the Size slider to medium-large, and slide the Strength over to high (as in the image above). Using the left mouse button, pull up on part of the centre of the sphere to stretch out the top of the pear.


b. Increase the size of the Draw brush to max. Pull up again on the sphere.
c. Use the right mouse button to rotate the shape around to make sure the pear shape is fairly even. Remember that it doesn’t need to be perfect because real fruits are unique and full of imperfections.
d. If you’ve pulled on the sphere too much and need to push some of the shape back, you can toggle the Invert option within Draw. You may want to turn down the Strength option if you are making more subtle changes.

e. Use the right mouse button to move the pear so that you can see the bottom.
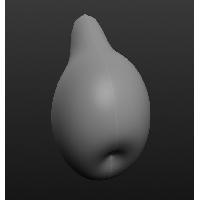
f. Make sure Invert is toggled on in the Draw tool, and change the size down to medium-small, with Strength set to medium-high. Make a small indent/dimple in the bottom of the pear.

g. While still in Draw, move the Size to medium and shift the Strength down to medium. Widen the indent a bit. Move the Size slider higher and run the tool over the bottom again to shape it more. Use the right mouse button to move the pear around and see if you are happy with the shape. This step helps flatten the base slightly, which will help your model sit on a surface when printed, while still having a rounded, organic shape.


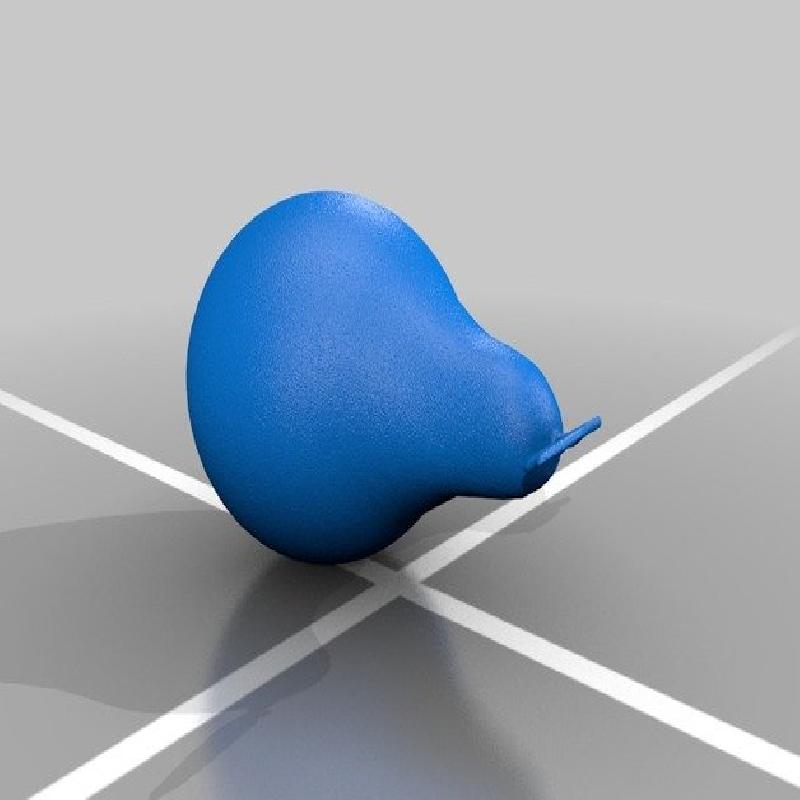
2. Next, create the Stem
a. First, turn off symmetry. Click yes to confirm. Switch to the Grab tool. Toggle the Global option off and make sure Invert is off. Move the Size slider to medium-small and the Strength to just above medium.
b. With the circle cursor tool just in the centre of the top of the pear, gently pull up to create a stem shape.

c. Next, click on the Inflate tool. Make sure Invert is toggled off and set the Size slider to medium and Strength to medium-high.
d. Move the circle cursor over so that it is just selecting the stem of the pear and click once or twice to widen the stem. (You can also use the Flatten tool if your stem is too pointy and you want to flatten it off a bit.)

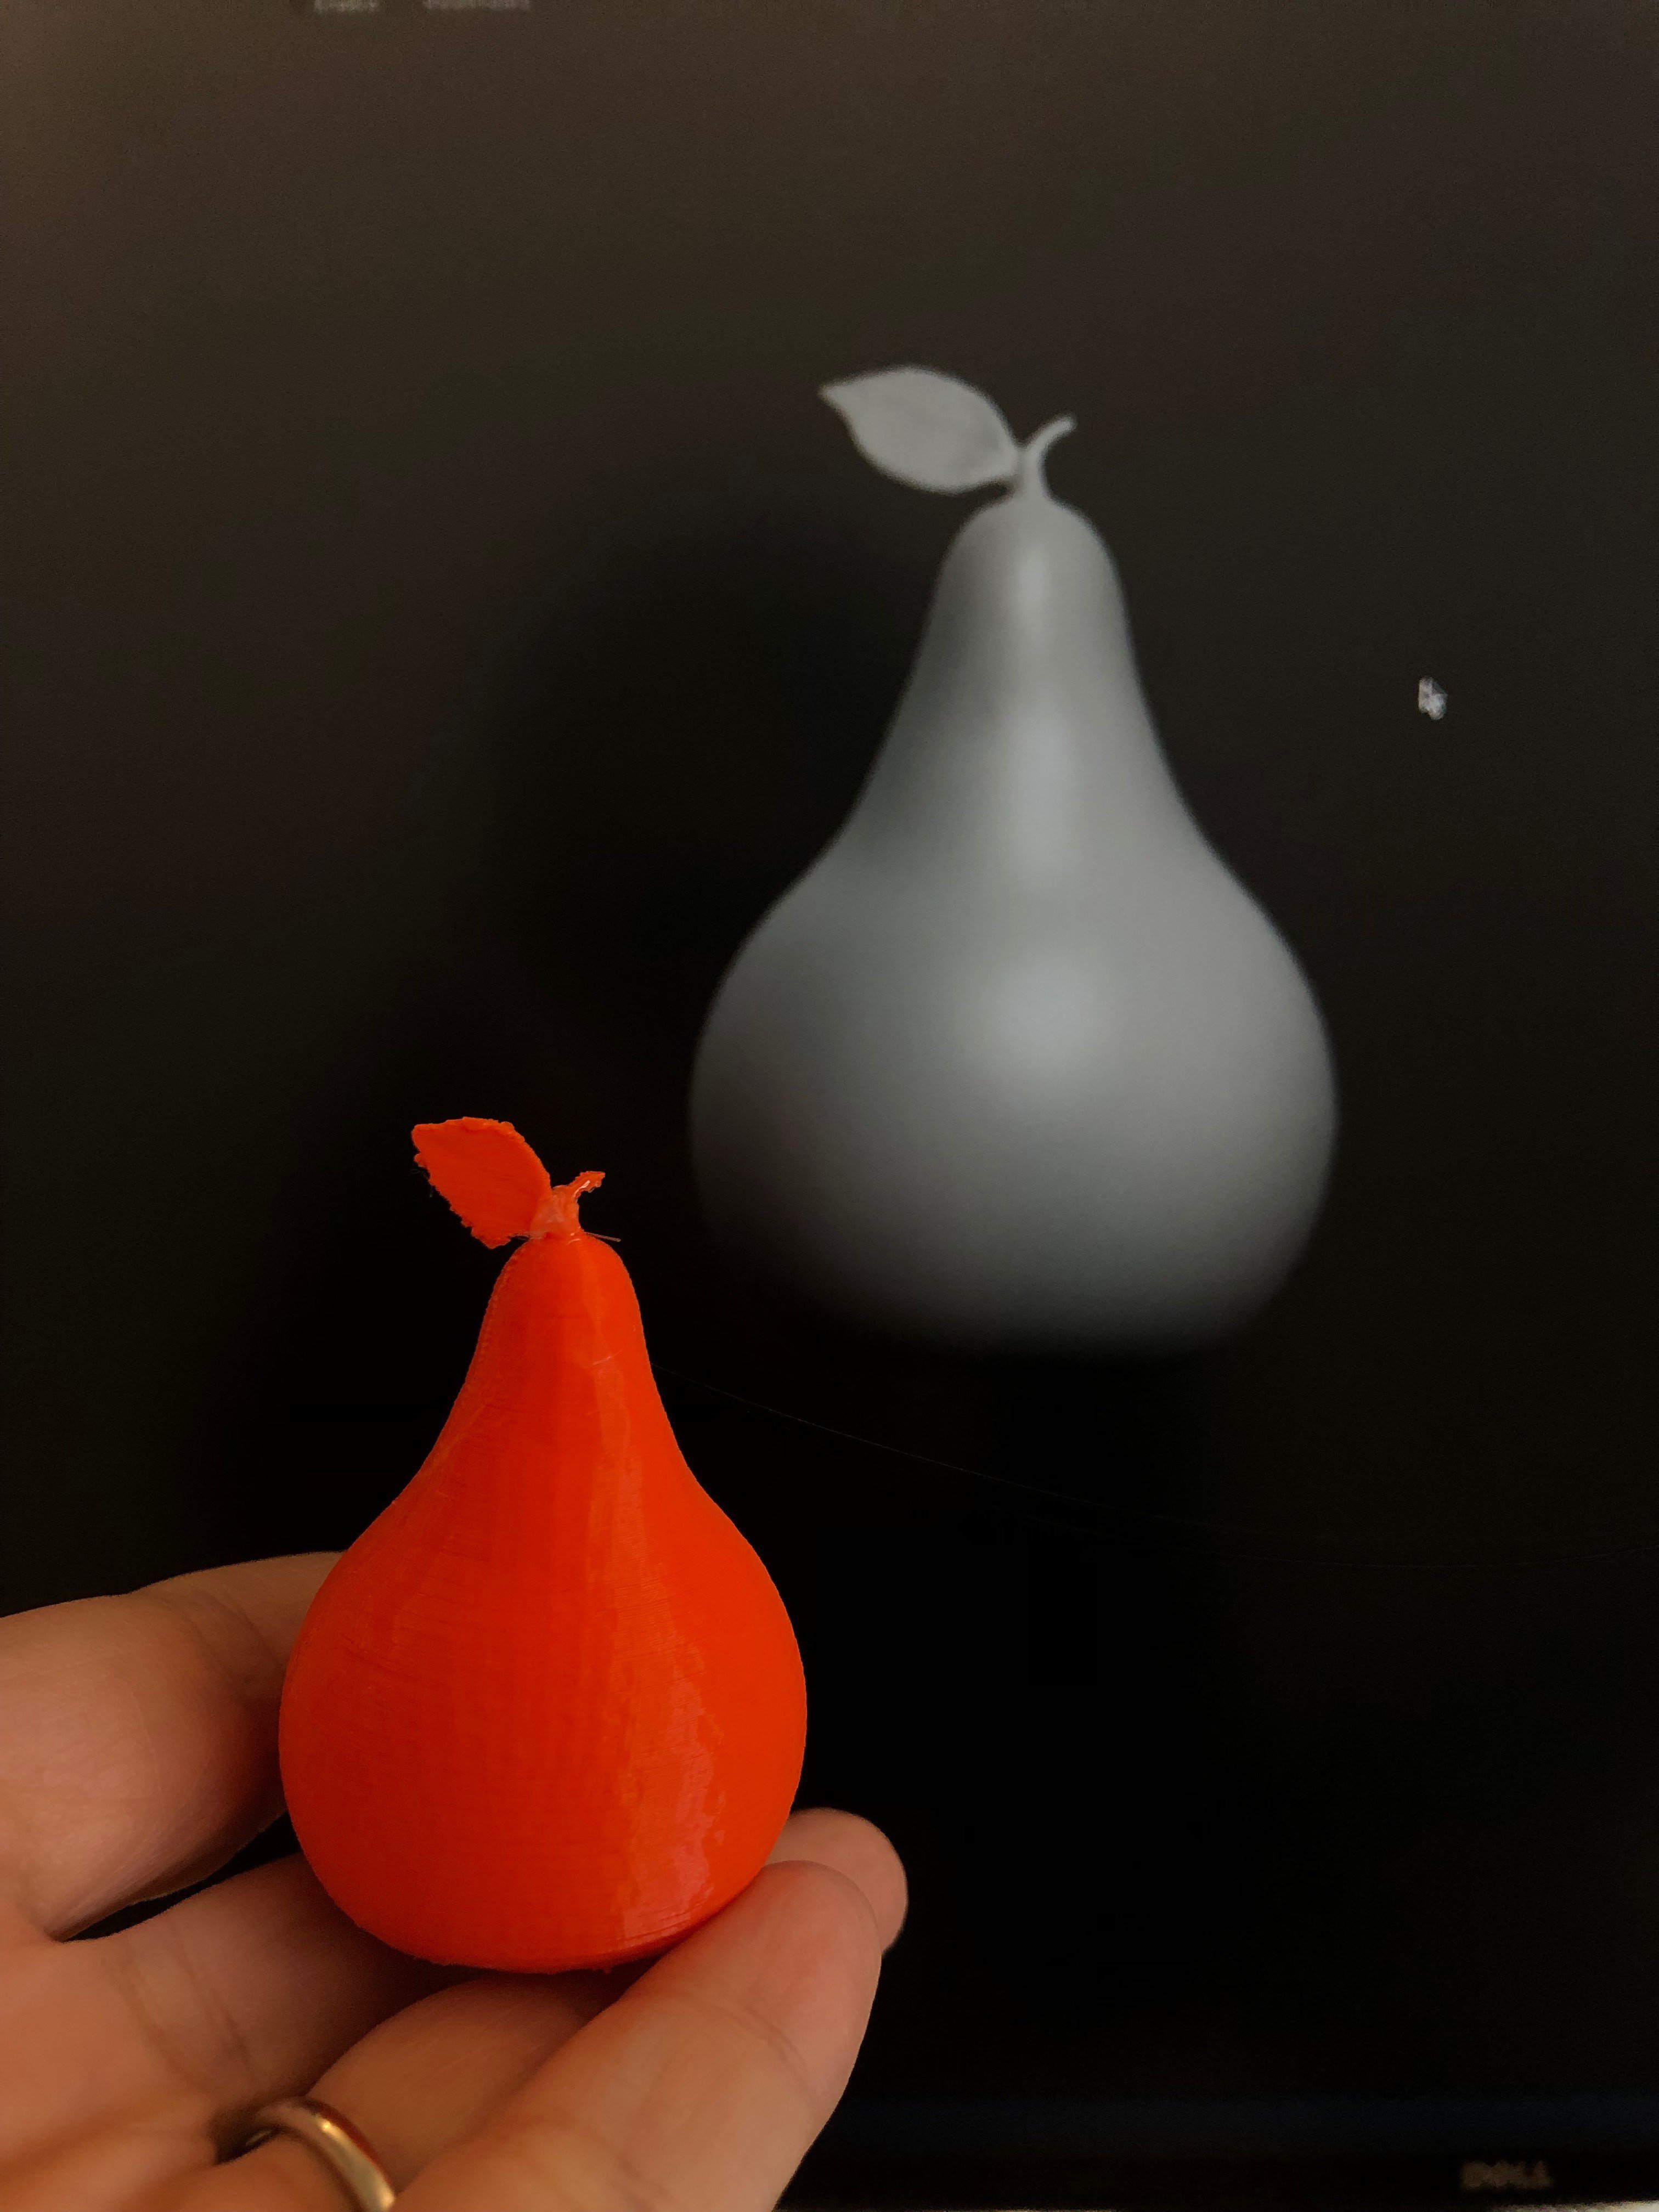
3. To make a Leaf
a. Go back to the Grab tool, with the Size on medium-small, and Strength just below medium. Carefully start to pull out some of the shape of the stem to create a leaf. This may require several clicks and pulls as you gradually pull out enough material to work with. You can increase the size of the Grab tool as the leaf gets bigger.


b. Click on the Crease tool. Set the Size to medium-small, and the Strength to medium. Use the tool to create a crease in the centre of the leaf, where the leaf attaches to the stem, and where the stem connects to the fruit.

c. Next, we can smooth out the rough detail on the leaf. Choose the Smooth tool and try out a few sizes to see what works best to smooth the edges of your leaf. Use Ctrl-Z (or apple-Z) to undo changes as you try out the tool.

4. To Export
a. When you are satisfied with your model, click on the Export button (which looks like a small floppy disc).
b. Save the file as an *.obj file type
c. If you want to save the project file so that you can manipulate it some more, you can choose the Save button.
Computing:
Each student will need a computer with Sculptris (free) installed, and a mouse.
http://pixologic.com/sculptris/
1 hour
Assessment
This project is meant to introduce students new to the concept of organic digital modeling, a sort of digital clay. The purpose of the pear shape is to make a familiar object using a variety of tools within the software. Real fruit is organically formed in nature and so precision is not required to create a recognizable pear. Students should feel free to have some creative license, so long as they prove they can create the basic shapes involved: fruit, stem, leaf.